
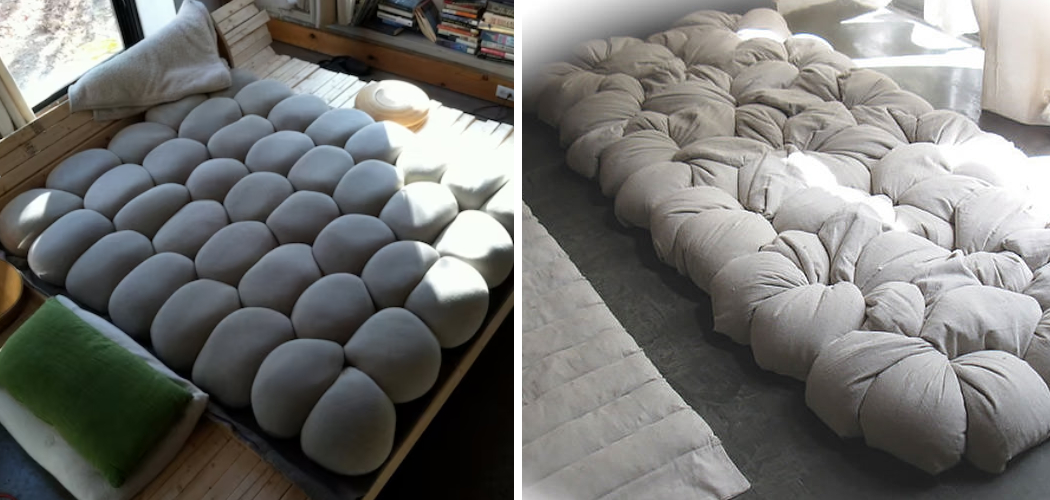
Are you looking for a comfortable night’s sleep but don’t want to spend thousands of dollars on an expensive mattress? Why not make your mattress and save some cash in the long run? Making a mattress from scratch may sound intimidating, but it doesn’t have to be.
Following the steps below, you can craft a mattress tailored to your body’s needs and preferences without blowing your budget.

This blog post will explain how you can easily create your own mattress at home with minimal supplies and unparalleled comfort. Whether you are seeking an affordable solution or simply want to try DIY-ing, follow this guide to learn more about how to make your own mattress!
What Will You Need?
Before making your mattress at home, ensure you have the right materials. You’ll need foam, fabric, and other supplies to make your mattress comfortable. Here’s a list of all the essentials you should consider:
- Foam: This is the most important item on the list! Choose a higher density foam for lasting comfort and support.
- Fabric: You will also need to get enough fabric to cover your mattress in style – choose something that is comfortable and breathable, like cotton or wool.
- Gripper Strips: You’ll need these to attach the fabric to the foam so it doesn’t shift around during sleep.
- A Zipper: This is an optional item but a great way to make the mattress more adjustable if you want to add or remove foam.
Once you have all your materials, you can start making your own mattress!
9 Easy Steps on How to Make Your Own Mattress
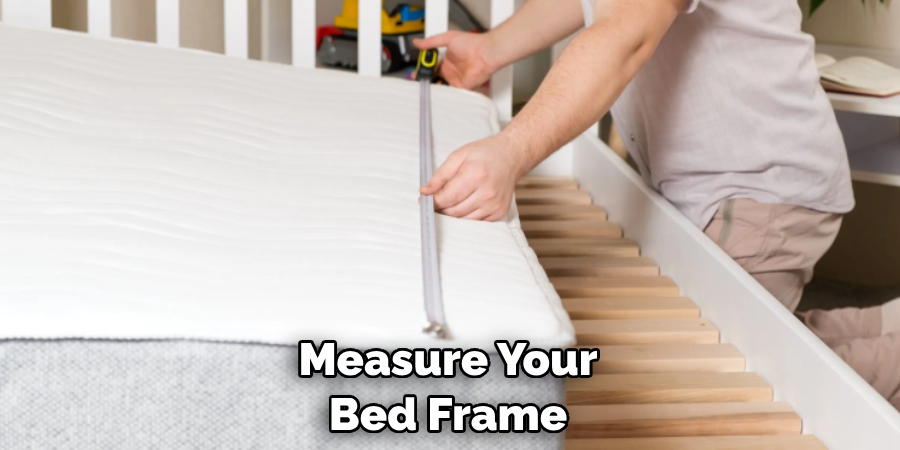
Step 1: Measure Your Bed Frame
Firstly, you need to measure the size of your bed frame. The size of your mattress will entirely depend on this measurement. Whether you have a twin, queen, or king-sized bed, make sure to measure accurately. Write down the width, length, and depth measurements.
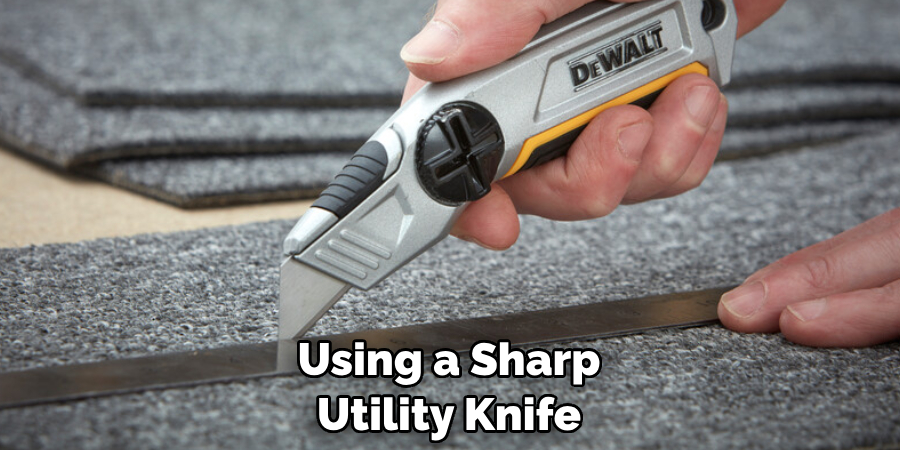
Step 2: Cut Your Foam
Once you have your measurements, the next step is to cut your foam. Using a sharp utility knife, cut the foam according to the measurements of your bed frame. Remember to cut a bit extra for the depth of the mattress to ensure it fits snugly within the frame. It’s better to cut a bit more and trim it down later if necessary rather than cut too little and end up with a foam that doesn’t fit your bed frame properly.
Step 3: Cut Your Fabric
The next step involves cutting your chosen fabric. You need to cut the fabric in two main parts: the top panel and the sides. For the top panel, use your foam’s width and length measurements, adding an extra 2 inches to each side for seam allowances.
For the sides, you need to calculate the total perimeter of the foam and add 2 inches for seam allowances. Remember, the height of the side fabric should be equivalent to the depth of your foam plus 1 inch for the seam allowance. Once you have the measurements, cut your fabric accordingly.
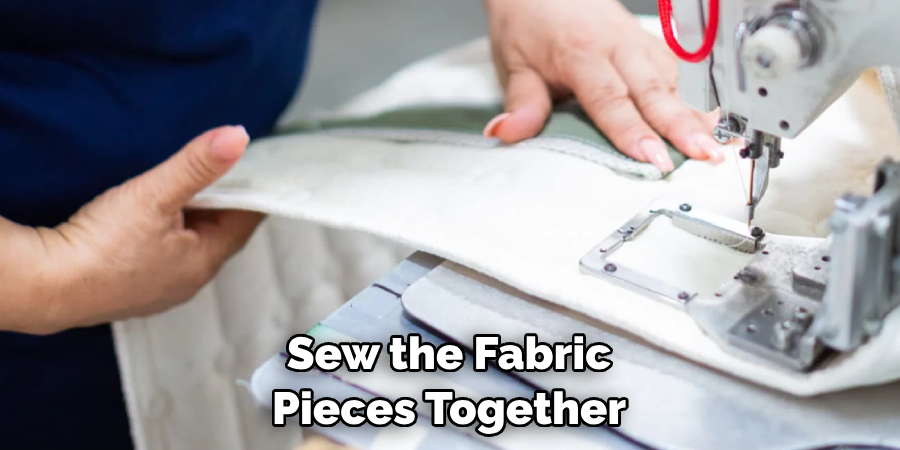
Step 4: Sew the Fabric
Now it’s time to sew the fabric pieces together. Start by pinning the side pieces to the top panel, ensuring the right sides are together. Using a sewing machine or needle and thread, sew along the pinned edges, leaving an inch for seam allowance. Continue to sew around the entire perimeter of the top panel.
Then, sew the ends of the side fabric together to create a cylindrical shape, leaving one side open. Remember, precision in sewing will ensure a clean and professional look for your mattress cover.
Step 5: Attach the Foam to the Fabric
In this step, you’ll be attaching your foam to the fabric. Start by turning your sewn fabric right-side-out. Then, carefully slide the foam into the fabric cover, ensuring it fits snugly and evenly. If you have opted to use a zipper for adjustability, install it now.
If not, hand sew the open edge of the fabric, securing the foam within. The foam should fill the fabric cover without any slack or bulges. Now, you have successfully created the bulk of your mattress.
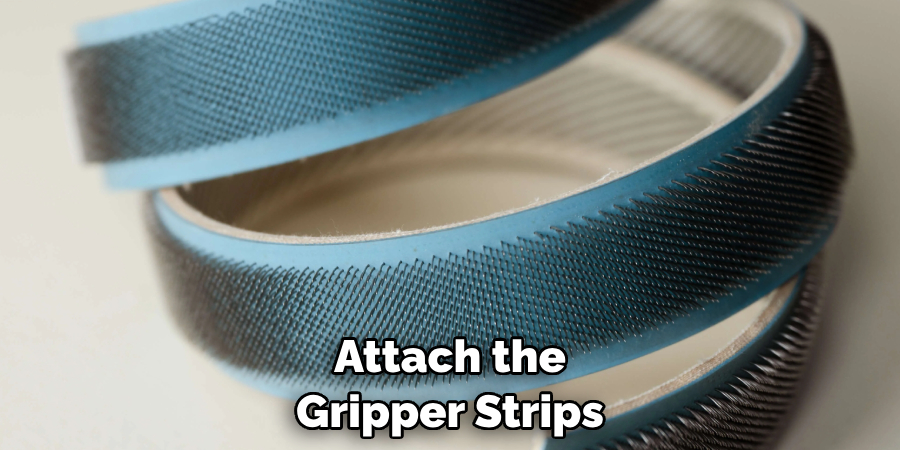
Step 6: Attach the Gripper Strips
The next step is to attach gripper strips to the bottom of your mattress. These strips will prevent your mattress from sliding around on your bed frame. Start by turning your mattress upside down so the bottom faces upwards.
Measure and cut the gripper strips according to the length and width of your mattress, ensuring they will cover a significant portion of the surface. Next, peel off the adhesive backing from the gripper strips and stick them onto the bottom of your mattress, pressing down firmly to ensure a strong bond.
Once you’ve attached all the gripper strips, turn your mattress right-side-up and place it on your bed frame. The gripper strips should keep your mattress securely in place, providing a stable and comfortable sleeping surface.
Step 7: Test Your Mattress
The final step is to test out your new mattress. Lay down on it and see how it feels. If you’ve opted to include a zipper, this is your opportunity to adjust the firmness of the mattress by adding or removing foam as necessary.
Remember, it’s your custom-made mattress, so it should meet your unique comfort preferences. Adjust it until it feels just right. Once it’s exactly to your liking, you can enjoy a good night’s sleep on your home-made, custom-fit mattress.
Step 8: Maintain Your Mattress
Now that you have a comfortable, bespoke mattress, it’s crucial to maintain its quality. Regularly flip and rotate your mattress to ensure even wear, and consider using a mattress cover to protect it from spills or stains. If you’ve incorporated a zipper in your design, you can easily remove the cover for washing. Remember, a well-maintained mattress promotes better sleep and lasts longer, providing you with comfort.
Step 9: Enjoy Your Custom Mattress
After all of the previous steps, it’s finally time to enjoy your custom-made mattress fully! Thanks to your careful measurements, cutting, and sewing, you now have a mattress designed to fit perfectly in your bed frame and suit your unique comfort needs. Remember, the benefits of this DIY project go beyond the satisfaction of creating something with your own hands.
You’ve also created a more eco-friendly product, as DIY mattresses can be more easily repaired, updated, or recycled than traditional ones. Now, all that’s left to do is to relax, have a good night’s sleep, and feel the difference your custom mattress makes.
By following these nine easy steps, you can make your mattress and enjoy the comfort of a custom-fit sleeping surface that you made. Whether you have a tight budget or just appreciate the satisfaction that DIY projects bring, making your mattress is an achievable goal that will pay off in many ways.
5 Additional Tips and Tricks
- Use quality materials. Invest in the good stuff-find a high density foam, organic cotton, and natural fibers like wool or silk.
- Measure carefully for accurate fit. Make sure you measure twice and cut once! A few inches can make a huge difference in mattress size and shape, so accuracy is key here.
- Allow the components to settle. After you’ve assembled your mattress, allow it a few hours to settle before sleeping on it-this will ensure that the foam is evenly distributed and comfortable.
- Test out different layers of padding for comfort. Different types of support foam or batting can give added cushioning and support. Try some combinations out to find the best fit.
- Keep your mattress clean. Vacuum regularly and use a mattress protector to keep dust mites away. Make sure to spot clean spills and stains as soon as possible!
Once you’ve made your own mattress, you can look forward to a comfortable night of sleep! With a few simple tips and tricks, making your own mattress is easy, and the results are well worth it.
5 Things You Should Avoid
- Avoid using low-quality materials. While DIY projects often provide the opportunity to save money, investing in quality materials that will stand up to wear and tear is important.
- Remember the seam allowance for sewing pieces together. Leaving no extra room around the edges can result in a too-tight cover or bunching of fabric when you put yours. Make sure to skimp on the gripper strips. Gripper strips are required for keeping your mattress in place, so take the time to measure and attach them correctly.
- Try not to overstuff your mattress cover. Be mindful of how much foam you add should fill the space without bulging or bunching up too much around the edges.
- Be sure to complete the testing phase. It’s important to ensure your mattress is comfortable and adjustable before settling in for a good night’s sleep.
- Avoid using harmful cleaning products. Choose all-natural, non-toxic cleaning supplies when it comes time to maintain your mattress. This will ensure that it stays fresh and healthy for years to come.
Avoiding these common mistakes will help you create a comfortable and long-lasting mattress. With the right materials, some patience, and a bit of know-how, you can craft your custom-fit mattress in no time!
Is It Cheaper to Make or Buy a Bed?
The answer to this question depends on the materials you use and how much time and effort you’re willing to put in. If you have the right tools and supplies, making your mattress can be significantly cheaper than buying one. However, if you opt for high-quality materials and add extra features like a zipper or adjustable foam layers, the cost could be comparable or even higher than buying a mattress off-the-shelf.
Another factor to consider is the time investment required to construct your own mattress. If you’re pressed for time and need a bed sooner rather than later, it may be more cost-effective to purchase one instead. Ultimately, the decision comes down to personal preference and what works best for your budget and needs.
The DIY route is a great way to customize your mattress with exactly the features you want, all while getting the satisfaction of making it yourself. With these steps in mind, you can confidently make your mattress for an affordable price and enjoy its many benefits for years to come.
Conclusion
How to make your own mattress can be a rewarding and fulfilling endeavor that will provide its owner with long-term comfort and relaxation for years to come. Taking the time to research the different ways to make a mattress, as well as the necessary supplies, can save you both time and money down the line.
Plus, being able to customize your mattress to your own specific needs and body type will ensure that your sleeping experience is nothing but enjoyable. There may be some pitfalls associated with making a mattress from scratch. Still, with an organized plan and plenty of dedication, it’s possible anyone can achieve success in creating their very own dream mattress.
Taking the journey from start to finish means feeling proud of accomplishing something special – something you truly made all on your own!