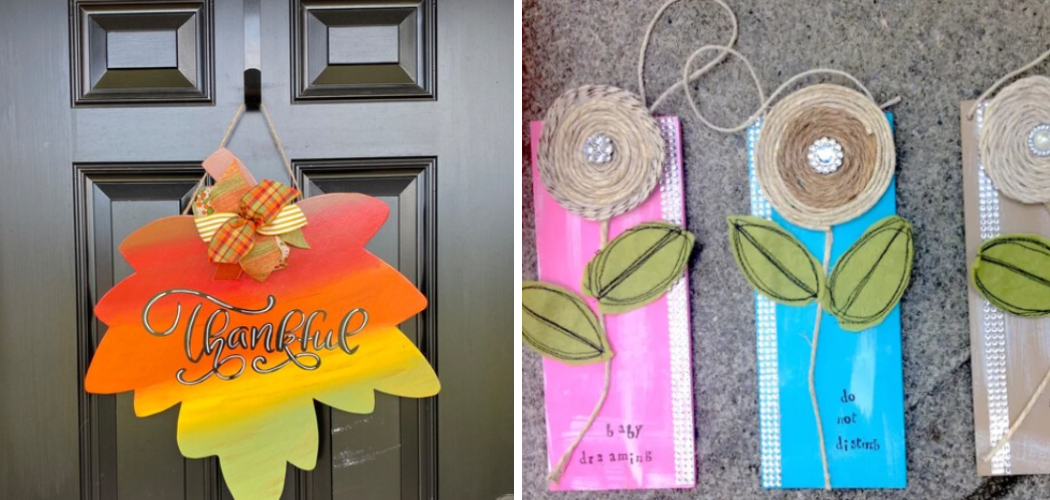
Do you have a knack for DIY projects and want to create something that will leave an impression with your friends and family? Are you looking for a creative way to make doors stand out? Door hangers can be a great way of doing just that! Door hangers are the perfect way to add extra charm, character, and style to any room or entranceway.

Learn how to make door hangers with a few simple steps! Have fun getting creative as you choose prints, materials, colors, wordings, ribbons – whatever works best for your desired look! With this guide on hand, you’ll soon be proudly displaying your handmade door hanger in no time. So keep reading, and let’s get creative!
The Benefits of Making Door Hangers
1. Showcase Creativity
The great thing about making door hangers is that they offer the perfect way to showcase your own creativity and personality. You can create a custom design to match the color scheme of a room or entranceway, come up with unique wordings or slogans, or even personalize it as a thoughtful gift for friends and family.
2. Bring Extra Charm and Style
Door hangers are also great for adding an extra bit of charm or style to a room. With the right prints, colors, materials, ribbons, and other accessories, you can create the perfect decorative statement for your door.
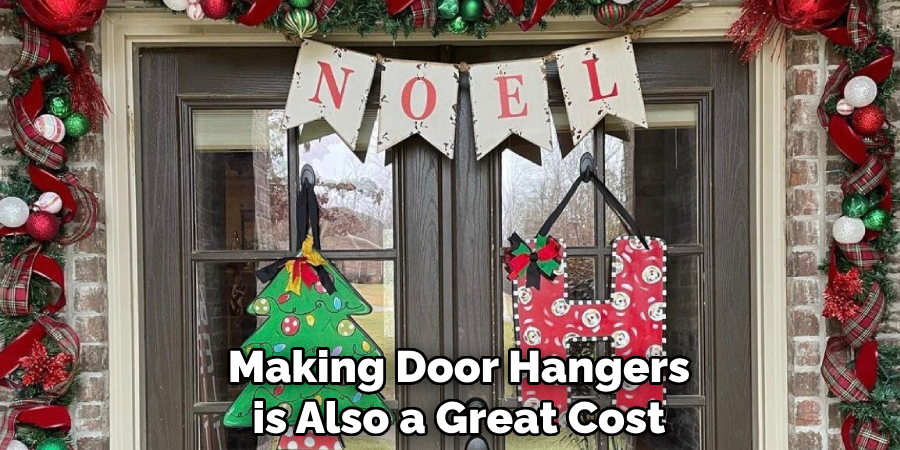
3. Cost-Effective Option
Making door hangers is also a great cost-effective option, as you can make them with items that you may already have around the house. You won’t need to break the bank to create something special!
Materials Needed for Making Door Hangers
When it comes to making door hangers, the possibilities are endless! Here are some common materials you might want to consider:
- Cardstock
- Ribbon or twine
- Hot glue gun and glue sticks
- Paint, markers, stickers, etc., for decoration
- Wooden craft shapes (optional)
- Hole punch/paper cutter (optional)
10 Step By Step Guide On How To Make Door Hangers
Step 1: Cut in Shape and Size
Cut your cardstock into the desired shape and size of your door hanger – typically an oblong or rectangle shape. While cutting, remember to leave a small tab at the top so that you can hang it up.
Step 2: Decorate and Personalize
This is where the fun begins! Get creative and personalize your door hanger by adding paint, markers, stickers, wordings, ribbons – whatever works best for your desired look.
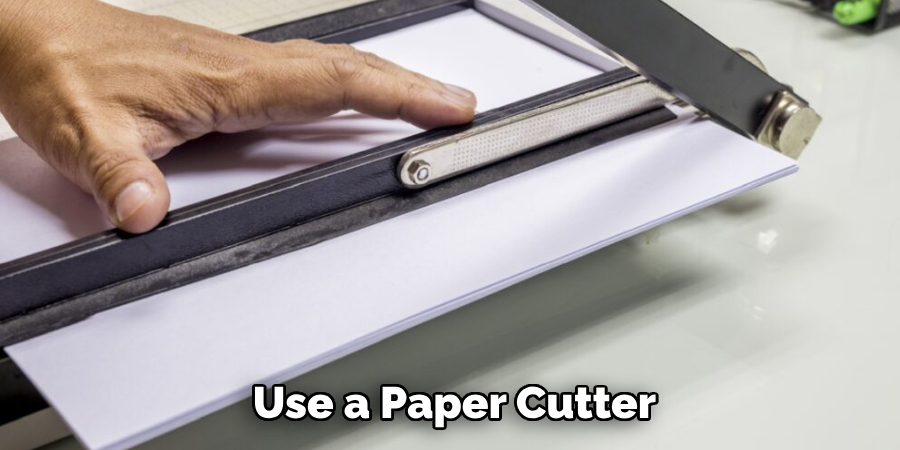
Step 3: Cut Notches
Use a paper cutter or hole punch to cut two notches at the top of your door hanger so that you can easily hang it up. Cutting notches will give the door hanger support and make it easier to hang.
Step 4: Attach Ribbon
Attach a ribbon, twine, or any other material of your choice at each notch. Make sure that the ribbon is secure and firmly attached so that your door hanger can hang securely when finished.
Step 5: Attach Wooden Craft Shapes
If desired, attach wooden craft shapes to your door hanger. These can be glued onto the front side of the cardstock for added decoration or charm. Attaching wooden craft shapes is optional.
Step 6: Add Glue
Add a small amount of glue to the back side of your door hanger for extra reinforcement. This will make sure that everything stays in place and gives your door hanger extra durability.
Step 7: Attach Additional Accessories
You can add additional accessories or embellishments to your door hanger, such as buttons, sequins, lace, etc. This is a great way to give your door hanger an extra creative touch.
Step 8: Punch Holes
If you’re adding any additional accessories like buttons or ribbons, you may need to punch holes through the cardstock. Make sure that the holes are evenly spaced and secure before adding any additional accessories.
Step 9: Add Glitter and Sprinkles
Sprinkle glitter or other decorative sprinkles on your door hanger for extra sparkle and shine. This is a great way to add some extra pizzazz to your door hanger.
Step 10: Hang It Up
The last step is to hang up your door hanger! Find the perfect spot – whether that’s in a bedroom, entryway, bathroom, or anywhere else – and proudly display your handmade creation. Enjoy the compliments you’ll get from friends and family when they see it!
Following these steps will make it easy to create your own custom door hanger. Have fun getting creative and making a homemade masterpiece that’s sure to turn heads!
Tips for Making Door Hangers
- Use cardstock in heavier weights so that your door hanger won’t tear or bend easily.
- Make sure the ribbon is securely attached so that your door hanger can hang securely when finished.
- Try to make your door hanger unique and personalize it with prints, colors, wording, etc., for a look that reflects your own style.
- Use a paper cutter or hole punch to cut two notches at the top of your door hanger so that you can easily hang it up.
- When gluing items onto the cardstock, be sure to use a low temperature glue gun so that you don’t damage your materials.
- Have fun! Making door hangers should be a fun and creative process, so take your time and enjoy yourself!

So if you’re looking for an easy yet creative way to spruce up any room or entranceway, look no further than door hangers! With this guide on hand, you’ll be a door hanger making expert in no time. Get creative and have fun bringing your personalized style to life!
8 Safety Measures to Follow When Making Door Hangers
Making door hangers is a relatively simple task, but it can still be dangerous if the proper safety measures aren’t taken. Here are 8 tips to keep in mind when making door hangers:
- Wear protective gear such as goggles and gloves when cutting, drilling, or sanding any material. It will help protect you from getting particles in your eyes and skin.
- Make sure all tools and machines are properly secured before using them. Don’t try to use any equipment if it looks faulty or damaged, as it could be a hazard. Also, never leave any tools or machines unattended while they are running.
- Use the right tools for the job – if you’re not sure which tool is best for a specific task, ask an expert before proceeding. The right tools will make the job easier and safer.
- Check all materials before starting a project to make sure there are no hidden defects or hazards. Avoid using any rusty or worn-down materials that could cause harm during use.
- Make sure your workspace is tidy and free of clutter – this will help you avoid trips and falls while working on your door hanger.
- Keep a first-aid kit nearby in case of any accidents or injuries. Make sure to read the instructions and keep the kit up-to-date with all necessary supplies.
- Read through the manufacturer’s instruction manual for any tools or machines before operating them – this will help you avoid potential errors that could cause harm or damage.
- Don’t work alone – it’s always safer to have someone nearby who can help in case of an emergency or injury.
By following these safety measures, you’ll be able to make door hangers safely and effectively. Always remember that your safety should come first when working on any project, and never take shortcuts when it comes to safety.
When making your door hanger, ensure that all materials and tools are properly secured before starting the project. Take a few moments to double-check your measurements and make sure everything is in its place – this will help you avoid any costly mistakes.
How Much Will It Cost?
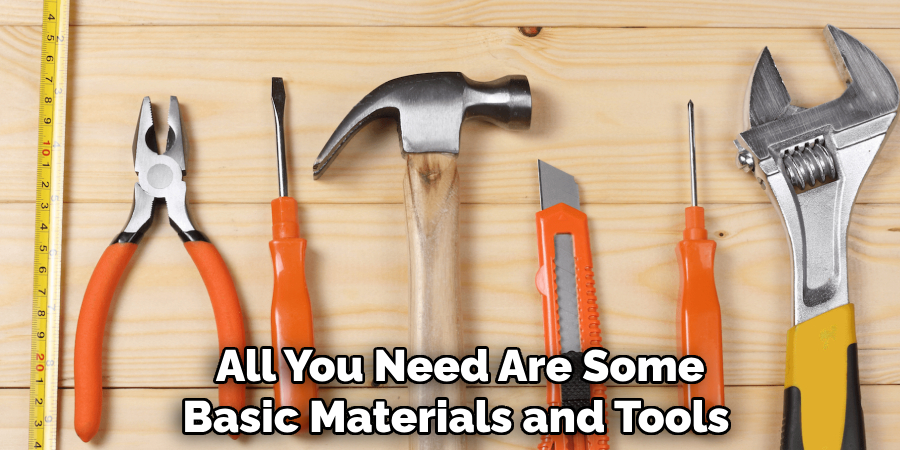
Making door hangers doesn’t have to be expensive. All you need are some basic materials and tools – most of which can be found at your local craft store or online. The cost will depend on the type of door hanger you’re making, as well as the amount of supplies you need.
Generally, the cost of materials for making one door hanger will range from $10 to $20. This includes cardstock, ribbons or strings, wooden craft shapes, glue, and other decorative items you may choose to add.
On the other hand, if you purchase a pre-made door hanger kit, it may cost upwards of $30 – depending on the size and complexity of the kit.
No matter which route you choose – making door hangers yourself or purchasing a pre-made kit – it’s sure to be a fun and creative experience. Have fun customizing your own masterpiece!
Conclusion
By following these tips on how to make door hangers, you can make sure that your door hanger project will be a success. Whether it’s as part of your marketing strategy or simply for aesthetic reasons, creating a custom door, hanger can be fun and rewarding. Moreover, the skills you’ll acquire while making your own door hangers will be invaluable when it comes to other crafting projects in the future.
And best of all, the cost of creating custom door hangers is comparatively low. Now you have all the resources needed to create perfect door hangers that look professional and stand out from the crowd. So go ahead, get creative and learn how to make amazing door hangers!