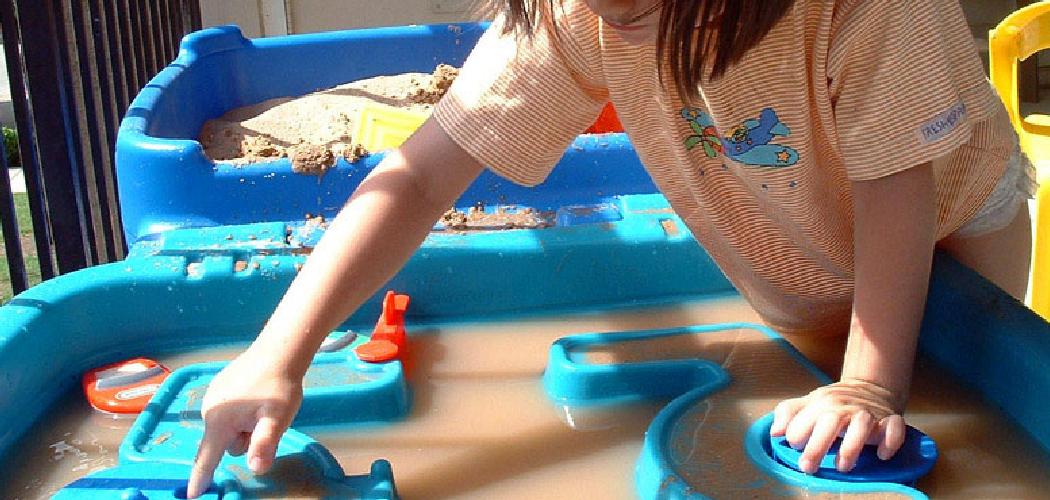
Creating a water table is a delightful DIY project that promises hours of sensory play and exploration for children. A water table provides a dedicated space for kids to splash, pour, and experiment with water, fostering creativity and learning through hands-on play. In this comprehensive guide, we’ll explore the step-by-step process of making a water table from scratch, from selecting the right materials and designing the table to assembling, sealing, and adding accessories.
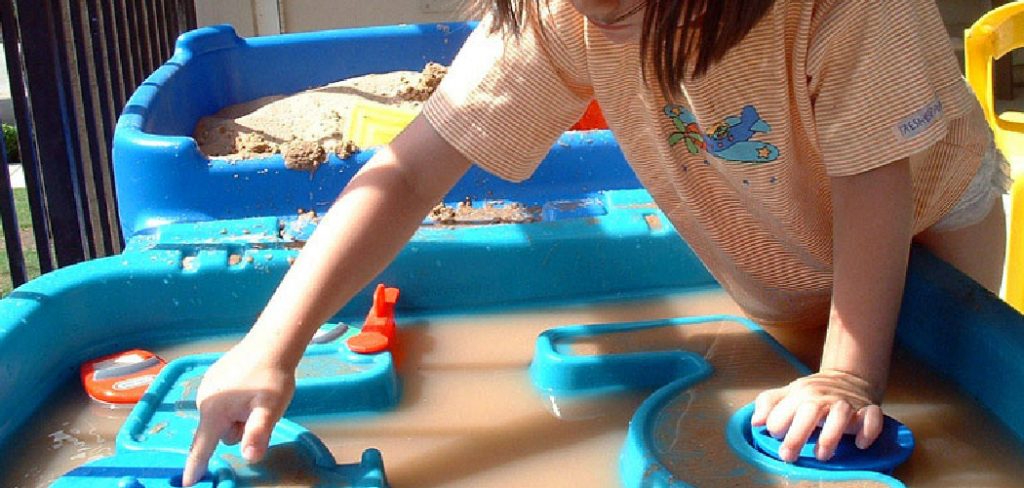
Whether you’re a crafty parent, teacher, or caregiver, knowing how to make a water table allows you to customize the size, features, and aesthetics to suit your child’s interests and your space. Join us as we delve into the details of creating a versatile and engaging water play area that will be a favorite among children and adults alike.
Importance of a Water Table for Children’s Sensory Play
Water tables play an integral role in children’s sensory development and learning. Engaging with water encourages children to explore different textures, temperatures, and consistencies, providing a rich sensory experience. This type of play builds fine motor skills as children pour, scoop, and manipulate objects within the water.
Additionally, water tables promote cognitive development, as kids experiment with concepts such as buoyancy, volume, and flow, laying the groundwork for early science understanding. Social skills are also enhanced as children share the space and collaborate on activities, fostering cooperation and communication. Overall, a water table is not just a source of entertainment but a powerful tool for holistic development, engaging young minds and bodies in a fun and educational way.
Selecting Suitable Materials
Choosing the right materials is crucial for building a durable and safe water table that will withstand hours of play. Begin by selecting a sturdy, non-toxic plastic or waterproof wood for the table base and sides. These materials are not only safe for children but also resistant to water damage and easy to clean. You’ll also need a large, shallow plastic bin or container to hold the water, which should be removable for easy emptying and cleaning.
Ensure the bin fits snugly within the frame of the table. Additionally, consider using stainless steel screws and hardware to prevent rust and ensure long-lasting stability. For added safety, you might want to line the edges with rubber strips to prevent any sharp corners. Lastly, gather various waterproof accessories like funnels, measuring cups, and waterproof toys to enhance the sensory experience. When selecting materials, prioritize safety, durability, and ease of use to create a water table that stands the test of time and provides endless fun.
10 Methods How to Make a Water Table
Method 1: Plan Your Design
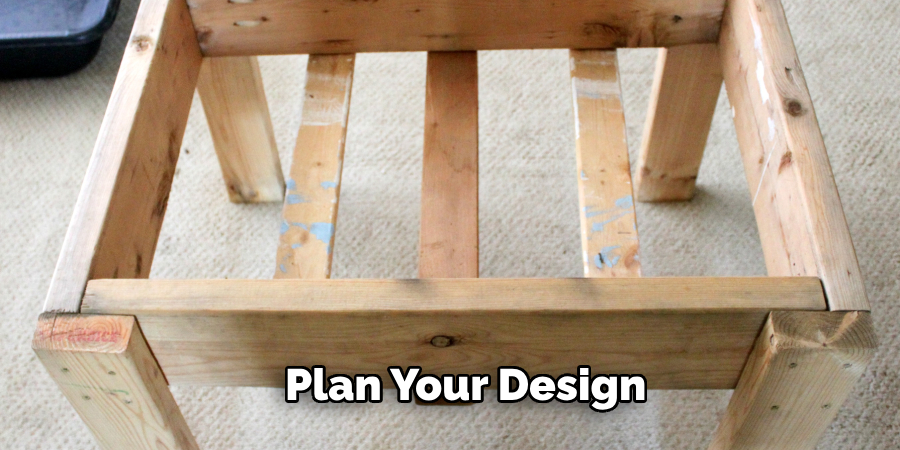
The foundation of any successful water table lies in thoughtful planning and design. Begin your journey by envisioning the size, shape, and features of your water table, taking into account the age of the children who will be using it and the space available for installation. Consider elements such as water depth, drainage, and accessibility, as well as any interactive features you may wish to incorporate. Sketch out your design on paper or use design software to bring your vision to life, allowing room for creativity and flexibility as you refine your plans.
Method 2: Select Your Materials
With your design taking shape, turn your attention to selecting the materials that will bring it to life. Choose materials that are durable, weather-resistant, and non-toxic, ensuring the safety and longevity of your water table. Common materials include wood, plastic, and metal, each offering its unique advantages and aesthetic appeal. Consider factors such as ease of maintenance, cost, and environmental impact as you weigh your options and make your selection.
Method 3: Gather Your Tools and Supplies
Before diving into construction, gather all the tools and supplies you’ll need for the project. Depending on your design and materials, you may require a variety of tools including saws, drills, screws, and sanders. Stock up on waterproof sealant, paint, and other finishing materials to protect your water table from the elements and enhance its visual appeal. Take stock of your supplies and ensure that everything is on hand before you begin.
Method 4: Build the Frame
Once you have your materials and tools assembled, it’s time to begin construction. Start by building the frame of your water table, using sturdy lumber or prefabricated panels to create the desired shape and dimensions. Use a saw to cut the pieces to size, ensuring clean, straight edges for a professional finish. Assemble the frame using screws or nails, reinforcing the corners and joints for added stability.
Method 5: Add a Waterproof Liner
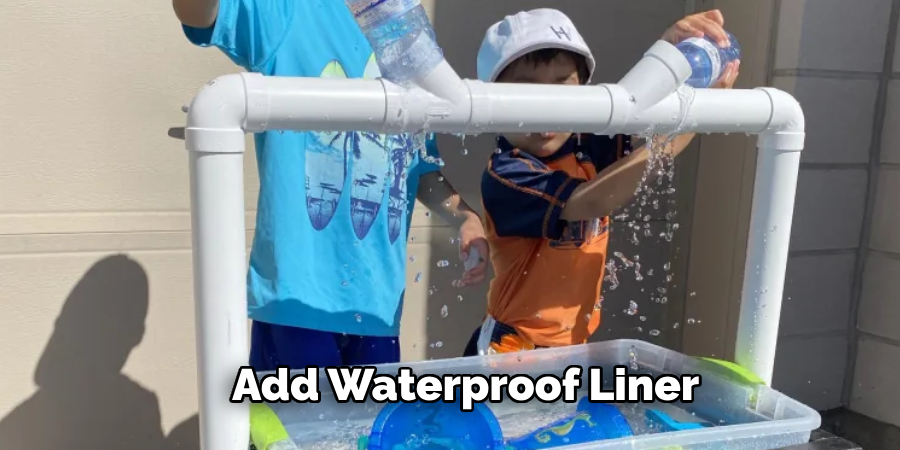
With the frame in place, it’s time to add a waterproof liner to create the basin for your water table. Choose a durable, non-toxic liner that is resistant to punctures and tears, ensuring that it will withstand the rigors of outdoor use. Carefully measure the dimensions of your frame and cut the liner to size, allowing for a slight overlap around the edges. Secure the liner to the frame using waterproof adhesive or heavy-duty staples, ensuring a watertight seal.
Method 6: Install a Drainage System
To ensure proper drainage and easy cleanup, consider installing a drainage system in your water table. This can be as simple as drilling a hole in the bottom of the basin and attaching a PVC pipe or hose to direct the water away from the play area. Alternatively, you may wish to install a plug or valve that can be opened to release the water when not in use. Whichever method you choose, be sure to test the drainage system thoroughly to ensure that it functions as intended.
Method 7: Add Interactive Features
Enhance the sensory experience of your water table by incorporating interactive features such as pumps, channels, and water wheels. Install a small submersible pump to create a continuous flow of water, or add channels and sluices to create pathways for water to flow and explore. Consider including water wheels, buckets, and cups for children to manipulate and experiment with, encouraging hands-on exploration and discovery.
Method 8: Seal and Finish
Once construction is complete, take the time to seal and finish your water table to protect it from the elements and enhance its appearance. Apply a waterproof sealant to the exterior surfaces of the frame and liner, paying special attention to the seams and joints where water may seep in. Allow the sealant to dry completely before adding any finishing touches such as paint or decorative elements.
Method 9: Test and Adjust
Before introducing your water table to eager young explorers, take the time to test its functionality and safety. Fill the basin with water and observe how it holds up under the weight and pressure. Check for any leaks or drainage issues, and make any necessary adjustments to ensure that the water table is stable and secure. Consider conducting a trial run with a small group of children to gauge their interest and engagement, making note of any areas for improvement or enhancement.
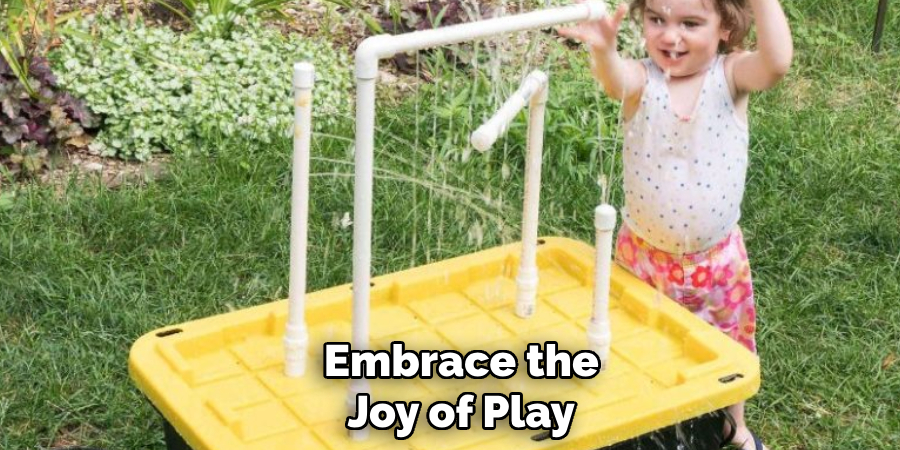
Method 10: Embrace the Joy of Play
With construction complete and any adjustments made, it’s time to introduce your water table to the world and embrace the joy of play. Watch as children immerse themselves in the sensory delights of water play, exploring, experimenting, and learning as they interact with this captivating outdoor feature. Encourage creativity and imagination as they engage with the water table, fostering a sense of wonder and discovery that will last a lifetime.
Things to Consider When Building a Water Table
Building a water table is a rewarding project that can provide endless fun and developmental benefits for children. However, there are several important considerations to keep in mind to ensure the success and safety of your water table. Here are key things to consider when embarking on this project:
Safety First
Ensure that all materials used are non-toxic and safe for children. Smooth out any rough edges or splinters to prevent injuries. Additionally, make sure that the water table is stable and cannot be easily tipped over by enthusiastic play.
Age Appropriateness
Design your water table with the intended age group in mind. For younger children, consider lower water levels and simpler features. Older children might enjoy more complex interactive elements and deeper basins.
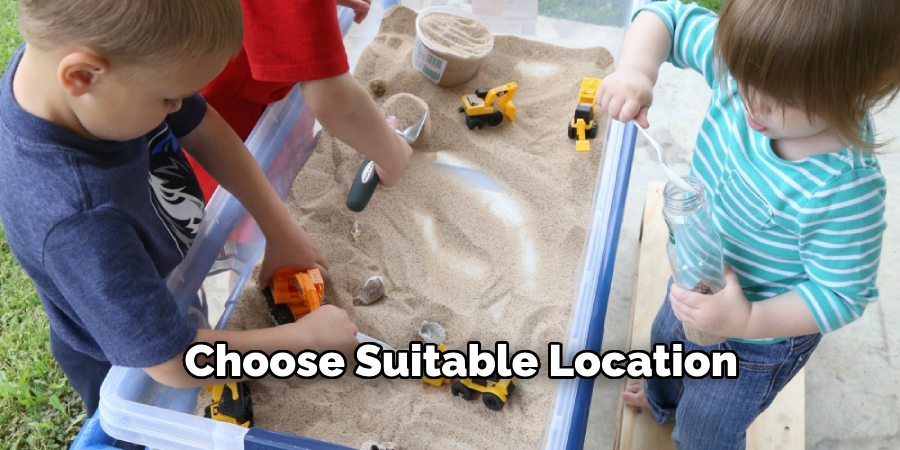
Location and Space
Choose a suitable location for your water table that is easily accessible and safe for play. Consider the amount of space required, and ensure that there is enough room for children to move around freely without obstacles. An ideal spot would be a flat, stable surface, preferably in a shaded area to protect children from excessive sun exposure.
Conclusion
Building a water table is an engaging and fulfilling project that brings vast benefits and joy to children. By carefully selecting safe materials, ensuring stability, and incorporating interactive features, you can create an engaging play environment that stimulates sensory development and imagination. Thoughtful planning regarding age appropriateness, location, and maintenance will enhance the longevity and usability of your water table, allowing for countless hours of fun and learning. Thanks for reading, and we hope this has given you some inspiration on how to make a water table!
