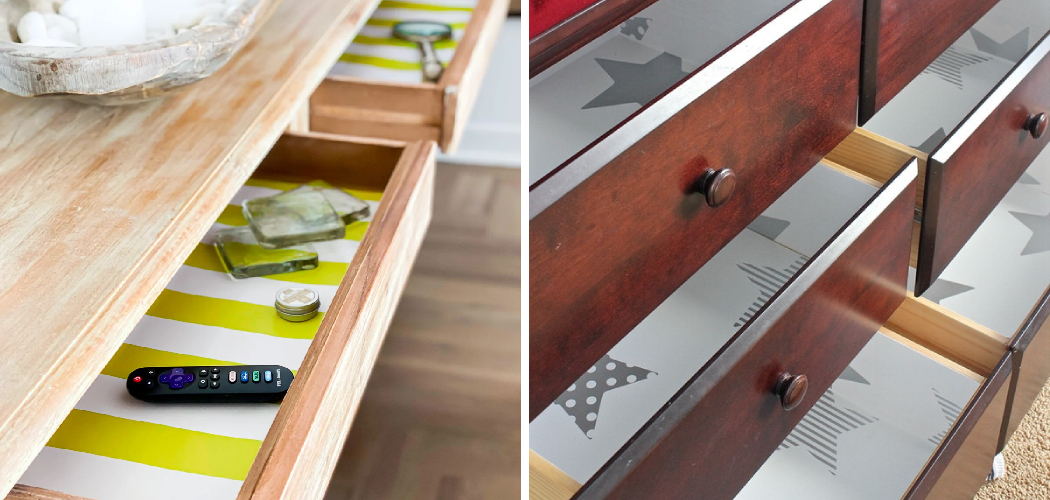
Are you tired of having messy dresser drawers? Do you struggle to find your favorite socks or tank top because they are buried under piles of clothes?
How to line dresser drawers is a simple yet effective way to protect and elevate the look of your storage spaces. Whether you’re looking to prevent damage to the drawer interiors, add a touch of personal style, or even keep your clothes fresh with scented liners, lining your drawers can achieve all of these goals.
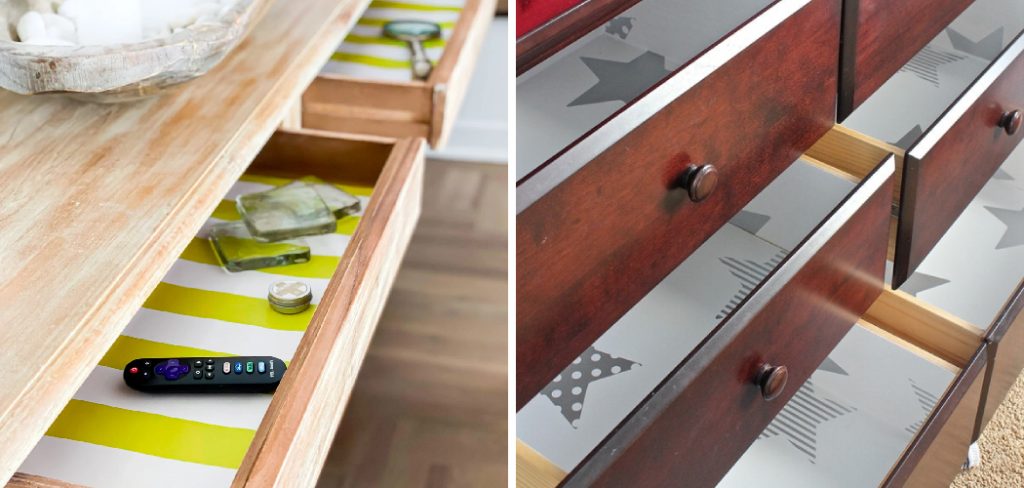
This guide will walk you through the process, providing step-by-step instructions and tips for choosing the best materials, measuring accurately, and securing the liners in place. By the end, you’ll have beautifully lined drawers that enhance your furniture’s function and aesthetic.
What Will You Need?
Before we dive into the instructions, let’s go over what materials and tools you’ll need for this project. The good news is that you probably already have most of these items at home:
- Measuring tape
- Scissors
- Adhesive (double-sided tape or spray adhesive)
- Drawer liner paper of your choice (contact paper, wrapping paper, wallpaper, etc.)
It’s important to choose a liner paper that is durable and easy to clean, as it will be in constant contact with your clothing. Depending on your personal style and the look you want for your dresser drawers, you can also get creative with the design or pattern of your paper.
10 Easy Steps on How to Line Dresser Drawers
Step 1: Measure Your Drawers
Use the measuring tape to measure the interior dimensions of each drawer that you plan to line. Be sure to measure both the length and the width at multiple points, as some drawers may not be perfectly square. Write down these measurements, as they will guide you in cutting your liner paper to the correct size. For drawers with curved or irregular shapes, consider using a piece of craft paper to create a template first, which you can then transfer onto your liner material. Accurate measurements are key to ensuring a snug fit that won’t shift around as you open and close the drawer.
Step 2: Cut the Liner Paper
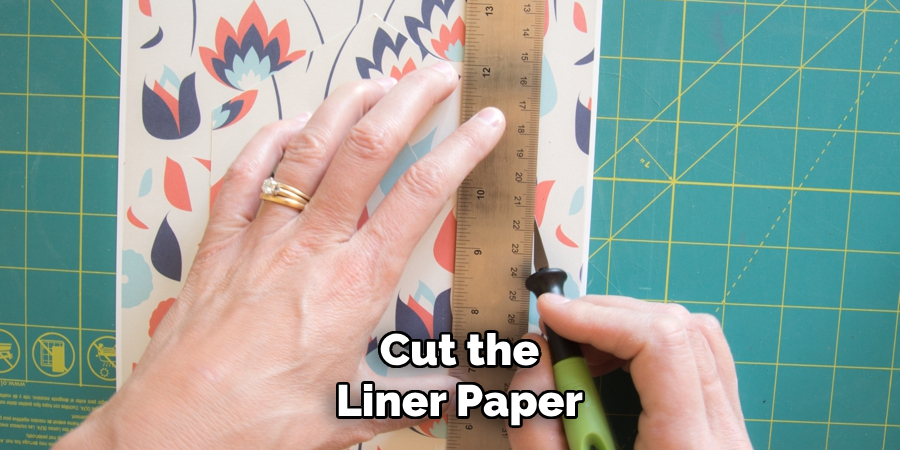
Using the measurements you took, cut your liner paper to size. Lay the liner paper on a flat surface and use a ruler or straight edge to guide your cuts, ensuring clean and precise edges. If you’re using patterned paper, take a moment to consider the alignment of the pattern within the drawer, especially if you have multiple drawers to line. This attention to detail can make a big difference in the final appearance of your drawers. Use sharp scissors or a craft knife to cut complex shapes or curves for the best results.
Step 3: Test Fit the Liner
Before securing the liner paper, place it inside the drawer to check the fit. Trim the edges to achieve the perfect fit. This step is particularly important, as it is easier to make corrections before the adhesive is applied. Ensure the liner sits flat against the base of the drawer without any bubbles, wrinkles, or gaps.
Step 4: Apply the Adhesive
Choose your adhesive based on the type of liner paper you’ve selected. Double-sided tape is a great option for non-adhesive papers like wrapping paper or wallpaper, while spray adhesive works well for larger areas and provides more even coverage. If using double-sided tape, apply strips along the edges and a few strips in the middle to secure the liner. If using spray adhesive, follow the manufacturer’s instructions for application, and be sure to work in a well-ventilated area. Hold the liner taut as you position it in the drawer to prevent any air bubbles or wrinkles.
Step 5: Secure the Liner in Place
Carefully place the liner inside the drawer, starting from one side and slowly pressing it down towards the other side to avoid trapping air underneath. Smooth out any wrinkles or bubbles as you go, using a ruler or flat tool to push out any air and ensure a smooth, even surface. Take your time with this step to achieve the best results. If you’re using adhesive and you encounter any stubborn bubbles, gently lift the liner and reapply it until smooth.
Step 6: Finishing Touches
After securing the liner, double-check all corners and edges to ensure they are firmly attached. If you notice any loose areas, press them down firmly and apply additional adhesive if necessary. For a polished look, you can trim any excess liner paper hanging over the edges of the drawer using a craft knife.
Step 7: Repeat for Other Drawers
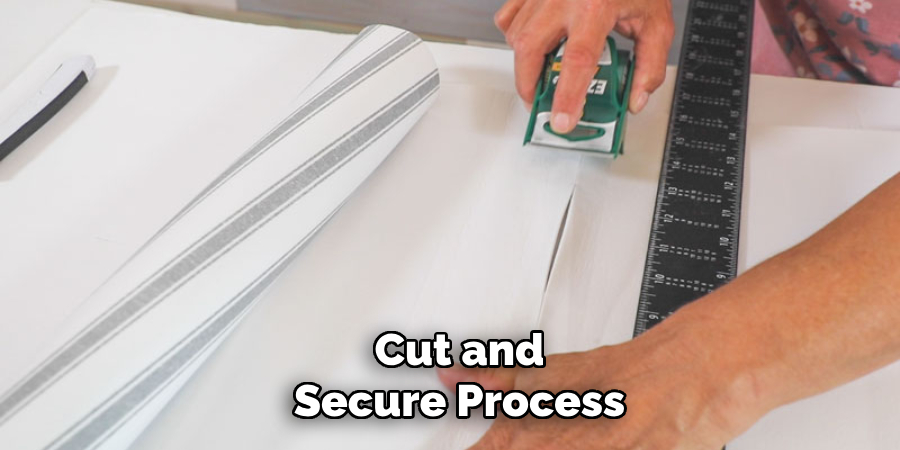
Once you’ve lined one drawer, move on to the next, repeating the measuring, cutting, and securing process. If you’re using the same liner paper for multiple drawers, you might find it helpful to cut all pieces beforehand to streamline the process. Consistency in your technique will ensure that all drawers in your dresser look uniform and well-organized.
Step 8: Let the Adhesive Set
Once all the drawers are lined, give the adhesive some time to set and bond fully to the drawer surfaces. Check the manufacturer’s instructions for recommended drying times, but generally, waiting 24 hours before placing items back in the drawers will ensure a secure hold. During this period, keep the drawers open to allow for proper ventilation and to prevent any lingering adhesive fumes from affecting your clothes. Once the adhesive has set, you can start organizing your belongings back into the drawers, enjoying the fresh, new look and the added protection the liners provide.
Step 9: Regular Maintenance
To keep your drawers looking pristine, perform regular maintenance. Periodically check the liners for any signs of wear or lifting edges, and reapply the adhesive if necessary. Clean the drawer liners with a damp cloth to remove dust or dirt, ensuring their longevity and maintaining a fresh appearance. Regular upkeep will not only preserve the aesthetic appeal but also ensure the liners continue to protect your drawers and items inside effectively.
Step 10: Enjoy Your Organized Drawers
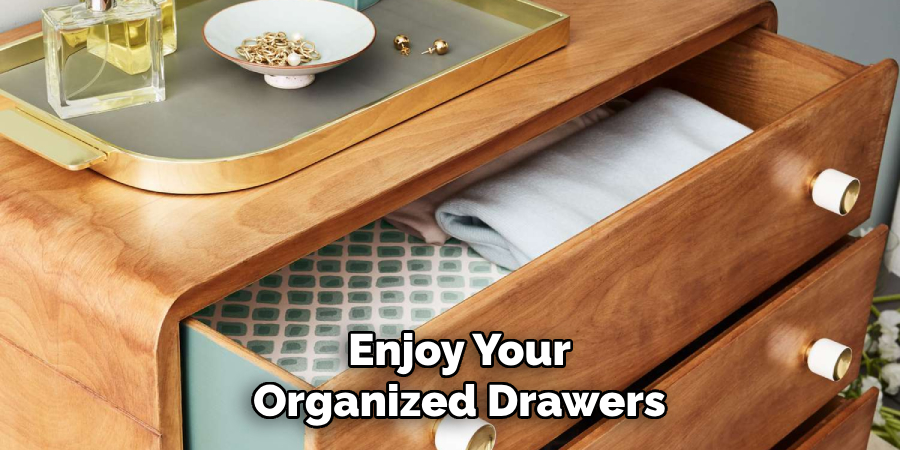
With the drawer liners securely in place, take a moment to enjoy the transformation. The addition of liner paper not only enhances the visual appeal of your dresser but also provides a protective layer for your clothing and items. Arrange your belongings neatly, making the most of the newly lined space. Categorizing items and using drawer organizers can further improve functionality and ease of access. A well-organized dresser can streamline your daily routine, making it easier to find what you need and keeping your space tidy. Enjoy the satisfaction of a project well done and the fresh, personalized touch you’ve added to your home!
By following these simple steps and taking the time to carefully measure, cut, and apply liner paper, you can elevate the look and functionality of your dresser drawers.
5 Additional Tips and Tricks
- Choose the Right Liner Material: Select a material that suits your needs—vinyl, cork, and felt are all popular options. Vinyl is easy to clean, cork provides a cushioning effect, and felt can add a touch of luxury.
- Measure Twice, Cut Once: Always measure your drawers carefully before cutting the liner material. This ensures a perfect fit and reduces waste. Use a ruler or measuring tape to get accurate dimensions.
- Use Double-Sided Tape or Adhesive: To prevent the liner from shifting, use double-sided tape or adhesive strips. This will help keep the liner in place, especially in drawers that hold frequently used items.
- Add Fragrance with Scented Liners: Consider using scented liners to keep your drawers smelling fresh. Lavender, rose, and cedar are popular choices that can add a pleasant aroma to your clothes and belongings.
- Smooth Out Air Bubbles: After placing the liner in the drawer, smooth out any air bubbles with a flat object like a ruler or a credit card. This ensures the liner lies flat and adheres properly, providing a neat and tidy finish.
5 Things You Should Avoid
- Using Old or Torn Liners: Avoid using old, torn, or damaged liners. They can look messy and may not provide the protection and enhancement you’re seeking for your drawers.
- Skipping the Measurement Step: Do not skip measuring your drawers before cutting the liner material. Cutting without accurate measurements can lead to wasted material and an ill-fitting liner.
- Ignoring the Adhesive: Failing to secure the liner with adhesive can result in it shifting around every time you open or close the drawer. Make sure to use double-sided tape or another form of adhesive to keep it in place.
- Overlooking the Cleaning Process: Never place liners on dirty or dusty drawers. Clean the drawer thoroughly beforehand to ensure that the liner adheres properly and stays in place.
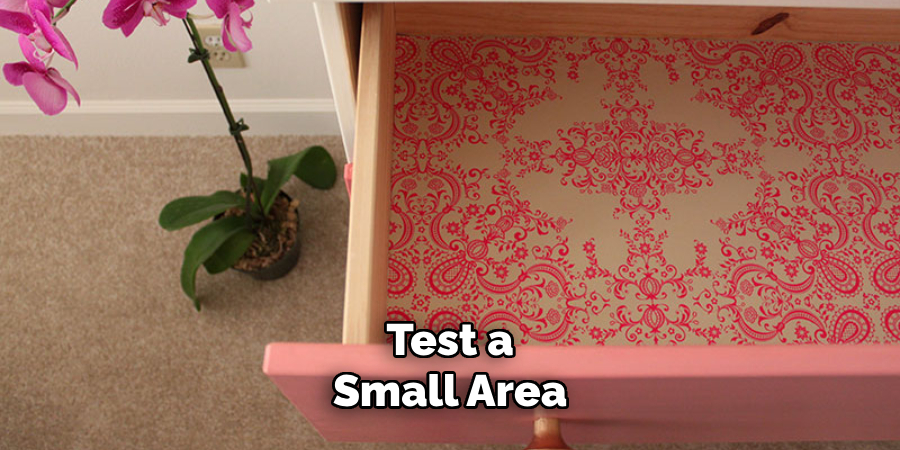
- Neglecting to Check for Compatibility: Be cautious about the liner material you choose; some materials might react negatively with certain drawer finishes or your belongings. Test a small area first to ensure the liner won’t cause damage.
Conclusion
How to line dresser drawers is a simple yet effective way to protect and beautify the interiors.
By selecting the right liner material, meticulously measuring and cutting to fit, and using adhesives to keep everything in place, you can enhance the longevity and appearance of your furniture. Additionally, incorporating scented liners can add a pleasant fragrance while smoothing out air bubbles to ensure a crisp, clean finish. Conversely, avoiding common pitfalls such as using damaged liners or skipping crucial preparation steps will ensure a more successful and satisfying experience.
With these tips and tricks, your dresser drawers can become not only functional but also a delight to use every day.
