Is your floor sagging or uneven? Jacking up the floor from the crawl space can be an effective solution to restore stability and level to your home’s flooring. Whether caused by structural issues, settling, or other factors, a sagging floor not only affects the aesthetic appeal of your space but also poses potential safety risks.

In this article, we will guide you through the process of jacking up the floor from the crawl space, providing step-by-step instructions and helpful tips on how to jack up floor from crawl space.
From preparing the area and assessing the structural integrity to selecting the right jacks and executing the lifting process, we will cover all the essential aspects to ensure a successful floor leveling project. So, roll up your sleeves and get ready to restore your floor’s stability and regain peace of mind in your home.
Importance of Maintaining a Level and Stable Floor
Maintaining a level and stable floor is crucial for the safety, comfort and usability of any home. Uneven floors can create dangerous tripping hazards, cause furniture to rock or wobble and give a sense of discomfort when walking on them.
If you have noticed that your floor is sloped or uneven in some areas it is important to get these issues taken care of as soon as possible in order to maintain the structural integrity and overall safety of your home. Jacking up a floor from crawl space is one method of restoring even support so that you can ensure level ground for years to come.
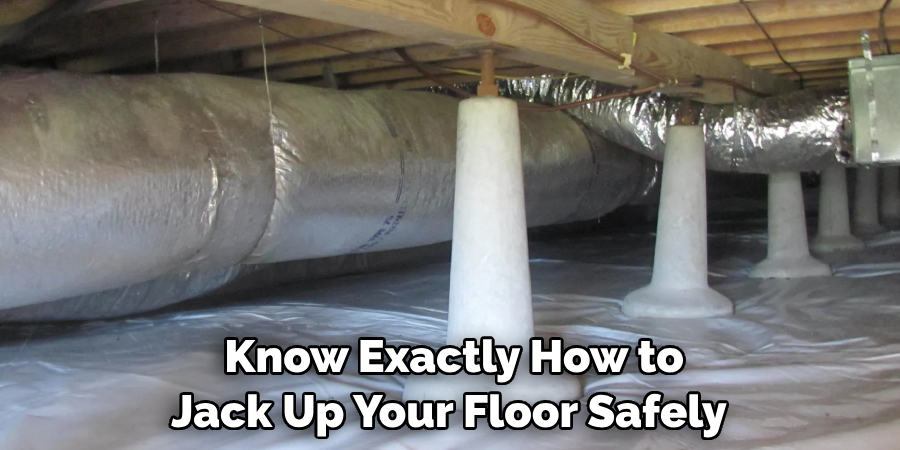
To do this correctly, follow the steps outlined in this article to access proper equipment and know exactly how to jack up your floor safely and efficiently. With the right preparation, you can easily restore your floor to a level surface and enjoy it worry-free.
Before jacking up your floor from crawl space, there are a few steps that should be taken in order to ensure safety and accuracy. Begin by measuring the amount of slope present within the room or area being addressed so that you can determine how much needs to be lifted and adjusted. Once measurements have been taken, locate appropriate jacks for the job – heavy duty car jacks work well for this purpose – as well as other necessary items such as wood blocks, wedges, etc.
Overview of the Jacking Process from the Crawl Space
Jacking up a floor from the crawl space is not an easy task, but with careful planning and preparation it can be done safely. It involves jacking up the joists that support the floor in order to raise it enough that you can level out any dips or sags.
The first step is to determine which areas of your floor need to be raised. You can do this by using a level placed on the floor. Measure the height of each joist at several points throughout the room, and mark any excessively low joists. Once this is done, you’ll have an idea of how much needs to be jacked up and where.
Next, you must prepare for jacking up your flooring system. This includes obtaining the right jacks and other materials. There are many types of jacks available, so make sure you choose one that is strong enough to lift the weight of your flooring system. You may also need additional materials such as wooden shims or steel plates for support.
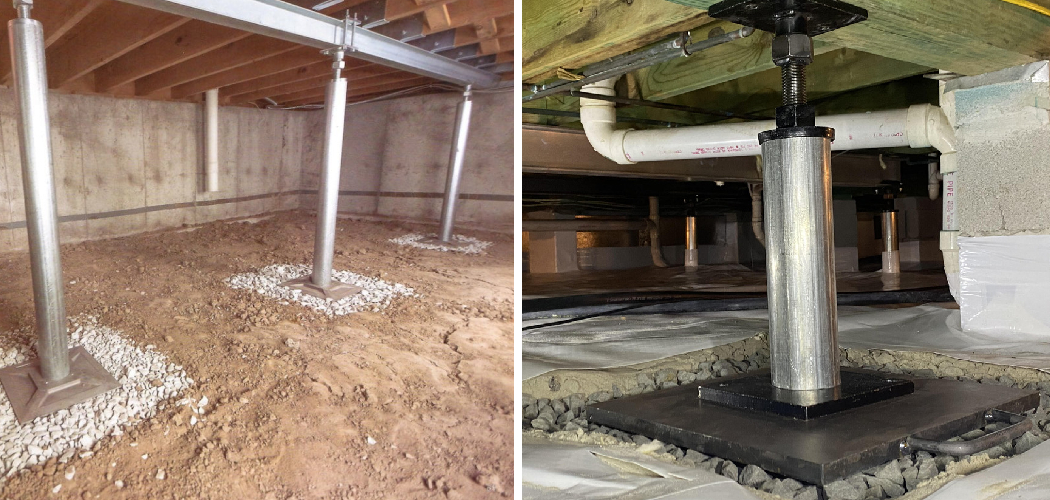
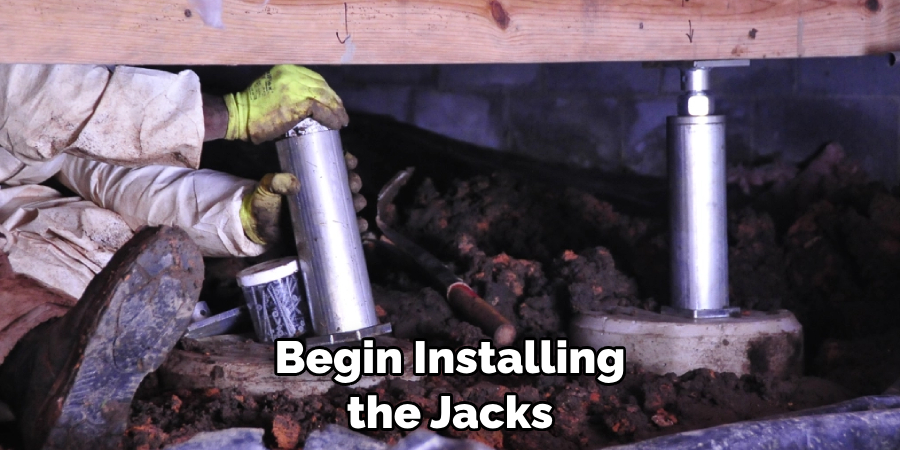
Once you have all of your supplies on hand, it’s time to begin installing the jacks. Place them at least two feet away from each joist in order to distribute the load evenly across the entire flooring system. Screw jack posts into the ground and attach them to each joist if necessary. The next step is to slowly increase pressure on each jack until you start seeing results — raising your floor just a few millimeters at a time.
10 Methods How to Jack up Floor from Crawl Space
1. Assessing the Situation:
Before attempting to jack up the floor, it’s crucial to assess the condition of the crawl space and identify the cause of the sagging. Inspect for signs of structural damage, foundation settling, or moisture-related issues that may require additional attention. If the cause of the sagging appears to be a structural issue, it’s best to contact a professional for assistance. While jacking up the floor may temporarily restore the level of the crawl space, it won’t address underlying issues.
2. Safety Precautions:
Prioritize safety by wearing protective gear, ensuring proper ventilation, and working with a partner. Clear the area of any debris or obstructions that may hinder the jacking process. Place heavy-duty jacks on a solid support, such as a concrete block, to ensure stability.
Securely place jack stands under each joist before raising the floor. Never use a jack without support, as it can cause serious injury or damage to your home. However, if you must do so, use a shim to evenly distribute the weight.
3. Identifying Support Points:
Determine the areas where additional support is needed beneath the floor. These support points can be existing beams, columns, or load-bearing walls that require reinforcement. Inspect the entire crawl space to ensure that all support points are secure and in good condition.
Make sure to also measure the height of each support point so that you can accurately calculate how much jacking up needs to be done. To ensure stability, you may need to add additional support points, such as brackets or metal posts. However, these should only be used as a last resort.
4. Selecting the Right Jacks:
Choose appropriate jacks based on the type and weight of the load you’re lifting. Common options include hydraulic bottle jacks, screw jacks, and adjustable steel support columns. Consult with a structural engineer if necessary.

Make sure the jacks are firmly secured to sturdy, immovable base points. Although you can use blocks to get the desired height, jacks are preferred since they’ll provide greater stability and an even lift. Try to get jacks with a minimum of 4-6 ton capacity for optimal safety.
5. Placing Temporary Supports:
Before lifting the floor, install temporary supports using adjustable posts or columns. These supports will bear the weight of the floor while you work on the jacking process. To keep the posts in place, use jacks or cables to secure them.
Make sure the temporary supports provide adequate support for all joists and beams. While adjusting the jacks, lift a few boards at a time to achieve an even, stable platform. It is important to be mindful of how quickly you are raising the floor; too much pressure can cause damage.
6. Lift Gradually:
Start lifting the floor gradually and incrementally to avoid sudden shifts or excessive stress. Utilize multiple jacks and distribute the load evenly to maintain balance and stability. If you can, use a come-along or winch to help stabilize the jacks. Make sure that each jack is level and in line with the others. Otherwise, you risk having some of them bear more weight than others and create potential for imbalance or collapse.
7. Adjusting and Leveling:
As you lift the floor, make adjustments to ensure it remains level. Use a level to monitor the progress and make necessary tweaks to achieve the desired level. Once the floor is at the desired height, you can add additional jacks in between to ensure it is even. The use of a level will help you determine the amount of adjustment needed.
8. Reinforcing Subfloor:
Once the floor is leveled, reinforce the subfloor to enhance its stability. This may involve adding additional joists, sistering existing joists, or installing support beams as recommended by a structural engineer. Where necessary, also add additional floor sheathing. Make sure you use screws instead of nails to secure all joists and beams. Take your time during this step; any mistakes you make could result in a weaker, less stable floor.

9. Securing the Supports:
Once the floor is properly jacked up and leveled, secure the temporary supports in place. This can be done by tightening the jacks or utilizing brackets, fasteners, or straps to hold the supports securely.
10. Professional Consultation:
If you’re unsure about the jacking process or if the floor sagging is severe, it’s advisable to seek professional assistance. Structural engineers or foundation repair specialists can evaluate the situation, provide expert guidance, and ensure the floor is properly jacked up to prevent future issues.
Conclusion
In conclusion, tackling the task of jacking up a floor from a crawl space may seem intimidating at first. But, with the right tools and knowledge, this job can be completed with ease. Before starting, make sure to account for any potential obstructions in the way of your project. Factors such as pipes and cables should always be taken into consideration.
Make sure to adequately prepare by gathering your tools and measuring out your placement for the jack stands prior to lifting the floor. Utilizing safety protocols while jacking up a floor is essential. Most important, take safety precautions and regularly check your progress during this task – after all it’s better to do the job twice than never do it again!
Now that you know how to Jack up Floor from Crawl Space, try it yourself today and feel good about completing such a big DIY job!