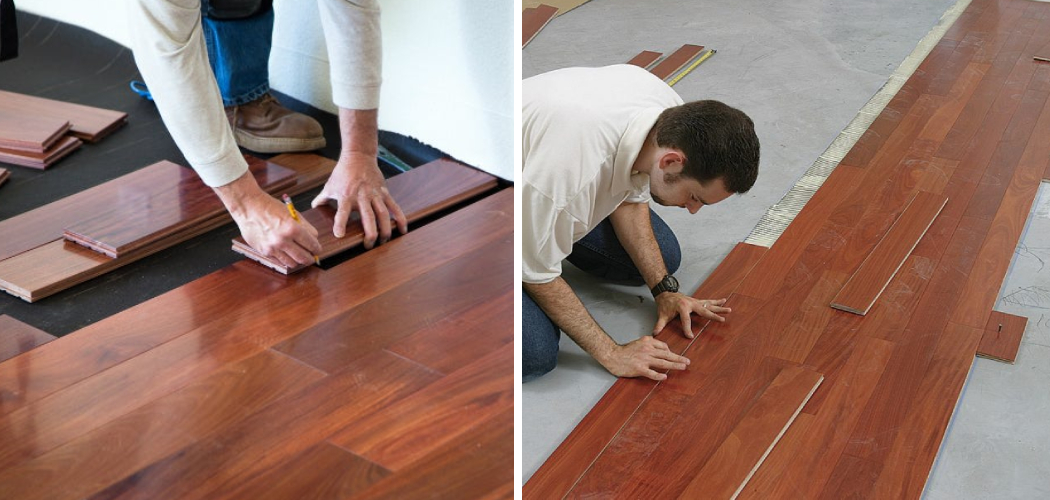
Are you looking for an upgrade to your concrete basement floor that is easier to install and more aesthetically pleasing than basic tile? Tongue and groove flooring may be the answer. Unlike traditional tiling, tongue, and groove installation does not require grout or messy adhesives. Plus, it has a sleek finish which adds both character and function to any space!
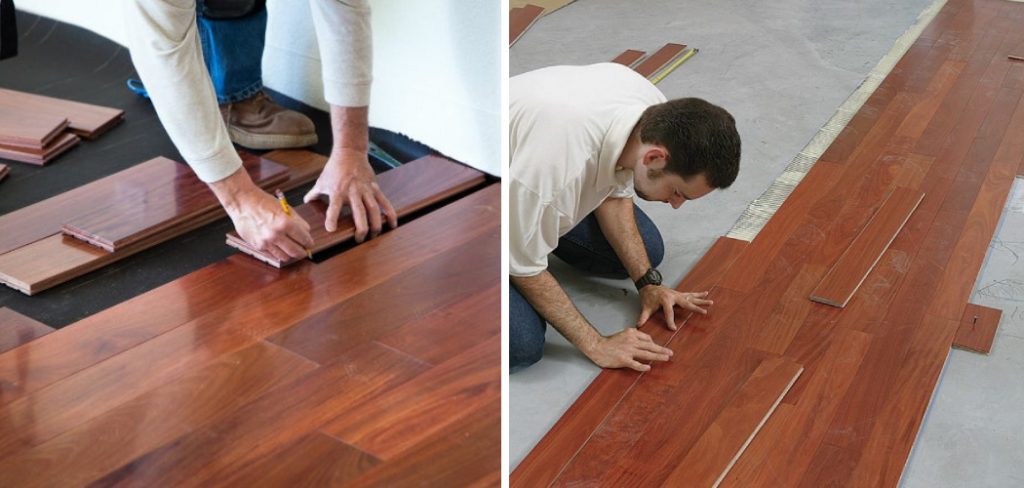
In this blog post, we’ll go over the step-by-step instructions for how to install tongue and groove flooring on concrete so you can gain all of its aesthetic benefits without having to spend too much time or effort doing it yourself.
Tools and Materials You Will Need to Install Tongue and Groove Flooring on Concrete
- Hammer
- Tape Measure
- Chalk Line
- Carpet Knife
- Tongue and Groove Flooring Planks
- Adhesive or Nails (optional)
- Silicone caulk (optional)
- Putty knife (optional)
- Rubber mallet (optional)
Step by Step Guidelines on How to Install Tongue and Groove Flooring on Concrete
Step 1: Measure the Space and Mark It Out with a Chalk Line
Before you can begin installing your tongue and groove flooring, you’ll need to measure the space accurately. Use a tape measure to get precise measurements of the area where your planks will go. Once you have those measurements, draw a chalk line at each measurement point to clearly mark the perimeter of the room. Measuring and marking the space correctly is important to ensuring that your planks fit together snugly.
Step 2: Prepare the Concrete Surface for Installation
Once you’ve marked out the area with a chalk line, it’s time to prepare the concrete surface. In order for your tongue and groove flooring to adhere properly, you need to make sure that the surface is completely clean and free of any dirt, dust, or debris.
Use a broom to sweep away any loose particles and then use a vacuum cleaner to clear out any stubborn dirt. While preparing the concrete surface, also be sure to check for any cracks or uneven spots in the foundation and patch them up with putty before you begin installing your planks.

Step 3: Begin Installing Your Planks
Now that your concrete foundation is ready, it’s time to start installing your tongue and groove flooring. Start by laying down one plank in the corner of the room and use a hammer to tap it into place. Then, line up the next plank with the tongue side facing down and slide it in place against the first plank. Use a rubber mallet to gently tap each plank into place and ensure that they are properly aligned. Continue this process until all of your planks are firmly in place.
Step 4: Secure the Flooring with Adhesive or Nails (Optional)
Depending on the type of flooring you are using, you may want to secure it further by adding adhesive or nails. If your planks do not have pre-drilled holes for nails, use a carpet knife to make holes along each side of the plank before securing them with nails. If you choose to use adhesive, apply it along the edges of the planks and press them firmly into place.
Step 5: Seal the Perimeter With Caulk (Optional)
Finally, if desired, seal the perimeter of your flooring by applying a line of silicone caulk around each side. This will provide extra protection against water damage and keep your tongue and groove flooring looking its best for years to come. Sealing the perimeter is especially important if you plan to install flooring over a concrete slab.
And that’s it! You have successfully installed tongue and groove flooring on concrete. With these simple steps, you can enjoy a stylish upgrade without breaking the bank or spending too much time on the project. For more DIY home improvement projects, check out the rest of our blog!
Additional Tips and Tricks to Install Tongue and Groove Flooring on Concrete
- Measure the space carefully before beginning installation to ensure that you have enough tongue and groove flooring to cover the entire area.
- As concrete is a porous surface, it may be beneficial to seal the concrete prior to installation in order to protect your new floor from moisture damage caused by vapor transmission or condensation.
- Install expansion strips around the perimeter of the room to allow for expansion or contraction caused by changes in humidity and temperature.
- Carefully read all manufacturer instructions prior to installation, as manufacturers may have specific requirements based on the material being used.
- It is best to start the installation from the center of a room and work outward towards the walls since this method will help minimize cutting and trimming.
- Use an adhesive specifically designed for tongue and groove flooring on concrete to adhere the planks in place. Carefully follow manufacturer instructions regarding the application of the adhesive and allow proper drying times between each step.
- Install any quarter-round or baseboard moldings before installation is complete to ensure a neat finish.
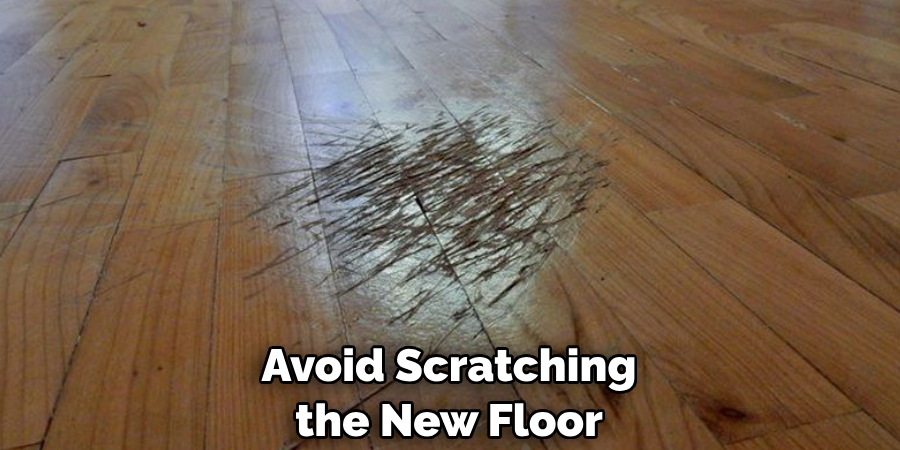
- To avoid scratching the new floor, always use felt or rubber protectors with furniture and large appliances.
- Once installation is complete, it is a good idea to seal the flooring in order to keep dirt and moisture out of the joints between boards and prevent water damage from spills.
Following these tips and tricks can help create a beautiful and long-lasting tongue and groove flooring installation on concrete. With the right tools, materials, and preparation, anyone can successfully install new tongue and groove flooring on concrete.
Things You Should Consider to Install Tongue and Groove Flooring on Concrete
- Make sure the concrete slab is completely dry and level. It’s essential to ensure that the flooring installation will last in the long run by allowing for proper adhesion of the adhesive.
- Check moisture levels to make sure they are within an acceptable range, with a maximum of 5 lbs/1000 sq ft/24 hours for good performance.
- Make sure to purchase the right type of tongue and groove flooring for your particular project, as there are various types of flooring available on the market.
- Before you install the flooring, make sure that you prime or seal the concrete slab with a moisture barrier to protect it from damage.
- Lay out all of the tongue and groove flooring planks in the room before beginning to install them. This will help you determine how much material you need, as well as give you a good idea of what the end result will look like.
- Make sure to leave an expansion gap between the perimeter of the flooring and the wall to account for any natural movement or shifting that may occur due to seasonal changes.
- Apply the adhesive as recommended by the manufacturer and spread it out evenly using a trowel for best results.
- Start laying the planks along one wall of the room, making sure to firmly press them down into the adhesive and use a tapping block to ensure that they are tightly connected.
- 9. Once all of the planks have been installed, use a moisture meter to check for any dampness in the flooring.
- 10. Finally, ensure that you clean up any excess adhesive and inspect the flooring before walking on it to make sure that it has been properly installed and secured.

By following these considerations, you can be confident that your tongue and groove flooring installation on concrete will last for years to come.
Frequently Asked Questions
Do I Need to Use a Moisture Barrier When Installing Tongue and Groove Flooring on Concrete?
Yes, you should always use a vapor barrier between the subfloor and the new flooring. This will help protect your new floor from water damage and mold growth. You should also take care to seal any cracks or gaps in the concrete.
Do I Need To Seal My Tongue and Groove Flooring After Installing?
Yes, it is important to seal your tongue and groove flooring after installation. This will help provide protection against water damage and dirt buildup. Make sure you use a sealant that is appropriate for the type of material that you are using.
How Do I Ensure a Good Fit for My Tongue and Groove Flooring?
Before installation, make sure that all of your tongue and groove floorboards are the same size. You should also check to ensure that there aren’t any gaps or cracks between them. Once installed, you can use a tapping block and hammer to ensure good contact between each board.
How Do I Care for My Tongue and Groove Flooring?
It is important to properly maintain your tongue and groove flooring. You should sweep or vacuum the floor on a regular basis to remove any dirt or debris. You should also damp-mop the floor occasionally, using a mild soap solution. Be sure to use a cleaner that is designed specifically for the type of material you are using. Additionally, make sure to seal your floor on a regular basis. This will help protect it from water damage and keep it looking its best.

Conclusion
Installing tongue and groove flooring over a concrete surface is a great way to update the look of any room. With the right tools, a few simple steps, and some patience, you will have an eye-catching wooden floor in no time. Remember to always wear protective gear and work in a well-ventilated area, especially when working with adhesives.
If there are any other tricky bits that present themselves during this process, remember to practice careful consideration before taking action. With these tips in mind, you should be able to successfully complete your tongue and groove floor installation project without any problems.
Now that you know how to install tongue and groove flooring on concrete, why not take a look at our article on how to remove a stopper from a bathroom sink? You’ll be surprised at how simple removing the stopper can be when equipped with the correct knowledge and accessories!
