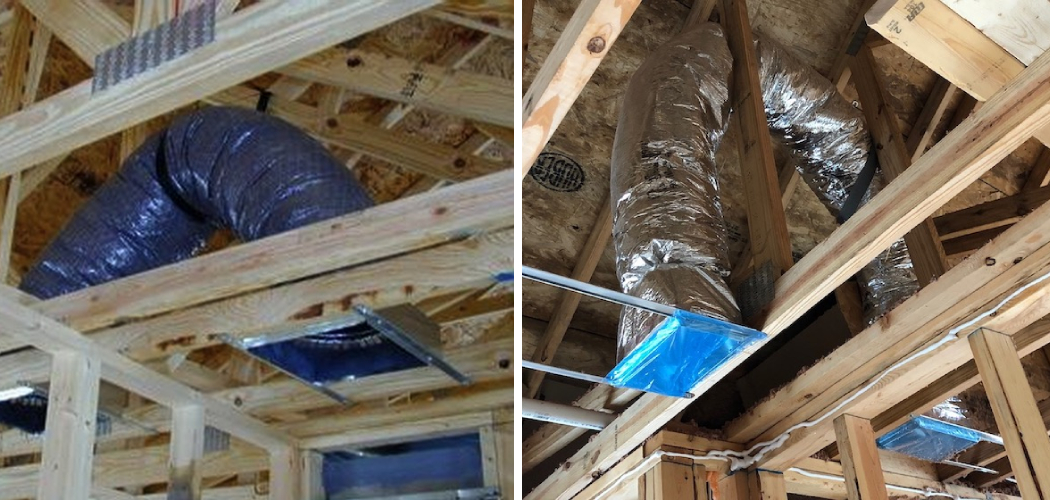
Are you looking to install jumper ducts in your bedroom? If so, you’ve come to the right place. Installing jumper ducts in bedrooms can be daunting for those unfamiliar with the process, but don’t worry! We’ll show you how to install jumper ducts in bedrooms.
Ceiling fans can help keep bedrooms cool and comfortable during warm weather. If you’re looking for a more stylish way to get effective airflow throughout your home, then jumper ducts may be the perfect solution. Installing these versatile, flexible ducts in your bedroom is simple and adds a unique decorative accent to any room.

In this blog post, we’ll provide all the information you need so that you can install jumpers easily yourself while getting creative with them – from incorporating them into furniture pieces or using them for creative storage concepts.
What Will You Need?
Before you start installing jumper ducts, make sure that you have the following items:
- Jumper ducts
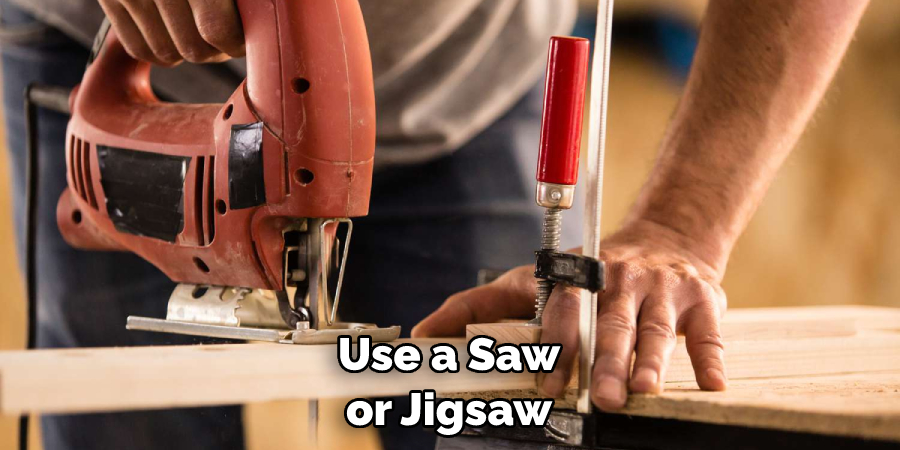
- Saw or jigsaw
- Screwdriver and screws
- Tape measure
- Pencil or marker
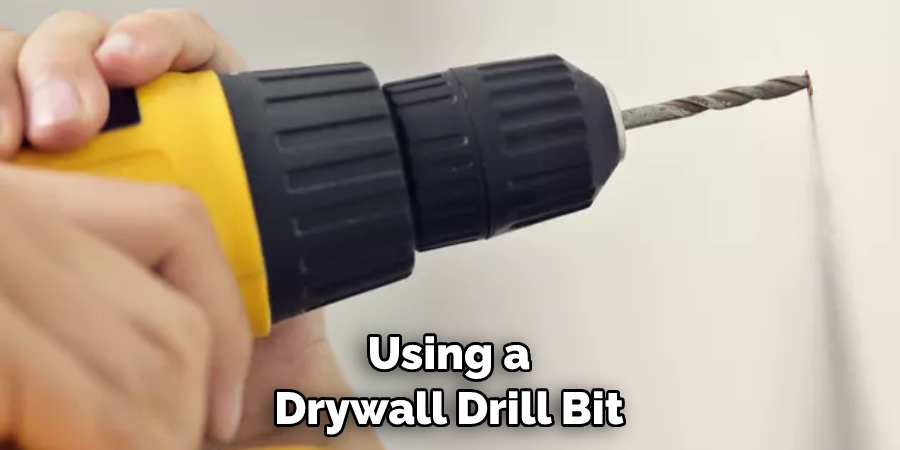
- Drywall drill bit
Once you have all the necessary materials, it’s time to get started.
10 Easy Steps on How to Install Jumper Ducts in Bedrooms
Step 1: Measure and Mark the Wall
First, measure the area where you want to install your jumper duct and mark it with a pencil or marker. You can also measure and cut the jumper ducts to size at this time. If you’re installing multiple jumper ducts, make sure they are all the same size.
Step 2: Cut Out the Wall
Next, use a saw or jigsaw to cut out the wall in order to create an opening for the ducts. Make sure that the opening is large enough for your jumper ducts. Always wear eye and ear protection when using power tools as a safety precaution.
Step 3: Install Brackets
Attach brackets near each end of the opening using screws and a screwdriver. These will help support the jumper ducts’ weight when installed. Don’t worry if the brackets don’t fit perfectly; you can make minor adjustments with a drill or saw.
Step 4: Insert Jumper Ducts
Insert one end of the jumper duct into one of the brackets and secure it with screws. Repeat this process on both ends of the jumper duct. Be careful not to over-tighten the screws, as this may cause damage to the jumper duct.
Step 5: Secure the Ducts with Straps
Use straps to secure the jumper ducts in place. Ensure that the straps are tight enough so they won’t come undone easily. Otherwise, your jumper ducts will sag and cause a gap between the wall and ceiling.
Step 6: Add Insulation
Add insulation around the jumper ducts to help reduce heat loss. This step is optional but recommended. Moreover, it is necessary for cold weather.
Step 7: Drill Holes for the Ducts
Using a drywall drill bit, drill two holes on either side of the opening to make it easier to insert the ducts. As with the brackets, make sure that the holes are large enough for your jumper ducts. It is important because the hole needs to be big enough for the ducts to fit properly.
Step 8: Install the Ducts
Carefully insert the jumper ducts through the holes and into their brackets. Make sure that they are secured tightly by checking that all screws are in place. Don’t forget to check for any gaps between the wall and the ceiling.
Step 9: Seal Around the Opening
Seal around the opening with foam or sealant to ensure no air leaks out of your ducts. If you are using a foam sealant, make sure that it is approved for use with HVAC systems. Try to apply a thin, even layer of sealant.
Step 10: Test It Out
Once everything is in place, turn on your fan and test it out! Make sure that there are no loud noises from your fan or air leaks from your ducts. Remember, if you hear any strange noises or feel air coming out, then it is time to go back and check your work.
By following these easy instructions, you will be able to install jumper ducts in bedrooms quickly and easily. With creative solutions like this, you can make your bedroom look stylish while staying cool at the same time. So why not give it a try? You may be surprised by how much of a difference it makes in your home.
5 Additional Tips and Tricks
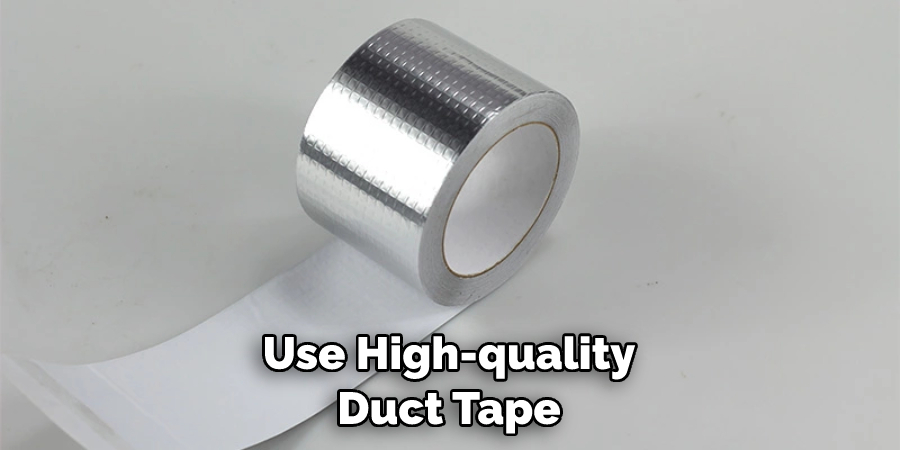
1. Make sure that the ductwork is properly sealed to prevent air leakage. Use high-quality duct tape and mastic sealant for best results.
2. Measure twice, cut once: Before cutting any holes in walls or ceilings, be sure to check measurements against duct size double to ensure proper fit.
3. Install insulation around the jumper ducts to avoid condensation caused by temperature changes along the length of the run.
4. Use a bollard or support beam when necessary to secure sections of ducting that need extra stability due to their length or weight.
5. Add an access panel after installation so you can easily inspect and maintain your system without having to remove the entire jumper duct system from its place in your home’s walls or ceilings. Doing so will allow you to keep your home’s appearance unspoiled while still being able to inspect the ducts on a regular basis.
Installing jumper ducts in bedrooms is an easy and cost-effective way to improve air circulation throughout your home! Follow these tips for a successful installation and enjoy the benefits of improved air quality for years to come.
5 Things You Should Avoid
1. Don’t over-tighten the screws or bolts when installing the ductwork. Doing so can damage the ducts and lead to air leaks.
2. Avoid using sheet metal screws, as these will corrode over time and are prone to coming loose.
3. Don’t install jumper ducts in areas where there is a high likelihood of moisture buildups, such as bathrooms or near water heaters.
4. If you’re having trouble keeping your jumpers level, don’t just hammer them into place; this may cause the joints to become loose and allow for air leakage! Instead, use self-closing drywall anchors that won’t damage your walls or ceilings.
5. Never skip testing for air tightness after installation; take a few minutes to ensure that all joints are sealed properly before turning on the system.
With these tips and tricks in mind, you can be sure to successfully install jumper ducts in your bedrooms and enjoy improved air circulation without any hassle.
Follow these guidelines for a successful installation and enjoy the benefits of improved air quality for years to come.
Where Should a Vent Be Placed in a Bedroom?
When installing a jumper duct in a bedroom, it is important to ensure that the vent is placed in the ideal location. To maximize air circulation, you should aim to place vents near windows or doors and away from furniture or other obstructions.
Additionally, ensure that there are no tight turns between the outlet and the vent not to limit airflow. Finally, avoid placing vents high up on walls or ceilings; this can cause uneven temperatures throughout your bedroom due to increased heat rise.
By following these guidelines when installing jumper ducts in bedrooms, you can be sure of a successful installation and enjoy improved air quality for years to come!
Is Ducting Better Than AC?
The answer to this question depends on the size and layout of your home. If you have a smaller space, ducting may be more cost-effective than installing an AC unit. Ducted systems provide better air circulation and can help evenly distribute cool or warm air throughout the entire house if properly installed.
On the other hand, AC units are generally more efficient in larger homes due to their ability to provide targeted cooling or heating in specific areas. Additionally, they tend to be quieter than ducted systems and require less maintenance. Ultimately, it is up to you to decide which system will best suit your needs and budget!
No matter what system you choose for your home, it is important that you have a professional install your ducting or AC to ensure proper installation. Properly installed systems will provide efficient air circulation and maximum comfort for years to come!
Conclusion
Installing jumper ducts in bedrooms is a cost-effective and simple way to ensure healthy indoor air quality. Whether you lay the jumper duct on the breast board or run it through an open plank, picking a fastening method that fits your needs will ensure this will remain firmly secured in place.
By following these easy instructions and tips for installing jumper ducts, you can be sure your bedroom will stay fresh and comfortable during this hot summer weather. Of course, if these instructions are too much, you always have the option to hire a professional who can come in and do all the work for you.
So why waste time worrying? Go ahead and take the opportunity to install jumper ducts yourself-you won’t regret it! And when you’re finished, why not make something unique and crafty out of the material from the jumper ducts? There are so many ways how to install jumper ducts in bedrooms; there’s no better time than now to start crafting!