Installing a plywood subfloor is an essential step in any flooring project. Whether you are installing hardwood, laminate, or tile flooring, having a sturdy and level subfloor is crucial to ensure the durability and longevity of your floors. In this section, we will discuss why it is important to know to install a plywood subfloor.
The main advantage of installing a plywood subfloor is its ability to provide a stable and even base for your flooring. It helps to distribute the weight evenly, preventing any sagging or unevenness in the floors. This not only makes walking on the floors more comfortable but also prevents any potential damage to the flooring. You can find step-by-step instructions on how to install a plywood subfloor in this blog article.
Step-by-step Instructions for How to Install a Plywood Subfloor
Step 1: Inspect the Current Subfloor
Before installing a plywood subfloor, it is important to inspect the current subfloor for any damages or potential issues. Make sure the surface is clean and free of debris before beginning any installation.
Step 2: Gather Materials
To install a plywood subfloor, you will need the following materials:
- Plywood sheets (3/4 inch thickness)
- Construction adhesive
- Measuring tape
- Circular saw or table saw
- Drill with screws
- Straight edge
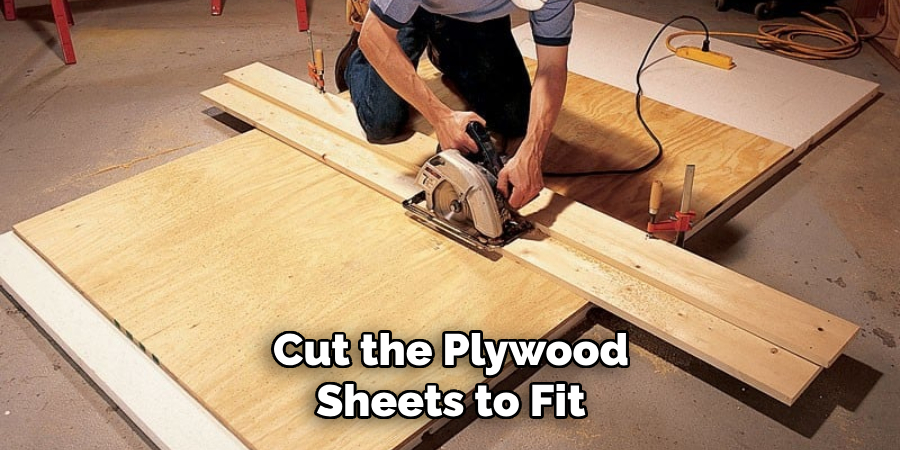
Step 3: Measure the Room
Measure the room to determine how many plywood sheets you will need. Remember to account for any areas that may require additional cuts. Using a circular saw or table saw, cut the plywood sheets to fit the dimensions of the room. Use a straight edge as a guide for accurate cuts.
Step 4: Apply Construction Adhesive
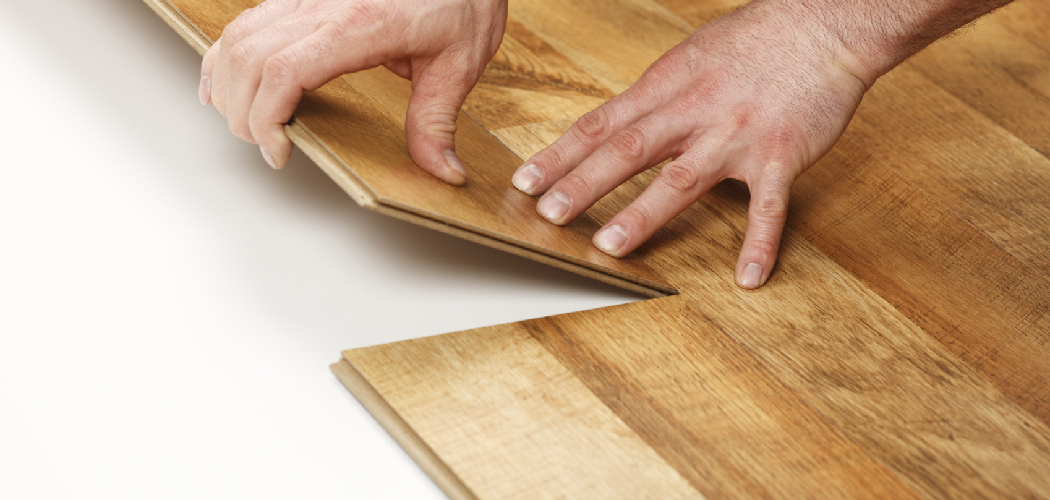
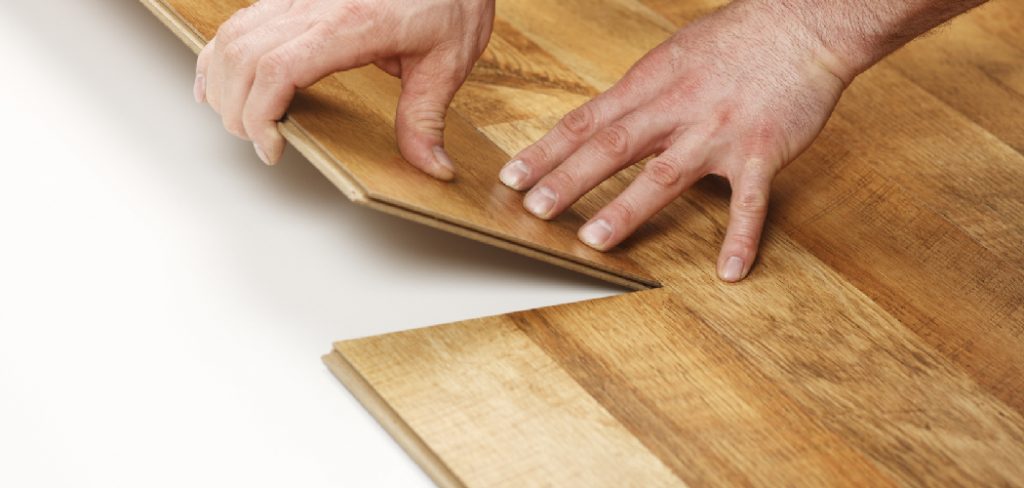
Apply construction adhesive to the back of each plywood sheet before placing it on the subfloor. This will help secure the sheets in place and prevent any squeaking or movement. Start in one corner of the room and lay the first plywood sheet. Use a drill to secure the sheet in place with screws.
Step 5: Continue Laying Plywood Sheets
Continue laying plywood sheets, making sure to stagger the seams for added stability. Secure each sheet with construction adhesive and screws. For any areas that require cuts around obstacles such as pipes or vents, measure and mark the plywood sheet before cutting with a jigsaw.
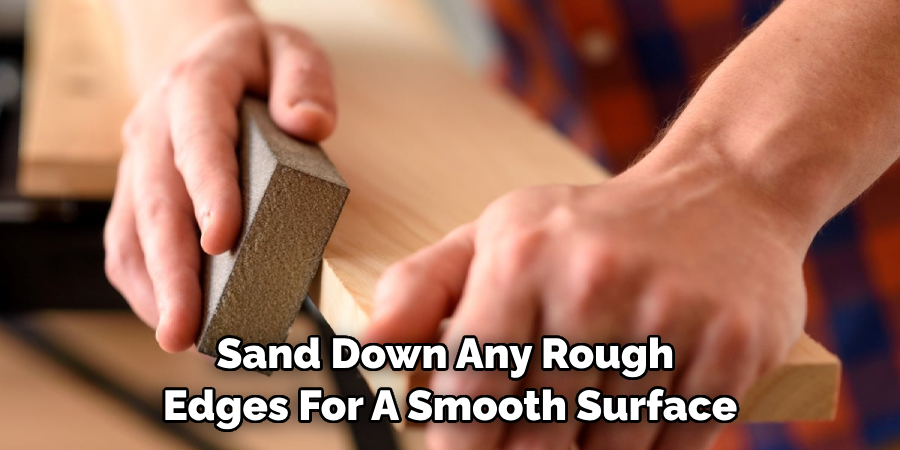
Step 6: Sand Edges
Once all the plywood sheets are installed, sand down any rough edges for a smooth surface. Allow the construction adhesive to dry completely before installing any flooring on top of the plywood subfloor. This will ensure a strong and stable foundation for your flooring.
Tips for How to Install a Plywood Subfloor
- Before starting the installation process, make sure to read manufacturer’s instructions and guidelines for safety precautions.
- Use proper personal protective equipment (PPE) such as safety glasses, gloves, and work boots to avoid any injuries while handling the materials.
- Ensure that all tools are in good condition before use and always follow safe handling practices.
- Check the subfloor to make sure it is clean, dry and level before installing the plywood. Any debris or uneven surfaces can affect the installation process.
- If working in a confined space, make sure there is proper ventilation to avoid inhaling harmful fumes from adhesives or solvents.
- Take frequent breaks and stay hydrated while working on the installation to prevent fatigue and accidents.
- Keep the work area well-lit and free of clutter to reduce the risk of tripping or falling while handling heavy materials.
How Do You Prepare the Existing Flooring Before Installing a Plywood Subfloor?
When it comes to installing a plywood subfloor, there are a few key factors to keep in mind. One of the most common questions is how long the process typically takes. This can vary depending on the size of the space and any additional prep work that may be required, but on average, installation can take anywhere from 1-3 days.
Another important consideration is the type of plywood to use for your subfloor. While there are many options available, it’s important to choose a high-quality plywood that is specifically designed for subfloor applications. This will ensure durability and stability in your flooring.
In terms of installation methods, there is no one right way to install a plywood subfloor. Some experts recommend starting in the center of the room, while others suggest beginning at one end and working your way across.
Ultimately, the most important factor is ensuring that the plywood is installed securely and evenly throughout the space. Before installing your plywood subfloor, it’s crucial to properly prepare the existing flooring. This may involve removing any old flooring materials or smoothing out rough spots on a concrete floor.

Are There Any Common Mistakes to Avoid During the Installation Process?
When it comes to installing a plywood subfloor, there are a few common mistakes that many people tend to make. These mistakes can lead to costly repairs and compromises in the structural integrity of your subfloor. One of the most common mistakes is not properly preparing the existing flooring before laying down the plywood sheets.
This could include not removing any old adhesive or debris, or not leveling out any uneven areas. It’s important to take the time to properly clean and prepare the existing flooring before beginning the installation process.
Another mistake is not leaving enough room for expansion and contraction of the plywood sheets. This can happen when the sheets are tightly fitted together or when they are placed too close to walls or other fixed structures. Plywood naturally expands and contracts with changes in humidity and temperature, so it’s important to leave a small gap around the edges of the subfloor.
Not using the proper type or thickness of plywood can also be a costly mistake. It’s important to use a high-quality, exterior-grade plywood that is at least 3/4 inch thick for subfloors. Using thinner or lower-quality plywood could result in sagging or cracking over time.
How Do You Properly Secure the Plywood Sheets to the Floor?
After completing the initial steps of preparing your subfloor for installation, it is now time to secure the plywood sheets to the floor. This step is crucial in ensuring a strong and stable base for your finished flooring. Here are the steps on how to properly secure the plywood sheets to the floor:
1. Measure and Cut Plywood Sheets
Before securing the plywood sheets, make sure to measure and cut them to fit the floor space accurately. This will help minimize any gaps or uneven areas on your subfloor.
2. Start at One End of the Room
Begin by securing the first sheet of plywood at one end of the room, following the direction of your joists. Make sure to leave a 1/8-inch gap between each sheet for expansion and contraction.
3. Use Construction Adhesive
Apply a generous amount of construction adhesive to the back of the plywood sheet, as well as along the joists where it will be placed. This will help create a strong bond between the subfloor and the plywood sheet.

4. Secure Sheet with Screws
Using deck screws or ring-shanked nails, secure the plywood sheet to the floor. Make sure to place screws or nails every 6 inches along the joists and 8 inches along the edges of the plywood sheet.
5. Repeat for Subsequent Sheets
Continue securing each subsequent sheet of plywood, making sure to stagger the joints between sheets for added stability.
6. Cut Around Obstacles
For areas with obstructions such as pipes or corners, measure and cut the plywood sheet to fit accordingly. Use a jigsaw or circular saw to make precise cuts.
7. Fill Gaps and Nail Holes
After all the sheets are secured in place, fill any gaps between sheets with wood filler and allow it to dry according to instructions. Then use a nail punch to set any raised nails below the surface of the plywood.
8. Sand and Finish
Once the wood filler is dry, sand it down to create a smooth surface. You can then proceed to install your final flooring of choice on top of the plywood subfloor.
By following these steps, you will have successfully installed a strong and stable plywood subfloor for your finished flooring. Remember to always follow manufacturer instructions and consult a professional if you have any doubts or concerns.
What is the Best Way to Cut and Fit Plywood Sheets for Installation?
When installing a plywood subfloor, one of the most common tasks is cutting and fitting the sheets. This step can be intimidating for beginners, but with the right techniques it can be easily accomplished. The first step in cutting plywood sheets is to measure and mark where you want to make your cuts.
Use a measuring tape and pencil to mark your desired dimensions on the sheet. Be sure to double check your measurements and markings to ensure accuracy. Next, you will need to choose the right tool for the job.
There are several options for cutting plywood, including a circular saw, table saw, or jigsaw. The choice often depends on personal preference and the type of cuts needed. When using a circular saw, it is important to use a guide or straight edge to ensure a clean and straight cut.
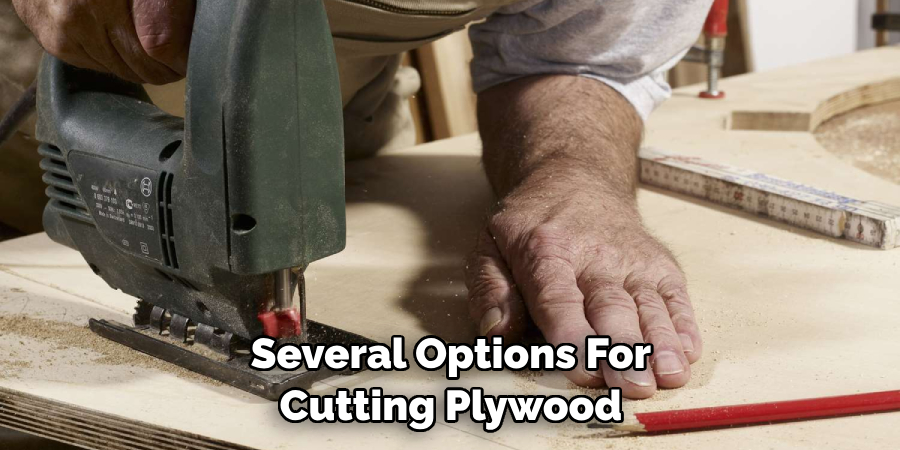
Clamps can also be helpful in keeping the sheet in place while cutting. For more intricate cuts or curves, a jigsaw may be the better choice. Be sure to use a fine-toothed blade for a smooth cut and take your time to avoid splintering.
Conclusion
In conclusion, installing a plywood subfloor is an essential step in any flooring project. It provides a stable and sturdy base for your finished flooring, ensuring its longevity and durability.
With the right tools and techniques, this DIY project can be easily completed by homeowners with basic carpentry skills. However, it is important to note that every home’s subfloor may vary, so it is crucial to do proper research and consult with professionals if needed.
Remember to properly prep the area before installation, carefully measure and cut the plywood sheets, and secure them using appropriate fasteners. Taking these steps will result in a smooth and level subfloor that is ready for any type of flooring. I hope this article has been beneficial for learning how to install a plywood subfloor. Make Sure the precautionary measures are followed chronologically.