
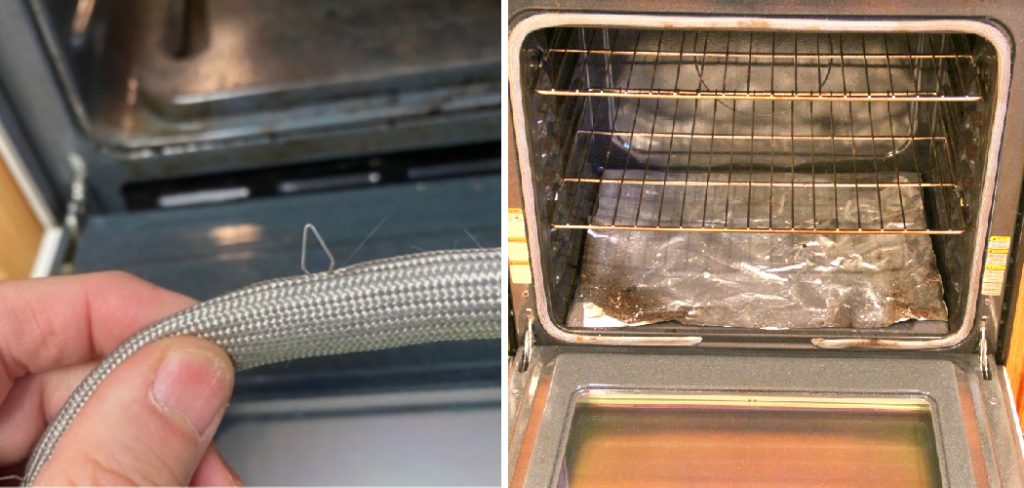
Are your oven door gasket looking dirty and dingy? If you’ve noticed that your oven door isn’t sealing properly, it could be a sign that the gasket needs to be cleaned. Cleaning an oven gasket is often considered a tedious chore, but it doesn’t need to be! Oven door gaskets keep heat in the oven and prevent drafts from entering. Proper maintenance is necessary to keep them in good condition.
In this blog post, we’ll showcase how to clean oven door gasket easily and effectively, allowing you to keep your kitchen appliances looking better. Using regular household items such as vinegar, baking soda, and some elbow grease, you will have your oven sealed up tightly for cooking again in no time! Follow these steps for a deep cleaning that will leave the inside of your oven sparkling like new! Keep reading, and let me show you how quick and easy cleaning an oven door gasket can be!
Necessary Items
Before you begin, ensure you have all the necessary items to clean your oven door gasket properly. These include:
- Warm water
- White vinegar
- Baking soda
- Cleaning brush or toothbrush
- Clean cloth or sponge
10 Steps on How to Clean Oven Door Gasket
Step 1: Remove the Oven Door
To effectively clean the oven door gasket, it’s important to remove the oven door from the oven. This will give you better access to the gasket and clean it more thoroughly. Refer to your oven’s instruction manual for specific instructions on safely removing the door.
Step 2: Create a Cleaning Solution
Mix equal warm water and white vinegar in a spray bottle or bowl. White vinegar is a natural disinfectant and can help cut through grease and grime on the gasket.
Step 3: Apply the Cleaning Solution
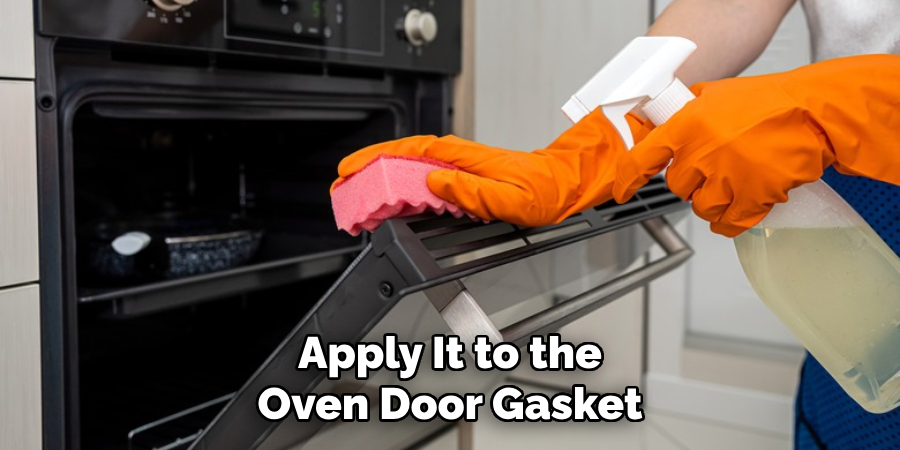
Spray or dip your cleaning brush into the solution and apply it to the oven door gasket. Be sure to cover all gasket areas, paying special attention to any visible dirt or buildup.
Step 4: Let the Solution Sit
After applying the cleaning solution, let it sit for 10-15 minutes. This will allow the vinegar to work magic and loosen any tough stains or residue on the gasket.
Step 5: Scrub with Baking Soda
Sprinkle baking soda over the gasket, and then use your cleaning brush or toothbrush to scrub away any remaining dirt or grime. Baking soda is a gentle abrasive and will help remove tough stains without damaging the gasket.
Step 6: Wipe Clean
After scrubbing, use a clean cloth or sponge to remove the cleaning solution and baking soda residue. If there are still stubborn areas, repeat steps 3-5 until the gasket is completely clean.
Step 7: Clean the Oven Door
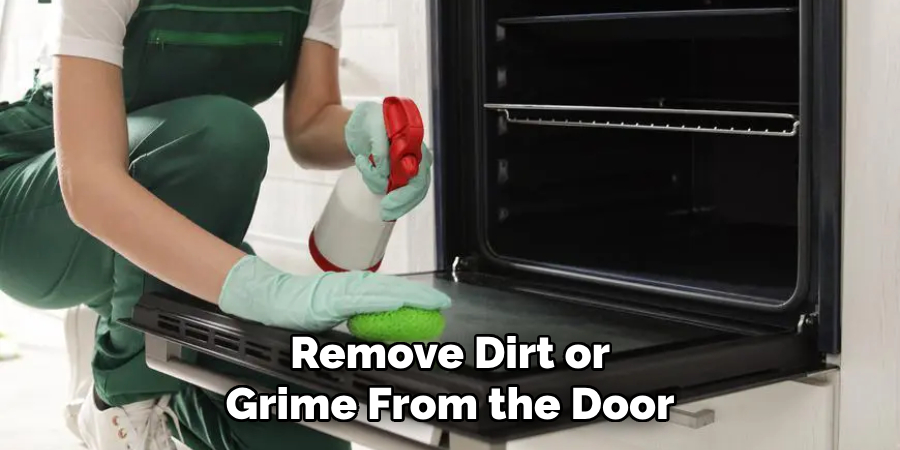
While you have the oven door removed, it’s also a good idea to give it a thorough cleaning. Use the same cleaning solution and method as you did for the gasket to remove dirt or grime from the door.
Step 8: Rinse with Warm Water
After wiping away all the cleaning solution and baking soda, rinse the gasket with warm water to remove any residue.
Step 9: Dry the Gasket
Using a clean cloth or paper towel, dry the gasket completely. This will prevent any mildew or mold from forming on the damp surface.
Step 10: Reattach the Oven Door
Once the gasket is completely dry, reattach the oven door to the oven following the instructions in your manual. Make sure it is properly sealed and closed without any gaps.
Congratulations, you have successfully cleaned your oven door gasket! With regular maintenance and deep cleaning every few months, your gasket will continue functioning properly for years. Refer to your specific oven’s manual and use caution when handling the door. Now, you can enjoy cooking without worrying about drafts or heat escaping from your oven thanks to a clean and well-maintained gasket! Remember these tips; you’ll always enjoy cleaning your oven door gasket again. Happy cleaning!
8 Tips for Maintaining Your Oven Door Gasket
Properly maintaining and regularly cleaning your oven door gasket is essential for the efficient functioning of your oven. Following the tips outlined in this guide, you can keep your gasket clean and extend its lifespan. Remember to refer to your specific oven’s manual for additional instructions or safety precautions.
1. Avoid Harsh Chemicals
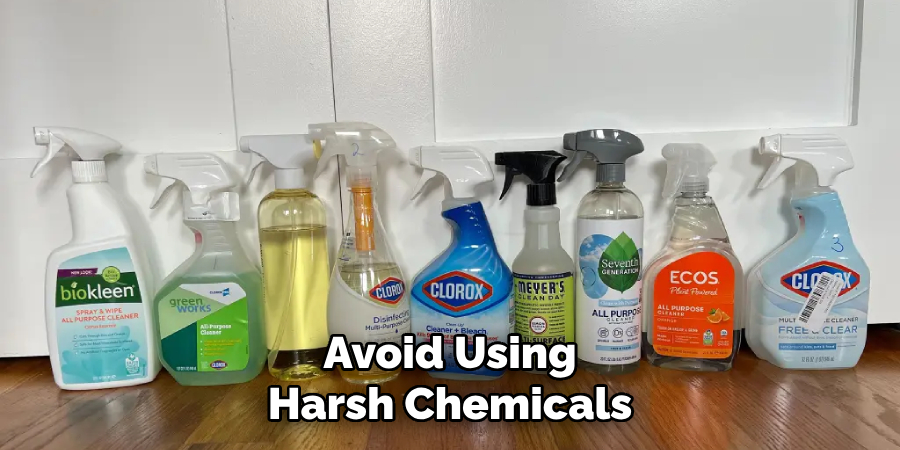
Avoid using harsh chemicals or abrasive cleaners when cleaning your oven door gasket. These can damage the gasket and shorten its lifespan.
2. Wipe Down After Each Use
After each use, take a damp cloth and wipe down the gasket to remove spills or food particles. This will help prevent buildup and make deep cleaning less frequent.
3. Dry Thoroughly
Always dry the gasket completely after cleaning or wiping it down. Moisture can lead to mold and mildew growth, damaging the gasket.
4. Check for Tears or Damage
Regularly check your oven door gasket for any tears, cracks, or other damage. If you notice any issues, it’s important to replace the gasket promptly to ensure proper oven functioning.
5. Avoid Slamming the Door
Slamming the oven door can cause damage to the gasket over time. Instead, gently close it to avoid putting unnecessary pressure on the gasket.
6. Don’t Overload the Oven
Avoid placing too much weight or pressure on the oven door when it is open. This can cause the gasket to stretch or tear.
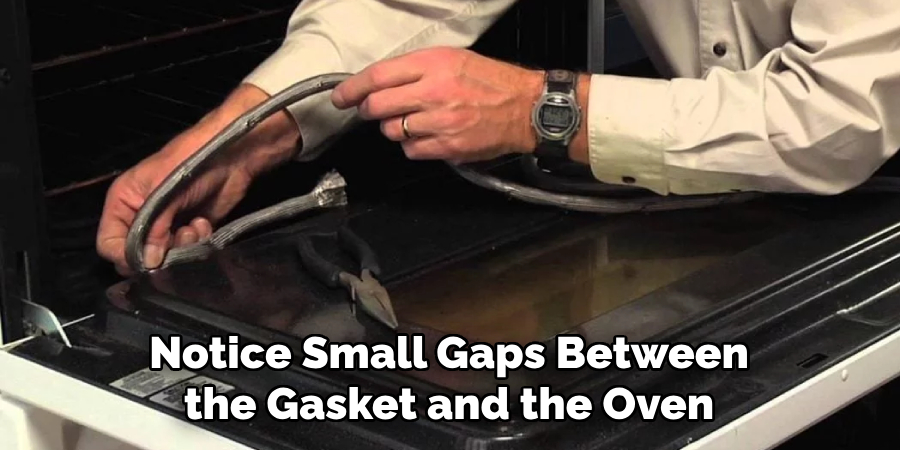
7. Use a Gasket Sealer
If you notice small gaps between the gasket and the oven, consider using a gasket sealer to fill them in and improve the seal of your oven door.
8. Be Mindful of Pets
Be mindful of pets around the oven door gasket if you have pets. They may scratch or chew on it, causing damage that can affect the performance of your oven.
By following these tips and regularly cleaning and maintaining your oven door gasket, you can ensure a well-functioning oven for all your cooking needs. Take pride in your kitchen appliances by keeping them clean and in good condition; they will continue to serve you for years.
So, keep your oven door gasket in shape and enjoy delicious meals without worries or hassles. A little maintenance goes a long way! Remember these tips and say goodbye to a dirty and inefficient oven door gasket.
Frequently Ask Questions About Cleaning Oven Door Gasket
How Often Should I Clean My Oven Door Gasket?
It is recommended to clean your oven door gasket deep every 3-6 months or more frequently if you use your oven heavily. Regular maintenance and wiping down after each use can also reduce the need for frequent deep cleaning.
Can I Use Other Cleaning Solutions to Clean My Gasket?
Yes, you can use other natural cleaners, such as lemon juice or hydrogen peroxide mixed with water. We recommend using warm water and white vinegar to clean your oven door gasket. However, always be cautious and avoid using harsh chemicals that can damage the gasket.
How Do I Know When It’s Time to Replace My Gasket?
If you notice any tears, cracks, or other damage on your oven door gasket, it is time to replace it. A damaged gasket can affect the performance of your oven and may lead to increased energy consumption.
Can I Clean the Gasket With the Oven Door Attached?
While cleaning the gasket with the attached oven door is possible, removing the door is recommended for easier access and more thorough cleaning. Always refer to your oven’s manual for safety precautions and proper removal instructions.
Is There Anything I Should Avoid When Cleaning the Gasket?
Avoid using harsh chemicals, abrasive cleaners, or excessive force when cleaning your oven door gasket. This can damage the gasket and shorten its lifespan. Additionally, dry the gasket thoroughly after cleaning to prevent mold or mildew growth. Keep these tips in mind for a safe and effective cleaning process.
Conclusion
Cleaning your oven door gasket may seem daunting, but it can be quick and easy with the right tools and techniques. Following our step-by-step guide and regularly maintaining your gasket, you can ensure a well-functioning oven for all your cooking needs. Always refer to your specific oven’s manual for additional instructions or safety precautions. You can enjoy a clean and well-functioning oven for all your cooking needs with a little effort. Remember these tips and say goodbye to a dirty and inefficient oven door gasket.
Now that you know how to maintain and clean your oven door gasket properly, there’s no need to dread this chore. With these tips on how to clean oven door gasket, you can easily incorporate gasket cleaning into your regular household cleaning routine and ensure a well-functioning and efficient oven for years to come.
So don’t wait any longer; grab your cleaning supplies and give your oven door gasket the attention it deserves! Keep these tips handy and enjoy cooking without worrying about drafts or heat escaping your oven. Your gasket will thank you! Happy cleaning! Remember these tips and enjoy a clean, well-maintained oven for many more delicious meals. Cheers to a perfectly functioning kitchen!