
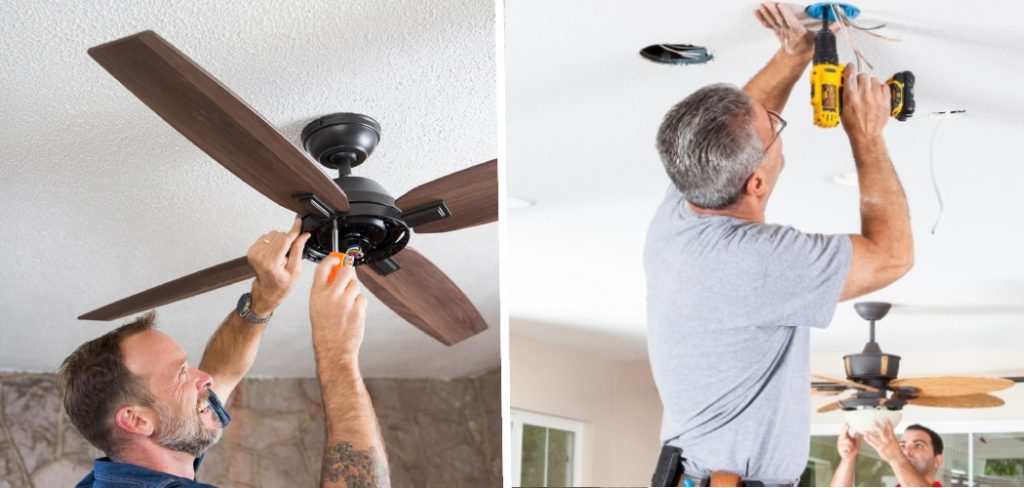
Adding a ceiling fan to your home can be a great way to improve indoor air circulation and cooling. However, many homeowners run into an issue when trying to mount a ceiling fan without a stud. If you’re facing this problem, don’t worry! In this blog post, we’ll show you how to hang a ceiling fan without a stud.
Can You Hang a Ceiling Fan Without A Stud?
It’s a warm summer day, and you’ve decided to add a ceiling fan to your home. But then you realize there’s no stud in the middle of the ceiling to securely attach the fan to. Is all hope lost? Fear not, because the answer is yes, you can still hang a ceiling fan without a stud.
There are alternative methods to securely attach the fan to the ceiling, such as using a sturdy mounting bracket or a reinforced ceiling fan box. With a little extra support, you can enjoy the cool breeze of your new fan all summer long.
Why Should You Hang a Ceiling Fan Without A Stud?
Are you considering hanging a ceiling fan in a room without a stud? It may seem daunting, but there are actually several compelling reasons why you should consider going ahead with the installation.
First, hanging a ceiling fan without a stud can actually open up more options in terms of placement and overall aesthetic appeal. Without a stud limiting your options, you may be able to choose a more central location for your fan that better suits the layout of your room.
Additionally, more modern homes often have thinner drywall, which may not support a heavy ceiling fan even with a stud. Overall, hanging a ceiling fan without a stud can be a smart and practical choice that leads to a more functional and stylish living space.
A Guide on How to Hang a Ceiling Fan Without a Stud
1. Determine Ceiling Fan’s Weight
Before you start mounting the ceiling fan, ensure you know its weight. For a ceiling fan on a beam or ceiling joist, you can typically rely on the bracket and screws that came with the fan.
However, you must account for the fan’s weight and size for a ceiling fan mounting onto something lighter or more challenging to work with. You can obtain this information from the fan’s paperwork or the manufacturer’s website.
2. Choose Anchor Screws

Buy some suitable anchor screws if there isn’t enough support in your chosen installation location. Appropriate anchor screws can hold up to twice the weight you intend to hang, so choose anchor screws with a weight rating greater than your fan. Once you have your anchor screws, ensure you have all the necessary tools.
3. Secure Mounting Bracket
Once everything is ready, you can get down to business. Mark the location on the ceiling where you intend to install the fan. Use a circuit tester to check for power and turn off the circuit breaker if electric power is present. Next, attach the mounting bracket using screws onto the ceiling. Be sure that your mounting bracket is secured tightly before proceeding to the next step.
4. Attach Fan and Assembly
Now that your mounting bracket is secure, you can attach the fan assembly to the mounting bracket. Once you’ve attached the assembly, test the fan to ensure it’s stable and operates without wobbling. Make all the necessary adjustments to ensure the fan runs correctly before proceeding to the next step.
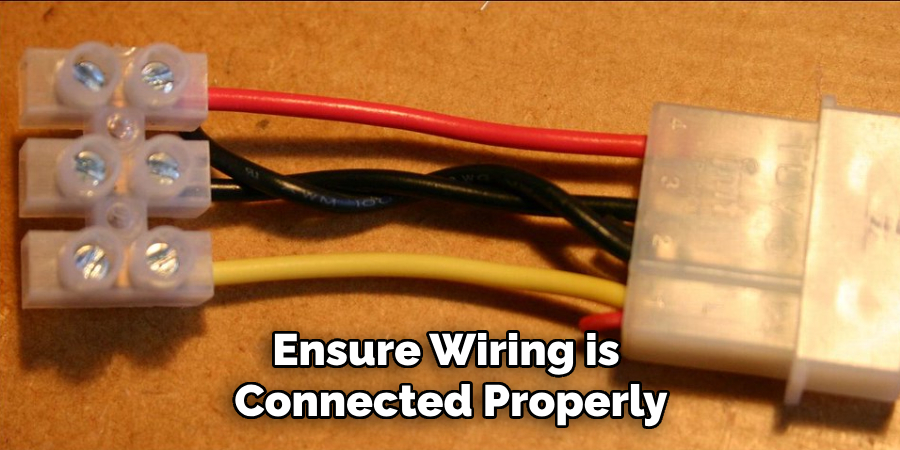
5. Connect Wiring
After finishing the appropriate fan assembly testing, you can continue with the electrical wiring. Follow the instructions in the ceiling fan’s paperwork on how to connect the wiring. If you’re unsure what to do, it’s best to speak with an electrician for guidance to avoid problems. Once the wiring is connected properly, you can proceed to test the fan’s functionality.
6. Install Fan Blades and Accessories
At this point, your ceiling fan should be ready for use. If any blades or accessories need to be attached, refer to the installation instructions included with the ceiling fan. Most fans come with a remote control or wall switch, so make sure you properly install and configure it for your convenience.
7. Test the Fan
After completing all the previous steps, it’s time to test your ceiling fan. Turn on the power supply and switch on the fan using either the remote or the wall switch. Observe its operation for a few minutes to ensure it’s working correctly without any issues. Congratulations, you have successfully installed a ceiling fan without needing a stud!
Now, you can sit back, relax, and enjoy the cool breeze in your room. So the next time someone asks you how to hang a ceiling fan without a stud, you’ll have all the necessary knowledge to guide them through the process.
5 Considerations Things When You Need to Hang a Ceiling Fan Without A Stud
1. Use a Ceiling Fan Mounting Bracket
When hanging a ceiling fan without a stud, the best option is to use a ceiling fan mounting bracket. This is a metal bracket that is designed to securely mount a ceiling fan to the joist of the ceiling.
It is important to make sure that you purchase the correct size and type of mounting bracket for your specific fan. Additionally, it is important to read all instructions carefully before beginning installation.
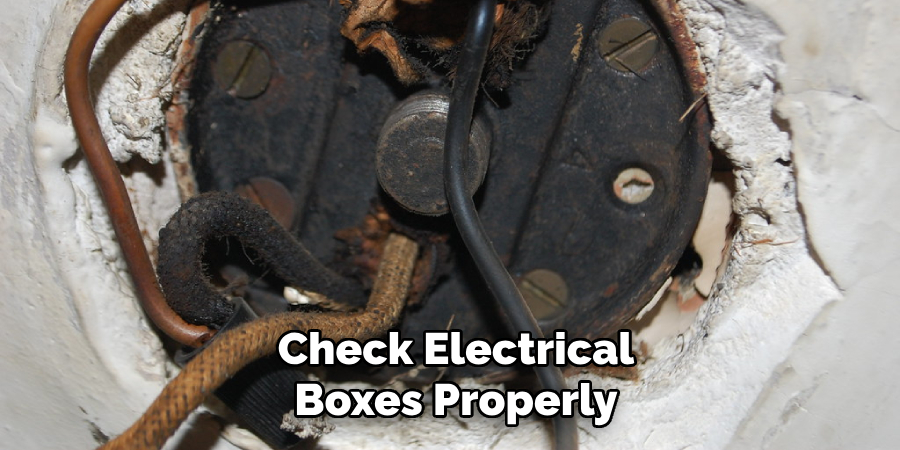
2. Check for Electrical Boxes
Before attempting to hang your ceiling fan, it is important to check for any existing electrical boxes in the area where you will be installing the fan. If an electrical box does exist, then you will need to use it as an anchor point for mounting your fan. However, if there are no existing electrical boxes in the area, then you will need to install one yourself prior to hanging your fan.
3. Securely Attach Your Fan Bracket
Once you have determined where you will be installing your fan and have installed any necessary electrical boxes, it is time to attach the fan bracket securely to the joist or other anchor point. Be sure that all screws are tightly secured and that there are no gaps between the bracket and joist or other anchor point. Additionally, check that all wires are properly connected before continuing with the installation.
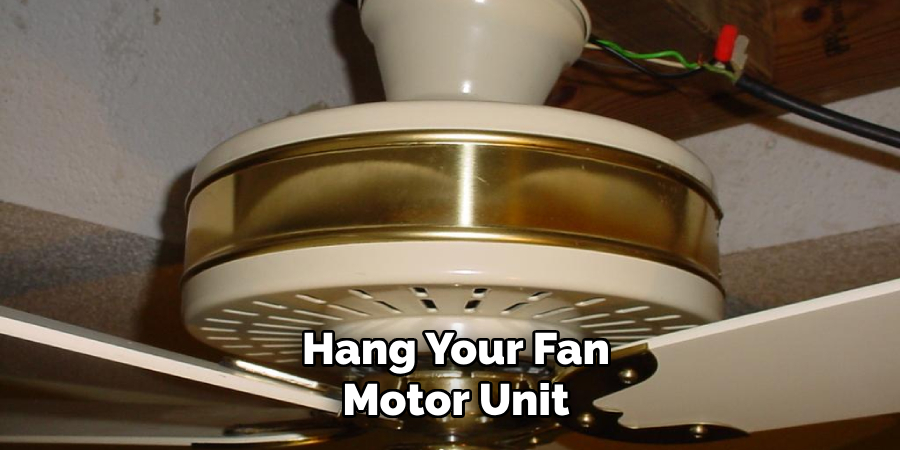
4. Hang Your Fan Motor Unit
Now it’s time to hang your fan motor unit onto the mounting bracket that you just installed on the joist or other anchor point in step 3 above. Make sure that all screws are tightened securely before proceeding with the installation of additional components, such as blades or light fixtures (if applicable).
5. Test Your Fan Before Finalizing Installation
Before finalizing the installation of your ceiling fan, it is important to test out its functionality first by turning on power at the switch and testing out different speeds/settings on your remote control (if applicable).
Once satisfied with the operation of your ceiling fan, turn off the power at the switch and proceed with finalizing installation by attaching blades/light fixtures (if applicable) according to the manufacturer’s instructions before turning the power back on at the switch again for final testing of entire system prior to using regularly.
Benefits of Hang a Ceiling Fan Without A Stud
Ceiling fans are great additions to any home as they help circulate air, providing immense comfort, especially during the hot season. However, the thought of hanging one might seem daunting, especially if there isn’t a stud to attach it to. Despite the challenge, there are a plethora of benefits to hanging a ceiling fan without a stud.
For starters, you get to enjoy better airflow. With no studs in the way, you can position the fan precisely where you need the air to circulate more efficiently.
Additionally, not having to find a stud can save you time, money, and energy since you won’t have to go through the process of identifying the right spot to mount the fan. Overall, if you don’t have a stud to work with, don’t fret, and take advantage of the benefits of hanging a ceiling fan without one.
Some Common Mistakes People Make When Trying to Hang a Ceiling Fan Without A Stud
Attempting to hang a ceiling fan without a stud can be a tricky task, and common mistakes can lead to major headaches in the long run. One common mistake people make is not properly securing the ceiling bracket to the ceiling. It may seem like a minor detail, but a loose bracket can cause the fan to wobble and become unstable over time. Another mistake is using the wrong type of anchors or screws. These can weaken over time, causing the fan to come loose and potentially cause damage or injury.
Lastly, failing to use a junction box can also lead to unsafe and improper installation. It’s important to take the time to properly install a ceiling fan without a stud to avoid costly mistakes down the line.
Conclusion
Installing a ceiling fan without a stud may seem challenging, but don’t let it discourage you. Following this guide can help you get your ceiling fan installed in no time. Remember always to take safety measures into consideration when dealing with electricity just to be on the safe side. Enjoy the added cooling effect that your new ceiling fan will bring! Thanks for reading our post about how to hang a ceiling fan without a stud.