Vinyl is one of those DIY materials that every homeowner should know how to use. From custom t-shirts and decals to giving an old piece of furniture a new look, its versatility makes it the perfect crafting solution for all kinds of projects. But before you start crafting away with vinyl, there’s one important step you need to know: gluing it down correctly.
In this blog post on how to glue vinyl we’ll be going over everything you need to know about properly applying vinyl adhesive for long-lasting results that will make your next project stand out!
What is Vinyl?
Before we dive into the gluing process, let’s first understand what vinyl is. Vinyl is a type of plastic material that comes in sheets or rolls and can be cut into various designs using a cutting machine or by hand. There are different types of vinyl available such as adhesive vinyl, heat transfer vinyl, and printable vinyl.
Adhesive vs Heat Transfer Vinyl
Adhesive vinyl, also known as permanent vinyl, is designed to stick onto surfaces permanently. It can be used on a variety of surfaces including glass, metal, wood, and plastic. Heat transfer vinyl, on the other hand, is designed to be ironed or pressed onto fabric for a more permanent bond. You can use heat transfer vinyl to create custom t-shirts, bags, and other fabric items. It’s important to know which type of vinyl you’re using as the gluing process may differ for each.
10 Simple Step-by-Step Guidelines on How to Glue Vinyl
Step 1: Clean the Surface
Make sure the surface you’re applying vinyl to is clean and free of any dust, dirt, or debris. This will ensure a smooth application and help the vinyl adhere better. It’s important to use a gentle cleaner that won’t leave any residue behind. You can also use rubbing alcohol for a deeper clean. It’s important to let the surface dry completely before moving on to the next step. But if you’re in a hurry, you can use a lint-free cloth to dry the surface.

Step 2: Measure and Cut the Vinyl
Measure the surface you want to cover with vinyl and cut your vinyl sheet or roll accordingly. It’s always a good idea to cut the vinyl slightly bigger than the surface to allow for any mistakes or adjustments during application. You can use a cutting machine for precise cuts or scissors if you’re cutting by hand. But make sure your cuts are clean and even to ensure a smooth finish.
Step 3: Test the Placement
Before applying any adhesive, it’s important to test the placement of your vinyl. This will allow you to make any necessary adjustments before permanently gluing down the vinyl. You can use a small piece of low-tack masking tape to hold the vinyl in place and step back to see how it looks. If you’re satisfied with the placement, proceed to the next step.
Step 4: Apply Adhesive
For adhesive vinyl, you can use a variety of adhesives such as permanent glue or spray adhesive. It’s important to use an adhesive that is suitable for both the surface and the vinyl material. Apply the adhesive evenly onto the surface using a brush or roller. Make sure to cover all areas where the vinyl will be placed.
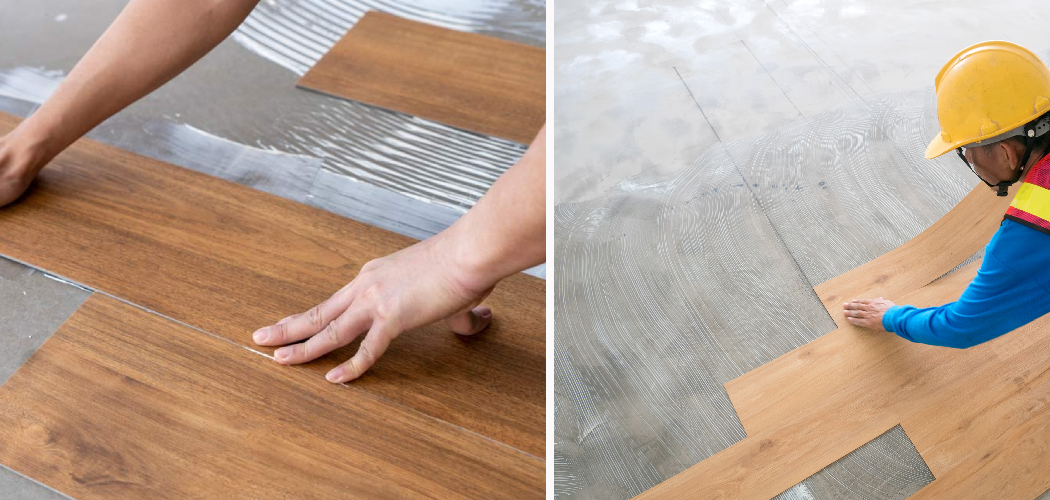
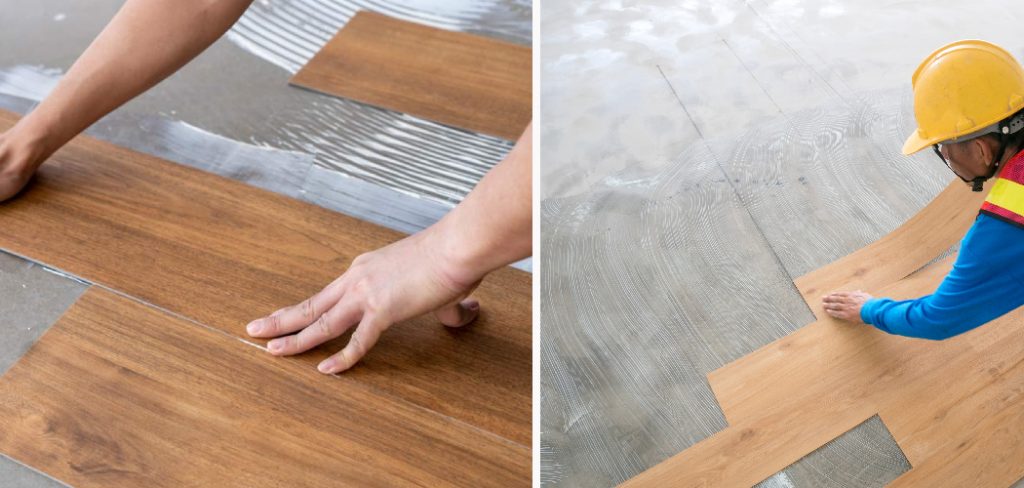
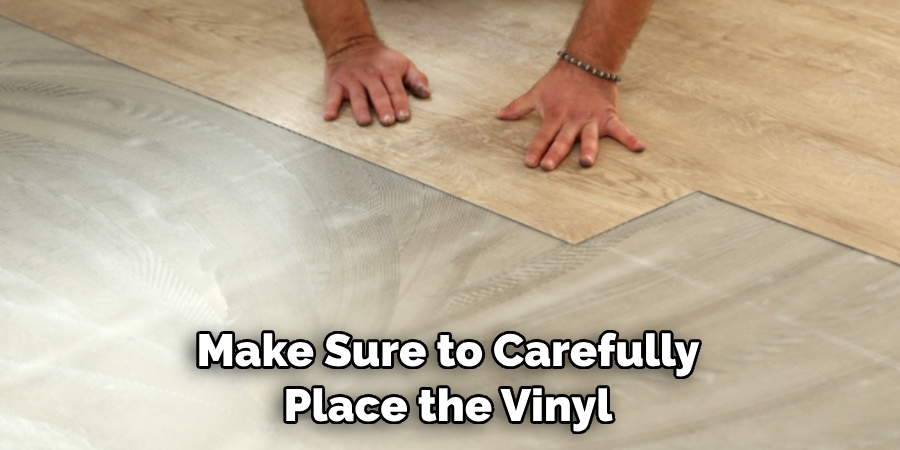
Step 5: Place Vinyl onto the Surface
Carefully place the vinyl onto the adhesive surface, starting from one end and smoothing it out as you go. Make sure to apply even pressure on all areas to avoid any air bubbles or wrinkles. You can use a squeegee or your hands for this step. Otherwise, you can use a hairdryer on low heat to warm up the vinyl and make it more pliable for easier application.
Step 6: Smooth Out Any Bumps or Wrinkles
If you notice any bumps or wrinkles in the vinyl, use a squeegee or your fingers to smooth them out. Again, applying even pressure is key to achieving a smooth finish. It’s important to address any imperfections now before the adhesive dries and becomes harder to work with. But don’t worry, if you do miss a spot, you can always go back and apply more adhesive.
Step 7: Let the Adhesive Dry
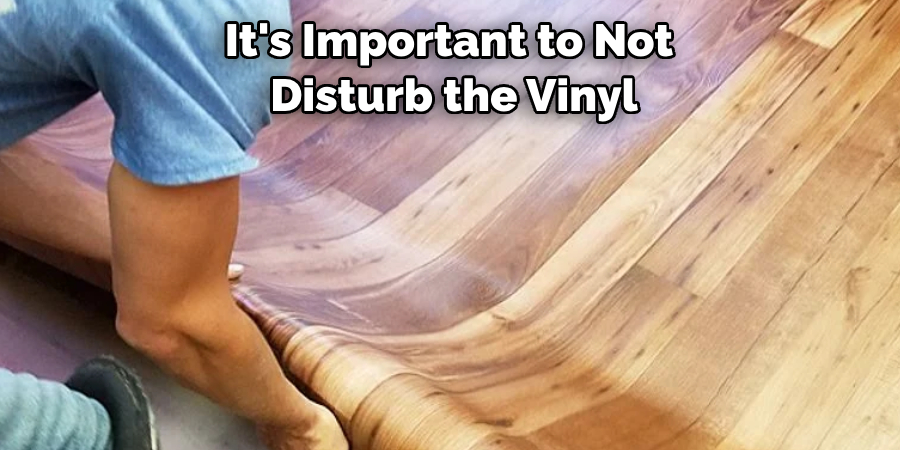
Once the vinyl is in place and all imperfections have been addressed, it’s time to let the adhesive dry. This usually takes about 24 hours, but it’s best to check the drying time on the specific adhesive you’re using. It’s important to not disturb the vinyl during this time to ensure a strong bond. It’s also a good idea to place some weight on the vinyl to help it adhere better.
Step 8: Trim Any Excess Vinyl
After the adhesive has dried, you can trim any excess vinyl using scissors or a cutting knife. Be sure to cut as close to the edge of the surface as possible for a clean finish. This step is especially important if you’re using adhesive vinyl on a curved or irregular surface. You can also use a heat gun on low heat to soften the vinyl and make it easier to trim.
Step 9: Apply Heat for Heat Transfer Vinyl
If you’re using heat transfer vinyl, this is the step where you’ll need to apply heat. Using an iron or heat press, place it over the vinyl and apply pressure for about 15-20 seconds. You can also use a Teflon sheet or parchment paper to protect the vinyl from direct heat. Once the time is up, remove the heat and let it cool before gently peeling off the carrier sheet.
Step 10: Enjoy Your Project!
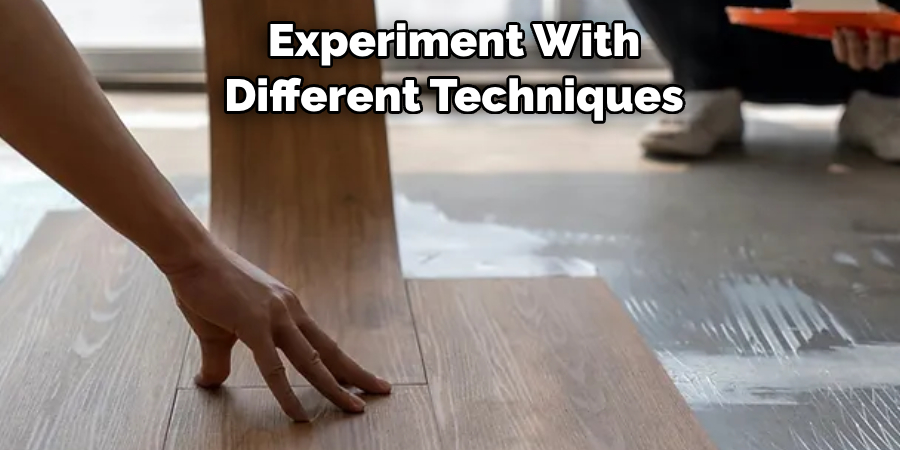
Congratulations, you’ve successfully glued down your vinyl! Now you can enjoy your completed project and show it off to all your friends and family. Remember to follow these steps for all your future vinyl projects for professional-looking results every time! And don’t be afraid to experiment with different techniques and designs, the possibilities with vinyl are endless. Happy gluing! Welcome to the world of vinyl crafting! We hope this step-by-step guide on how to glue vinyl has given you all the information you need on how to properly glue down your vinyl projects. But don’t stop here, there’s so much more to learn and discover about this versatile material.
If you’re feeling confident with adhesive and heat transfer vinyl, you can also try layering different colors and materials for more intricate designs. You can also experiment with different types of finishes, such as matte, glossy, or glitter to add some extra flair to your projects. And don’t forget about accessories like transfer tape and weeding tools that can make the process even easier.
Frequently Asked Questions
Q: Can I Use Any Type of Adhesive for My Vinyl Projects?
A: No, it’s important to use an adhesive that is suitable for both the surface and the vinyl material. Using the wrong type of adhesive can cause your vinyl to not adhere properly or even damage the surface you’re applying it on.
Q: Do I Need Any Special Tools for Applying Vinyl?
A: While there are some tools that can make the process easier, such as a cutting machine, squeegee, and heat gun, they are not necessary. You can also use basic tools like scissors and your hands for most vinyl projects.
Q: Can I Remove the Vinyl Once It’s Been Glued Down?
A: It depends on the type of adhesive used. Some adhesives allow for easy removal of vinyl while others create a permanent bond. Make sure to read the instructions on your adhesive carefully before applying.
Q: How Can I Avoid Air Bubbles and Wrinkles When Applying Vinyl?
A: To avoid air bubbles, make sure to use even pressure when placing the vinyl onto the adhesive surface. You can also use a squeegee or your hands to smooth out any bubbles that may appear. For wrinkles, make sure to carefully place the vinyl and use even pressure as well. You can also use a heat gun on low heat to soften the vinyl and make it more pliable for easier application.
Conclusion
Crafting with vinyl can be a fun and creative endeavor, and with some handy tips and useful tools, it can also be quite easy. With the steps outlined in this post, you now have a full understanding of the supplies needed, the steps to take, and the methods necessary to glue your vinyl correctly and properly.
So what are you waiting for? Gather up your supplies, take a deep breath, and get ready to conquer that next vinyl project! And if you ever have any other questions about how best to work with vinyl or need additional assistance along the way, don’t hesitate to reach out – we are always here to help! Thanks for reading this article on how to glue vinyl.