Are you dealing with a mold problem in your home? Are you noticing that it’s slowly spreading under your floorings and threatening to bring about health issues if action isn’t taken soon? If so, then this blog post is just what you need!
We understand how dangerous any type of mold can be and just how quickly it can spread. That’s why we’ll be discussing the necessary steps for getting rid of mold underneath flooring – whether tiled, hardwood, or carpeted – so that not only will it no longer become an unhealthy risk for you and your family but also help protect against future infestations from occurring down the line.

Keep reading to learn more information on how to get rid of mold under flooring once and for all!
What Will You Need?
Before you start the process of removing mold from underneath your flooring, you’ll need to make sure you have the right tools and supplies:
- Face mask or respirator
- Safety glasses
- Rubber gloves
- Vacuum cleaner with a HEPA filter (if needed)
- Protective clothing
- Mildewcide
- Scrub brushes
- Broom and dustpan
- Disposable towels or rags
After gathering the necessary supplies, you should start kitting yourself out in the protective clothing and gear.
9 Easy Steps on How to Get Rid of Mold Under Flooring
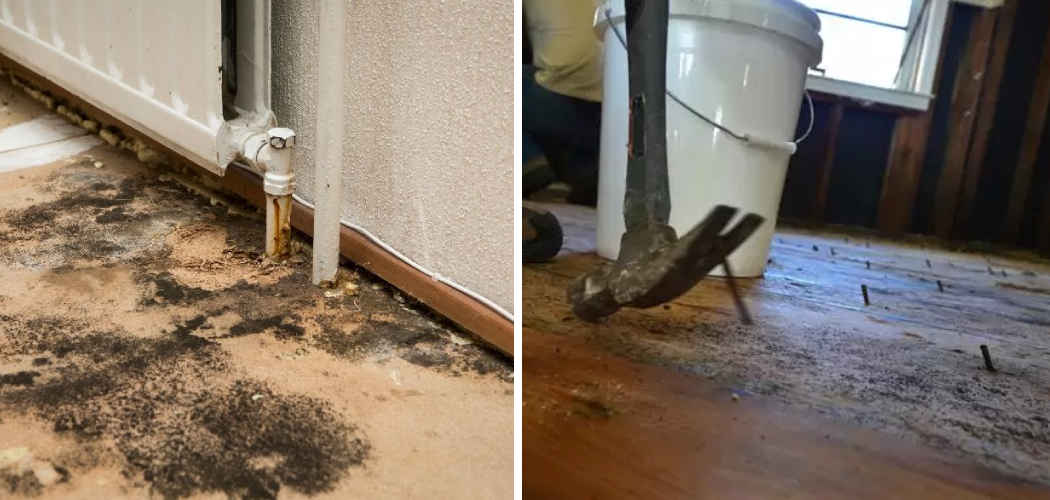
Step 1: Identify the Affected Area
The first step in removing mold under flooring involves identifying the affected area. Check all corners, joints, and hidden spots where mold could grow under the flooring. The common signs of mold include a musty smell, discoloration, or dampness on the floors. You might also notice some health symptoms, such as allergies, coughing, or sneezing, which can indicate the presence of mold.
Step 2: Protect the Surrounding Area
The next step is to protect the surrounding area. Mold spores can spread easily, so preventing them from contaminating other parts of your home is essential. Cover the unaffected areas with plastic sheeting and secure it with tape. Also, seal off the room where you’re working, if possible, to stop the spores from spreading to other parts of the house.
Step 3: Remove the Flooring
Now that you’ve secured the area, it’s time to remove the flooring. If you’re dealing with carpet, start by cutting a small section of the carpet and underlay where you’ve identified mold. Be cautious not to cut through the subfloor. For hardwood or tile, you may need special tools like a pry bar or chisel to lift the flooring.
Always remember to handle the materials gently to avoid unnecessary breakages or damage. Once you’ve removed the flooring, place it in a heavy-duty garbage bag and seal it to prevent the spread of mold spores.
Step 4: Clean the Exposed Area
Once the flooring is removed, you’ll likely encounter mold on the subflooring. Start by vacuuming the area using a HEPA vacuum cleaner to remove loose mold spores. Next, apply a mildewcide according to the manufacturer’s instructions. Wear your protective gear to avoid coming into direct contact with the mold.
Allow the mildewcide to sit for the recommended time, and then scrub the area with a scrub brush. After scrubbing, thoroughly rinse the area with water and dry it using towels or a fan. It’s crucial to ensure that the area is completely dry to prevent future mold growth.
Step 5: Inspect and Repair the Subfloor
Once the area is thoroughly dry, it’s time to inspect the subfloor. Look for any signs of rot or damage. If the subfloor has been significantly damaged or is heavily infested with mold, it might need to be replaced. If you are uncomfortable doing this or the damage is extensive, consider hiring a professional. If the subfloor is in good condition, proceed to the next step.
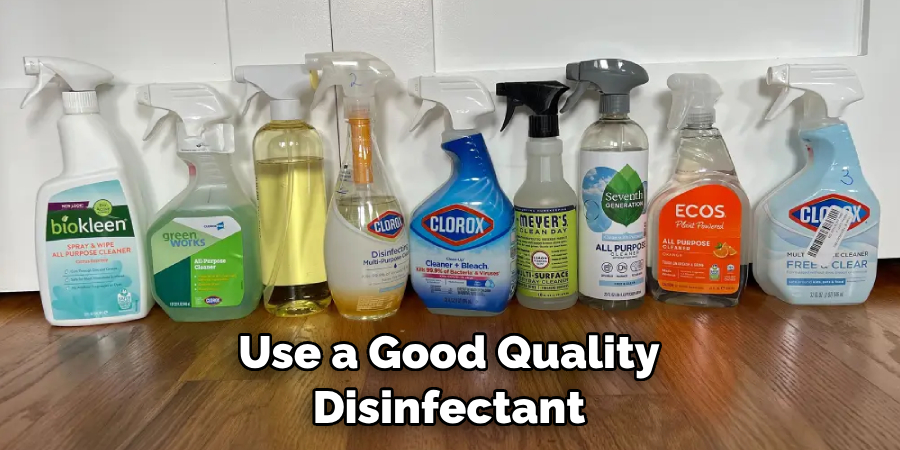
Step 6: Disinfect the Area
After the clean-up and repair, it’s time to disinfect the entire area to kill any remaining mold spores. Use a good quality disinfectant or a homemade solution of 1 cup bleach to 1 gallon of water. Spray or apply this solution generously on the cleaned area, ensuring it reaches every nook and cranny where mold could hide.
After applying, let the disinfectant sit for at least 10-15 minutes, then scrub the area with the brush and rinse with clean water. Dry the area completely using absorbent towels or fans. Remember, moisture is the enemy; thoroughly drying the area will help prevent mold from returning.
Step 7: Replace the Flooring
After you’ve ensured that the area is arid and free of mold, it’s time to replace the flooring. If you had to discard the original flooring due to mold infestation, you might need to install new flooring.
Depending on your comfort level and skills, you can do this yourself or hire a professional. For the carpet, lay down new padding and then install the carpet. Lay down the new pieces for wood or tile, ensuring they fit snugly and securely.
Step 8: Seal the New Flooring
After the flooring is replaced, consider sealing it with an anti-microbial sealant. This sealant will act as a barrier, preventing mold spores from finding their way into your flooring again. Follow the manufacturer’s directions when applying the sealant, ensuring it covers the entire floor.
Allow it to dry completely for the time specified by the manufacturer. This step is particularly crucial for areas prone to moisture or high humidity.
Step 9: Regular Maintenance and Inspection
The last step is maintenance and regular inspection of your flooring. Regular cleaning can help keep mold at bay. Addressing any water leaks immediately is crucial, as these provide the ideal conditions for mold growth.
Regularly inspect your flooring, especially in the corners, under furniture, and other hidden spots, for any signs of mold. Being proactive can help you spot and tackle mold growth before it becomes a significant problem.

Remember, the key to preventing mold is controlling moisture. Keep your home well-ventilated, promptly address water leaks, and maintain a good cleaning routine. With these practices, you can keep your home mold-free and safe for you and your family.
5 Additional Tips and Tricks
- To prevent mold from re-forming, thoroughly dry and ventilate the area after cleaning. Install a dehumidifier or fan to keep moisture levels low and discourage future growth.
- Invest in quality flooring materials that are designed to resist mold. Look for materials like cork or bamboo that have natural anti-fungal properties, or opt for vinyl plank flooring, which is highly resistant to mold growth.
- Repair any water leaks that may be contributing to the mold problem. Check under sinks, behind toilets, and around windows and doors for signs of moisture buildup.
- Invest in a quality mold test kit to identify the exact type of mold present in your home and determine the best course of action.
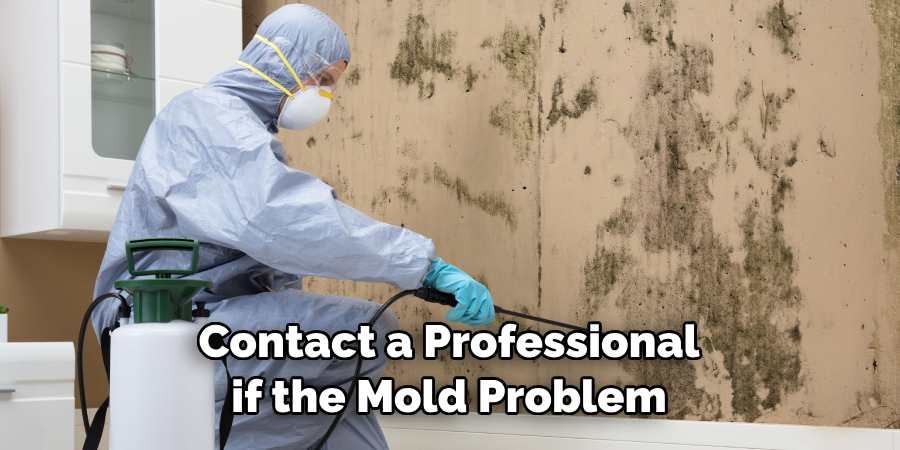
- Contact a professional if the mold problem is extensive or hard to reach. Mold remediation specialists can help you safely remove lingering spores and ensure your home is free of mold and moisture issues.
With these extra tips and precautions, you can easily get rid of mold under your flooring and keep it from returning. Taking preventive action now will help ensure your home stays clean and healthy for years.
5 Things You Should Avoid
- Don’t try to remove the mold without wearing protective gear. Mold spores can easily become airborne and cause further health issues if inhaled.
- Avoid using bleach or other harsh chemicals to clean moldy surfaces. These harsh solutions may not be effective in killing off the full extent of the mold, and some have been linked to increased respiratory problems with long-term use.
- Don’t wait to address a mold problem. The longer you wait, the more damage it will cause and the more difficult it will be to get rid of completely.
- Avoid painting over moldy surfaces, as this will only trap the spores underneath and worsen the problem in the long run.
- Don’t ignore signs of mold, such as a musty smell or visible discoloration on walls and floors. These are clear indications of an underlying problem that needs to be addressed.
By taking the right steps and avoiding these common pitfalls, you can get rid of mold under your flooring quickly and easily. You can keep your home safe and healthy for years with some patience and effort.
Conclusion
The mold growing in areas near your home’s flooring can be a health hazard. Taking the time and effort to inspect and repair any damp, wet, or humid areas conducive to mold growth can save you many healthcare costs if the problem becomes more severe. Keeping your living area clean and free from dust, moisture, and other food sources for mold will help protect your family against breathing in these unsightly allergens.
Additionally, quickly addressing any leaks can positively contribute by eliminating the source of the water supply necessary for a mold infestation to take hold of an area underneath any flooring. In essence, knowing how to get rid of mold under flooring is beneficial and essential in ensuring your family’s health and safety. Using proper safety procedures when dealing with the fungus and careful monitoring throughout this process is recommended.
If done correctly, you can feel at ease that no dangerous chemicals are being released into the environment around you while eliminating any unwelcome guests from your home.