
Discovering a soft spot in your ceiling can be a cause for concern. It’s often an indication of an underlying issue that needs immediate attention to prevent further damage to your home. Whether caused by water damage, structural issues, or aging materials, fixing a soft spot in the ceiling is a task that requires careful steps and the right approach.
In this guide, we’ll explore effective methods on how to fix soft spot in ceiling, ensuring a sound and secure structure for your home. From identifying the root cause to executing the necessary repairs, we’ll provide a comprehensive roadmap to help you restore the integrity of your ceiling and maintain a safe living environment.
Importance of Addressing Soft Spots in Ceiling
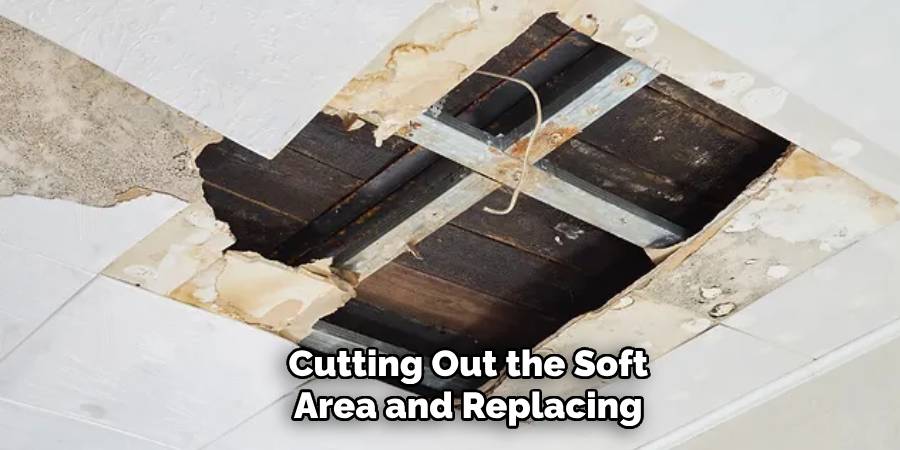
A soft spot on the ceiling is a common issue that many homeowners face. It can be caused by various factors such as water damage, structural issues, or poor construction. While it may seem like a minor inconvenience at first, leaving a soft spot unaddressed can lead to significant problems in the long run.
One of the main reasons why addressing soft spots in the ceiling is important is to maintain the structural integrity of your home. A soft spot can indicate that there is an underlying issue with your ceiling, which could potentially compromise its strength. If left unaddressed, this could lead to a collapse or other serious damages.
Moreover, soft spots in the ceiling can also be a health hazard for you and your family. In cases where the soft spot is caused by water damage, it can lead to the growth of mold and mildew. These fungi not only cause unpleasant odors but also pose a risk for respiratory problems and allergies. By addressing the soft spot, you can prevent these health hazards from occurring.
Common Causes of Soft Spots in Ceilings
Soft spots in ceilings can be a common issue for homeowners, and they can be caused by a variety of factors. Understanding the root cause of soft spots in your ceiling is crucial to effectively fixing them and preventing further damage. In this section, we will discuss some of the most common causes of soft spots in ceilings.
Water Damage
Water damage is perhaps the most common cause of soft spots in ceilings. It can be caused by a leaky roof, burst pipes, or even condensation from appliances such as air conditioners or dishwashers. When water seeps into the ceiling, it can weaken the drywall or plaster and create soft spots.
Age and Wear
Over time, your ceiling may develop soft spots simply due to wear and tear. This is especially true in older homes where the materials used may not be as durable as modern ones. With age, the materials can become weak and start to sag or develop soft spots.
Structural Issues
Structural issues such as a weakened support beam or joist can also lead to soft spots in ceilings. These issues can be caused by a variety of factors, including improper construction, settling of the house, or damage from pests.
10 Methods How to Fix Soft Spots in Ceiling
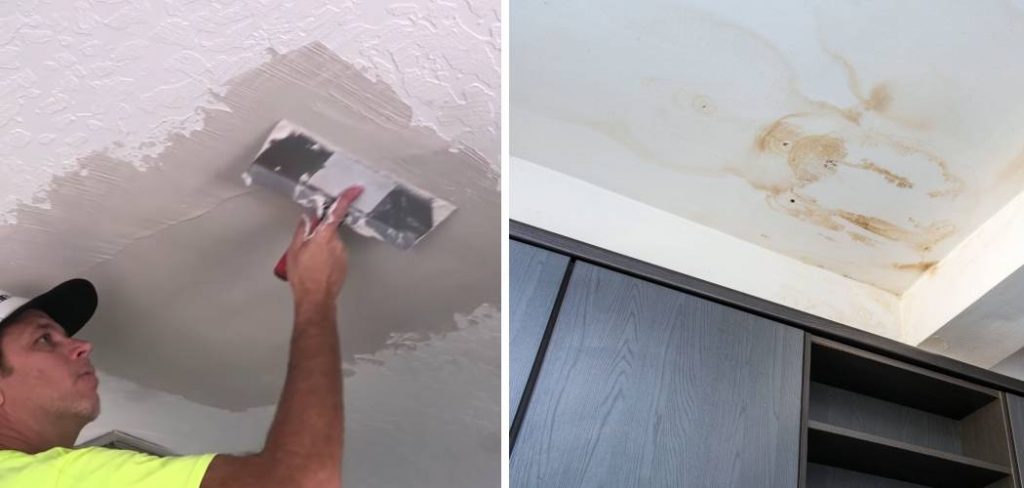
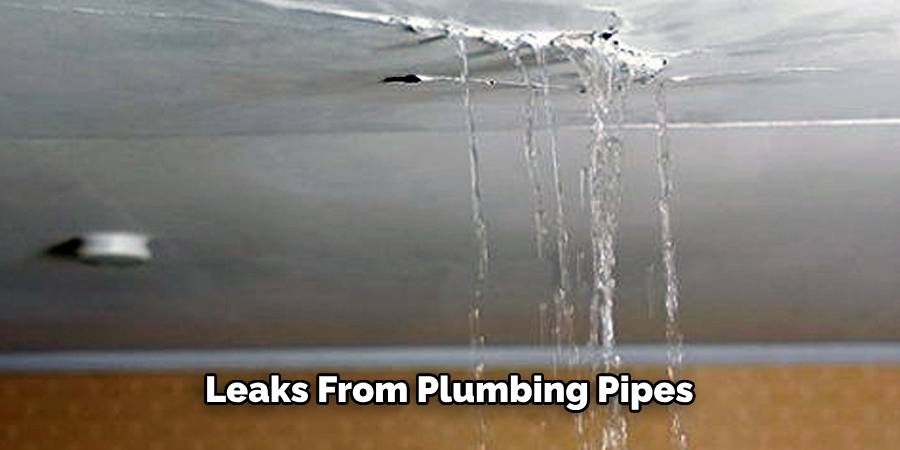
1. Patch the Soft Spot with a Drywall Patch
The most common method for fixing a soft spot in the ceiling is to patch it with a drywall patch. This involves cutting out the soft area and replacing it with a new piece of drywall.
To do this, you will need to use a sharp utility knife to cut out the damaged area, then measure and cut a new piece of drywall to fit into the space. You will then need to attach the new piece of drywall with screws or nails, and apply joint compound over the seams. Once dry, you can sand and paint over the patched area.
2. Install New Drywall Over the Soft Spot
If you have an extensive area of softness in your ceiling, it may be easier to install new drywall over the entire area. This is similar to patching except that you are covering an entire section instead of just one spot.
To do this, you will need to measure and cut pieces of drywall that are large enough to cover the affected area, then attach them with screws or nails and apply joint compound over all seams before sanding and painting.
3. Replace Damaged Ceiling Tiles
If your ceiling has tiles installed on it, then any soft spots may be caused by water damage that has caused some tiles to become loose or cracked. In this case, you can simply remove any damaged tiles and replace them with new ones. Make sure that any replacement tiles match both size and color as closely as possible so that they blend in nicely when installed correctly.
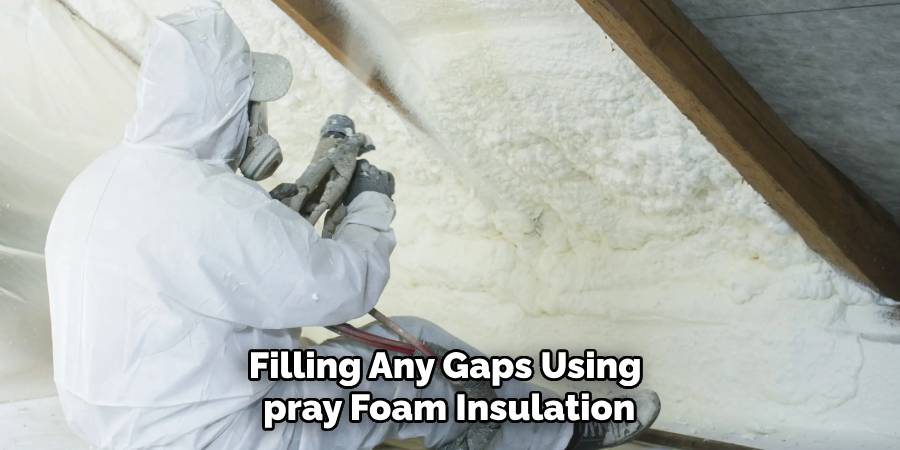
4. Repair Leaks
Soft spots in ceilings can sometimes be caused by leaks from plumbing pipes or other sources of water damage such as roof leaks or condensation from air conditioning units.
If this is the case, it is important to repair these leaks before attempting any other repairs as they could cause further damage if left unchecked. Once all leaks have been repaired, then you can proceed with fixing any soft spots that were caused by them.
5. Apply Acoustic Cement
Acoustic cement is a special type of compound designed specifically for repairing soft spots in ceilings due to water damage or age-related wear and tear. It is applied directly onto the affected area using a trowel or brush before being left to cure for 24 hours before being sanded down smooth using fine grain sandpaper or steel wool pads until flush with surrounding surfaces.
Once fully cured, acoustic cement provides an extremely strong bond between existing surfaces which helps prevent future problems from occurring in those areas again..
6. Install Reinforcement Strips
Reinforcement strips are another option for fixing soft spots in ceilings due to water damage or age-related wear and tear, but they require more time and effort than applying acoustic cement alone.
These strips are made from metal mesh which is attached directly to existing surfaces using screws before being covered up completely using a joint compound. Once cured, reinforcement strips provide extra strength, which helps prevent future problems from occurring again.
7 . Apply Self-Adhesive Mesh Tape
Self-adhesive mesh tape is another option for fixing soft spots in ceilings due to water damage or age-related wear and tear, but it requires less time and effort than installing reinforcement strips.
This type of tape comes pre-coated on one side with adhesive which allows it sticks directly onto existing surfaces without having to use nails or screws. After applying self-adhesive mesh tape onto affected areas, simply cover up completely using joint compound before sanding down smoothly once fully cured.
8 . Fill Gaps With Spray Foam Insulation
Another option for fixing soft spots in ceilings due to water damage or age-related wear and tear is filling any gaps using spray foam insulation. This type of insulation expands when sprayed into place so it’s perfect for filling small cracks or holes where moisture might enter, causing further problems later on down the line.
After spraying foam insulation into place allow sufficient time for curing (usually around 24 hours) then cover up completely using joint compound before sanding down smooth once fully cured..
9 . Fill Gaps With Caulk
Another option for filling gaps around windowsills door frames etc., where moisture might enter causing further problems later on down the line is caulk.. Caulk comes pre-mixed so all you have to do is apply directly onto affected areas using either a caulking gun applicator brush depending on your preference prior to allowing sufficient time for curing (usually around 24 hours) before covering up completely using joint compound then sanding down smooth once fully cured.
10 . Replace Damaged Plasterboard
Finally, if your ceiling consists of plasterboard rather than drywall repairing any large holes or cracks may require replacing these damaged areas entirely rather than simply patching them up.
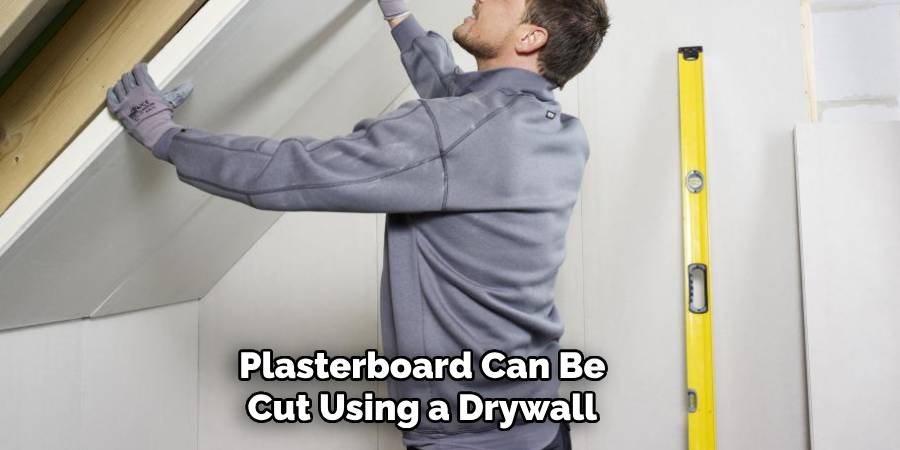
Plasterboard can be cut using a drywall saw or utility knife, just make sure you use caution when cutting so as not to damage adjacent surfaces. Once you have replaced any damaged plasterboard, cover up completely with joint compound before sanding down smooth once fully cured, ensuring that the new piece has been blended in with existing surfaces as best as possible.
Conclusion
After following the steps outlined in this blog post for how to fix soft spot in ceiling, you will have a clean and polished ceiling that looks just like it was done by an experienced professional. This process is simple and straightforward if you follow the instructions and make sure to take all safety precautions into consideration.
If ever faced with amateur ceiling repairs, always refer back to this article as a reliable guide. Along with performing the actual repair, don’t forget that prevention is worth more than cure – regularly conducting inspections of your ceilings can help identify potential issues before they become bigger problems.
Fixing a soft spot in your ceiling may be a tedious task, but it’s nothing compared to avoiding an expensive repair or remodeling due to neglecting small issues – so get on it!