Having a hole in your cabinet door can be both an eyesore and a functional issue. Whether it’s due to accidental damage, wear and tear, or the removal of old hardware, addressing the hole promptly can help restore the cabinet’s appearance and integrity.

This guide on how to fix hole in cabinet door will provide you with easy-to-follow steps to effectively fix a hole in your cabinet door using commonly available materials and tools. By the end of this tutorial, you’ll have a cabinet door that looks as good as new, without the need for professional assistance.
Why Do You Need to Fix a Hole in Your Cabinet Door?
Fixing a hole in your cabinet door is necessary for both aesthetic and functional reasons. For one, a hole can be an eyesore, especially if it’s located in a prominent area of the cabinet. It can make the entire cabinet look worn or damaged, bringing down the overall appearance of the room.
Moreover, a hole in your cabinet door can also affect its functionality. Depending on the size and location of the hole, it may compromise the strength and stability of the door. This can make it difficult to open and close the cabinet or even cause it to fall off altogether.
Fixing a hole in your cabinet door is not only about maintaining its appearance but also ensuring that it remains fully functional for daily use.
Materials You’ll Need
Before you get started on fixing your cabinet door, make sure you have all the necessary materials at hand. Here’s what you’ll need:
Wood Filler or Putty:
This will be used to fill the hole and create a smooth surface for painting or staining.
Sandpaper:
You’ll need sandpaper of various grits (from coarse to fine) to prepare the surface, remove excess filler, and achieve a smooth finish.
Wood Glue:
If there are any cracks or splits around the hole, wood glue can be used to strengthen and seal them before filling.
Putty Knife:
This will help you apply the wood filler evenly and smoothly into the hole.
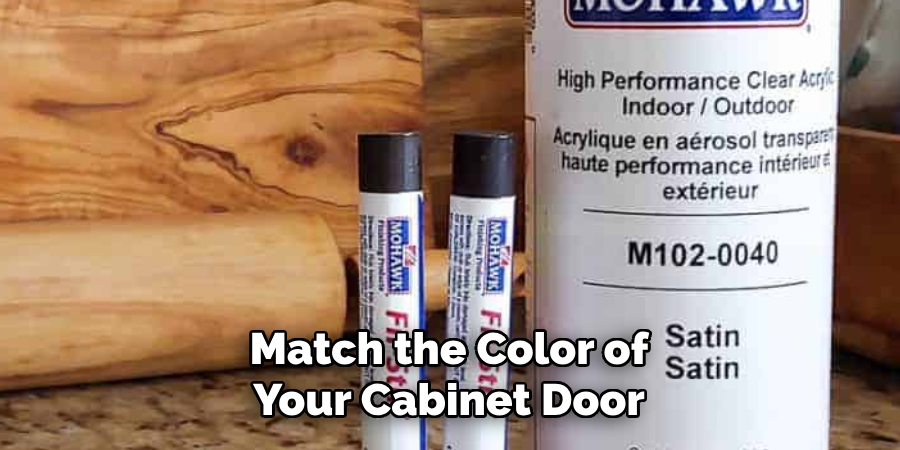
Paint or Stain:
To match the color of your cabinet door, choose either paint or stain that matches its existing finish. You can also opt to repaint or restain the entire door for a more uniform look.
9 Simple Step-by-step Guidelines on How to Fix Hole in Cabinet Door
Step 1: Clean and Prepare the Surface
Before you can start repairing the hole, it’s crucial to clean and prepare the surface of the cabinet door. Begin by wiping down the entire door with a damp cloth and a mild detergent to remove any dirt, dust, or grease that might interfere with the repair process.
Pay close attention to the area around the hole, ensuring it is completely free of debris. If there are any loose or jagged edges around the hole, trim them with a utility knife or sand them down gently with coarse sandpaper. This will help the wood filler adhere better and ensure a smoother finish. Once the area is clean and dry, you are ready to move on to the next step.
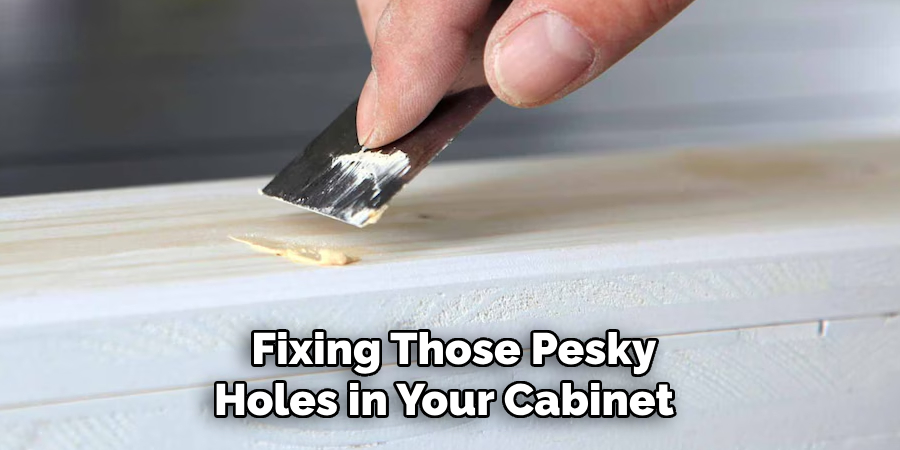
Step 2: Fill the Hole with a Wood Filler
Using a putty knife, apply the wood filler into the hole, making sure to fill it completely. Smooth out the surface using the flat edge of the knife, removing any excess filler as you go. For larger holes, you may need to apply multiple layers of filler, allowing each layer to dry completely before adding another. Follow the manufacturer’s instructions for drying time and sanding intervals between layers.
Step 3: Sand Down the Surface
Once the wood filler has dried completely, use fine-grit sandpaper to smooth down the surface until it is flush with the rest of the door. Start with coarse sandpaper and gradually move on to finer grits for a smoother finish. Be sure to sand the surrounding area as well to blend in with the rest of the door.
Step 4: Apply Wood Glue (If Needed)
If there are any cracks or splits around the hole, now is the time to apply wood glue. Using a small brush, spread a thin layer of wood glue along the edges of the hole and press them together firmly. Wipe off any excess glue immediately using a damp cloth and let it dry completely. The glue will help reinforce the area around the hole and prevent it from weakening in the future.
Step 5: Sand Again (If Needed)
After the wood glue has dried, sand down the surface again to ensure a smooth finish, and be gentle when sanding around the glued area to avoid removing any adhesives. The surface should now be completely even and ready for painting or staining. It’s a good idea to wipe the surface with a tack cloth before moving on to the next step.
Step 6: Apply Paint or Stain
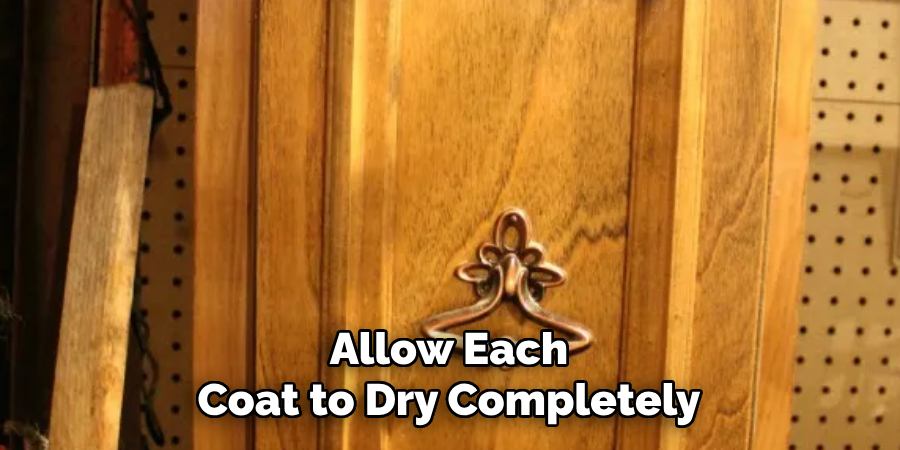
If you are happy with the color and finish of your repaired cabinet door, you can move on to painting or staining it. Using a paintbrush or stain applicator, carefully apply your chosen product onto the door in thin, even layers. You may need to apply multiple coats for an even and consistent finish. Allow each coat to dry completely before adding another.
Step 7: Let it Dry
After applying the final coat of paint or stain, allow the door to dry completely according to the manufacturer’s instructions. You can then use a dry cloth to gently buff the surface for an extra smooth finish. It’s best to wait at least 24 hours before using the door again. There may be some slight variations in color and texture between the repaired area and the rest of the door, but this will usually blend in over time.
Step 8: Reattach Hardware
If you removed any hardware from the cabinet door before starting the repair, now is the time to reattach it. Be sure to use screws that are appropriately sized for the thickness of your cabinet door. The hardware should now sit flush against the surface of the door without any gaps or irregularities. You may also choose to replace old hardware with newer ones for a fresher look.
Step 9: Admire Your Handiwork!
Congratulations, you have successfully fixed a hole in your cabinet door! Take a step back and admire your handiwork – you’ll be amazed at how seamlessly you were able to repair the damage. With just a few materials and simple steps, your cabinet door will look as good as new.
You can use these same steps on how to fix hole in cabinet door to repair other types of damage on your cabinet doors, such as scratches or chips. Remember to always take your time and work carefully for the best results. With proper maintenance and occasional repairs, you can ensure that your cabinets will remain functional and beautiful for years to come. So don’t wait any longer – roll up your sleeves and get started on fixing those pesky holes in your cabinet doors today! Happy repairing!
Tips for Preventing Holes in Your Cabinet Door
To avoid having to fix holes in your cabinet doors in the future, here are some tips to help prevent them:
- Be careful when handling or moving heavy objects near your cabinets. Dropping or banging objects against the doors can cause damage.
- Avoid using sharp or pointed objects near your cabinets, as they can easily scratch or puncture the wood.
- Regularly clean and dust your cabinets to prevent buildup of dirt and debris that could potentially cause damage to the surface over time.
- If you have pets, make sure their nails are trimmed to prevent any accidental scratches on your cabinet doors.
- Use soft close hinges to prevent slamming and potential damage from excessive force.
- Consider adding bumpers or guards on the inside of your cabinet doors where they come into contact with other surfaces, such as when closing against a wall or adjacent cabinet.
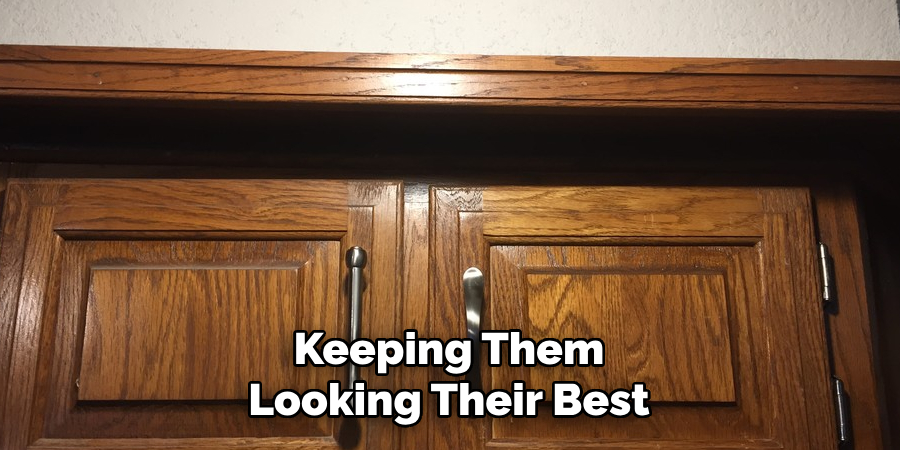
By following these tips, you can help maintain the integrity of your cabinet doors and prevent any future holes or damage. Proper care and maintenance can go a long way in preserving the lifespan of your cabinets and keeping them looking their best. Happy organizing!
Conclusion
Fixing a hole in your cabinet door might seem like a daunting task, but with the right tools and techniques, it can be an easy and rewarding project. By faollowing the step-by-step guide on how to fix hole in cabinet door provided, you can restore the looka and functionality of your cabinets, saving time and money compared to a complete replacement.
Ensuring regular maintenance and taking preventive measures will further safeguard your cabinets from future damage. Remember, a bit of care and attention can go a long way in preserving the beauty and utility of your home, allowing you to enjoy a well-maintained living space for years to come. So, take pride in your DIY accomplishments and keep those cabinets looking pristine! Happy repairing!