
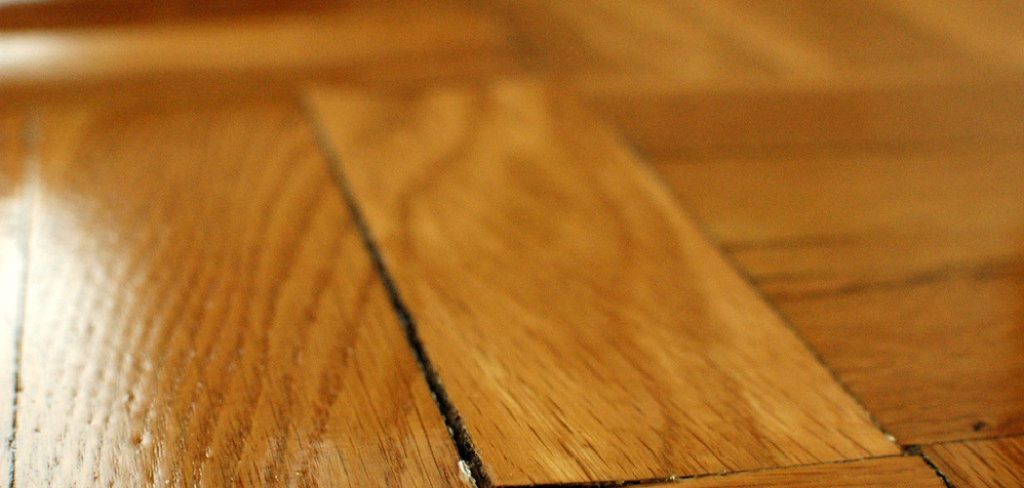
Hardwood floors look beautiful, but it can be an eyesore when boards start to cup and bow backward. If you’ve noticed curved indentations in your hardwood flooring, don’t worry – this is a common problem known as cupping. If your hardwood floor is cupping, the good news is that you can take steps to minimize or even reverse the problem.
With some help from an experienced professional and the right materials and tools, you can restore your floors to their former glory without breaking the bank in the process! In this blog post, we’ll outline how to diagnose where the cause of your hardwood floor cupping lies and provide tips on how to fix hardwood floor cupping to address and treat the issue so your floor looks new again!
Necessary Items and Tools
You’ll need a few key items and tools to fix hardwood floor cupping successfully. These include:
- Moisture meter
- Dehumidifier
- Floor sander or buffer
- Belt sander
- Vacuum cleaner with a crevice attachment
- Clear epoxy resin or wood glue
Once you have these items ready, you can begin diagnosing and addressing the cause of your floor cupping.
10 Steps on How to Fix Hardwood Floor Cupping
Step 1: Diagnosing the Cause of Cupping
Several factors can cause cupping, so it’s important to determine the root cause before fixing it. One common culprit is moisture. If your floors have absorbed too much moisture from below or above, they may start to expand and cup.
To determine whether this is the case, use a moisture meter to measure the moisture levels in both your hardwood floor and subfloor. If your hardwood floor has a higher moisture content than the subfloor, then the floors absorb too much moisture from above. If the subfloor has a higher moisture content, there may be an issue with moisture coming up from below.
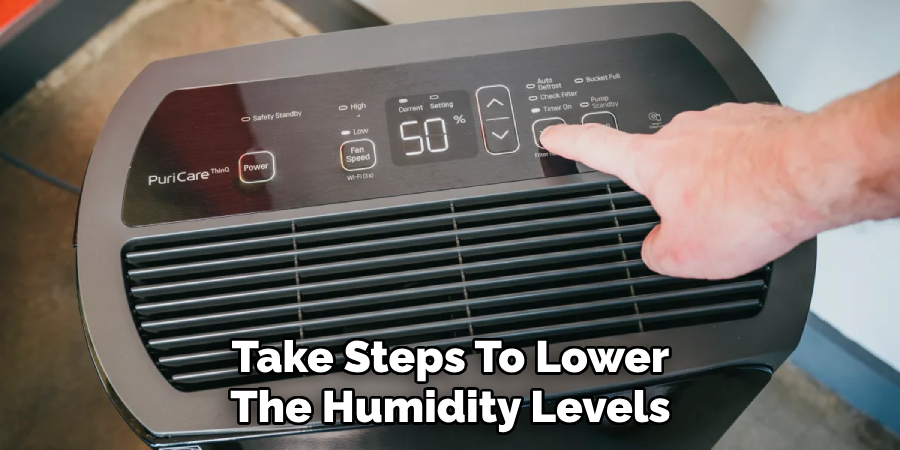
Step 2: Lowering Humidity Levels
If you’ve determined that humidity is causing your hardwood floor to cup, it’s important to take steps to lower the humidity levels in your home. This can be done using a dehumidifier or air conditioning unit, especially during humid summer.
Step 3: Drying Out the Floor
If your hardwood floor is wet from above, it’s important to dry it out as much as possible before proceeding with any other steps. Use fans and open windows to speed up the drying process.
Step 4: Sanding Down the Floor
Once your hardwood floor is dry, you can sand down the cupped areas. Use a floor sander or buffer for larger areas and a belt sander for smaller, more precise spots.
Step 5: Cleaning Up Dust and Debris
After sanding, vacuum up all the dust and debris left behind. Use a crevice attachment to get into the corners and edges.
Step 6: Applying Epoxy Resin or Wood Glue
After cleaning, fill gaps between boards with clear epoxy resin or wood glue. This will help prevent future cupping by preventing moisture from seeping between the boards.
Step 7: Sanding Down the Filled Areas
Once the epoxy resin or wood glue has dried, sand down the filled areas until they are smooth and level with the rest of the floor.
Step 8: Staining and Refinishing (Optional)
If desired, you can now stain and refinish your hardwood floor to give it a fresh look. Follow the manufacturer’s instructions and give the floor ample time to dry before using it again.
Step 9: Preventing Future Cupping
To prevent future cupping, maintain proper humidity levels in your home and immediately clean up any spills or leaks. Regularly checking moisture levels in your hardwood floor and subfloor can also help catch any issues early on.
Step 10: Seeking Professional Help
If you need help fixing hardwood floor cupping or if the issue is too severe, it’s always best to seek help from a professional. They will have the expertise and tools to properly diagnose and treat the issue.

Cupping is a common problem with hardwood floors, but it doesn’t mean your floors are ruined. With the materials and steps outlined above, you can successfully fix cupping and restore your floors to their original beauty.
Remember always to take preventative measures and seek professional help if needed. With proper care and maintenance, your hardwood floors will last for years!
8 Care Tips for Preventing Hardwood Floor Cupping
1. Humidity Levels
As mentioned, humidity is a major factor in causing hardwood floor cupping. Keep your home’s humidity levels between 35-50% to prevent excessive moisture from seeping into your floors.
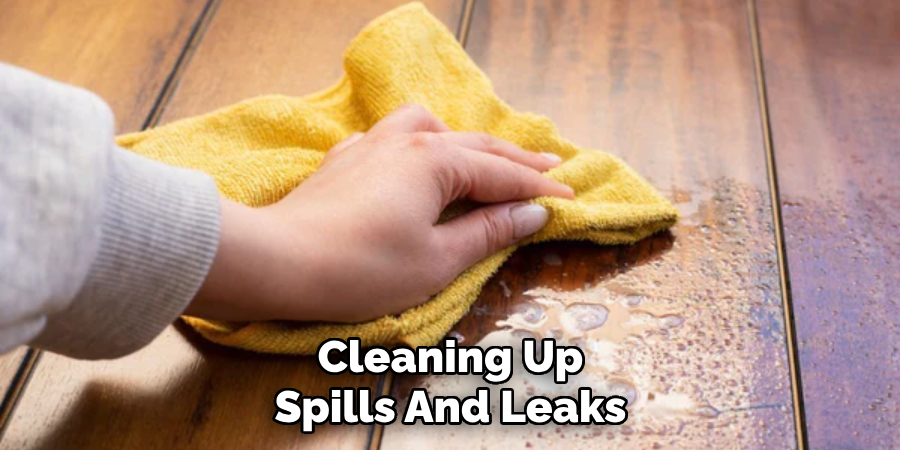
2. Spills and Leaks:
Any spills or leaks should be cleaned immediately to avoid moisture damage to your flooring. Use a towel or mop to soak up the liquid and dry the floor thoroughly.
3. Regular Maintenance:
Regularly maintain your hardwood floors, such as sweeping, mopping, and polishing, to keep them in good condition. It’s also important to inspect for any signs of cupping or other issues so they can be addressed early on.
4. Area Rugs and Mats:
Place area rugs or mats in high-traffic areas to protect your hardwood floors from excess wear and tear. This also helps prevent scratches and dents, which can lead to cupping.
5. Shoes Off Policy:
Consider implementing a shoes-off policy in your home to avoid tracking in dirt, debris, and moisture onto your hardwood floors.
6. Use a Humidifier in Winter:
During dry winter, using a humidifier can help maintain proper humidity levels and prevent your hardwood floors from drying out and possibly cupping.
7. Monitor Moisture Levels:
Regularly check the moisture levels in your home using a moisture meter to catch any issues before they cause damage to your hardwood floors.
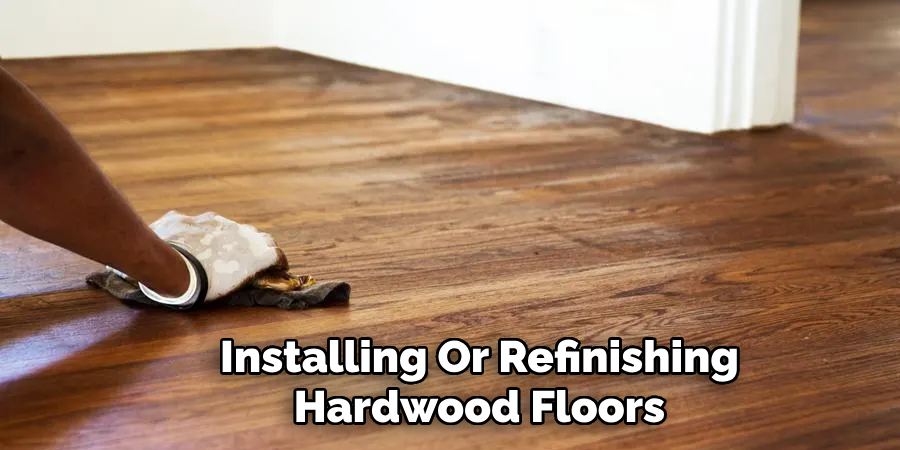
8. Follow Manufacturer’s Instructions:
Always follow the manufacturer’s instructions for proper care and maintenance when installing or refinishing hardwood floors. This will help ensure that your floors stay in good condition and prevent any cupping or other issues. Proper maintenance and preventative measures are key in preventing hardwood floor cupping.
By following these care tips and regularly monitoring your floors, you can keep them looking beautiful for years to come. So don’t panic if you notice some cupping in your hardwood floors – follow the steps outlined above and take care of your floors, and they will continue to add warmth and beauty to your home for many years.
Frequently Asked Question
What Causes Hardwood Floor Cupping?
There are several potential causes of hardwood floor cupping, including excess moisture from above or below, uneven subflooring, and changes in humidity levels. Identifying and addressing the root cause is important to fix the issue properly.
Can Hardwood Floor Cupping Be Prevented?
Yes, hardwood floor cupping can be prevented by maintaining proper humidity levels in your home, promptly cleaning up spills or leaks, and regularly maintaining your floors. Using area rugs and implementing a shoes-off policy can also help prevent excess floor wear and tear.
How Do I Know if My Hardwood Floors Need to Be Refinished?
Signs that your hardwood floors may need to be refinished include scratches, dullness, and uneven coloring. It’s best to consult a professional for an assessment if you need clarification.
Can I Fix Cupped Hardwood Floors Myself?
You can fix minor cupping on your own using the steps outlined above. However, it’s always best to seek professional help if you need clarification or if the issue is severe. They will have the expertise and proper tools to fix the problem properly. Make sure also to take preventative measures to avoid future cupping.
How Long Will It Take for My Hardwood Floors to Dry After Refinishing?
The drying time for hardwood floors after refinishing can vary depending on factors such as humidity levels, type of finish used, and temperature. Generally, it can take anywhere from 24-48 hours for the floors to dry completely. Follow the manufacturer’s instructions and give the floors ample time to dry before using them again.
How Can I Prevent Hardwood Floor Cupping?
Properly maintaining humidity levels, promptly cleaning up spills and leaks, and regular maintenance are all key to preventing hardwood floor cupping. Following the manufacturer’s instructions for installation and care can also help prevent floor issues.
So make sure to take good care of your hardwood floors to avoid any problems in the future. Remember, prevention is always better than having to fix a problem! So follow these tips and enjoy your beautiful hardwood floors for years to come. Keep them looking their best with regular maintenance and monitoring moisture levels.
Conclusion
Beautiful hardwood floors in your home are a wonderful investment; proper care and maintenance can last for generations. It’s important to understand the causes of cupping and how to prevent it from happening to keep your floors looking their best. Remember to regularly inspect and maintain your floors, monitor moisture levels, and seek professional help if needed.
With these tips on how to fix hardwood floor cupping in mind, you can enjoy your gorgeous hardwood floors for many years to come. And if you do encounter any issues, don’t hesitate to seek professional help for proper diagnosis and treatment.
With the right care, your hardwood floors will continue to add value and charm to your home for many years. So start implementing these tips today and keep your floors looking their best!