Many mobile home ceilings may contain asbestos, requiring special care when dealing with them. Additionally, fixing a mobile home ceiling can be challenging due to the limited space available in the home. If you are not comfortable or experienced in repair work, it is recommended that you hire a professional for this job.
One of the major advantages of repairing a mobile home ceiling is that it can often be done with minimal disruption or cost. While a standard residential ceiling may require professional installation and materials, a mobile home ceiling typically does not.
This means that repairs can usually be done quickly and without purchasing expensive supplies or hiring an experienced contractor. In this blog post, You will learn in detail how to fix a mobile home ceiling.
Tools You Will Need
- Hammer
- Screwdriver
- Putty knife
- Tin snips
- Safety glasses
- Tape measure
- Utility knife
- Chalk line
- Stud finder
- Caulk gun
- Stilts (or ladders)
- Drywall saw or circular saw.
Once you have gathered these tools, you can begin to fix your mobile home ceiling.
Step by Step Processes for How to Fix a Mobile Home Ceiling
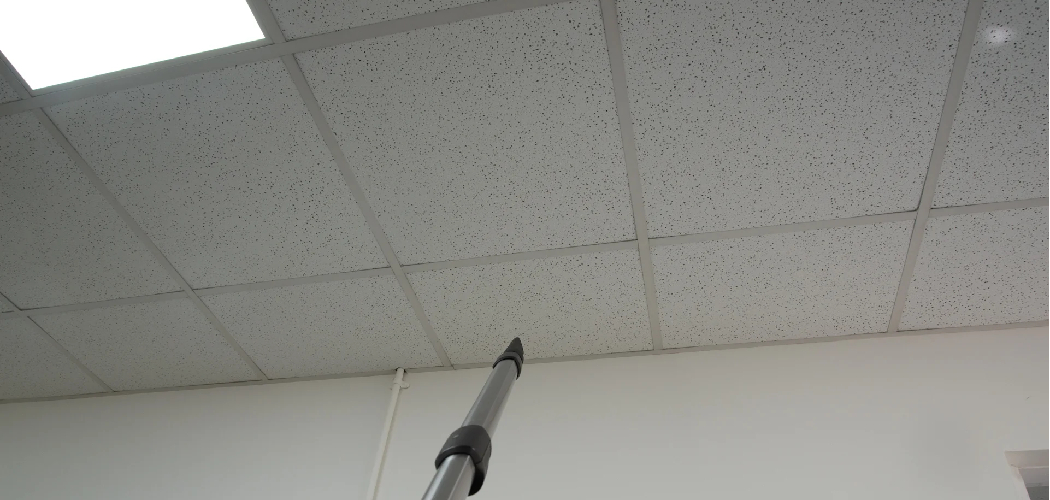
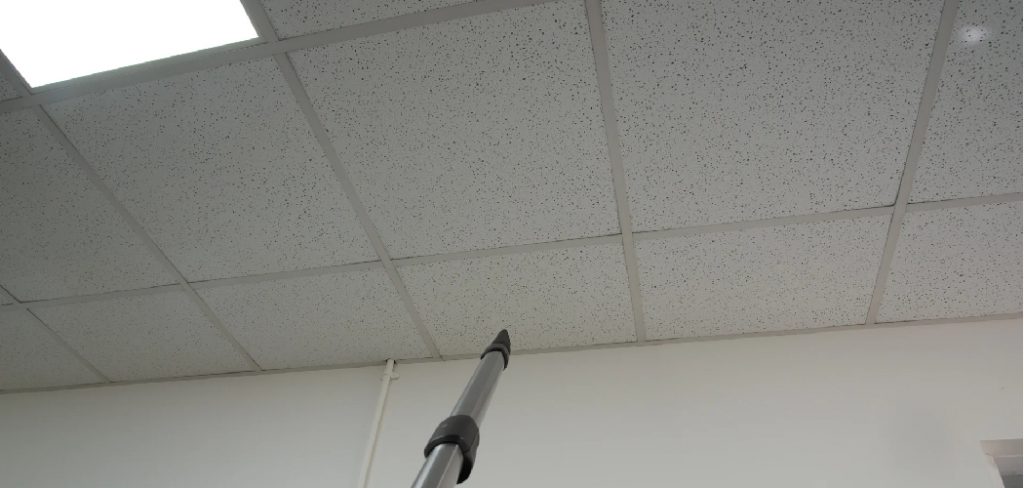
Step 1: Inspect the Mobile Home Ceiling
The first step in fixing a mobile home ceiling is to inspect it for any signs of damage or sagging. Look for water stains, holes, cracks, or other issues that need attention. Once the problem areas have been identified, then you can move on to the next step in fixing the ceiling.
Step 2: Prepare the Mobile Home Ceiling
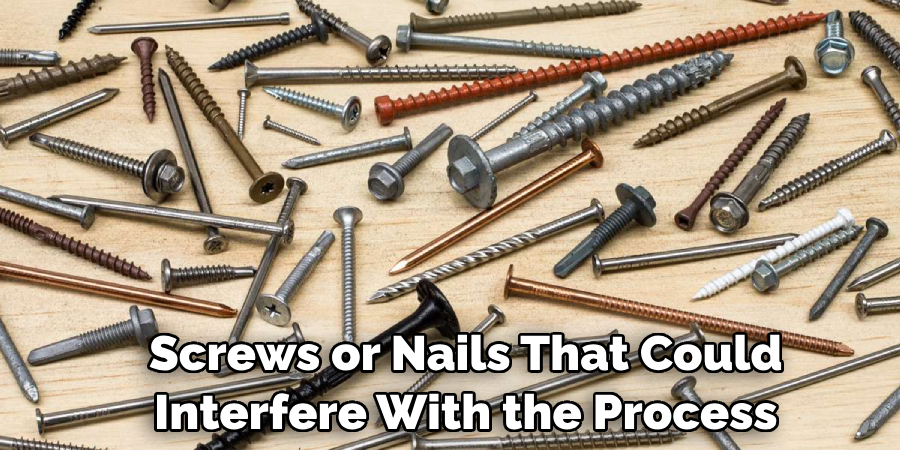
Once the problem areas have been identified, preparing the ceiling for repair is important. This may include removing any existing insulation, screws, or nails that could interfere with the process. Also, make sure to clean off any dust and dirt from the ceiling before beginning repairs.
Step 3: Repair Any Damage to the Ceiling
Repairs may include patching holes or filling cracks, depending on the extent of the damage. A spackling paste is often used to fill in gaps and then sanded down for a smooth appearance. If there are any warped pieces of wood, they may need to be replaced with new boards.
Step 4: Install New Insulation
After any damage has been repaired, it is important to install new insulation. Insulating the ceiling can help reduce energy costs and provide soundproofing in the mobile home. Be sure to use approved insulating materials that are properly sized for the space.
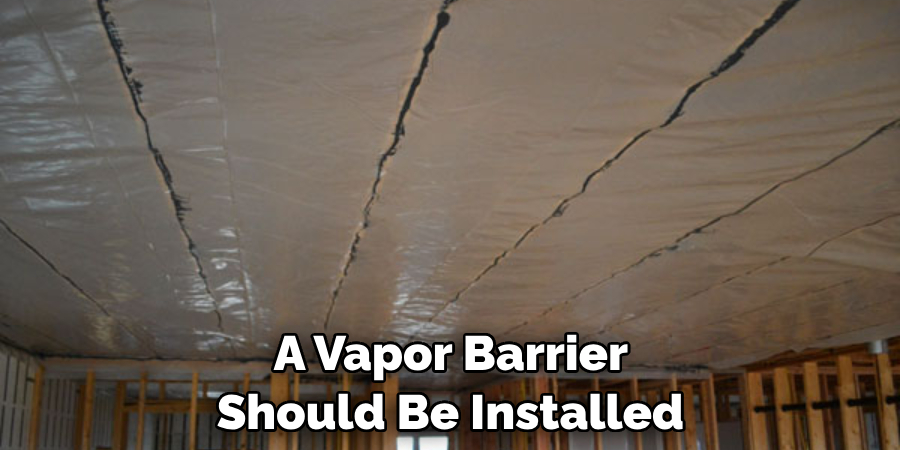
Step 5: Apply a Vapor Barrier
A vapor barrier should be installed to prevent moisture from entering the mobile home and causing damage. This layer of protection helps keep the ceiling dry and prevents mold or mildew from forming.
Once all other repairs and installations have been done, it’s time to secure the ceiling with screws or nails. This step is important for providing stability and support to the ceiling. Be sure to use approved screws or nails that are appropriate for the material being used.
Step 6: Prime and Paint the Ceiling
Once all other repairs have been completed, you can apply a coat of primer and paint to the ceiling. This will help give it a finished look and also protect it from further damage.
For a professional-looking finish, applying joint compound to any seams or joints in the ceiling is important. This will fill in any small material gaps and make the ceiling look even smoother.
Step 7: Sand Down Any Rough Edges
After all, repairs have been done, it is important to sand down any rough or uneven edges of the ceiling. This will help ensure that the end result is a smooth and seamless finish.
After all repairs and improvements have been made, you can now enjoy your new ceiling. With a few simple steps, the mobile home ceiling will look better than ever. By following these steps, you can have a beautiful and structurally sound ceiling in no time.
Safety Tips for How to Fix a Mobile Home Ceiling
- Read the manufacturer’s instructions before beginning any repair work on a mobile home ceiling. This will ensure that you are working safely and correctly, as well as preventing any potential damage to the home’s structural integrity.
- Make sure the power is turned off to the mobile home before doing any repair work on the ceiling. You could be electrocuted and seriously injured or killed if the power is still on.
- Make sure to wear eye protection when working on a mobile home ceiling. This will protect your eyes from flying particles of drywall or other debris that may be present while working.
- Wear a dust mask to prevent inhaling dust or other particulates while working on a mobile home ceiling. This will help to protect your lungs from any potential irritants that may be present.
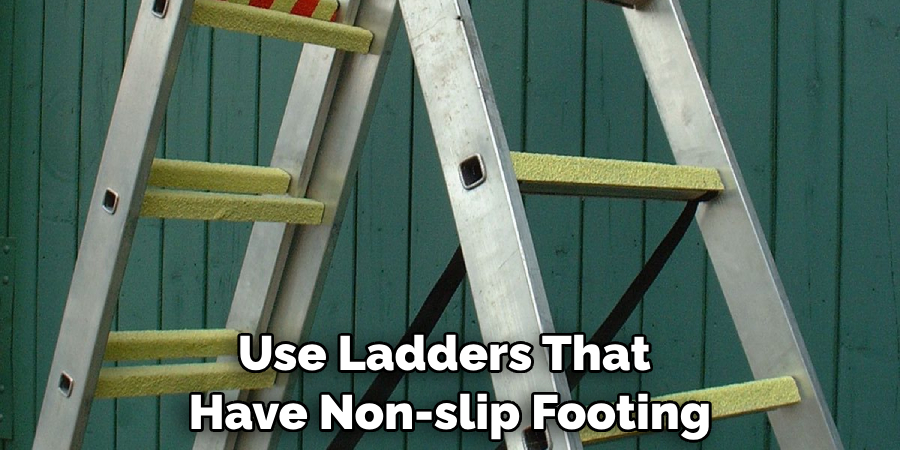
- Make sure to use ladders that have non-slip footing and are positioned securely when doing work on a mobile home ceiling. You don’t want to fall and risk serious injury.
- Ensure you have the necessary tools for the job at hand, as well as any replacement parts or materials that may be needed. It is important to have everything handy before beginning a repair project on a mobile home ceiling.
- When working alone on a mobile home ceiling, always make sure to let someone know what you are doing and where you will be. This way, an emergency contact would know how to reach you if something were to happen.
Following these safety tips ensures that your ceiling repair project in a mobile home runs smoothly and safely. Taking precautionary measures before beginning any repair work can help prevent potential accidents or damage.
What Kind of Damage is Present in the Ceiling?
The first step to fixing a mobile home ceiling is determining the type of damage that is present in the ceiling. This can involve looking for cracks, holes, sagging, or water spots.
Depending on what kind of damage is present will determine how to fix the mobile home ceiling best. If there are small holes and cracks in the ceiling, they can be filled in with spackle or plaster. If larger holes need to be repaired, a board should be cut to size and screwed into place over the hole.
Sagging ceilings may have too much weight from items hung on the ceiling or from roof damage due to weather. To fix this type of damage, the affected area should be reinforced with vertical studs and then covered over with a board or other material.
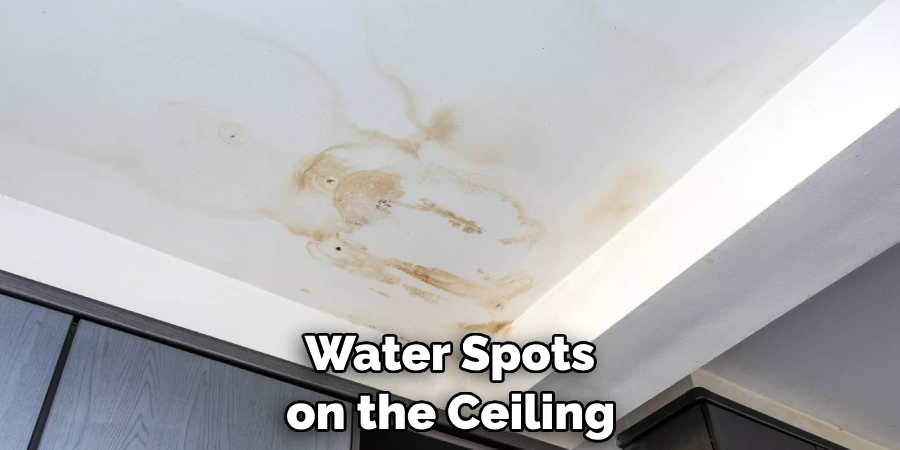
If there are water spots on the ceiling, this could be due to a leak that needs to be repaired. To determine the source of the leak, it is best to inspect any plumbing fixtures (including vents) located in the ceiling area. Once the source of the leak has been identified, it should be fixed, and then the water damage to the ceiling can be repaired.
Is There Water Damage on the Ceiling?
Water damage is a common problem with mobile homes, especially if the roof has leaks or isn’t properly sealed. If water has been dripping through the ceiling, it’s important to repair any damage caused by moisture before proceeding with your repairs.
Start by inspecting the ceiling and looking for signs of staining or discoloration from water. You may also want to check for water damage by tapping on the ceiling and listening for a hollow sound.
If you find water damage, the first step is to fix any leaks in your roof. This may require replacing the roof’s shingles or other parts, causing the issue. You can repair the ceiling once any holes or gaps have been sealed.
Depending on how extensive the damage is, you may need to replace panels or sections of the ceiling completely. If the existing panels remain intact, you can patch small holes or cracks with a joint compound and a putty knife.
How Long Will the Repair Take to Complete?
The time it takes to complete a repair on a mobile home ceiling can depend on the severity of the damage. It is usually possible to do the job in just a few hours for minor repairs, such as patching small holes or repairing minor cracks and dents.
However, larger repairs that involve replacing damaged panels or sagging ceilings may take longer. It is best to plan on at least a few hours of repair time for any job, as it may take longer than initially anticipated. In some cases, hiring a professional contractor to fix the ceiling may be necessary if the project is too complex for a DIYer.
When repairing or replacing panels in your mobile home ceiling, it is important to use the right materials. Mobile homes typically have walls and ceilings made from thin aluminum panels or vinyl-covered drywall sheets. It is important to ensure you get the right type of material for your repair job to ensure a durable and long-lasting repair.
Are Any Safety Issues Need to Be Addressed Before Beginning the Repair?
Safety should always be the primary concern when it comes to fixing a mobile home ceiling. Before beginning any repair work on your mobile home’s ceiling, inspect to ensure no issues could lead to injury or damage, such as water damage or signs of structural weakness. If any problems are identified, contacting a professional before proceeding with the repair is important.
In addition, you should always wear safety glasses and gloves when performing any type of repair work on your mobile home ceiling. This will help protect your eyes and hands from any potential hazards, such as falling debris or sharp objects. Finally, ensure that all repairs are done per the manufacturer’s instructions and always adhere to all local building codes.

Conclusion
In conclusion, fixing a mobile home ceiling is an easy but necessary task for keeping your home in good condition. It requires some planning, preparation, and the right materials for the job. Careful measurement and cutting of the replacement material are essential to ensure that it fits properly.
If you don’t feel comfortable tackling this project on your own, be sure to enlist the assistance of a skilled professional. I hope this article has been beneficial in learning how to fix a mobile home ceiling. Make Sure the precautionary measures are followed chronologically.