Are you tired of your lounge chair giving you a backache every time you sit on it? Or maybe the leg is broken and it wobbles every time you move? Don’t worry; with a few simple steps, you can easily fix your lounge chair and make it as good as new.
Lounge chairs provide an ideal spot for relaxation and comfort, often becoming one of the most cherished pieces of furniture in a home. However, constant use and exposure to the elements can lead to wear and tear, diminishing their appearance and functionality. Whether you’re dealing with a wobbly leg, a torn cushion, or a faded frame, fixing a lounge chair can save you money and extend its lifespan.

In this guide, we’ll walk you through the steps on how to fix a lounge chair, ensuring your lounge chair remains a cozy and durable retreat for years to come.
What Will You Need?
Before fixing your lounge chair, gathering all the necessary tools and materials is important. The exact items needed may vary depending on the type of damage or issue with your chair, but here are some general supplies that will come in handy:
- Screwdriver
- Hammer
- Nails/screws
- Wood glue
- Sandpaper
- Upholstery fabric and cushion filling (if replacing a torn cushion)
- Fabric scissors
- Paint (if repainting a faded frame)
Once you have all your supplies ready, let’s dive into the steps to fix your lounge chair.
10 Easy Steps on How to Fix a Lounge Chair
Step 1: Assess the Damage
The first step in fixing any piece of furniture is assessing the damage. Take a close look at your lounge chair and identify any issues or areas that need repair. This will help you determine what tools and materials you’ll need and the best approach for fixing it.

If there are broken or loose parts, make sure to mark them with tape so you can easily find them when it’s time to fix them.
Step 2: Tighten Any Loose Screws or Bolts
After assessing the damage and marking the problem areas, the next step is to tighten any loose screws or bolts. Use a screwdriver or a wrench to secure any loose hardware that might be causing the chair to wobble or feel unstable. Make sure to check all joints and connections, even if they don’t appear to be loose at first glance. A firm and stable frame is crucial for ensuring the longevity and comfort of your lounge chair. If any screws or bolts are missing, replace them with new ones to ensure a snug fit.
Step 3: Repair or Replace Broken Parts
If your lounge chair has any broken parts, such as a cracked leg or a split support beam, you’ll need to either repair or replace these components. Use wood glue to bond any cracks or splits for wooden parts. Apply the glue liberally and clamp the pieces together until the glue dries completely. If the damage is beyond repair, you may need to cut a new piece of wood to replace the broken part. When measuring and cutting, ensure that the replacement part matches the dimensions of the original to maintain the chair’s structure and stability.
Step 4: Sand Down Rough Edges
Once any broken parts have been repaired or replaced, it’s important to sand down any rough edges or surfaces. Use sandpaper to smooth out any splinters, rough spots, or uneven areas, especially around the repaired sections. This will help prepare the surface for painting or staining and ensure that your lounge chair is comfortable to use. Make sure to wipe away any dust or debris with a damp cloth after sanding to create a clean surface for the next steps.
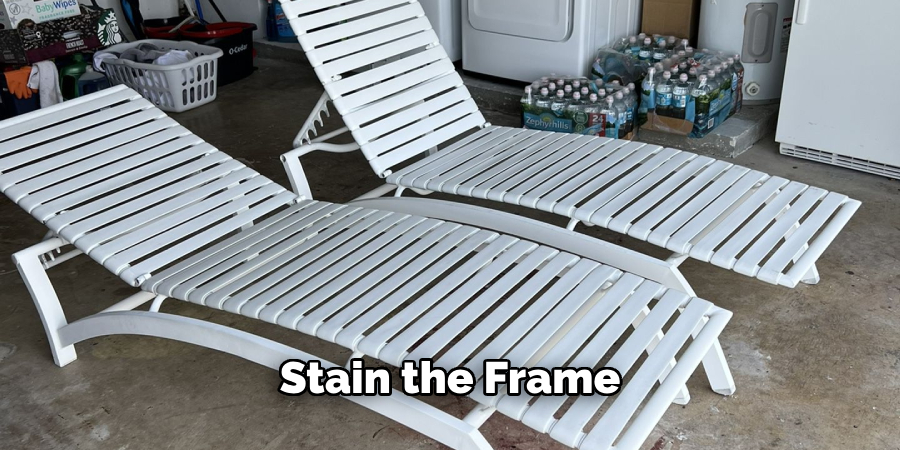
Step 5: Repaint or Stain the Frame
After sanding down the rough edges, it’s time to repaint or stain the frame of your lounge chair to give it a fresh, new appearance. Choose a paint or stain that complements your existing décor and is suitable for the type of wood your chair is made from. Apply the paint or stain evenly, making sure to cover all surfaces, and allow it to dry completely before moving on to the next step. If needed, apply a second coat to achieve the desired finish. This not only improves the aesthetics but also provides a protective layer against the elements, extending the lifespan of your lounge chair.
Step 6: Replace or Repair the Cushion
If the cushion of your lounge chair is torn, worn out, or uncomfortable, it’s time to replace or repair it. Start by removing the old upholstery fabric and cushion filling. Measure the dimensions of the cushion area and cut the new fabric accordingly. If you’re simply repairing, use a needle and thread to sew any torn sections. For a full replacement, fill the cushion area with new foam or polyester filling, ensuring it is evenly distributed. Wrap the new fabric tightly around the filling and secure it with staples or upholstery tacks. This revitalizes the chair’s comfort and gives it a refreshed look.
Step 7: Reassemble the Chair
With all individual repairs completed, it’s time to reassemble your lounge chair. Carefully put all parts back together, ensuring that each piece fits snugly and securely. Double-check that all screws, bolts, and joints are tight and that the chair sits level on the ground. Reattaching the repaired or replaced parts properly is crucial in maintaining the chair’s structural integrity.
Step 8: Test for Stability
Before declaring your lounge chair fully repaired, perform a final stability test. Sit on the chair and gently move to different positions to ensure it remains steady and comfortable. Check that there are no wobbles, creaks, or instability issues. This step is essential to guarantee the safety and durability of the repairs. If any issues arise, address them promptly before considering the project complete.
Step 9: Apply Protective Finish
Consider applying a clear protective finish to add an extra layer of protection, especially if the lounge chair will be used outdoors. This can be a sealant or a varnish that provides additional resistance to moisture and wear. Apply it evenly across all wooden surfaces and allow it to dry thoroughly. This protective coating helps safeguard your work and preserves the chair’s new look.
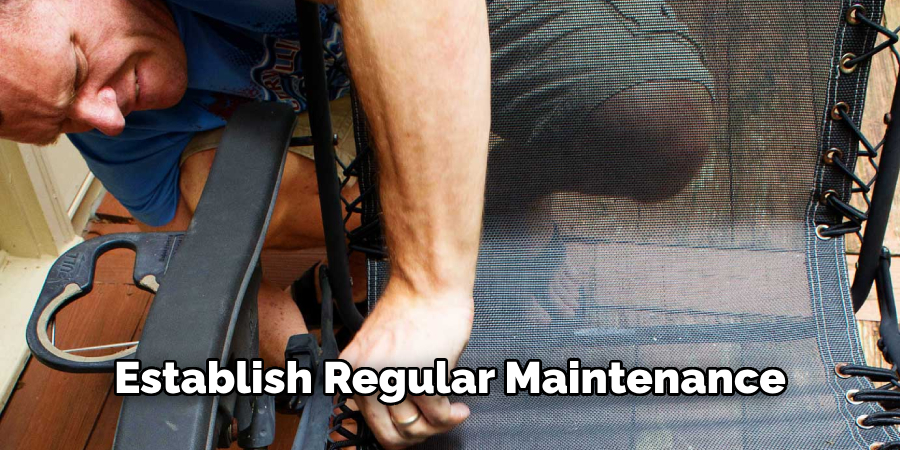
Step 10: Maintain Regularly
Finally, establish a regular maintenance routine to keep your lounge chair in top condition. Periodically check for any loose screws, cracks, or signs of wear and address them promptly. Regular cleaning and occasional touch-ups with paint or stain can help maintain the chair’s appearance and functionality. By taking proactive care, you can ensure your lounge chair remains a comfortable and durable retreat for many years. Remember, timely maintenance can prevent minor issues from becoming major repairs.
You can easily repair and revitalize your damaged lounge chair with these steps.
5 Additional Tips and Tricks
- Check for Loose Screws and Bolts: Regularly inspect the screws and bolts that hold your lounge chair together. Tighten any loose objects using the appropriate tools to ensure the chair remains sturdy and safe to use.
- Repair or Replace Worn-Out Slings: If the fabric slings on your lounge chair are torn or frayed, consider repairing small tears with a fabric repair kit or replacing severely damaged slings with new ones. Ensure you measure correctly for a proper fit.
- Reinforce Weak Joints: Over time, the joints of your lounge chair can become weak or wobbly. Use wood glue or a high-strength adhesive to reinforce these areas. For added stability, you may also want to add metal brackets.
- Sand and Refinish Wooden Parts: If your lounge chair has wooden components, sanding them down and applying a fresh coat of varnish or paint can help restore their appearance and make them more resistant to the elements.
- Keep Your Lounge Chair Clean and Protected: Regular cleaning and maintenance can help prevent future damage to your lounge chair. Use a mild soap and water solution to regularly clean the frame, slings, and cushions. Additionally, consider covering or storing your lounge chair during inclement weather to protect it from potential damage.
By following these additional tips and tricks, you can prolong the lifespan of your lounge chair and enjoy relaxing in it for years.
5 Things You Should Avoid
- Using Incorrect Tools: Improper tools can cause more damage to your lounge chair than repairs. Always use the appropriate tools for the task, and avoid makeshift solutions that can compromise the structure and safety of your chair.
- Ignoring Manufacturer Instructions: Each lounge chair model is designed differently, and ignoring the manufacturer’s instructions can lead to improper repairs. Always refer to the user manual or manufacturer’s guidelines when fixing your lounge chair.
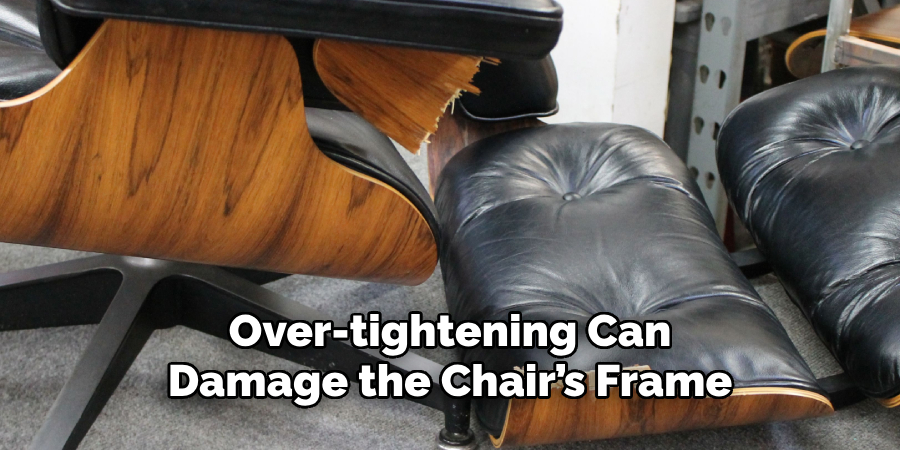
- Over-Tightening Screws and Bolts: While it’s important to ensure screws and bolts are secure, over-tightening can strip threads or damage the chair’s frame. Tighten until secure, but avoid exerting excessive force.
- Using Inappropriate Adhesives: Not all adhesives are created equal. Using the wrong type, such as general household glue on metal joints, can result in weak bonds that break easily. Always choose high-strength adhesives designed for the specific materials of your lounge chair.
- Neglecting Regular Maintenance: Waiting until your lounge chair is significantly worn out can make repairs more difficult and less effective. Regular maintenance and timely fixes can prevent minor issues from turning into major ones.
Conclusion
In summary, how to fix a lounge chair involves a combination of regular inspections, timely repairs, and ongoing maintenance to ensure it remains both functional and comfortable.
By diligently checking for loose screws and bolts, repairing or replacing worn-out slings, reinforcing weak joints, refinishing wooden parts, and keeping the chair clean and protected, you can significantly extend the life of your lounge chair. These proactive measures enhance the chair’s durability and contribute to a more enjoyable and relaxing experience.
By investing a little time and effort into proper upkeep, your lounge chair can provide you with many more years of comfort and relaxation.