Having a leaking shower floor can be an exceedingly inconvenient and costly problem to have. Not only does it lead to mold accumulation, but the dripping can also cause aesthetic damage over time. While replacing a shower is expensive, it doesn’t have to be your only option – with the proper tools and knowledge you can save both time and money by fixing the leaky floor yourself!
In this blog post, we’ll provide helpful tips on how to identify the source of water leakage as well as repair strategies that will help ensure your shower stays sealed up tight. Keep reading to learn more about how to fix a leaking shower floor in no time!
Tools and Materials You Will Need to Fix a Leaking Shower Floor
- Silicone caulk
- Putty knife or razor blade
- Utility knife
- Duct tape
- Waterproof sealant
- Sandpaper (optional)
- Hairdryer (optional)
Step by Step Guidelines on How to Fix a Leaking Shower Floor
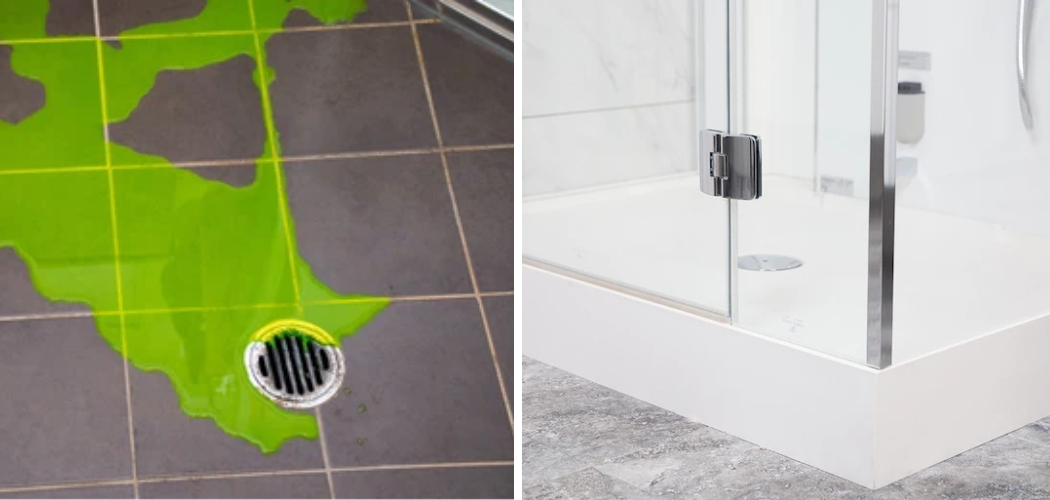
Step 1: Identify the Source of Water Leakage
The first step to repairing a leaking shower floor is to identify where the water is coming from. If your tile grout or caulk has begun to crack, then that likely means there’s a leak somewhere near the base of your shower. To get a better understanding of exactly where the water is seeping through, turn on the shower and look for any wet spots or discoloration in the floor.
Step 2: Prepare the Area
Once you’ve identified the source of the leak, it’s time to prepare your work area by removing any old silicone caulk or grout from around your tiles. Use a putty knife or razor blade to scrape away any loose pieces and then vacuum up the residue. Preparing the area is essential to ensuring your repairs will hold up over time.
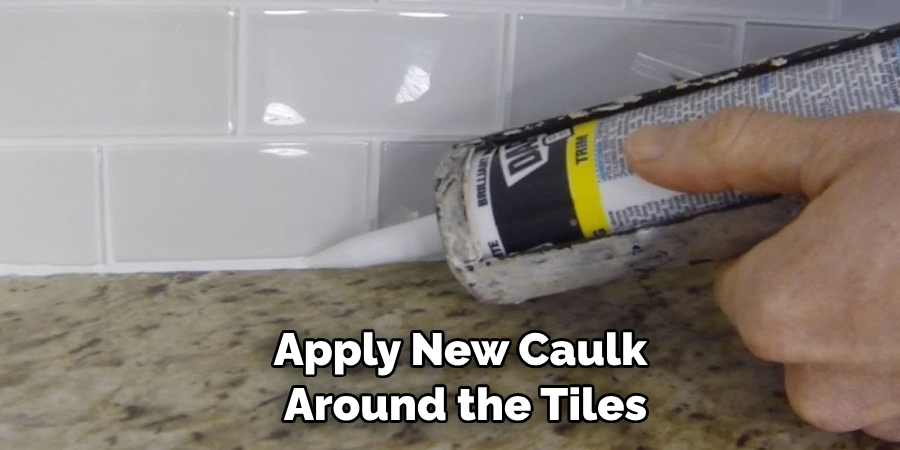
Step 3: Apply the Caulk
Once your work area is prepped, it’s time to apply new caulk around the tiles. Start by cutting off a piece of silicone caulk that’s slightly longer than the gap between your tiles. Then apply an even layer of caulk along the gap and use a utility knife to smooth it out. While applying, keep in mind that it’s important to get the caulk into all of the nooks and crannies.
Step 4: Cover with Duct Tape
Once you’ve applied a sufficient amount of caulk, cover the wet caulk with duct tape to help it set faster. The duct tape will also help prevent any water from entering the gap while it cures. This will help your seal last longer. So make sure to leave the tape in place for at least 24 hours.
Step 5: Apply Waterproof Sealant
Once the caulk is fully cured, it’s time to apply a waterproof sealant over your tiles and grout. Start by lightly sanding down any rough edges or bumps before applying the sealant with a brush or roller. Allow ample drying time for the sealant to cure before using your shower again.
Following these steps should ensure that your shower floor is properly sealed and watertight. Of course, if you’re ever uncertain of how to do any of these repairs yourself, it’s always best to consult a professional contractor for further help or advice.
Additional Tips and Tricks to Fix a Leaking Shower Floor
1. Check for any damage to the grout and sealant around the shower floor – if you see any cracks, use a silicone caulk to seal them. If possible, replace the entire section of grout or tile that is affected.
2. Make sure all of your plumbing fixtures are secure and properly installed – check joints, seals, and connections for any signs of looseness or water damage. If necessary, tighten all screws and reconnections to keep the fixtures in place.
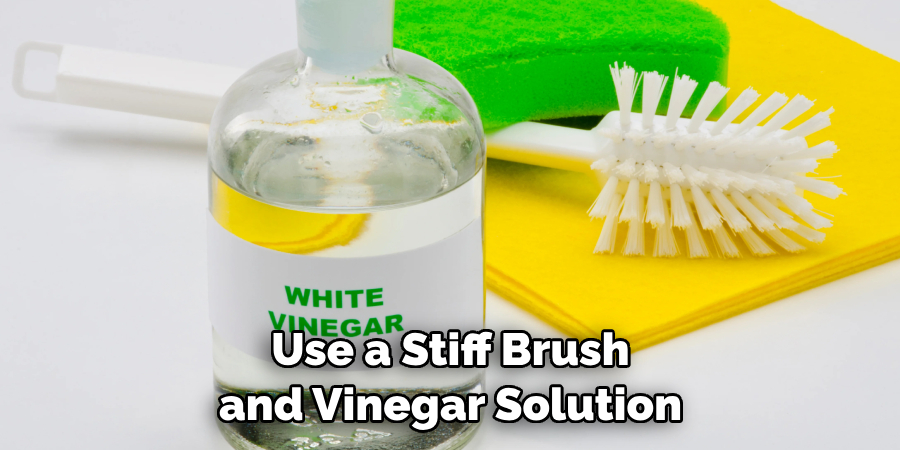
3. Clean out the drain regularly – use a stiff brush and vinegar solution to remove any debris that might be clogging up the drain or causing it to leak around the shower floor.
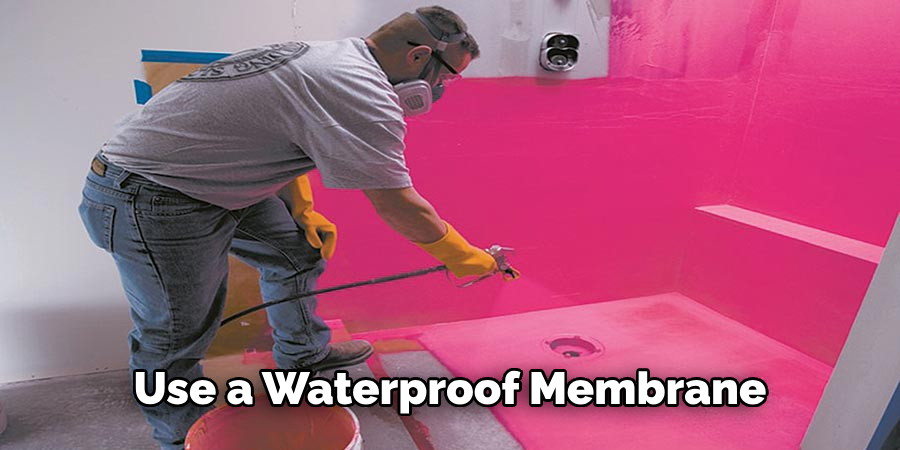
4. Use a waterproof membrane over the shower floor – apply a sealant membrane over the entire surface of the shower floor. This will help create a barrier against water seeping through, while also helping to extend its lifespan.
5. Inspect your shower for any cracks or holes – inspect the walls and floors of the shower for any signs of damage or water leakage around them. If you spot any cracks, fill them in with a special sealant or a grout mixture to stop the leak.
6. Consider applying a sealant to your shower floor – this will create an extra waterproof barrier that can help prevent water from seeping through and creating leaks around the shower floor.
Following these tips and tricks should help you to fix any leaking shower floor that you might encounter. However, it’s always best to call a professional if the problem is more serious and requires further repairs or replacement of plumbing fixtures. Taking the time to properly tackle any problems with your shower now can save you from larger issues down the line.
Things You Should Consider to Fix a Leaking Shower Floor
1. Identify the Cause of the Leak:
The first step in fixing a leaking shower floor is to identify what is causing the leak. In most cases, it is a water pipe that has corroded or deteriorated over time. It could also be due to an improper installation, such as a loose joint or cracked sealant. Make sure to inspect all plumbing connections and seals to determine the source of the leak.
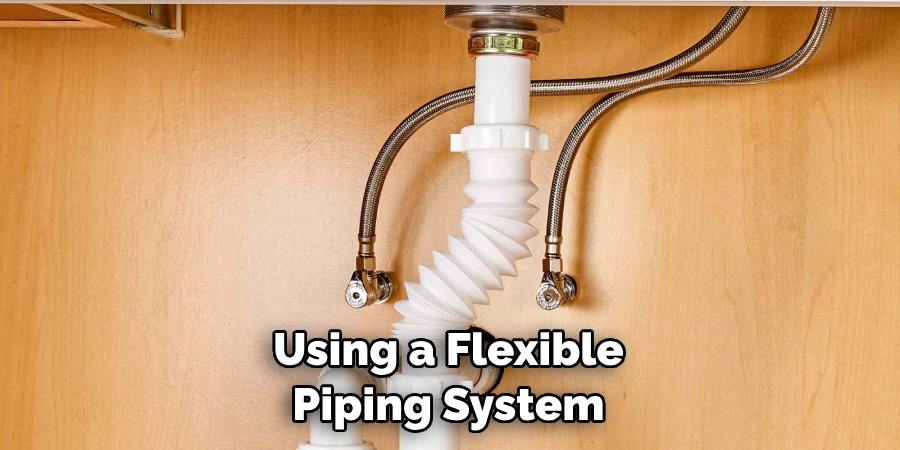
2. Consider Replacing Damaged Pipes:
If you find that your pipes are in bad shape and need to be replaced, consider using a flexible piping system or purchasing replacement parts from a hardware store. Make sure that these new parts will fit properly and provide adequate water pressure for your shower. This is an important step in preventing future leaks.
3. Repair or Replace Damage to Flooring and Walls:
Once you’ve identified the source of the leak, it’s time to make repairs to any damage caused by the water. This may include repairing or replacing tiles, grout, and sealant that have been affected. Make sure to use water-resistant materials so that you can avoid future repairs.
4. Apply Waterproof Sealant:
When all repairs have been made, it’s important to apply a waterproof sealant to the flooring and walls of your shower. This will help prevent water from seeping through cracks and crevices in the surface of your shower. Make sure to read the instructions on the product you purchase and apply it according to those directions.
5. Check for Leaks Regularly:
Once your repairs are complete, it’s important to check for leaks regularly. This can help you catch any problems before they become major issues. It’s also a good idea to have a plumber inspect your shower periodically for any signs of future problems.
By following these considerations and steps, you can successfully repair a leaking shower floor in no time. With proper maintenance, you can ensure that your shower is safe and secure for years to come.
Frequently Asked Questions
What Type of Sealant Should I Use to Fix a Leaking Shower Floor?
Depending on the severity of the leak, you may need to use caulk, silicone, or grout. Caulk is best for minor leaks that have caused only slight discoloration of the grout lines and no apparent damage to the surrounding tiles. Silicone is best for water-resistant seams and gaps between tiles. Grout can be used for large, significant leaks that have caused major damage to the walls or flooring around the shower.
When Should I Replace My Shower Floor?
If the leak has caused extensive damage or if you notice mold or mildew growth, you should replace your shower floor. Mold and mildew can cause health problems so it is important to take care of this issue promptly and properly. Additionally, if the floor is severely cracked or discolored, you may want to replace it as well.
What Can I Do To Make Sure My Shower Floor Stays Dry?
To prevent your shower floor from leaking in the future, you should make sure the drain is installed properly and that it has proper sealing. Additionally, you should inspect your grout and caulk regularly for signs of wear or damage.
If any issues are spotted, replace the sealant immediately to prevent further water damage. Finally, make sure to use a waterproof membrane underneath your shower flooring as this will help keep moisture out.
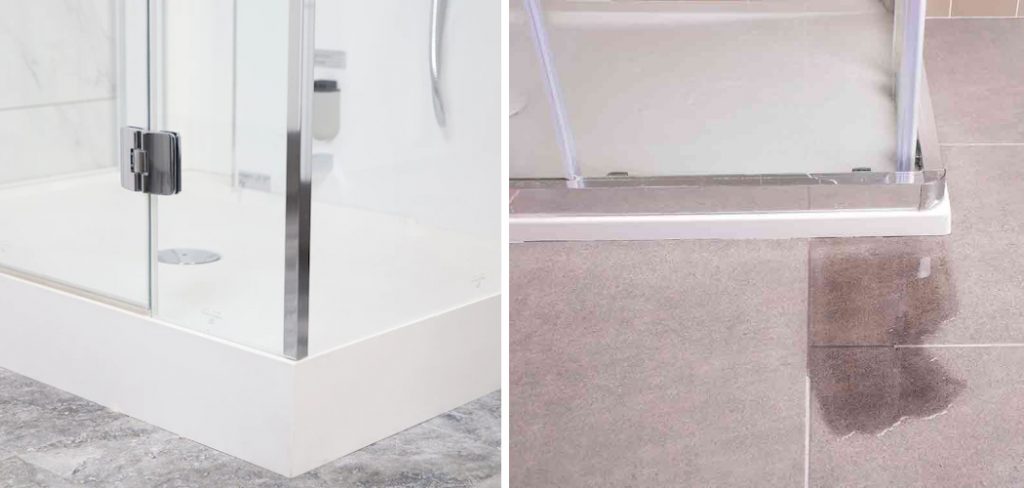
How Do I Know If My Shower Floor Is Leaking?
If you notice any discoloration, buckling, or cracking around the shower floor, chances are that it is leaking. You may also see pooling water outside of the shower area or hear a dripping sound coming from below the floor. If you suspect your shower floor is leaking, you should inspect it and repair the issue as soon as possible.
Conclusion
All in all, knowing how to fix a leaking shower floor is important to protect your home from water damage. It is best to use caulk, silicone, or grout depending on the severity of the leak, and replace the shower floor if there is extensive damage.
Additionally, be sure to inspect your grout and caulk regularly and use a waterproof membrane underneath the shower floor to ensure it stays dry. If you suspect a leak, inspect the shower floor immediately and make the necessary repairs to prevent further water damage. With proper maintenance and regular inspections, you can keep your shower floor functioning properly for years to come.