Cutting Lifeproof flooring accurately is a crucial skill for any homeowner or DIY enthusiast looking to install this resilient and attractive flooring option. Lifeproof flooring, known for its durability and waterproof features, requires precise cutting to fit seamlessly into various spaces.

In this comprehensive guide, we will delve into how to cut lifeproof flooring. From measuring and marking to selecting the appropriate cutting tool, every step of the process is explored in detail.
Whether you are tackling a small room or a larger area, understanding the nuances of cutting Lifeproof flooring will ensure a professional finish that enhances both the visual appeal and functionality of your space. Join us as we provide valuable insights and tips to empower you in achieving precise and clean cuts for a flawless installation of Lifeproof flooring in your home.
Importance of Precise Cutting for a Professional Installation
When working on a flooring project, whether it’s for your own home or for a client, proper and precise cutting is crucial for achieving a professional and seamless installation. This holds true especially for lifeproof flooring which requires some additional attention due to its unique properties.
Lifeproof flooring is known for its durability and resistance to water, making it an ideal choice for high traffic areas such as kitchens and bathrooms. However, its thickness and rigidness can make the cutting process more challenging compared to other types of flooring materials.
One of the main reasons why precise cutting is important when working with lifeproof flooring is because it ensures a perfect fit between each plank, leaving no gaps or uneven edges. This not only improves the overall aesthetic appearance of the flooring, but it also helps prevent any potential issues such as creaking or movement of the planks over time.
Moreover, accurate cutting is also essential for achieving a smooth and level surface. Even the slightest mistake in cutting can result in an uneven floor, which not only affects the visual appeal but can also create tripping hazards.
Aside from aesthetic and safety reasons, precise cutting also helps with the overall longevity of the lifeproof flooring. Poorly cut planks can compromise the integrity of the flooring, making it more prone to damage and wear over time.
Now that we understand the importance of precise cutting for lifeproof flooring, let’s take a closer look at some tips and techniques to achieve this during your next project. Whether you are using a saw or a utility knife, always make sure to measure and mark the planks accurately before making any cuts. This will help ensure that each plank is cut to the correct length and width, reducing the likelihood of errors.
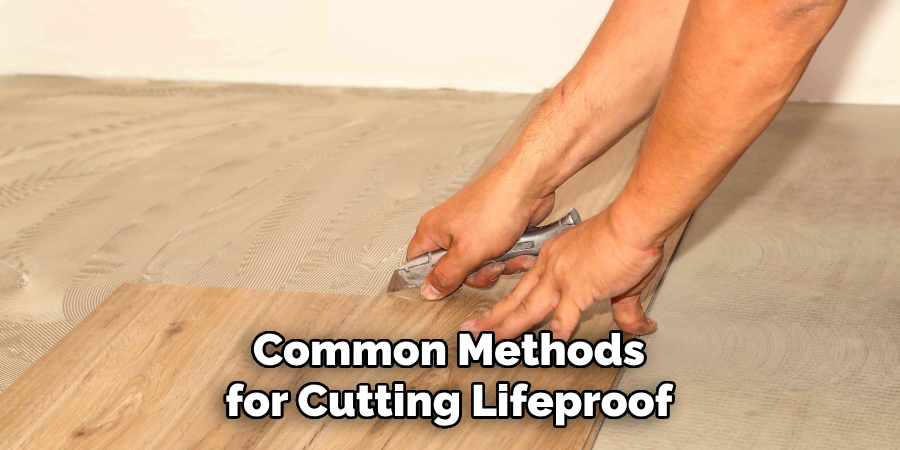
10 Methods How to Cut Lifeproof Flooring
1. Use a Utility Knife
One of the easiest and most common methods for cutting lifeproof flooring is by using a utility knife. This method works best for making straight cuts, such as when fitting the flooring around doorways or corners.
2. Score and Snap Method
For longer cuts, you can use the score and snap method. Simply use a utility knife to score the surface of the flooring along the desired cut line, then bend the board along the scored line until it snaps off cleanly. This method is best for straight cuts and can be used for both lengthwise and widthwise cuts. However, it may not work as well for more complex or curved cuts.
3. Circular Saw
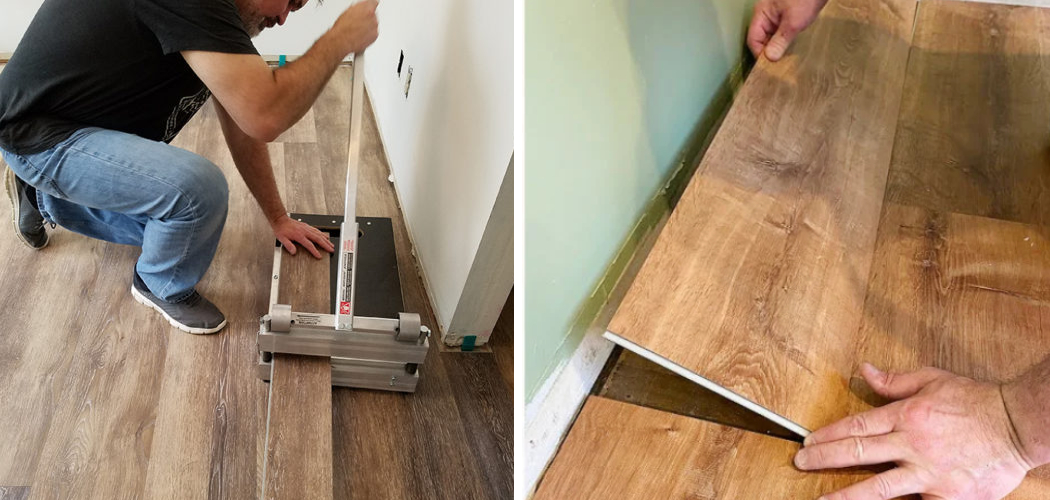
A circular saw with a fine-toothed blade can also be used to cut lifeproof flooring. This method is best for making longer or angled cuts, such as when fitting flooring around irregularly shaped objects.
Before cutting, be sure to measure and mark your cut lines on the flooring plank. This will help to ensure accuracy and minimize mistakes. Additionally, you may want to use a carpenter’s square or straight edge to guide your saw along the marked line.
4. Jigsaw
If you need to make more precise and intricate cuts, a jigsaw can be a useful tool for cutting lifeproof flooring. Just be sure to use a blade specifically designed for cutting laminate or vinyl materials. To use a jigsaw, start by measuring and marking the area you need to cut on the flooring. Then, clamp down the piece of flooring securely to prevent it from moving while cutting.
5. Table Saw
For larger projects or thicker lifeproof flooring, a table saw may be necessary for making clean and accurate cuts. Be sure to use a fine-toothed blade and adjust the saw’s speed accordingly. When cutting thicker flooring, it may be helpful to make multiple passes on the table saw rather than trying to cut through in one pass.
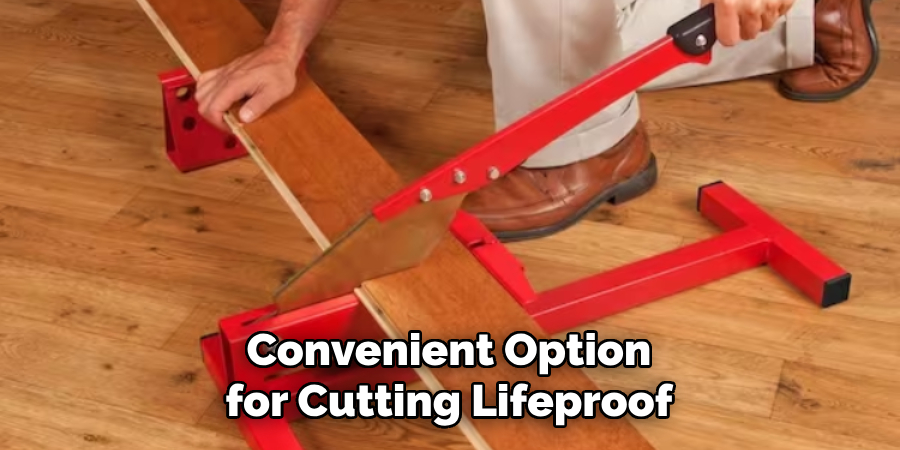
6. Miter Saw
A miter saw is another option for making precise angle cuts on lifeproof flooring. This tool is particularly useful for cutting baseboards or trim pieces that need to fit seamlessly with your new flooring. Though using a miter saw takes some practice, it can be a great investment for any DIY enthusiast. However, before using a miter saw, make sure you have the necessary safety equipment and follow all manufacturer instructions.
7. Handheld Laminate Cutter
For smaller jobs or DIY enthusiasts, a handheld laminate cutter can be an affordable and convenient option for cutting lifeproof flooring. These tools are specifically designed to make clean cuts on laminate materials without causing any damage. They are also lightweight and easy to use, making them a great choice for beginners or those who don’t want to invest in more expensive tools.
8. Oscillating Multi-Tool
An oscillating multi-tool with a flush-cutting blade can also be used to cut lifeproof flooring in tight spaces or around obstacles like pipes or cabinets. This versatile tool features a small, triangular blade that can be easily maneuvered into tight spaces. Furthermore, the oscillating motion of the blade allows for precise and controlled cuts.
9. Carpet Knife
If you need to cut lifeproof flooring that is already installed, a carpet knife can be useful for making precise cuts along the edges of walls or other objects. This type of knife is designed specifically for cutting through carpet, but it can also be used on lifeproof flooring because they have similar textures and thicknesses. To use a carpet knife, simply hold the blade at a slight angle and make small, controlled cuts along the edge of the flooring.
10. Hire a Professional
If you are not confident in your ability to cut lifeproof flooring yourself, it may be best to hire a professional. They will have the necessary tools and experience to make accurate and clean cuts for your project.
However, keep in mind that hiring a professional can be costly and may not fit into your budget. In this case, you can still try cutting the flooring yourself, but take extra precautions and practice on scrap pieces first.

Things to Consider When Cutting Lifeproof Flooring
Lifeproof flooring is a popular choice for homeowners due to its durability, water resistance, and easy installation process. However, when it comes to cutting this type of flooring, there are a few things to consider.
Firstly, it’s important to understand the composition of Lifeproof flooring. It is made up of several layers including a rigid core, vinyl top layer, and a backing layer. These layers make the flooring strong and waterproof, but also require special tools for cutting.
When it comes to selecting the right saw for cutting Lifeproof flooring, the most important factor is the type of blade. The best option is a carbide-tipped laminate cutter or a fine-toothed table saw blade. These types of blades are specifically designed to cut through the rigid core and vinyl layers without causing damage.
Another consideration when cutting Lifeproof flooring is the direction of the planks. It’s important to cut the flooring with the planks facing upwards, as this will prevent any chipping or splintering on the top layer. Additionally, make sure to measure carefully and mark the cutting line with a straight edge to ensure a clean and accurate cut.

Common Mistakes to Avoid When Cutting Lifeproof Flooring
Lifeproof flooring is a popular choice for homeowners due to its durability, affordability, and easy installation process. However, even with the many benefits of this type of flooring, it can still be challenging to cut correctly. If you’re planning on installing Lifeproof flooring in your home, it’s crucial to avoid these common mistakes when cutting.
Not Measuring Accurately
One of the most significant mistakes people make when cutting Lifeproof flooring is not measuring accurately. This can lead to uneven cuts and wasted material, ultimately resulting in a poor installation job. To avoid this mistake, make sure to measure multiple times and use a straight edge or a square to guide your cuts.
Using Dull Tools
Another common mistake is using dull or incorrect tools when cutting Lifeproof flooring. This can result in jagged edges, rough cuts, and even damage to the material. It’s essential to use sharp and appropriate tools such as a good quality utility knife or a table saw with a fine-toothed blade for precise cuts.
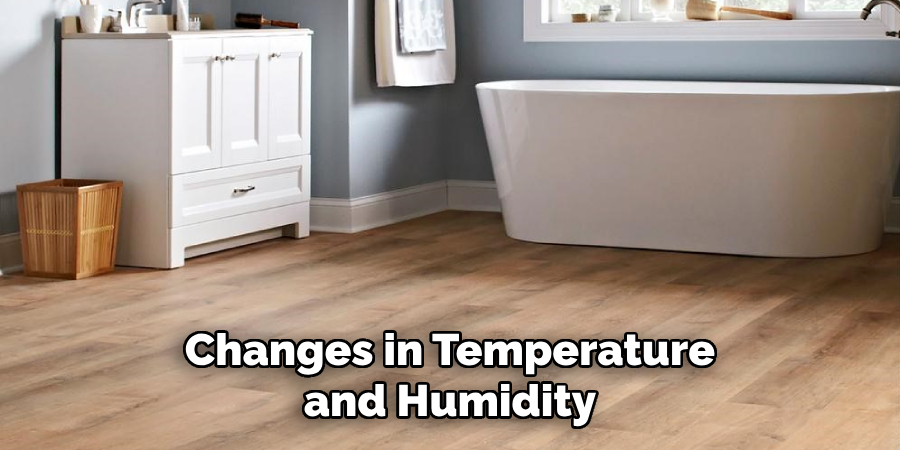
Not Factoring in Expansion Gaps
Lifeproof flooring, like any other type of flooring, needs room to expand and contract with changes in temperature and humidity. Not leaving enough space for expansion gaps around the edges of the room can result in buckling or warping of the flooring over time. Make sure to leave a gap of at least ¼ inch around all walls, doorways, and fixed objects.
Conclusion
So go ahead, grab your tools and get ready to make some precise cuts! Don’t hesitate to seek professional help if needed, as safety should always be a top priority during any home improvement project. After all, nothing feels more satisfying than completing a project successfully on your own. So what are you waiting for?
Follow our tips and enjoy beautiful lifeproof flooring in your home for years to come! Thank you for reading our blog post on how to cut lifeproof flooring, we hope it has been informative and engaging for you. Keep coming back for more interesting home improvement guides and don’t forget to share this post with others who might find it useful too!