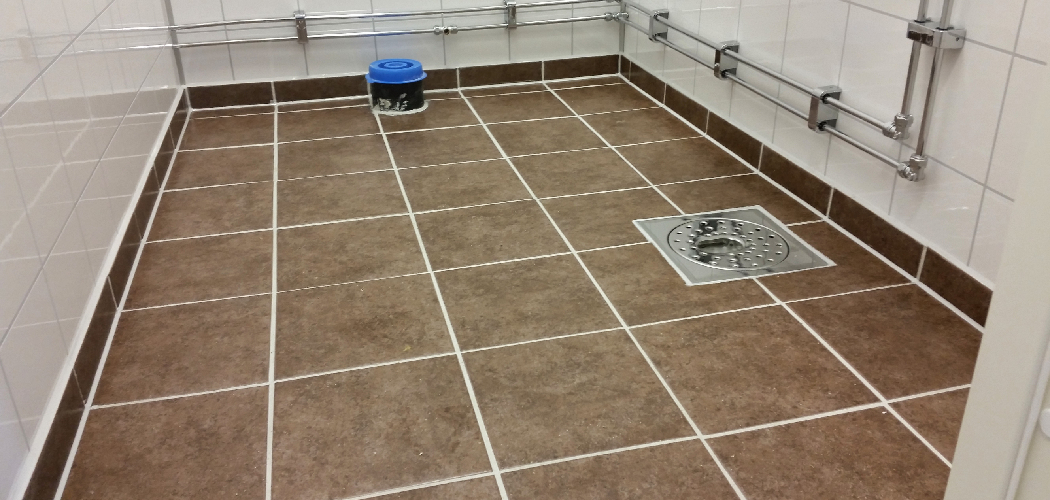
If you are experiencing a slope in your bathroom floor, it can be both annoying and potentially dangerous. Not only does the uneven surface make cleaning more difficult, but the slant of the floor increases the chances of slipping or tripping when walking around. Fortunately, fixing this problem is easier than many realize – you just need to understand what’s causing it and how to correct it properly.
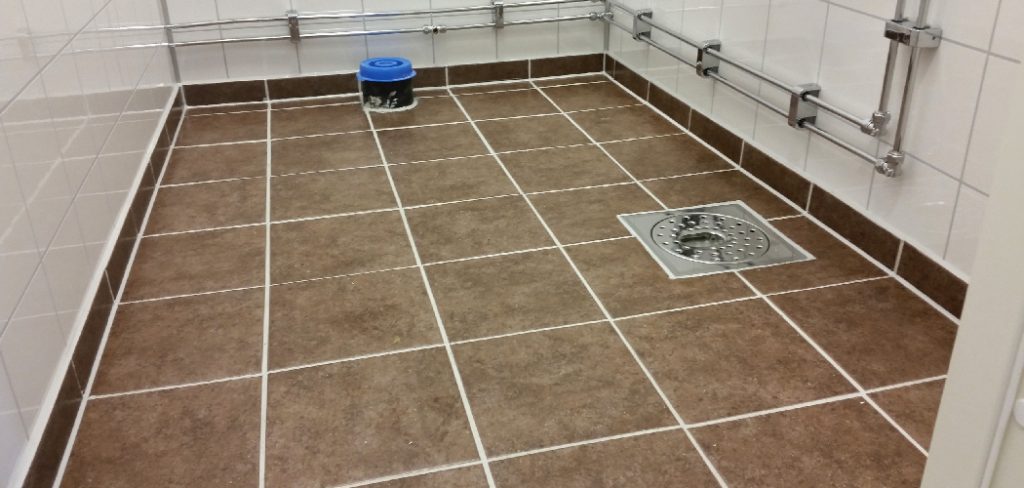
In this blog post on how to correct slope in bathroom floor, we’ll discuss common causes for a sloping bathroom floor as well as several methods for avoiding and correcting these issues. We’ll also provide easy-to-follow tips so that anyone can ensure their bathroom floors remain stable and safe!
Needed Materials
Given below are the materials that you will need to fix a sloping bathroom floor:
- A level
- Caulk
- Plywood
- Floor Patch
- Screws
- A Drill
- A Jigsaw or Saw
11 Step-by-step guides on how to correct slope in bathroom floor
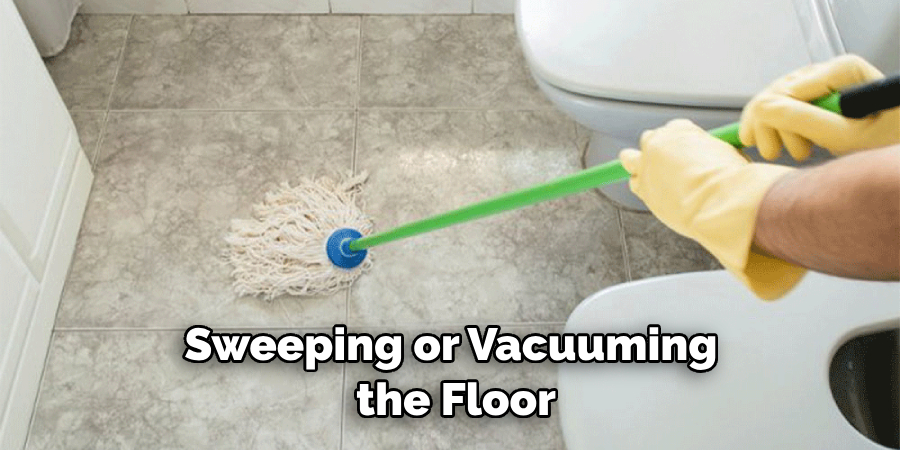
Step 1: Prep the Floor
Start by assessing the floor and determining where the slope is coming from. Begin by sweeping or vacuuming the floor to remove any dirt, debris, and dust. It might also help to mark off the areas with tape for a more precise assessment. But before you begin the repair process, make sure to turn off the electricity in your bathroom. This will help you stay safe as you fix the floor. It is also recommended to turn off the water supply.
Step 2: Use a Level
It’s important to figure out exactly where the slope is located on the floor. To do this, use a level to help you identify any dips or rises on the floor. If you find one, make sure it’s marked clearly on the floor with a pencil or marker for later reference. But if the floor is correctly laid out, you can simply move onto Step 3. This step is especially important if you’re planning to make multiple repairs. You want to be sure you’re targeting the right areas.
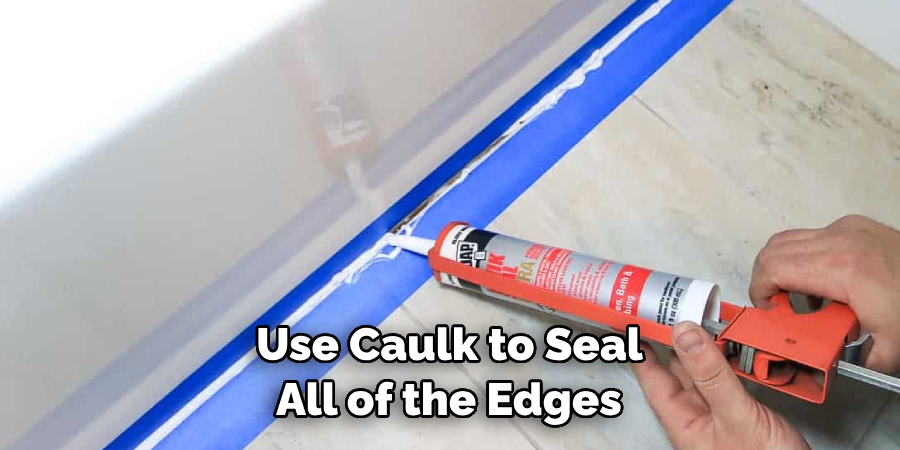
Step 3: Caulk Any Gaps
If there are gaps between the wall and floor, fill them up with caulk. This will prevent water from seeping into these areas and causing further damage over time. It’s important to be sure the caulk is completely sealed in order to prevent any more water from leaking through.
But be aware that caulk can shrink once it dries, so you may need to apply additional coats in some areas. It’s also important to follow the manufacturer’s instructions on how to apply the caulk.
Step 4: Add Plywood Subflooring
If you notice that your bathroom floor is sagging due to a lack of support, you may need to add additional plywood subflooring. Start by measuring out the area that needs reinforcement and cut your plywood accordingly. Next, attach it to the floor joists using deck screws. You can also use a drill to make the installation easier. But for extra stability, you may want to consider adding additional layers of plywood on top.
Step 5: Use Floor Patch for Uneven Areas
If there is an unevenness in the bathroom floor due to damage or settling, you can even it out with a floor patch. This material will help fill in any dips or rises while also providing structural support underfoot. But before applying the patch, make sure to clean any dirt or debris from the surface and let it dry completely. Once these steps are complete, apply the floor patch following the manufacturer’s instructions.
Step 6: Seal the Edges
Once everything has been leveled off, use caulk to seal all of the edges where the wall meets the floor as well as any other seams. This will create a barrier against water and other moisture that can cause mold, mildew, and other issues. It is important to ensure that all of the caulk is sealed properly and free of air bubbles.
Step 7: Add a Layer of Mortar or Cement
If the floor still feels uneven after you’ve used a floor patch, you may need to add an additional layer of mortar or cement. This will help fill in any remaining gaps and create a flat surface for walking on. If you’re using mortar, follow the manufacturer’s instructions on how to mix and apply it. But if you’re using cement, make sure to wet the area before applying it.
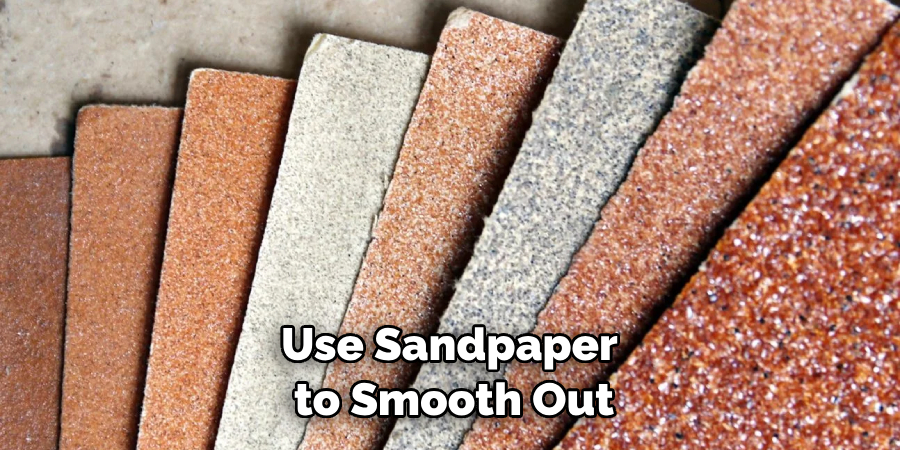
Step 8: Smooth Out Any Rough Edges
Once everything has been leveled off with mortar or cement, use sandpaper to smooth out any rough edges or bumps. This will make it easier to walk on the surface without slipping and will also look better aesthetically. It is important to be sure you’re not sanding too deep as this can make the surface more uneven.
Step 9: Clean Up Excess Materials
After all of the repairs have been made, make sure to clean up all of the excess materials. Vacuum or sweep any debris and then mop the floor with a detergent solution. You may also want to apply a sealer or finish to protect the bathroom floor from further damage. Otherwise, the repairs may not last as long. It is important to follow the manufacturer’s instructions on how to apply and use any sealers or finishes.
Step 10: Let it Dry Thoroughly
Once everything has been cleaned, allow the floor to dry thoroughly before walking on it. This will help prevent any slipping due to moisture or soap residue that may still be present on the surface. This step is especially important if you applied a sealer or finish – it will need time to set properly.
But if the floors took a long time to dry, you may need to apply additional sealer or finish. This will help keep the surface sealed and protected. You may also need to wait a few days for the floor patch and cement to fully cure.
Step 11: Enjoy Your Level Floor!
Once everything has dried completely and you can see that your bathroom floor is now level, you’re ready to enjoy its new look! Be sure to keep up with regular cleaning and maintenance in order to ensure that your hard work won’t go to waste over time. Always remember to check the floor periodically for any signs of damage, just in case. With these tips, you can now successfully repair a sloping bathroom floor!
By following these steps on how to correct slope in bathroom floor, you can effectively and safely correct the slope on your bathroom floor. With just a few simple tools and supplies, you can transform your bathroom from dangerous and uneven to level and safe!
Frequently Asked Questions
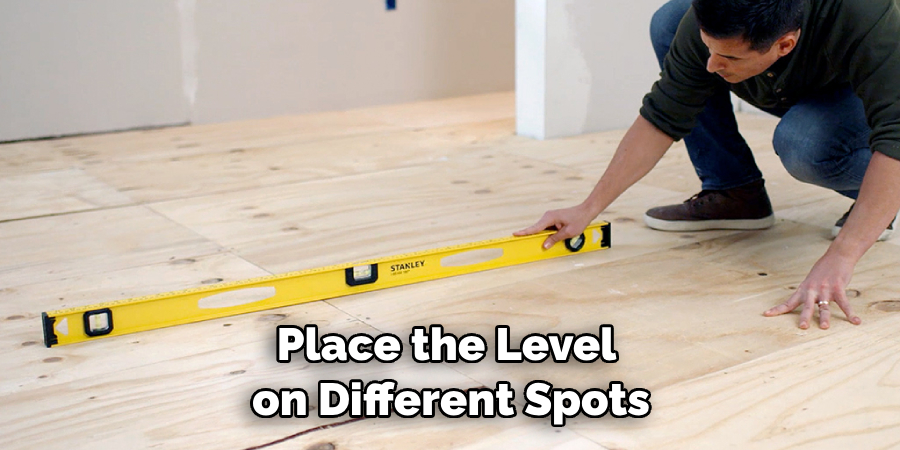
Q: How Do I Know if My Bathroom Floor is Sloped?
A: The easiest way to tell if your bathroom floor is sloped is by using a level. Place the level on different spots around the room and look for any dips or rises that indicate an unevenness in the floor.
Q: Can I Fix a Sloped Bathroom Floor Myself?
A: Yes! With some simple tools and supplies, you can easily fix a sloping bathroom floor yourself. Follow the steps outlined above and you’ll have your bathroom looking level in no time.
Q: How Often Should I Check for Slope on My Bathroom Floor?
A: It’s always best to check for slope at least once every few months, especially if you notice any changes in the surface of the floor. This will help ensure that any small issues don’t turn into bigger, more costly problems over time.
Q: Is it Dangerous to Have a Sloping Bathroom Floor?
A: Yes, sloping bathroom floors can be dangerous, especially if the slope is severe. Not only can it cause difficulty in cleaning, but it also increases the chances of slipping or tripping when walking around. It’s always best to correct these issues as soon as you notice them for the safety of everyone in your home.
Conclusion
All in all, when attempting to correct the slope of a bathroom floor, it is important to first identify what the issue is and then decide which course of action best suits your needs. There are various DIY options that can be used to improve the slope of a bathroom floor.
These include adding a self-leveling compound or going with a wet saw and cutting away tile sections. Be sure to take into account your skill level and compare costs before deciding on the direction you intend to take. Regardless of the choice, no undertaking should begin without proper planning and preparation.
And remember: always seek professional advice if you are unsure about any aspect of your project so as to avoid costly mistakes! Hopefully, these tips on how to correct slope in bathroom floor have been helpful in understanding how to correctly slope a bathroom floor. Go ahead and get started on your floor project today; if done correctly, you can look forward for many years of happy use from it!