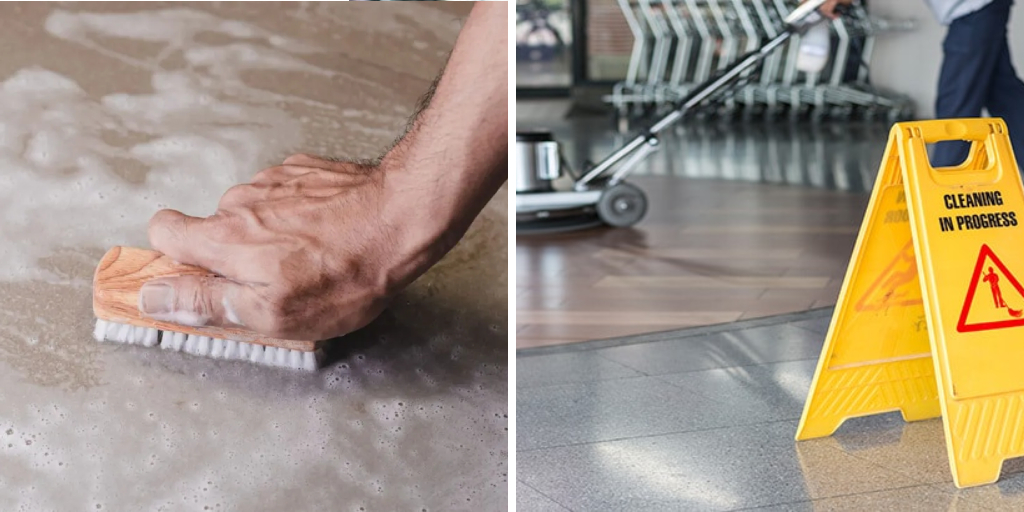
If you have a concrete floor that is unsealed, chances are it can become dirty and grimy pretty quickly. Fortunately, there’s an easy way to clean it without having to break out the broom and scrub brush – by using natural homemade cleaning solutions.

This guide will provide step-by-step instructions on how to clean unsealed concrete floors indoors using household items you probably already have! Read on to learn more about this simple solution for keeping your indoor grounds looking their best at all times. Keep reading to discover our expert advice for effective indoor floor maintenance of unsealed concrete surfaces.
What are Unsealed Concrete Floors?
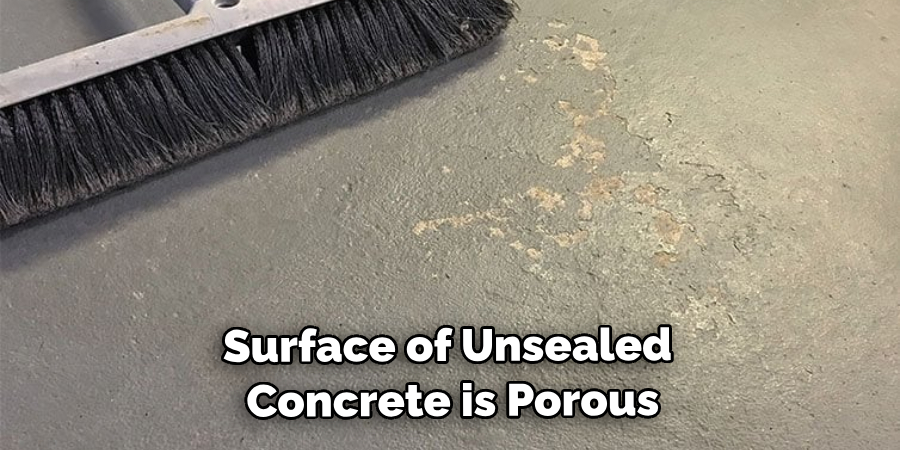
Unsealed concrete floors are those that have not been sealed with a protective sealant. This type of flooring is commonly found in garages, basements, and other areas where you don’t need to worry about moisture or spills. While these types of floors can be durable and low-maintenance, they will eventually get dirty and require cleaning so as to maintain their appearance and prevent the buildup of dirt, grime, and dust.
Why Do You Need to Clean Unsealed Concrete Floors?
1. To Clean the Floors
Cleaning unsealed concrete floors not only keeps them looking nice but also helps prevent the buildup of dirt, dust, and other debris. This can help extend the life of your flooring by preventing permanent staining and discoloration. Plus, it just makes your home look nicer overall! And since unsealed concrete is naturally porous, it’s also important to protect it from becoming stained or discolored from grime and dirt.
2. To Prevent Permanent Staining
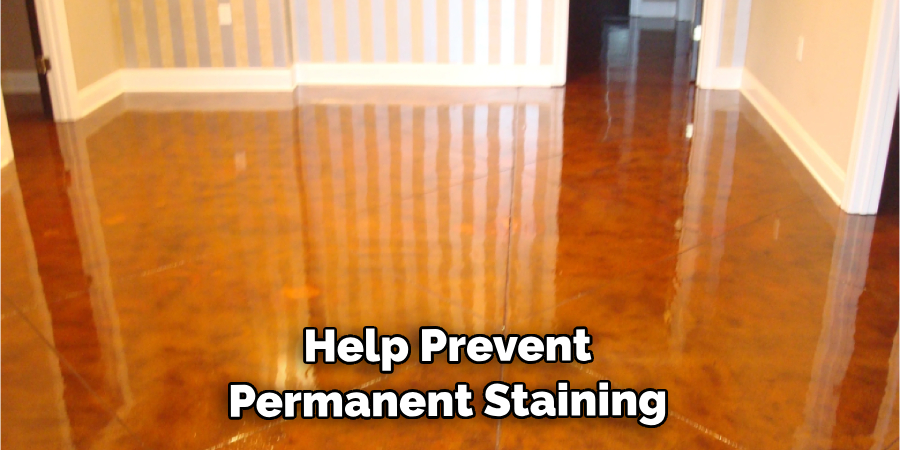
Regularly cleaning unsealed concrete floors can help prevent permanent staining, as the porous surface of concrete makes it prone to being easily stained by liquids, oils, and other materials. Cleaning on a regular basis will both remove any stains that have already occurred and prevent new ones from settling in.
3. To Protect the Floor
Regularly cleaning unsealed concrete floors can also help protect them from wear and tear, as dirt, dust, and debris can cause abrasions to the surface of the floor over time. Keeping your floor clean by vacuuming or mopping regularly will help preserve its appearance and make it last longer.
Is It a Good Idea to Keep the Floor Unsealed?
It is not recommended to keep an unsealed concrete floor indoors, as it can easily become stained and damaged without proper cleaning and maintenance. Additionally, since the surface of unsealed concrete is porous, it will also be more prone to absorbing dirt, dust, and grime from the surrounding environment – making it even more difficult to clean.
Sealing your floor with a protective sealant will help protect it from becoming permanently stained and discolored, as well as provide an extra layer of protection against wear and tear. It’s also a good idea to use rugs or mats in areas with a lot of foot traffic to help minimize the amount of dirt and grime that ends up on your floor.
Required Items
In order to effectively clean unsealed concrete floors, you will need the following items:
- Vacuum cleaner with a brush attachment
- Mop and bucket
- Mild detergent or cleaning solution
- Soft cloths
Once you’ve gathered all of your supplies, you’re ready to get started!
How to Clean Unsealed Concrete Floors Indoors in 5 Steps
Step 1: Vacuum or Sweep the Floor
The first step in cleaning unsealed concrete floors is to vacuum or sweep the surface. This will remove any loose dirt, dust, and debris that has accumulated on the floor over time. Make sure to use a vacuum cleaner with a brush attachment, as this will help ensure that all dirt and dust are removed from the surface of the floor.
Step 2: Mop the Floor
Once you’ve vacuumed or swept the floor, fill your mop bucket with warm water and add in a mild detergent or cleaning solution. Dip the mop in the solution and then start mopping the floor, starting from one side and moving across to the other. Make sure to wring out the mop as often as possible so that it isn’t dripping on the floor below.
Step 3: Dry Mop or Wipe Down
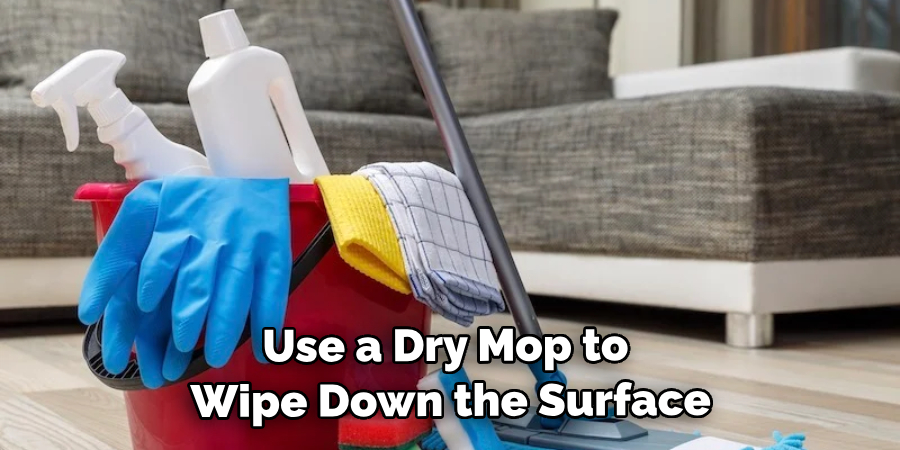
Once you’ve mopped the floor, use a dry mop or soft cloth to wipe down the surface. This will help remove any excess water and detergent that may have been left behind.
Step 4: Clean Again
Once you’ve finished drying the floor off, start cleaning it again. This time, use a cleaner specifically designed for concrete floors. Apply it to the floor with a clean, damp mop, and then let it sit for a few minutes before rinsing. This will help ensure the cleaner is able to penetrate deep down into the surface of the concrete.
Step 5: Rinse and Dry
Once you’ve finished applying the cleaner, use your mop or cloth to rinse off the surface of the floor. Make sure all of the cleaner has been removed before drying it with a clean, soft cloth.
8 Tips for Maintaining Unsealed Concrete Floors
In addition to cleaning your floors regularly, there are several other tips you can follow in order to keep your unsealed concrete floors looking their best. Here are eight of our suggestions:
- Vacuum or sweep your floors at least once a week to remove any dirt, dust, and debris that may have accumulated on the surface. If you don’t have a vacuum cleaner, try using a broom instead.
- Mop your floors at least once a week with warm water and mild detergent or cleaning solution. Use a soft cloth to dry the surface of the floor after you’ve finished mopping.
- Use a cleaner specifically designed for concrete floors on a regular basis to help prevent permanent staining and discoloration.
- Place mats or rugs in areas with high foot traffic to help minimize the amount of dirt, dust, and grime that ends up on your floor.
- Avoid using abrasive scrubbing pads when cleaning unsealed concrete floors, as these can damage the surface and leave it prone to staining.
- Avoid using ammonia-based cleaners on your unsealed concrete floors, as this can cause discoloration over time.
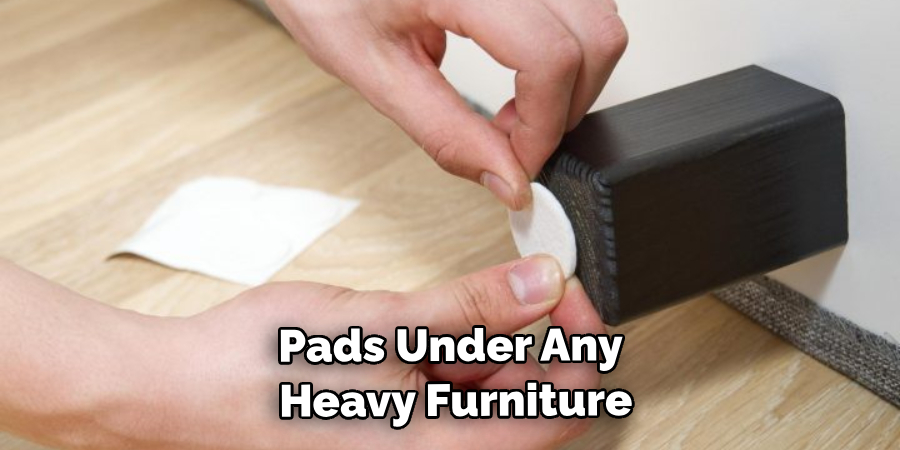
- Use furniture pads under any heavy furniture or appliances that you have in your home to prevent them from scratching or otherwise damaging the surface of your floor.
- Seal your unsealed concrete floors with a protective sealant to help protect them from becoming permanently stained and discolored.
By following these tips on how to clean unsealed concrete floors indoors, you can help keep your unsealed concrete floors looking their best for years to come! And if you’re still unsure of how to properly care for and maintain your floor, don’t hesitate to reach out to a professional for advice.
8 Safety Precautions When Cleaning Unsealed Concrete Floors Indoors
- Wear the appropriate safety gear when cleaning concrete floors indoors. This includes rubber gloves, masks, and eye protection if you plan on using any chemicals or cleaners.
- Make sure to ventilate the area before starting your work, as inhaling dust from the concrete may be hazardous to your health. It is best to open windows in the room so that fresh air can circulate.
- It is essential to use only approved cleaning materials when cleaning concrete floors indoors, as some chemicals may damage the floor or cause other health risks.
- Avoid using excessive amounts of water when cleaning concrete floors indoors, as too much moisture can be a breeding ground for mold and mildew.
- Be sure to mop up any spills or drips immediately, as wet concrete can be very slippery and create a safety hazard.
- Avoid walking on the floor while it is still wet, as this can leave behind scuff marks which may be difficult to remove.
- Keep all electrical appliances away from any moisture when cleaning concrete floors indoors, as water and electricity do not mix!
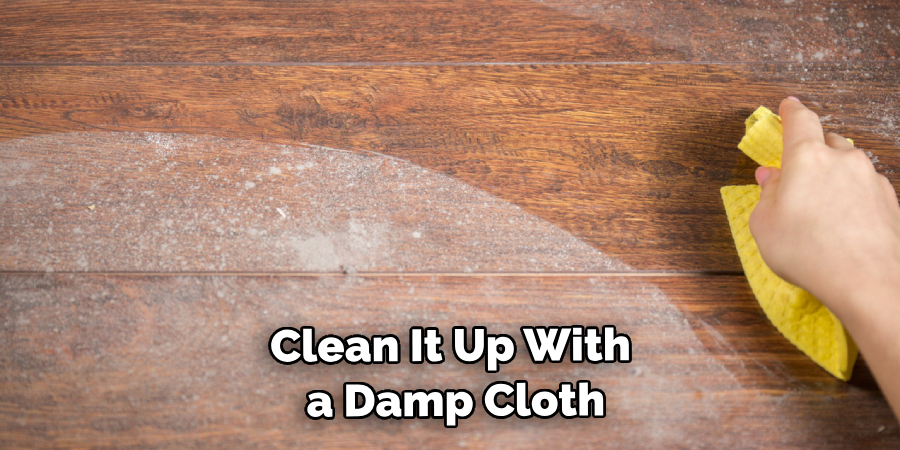
- When finished, check for any residual dirt or debris and clean it up with a damp cloth. This will help to ensure that your concrete floor remains in good condition for years to come. Additionally, use a protective sealant on the surface of the concrete if desired. This will protect the floor from wear and tear over time.
The key is to be aware of the potential hazards and take all necessary precautions when cleaning concrete floors indoors. As long as you keep these safety tips in mind, you should be able to easily and safely clean your unsealed concrete flooring without any issues.
In addition to safety, it is also essential that you use the right cleaners for your concrete floors. Using an abrasive cleaner or one with too much acid can damage the sealant on your floor as well as leave behind residue that may be difficult to remove.
Frequently Asked Question
How Long Will It Take?
When cleaning unsealed concrete floors indoors, the amount of time it will take to complete the job depends on how much dirt and debris has accumulated. In general, if the floor hasn’t been cleaned in a while or is particularly dirty, it may take several hours just to sweep and mop the area. However, if the floor is kept relatively clean, then it may only take about 30 minutes to do a thorough sweep and mop.
What Do I Need To Clean Unsealed Concrete Floors?
In order to effectively clean unsealed concrete floors indoors, you will need the following items: a broom or vacuum cleaner, dustpan, bucket, pH-neutral detergent, mop or sponge, microfiber cloth, and a squeegee. Additionally, you may want to opt for a wet-dry vacuum cleaner if there is heavy staining or dirt buildup, as these are better suited for deep cleaning.
What Is The Best Way To Clean Unsealed Concrete Floors?
The best way to clean unsealed concrete floors indoors is to first sweep the area with a broom or vacuum cleaner. This will help remove any loose dirt, dust, and debris that may be present. Next, you should mop the floor using a pH-neutral detergent and either a mop or sponge. You can also use a microfiber cloth if necessary. Then, use a squeegee to dry the floor completely. This will help to ensure that the floor is completely free of dirt and dust. Lastly, you should follow up with a damp cloth or mop to remove any residue that may be present.
What Should I Not Do When Cleaning Unsealed Concrete Floors?
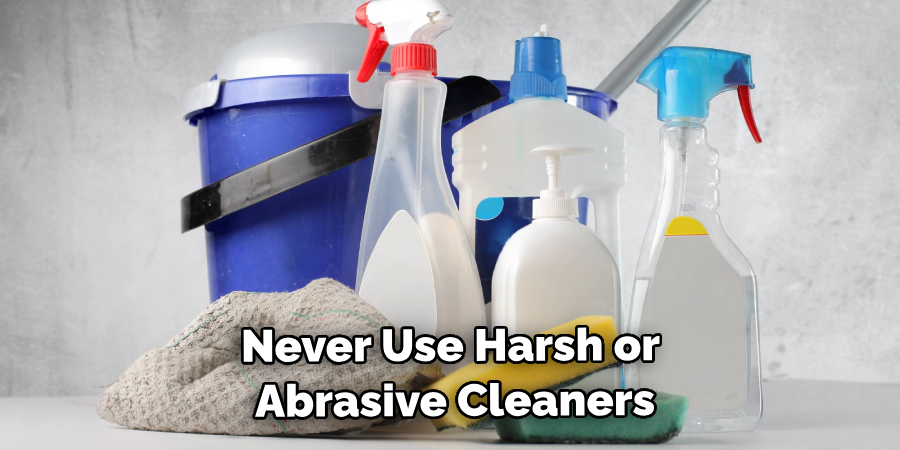
When cleaning unsealed concrete floors indoors, there are certain things you should avoid doing. First, you should never use harsh or abrasive cleaners as these can damage the concrete. Additionally, you should not scrub the floor too hard or with a brush or steel wool as this can also cause damage. Lastly, it is important to refrain from using hot water on unsealed concrete floors, as this can cause discoloration and staining.
Are There Any Tips To Make Cleaning Unsealed Concrete Floors Easier?
Yes! To make cleaning unsealed concrete floors indoors easier, try to wipe up spills as soon as they occur. This will help prevent dirt and debris from accumulating and making the job more difficult. Additionally, it may be helpful to clean in small sections and use a damp cloth or mop after sweeping to make sure the entire area is free of dirt. That way, you can ensure that your concrete floors are always looking their best!
Conclusion
Cleaning unsealed concrete floors indoors is a relatively simple task, but it’s important to keep in mind the unique differences that these floors need. By following some simple recommendations on how to clean unsealed concrete floors indoors, such as cleaning the surface regularly and using products tailored to this type of floor, you can ensure that your unsealed concrete is easy to clean and maintain for years to come. Not only will it look better, but it’ll also last longer with proper care. Give yourself a pat on the back for taking on such an important task!
Furthermore, if unsure of how to clean the floors correctly, do not hesitate to contact professionals who can give detailed advice about what must be done when caring for any type of indoor concrete flooring. Keeping unsealed concrete floors looking like new is worth the extra effort, and there are many cost-effective DIY options available right at your fingertips.