
Are you the proud owner of a sandwich maker? If so, it’s likely an essential tool in your kitchen. Whether you use your sandwich maker to make grilled cheese for lunch or paninis for dinner, chances are that it’s seen quite a bit of action lately. But with all the deliciousness and convenience that comes with using a sandwich maker comes one important responsibility: cleaning!
In this blog post, we’ll provide easy-to-follow steps on how to clean sandwich maker so that it continues to run smoothly and looks as good as new. From wiping down the exterior after each use to giving it a deep clean every few weeks, let us help make sure your favorite countertop appliance is always ready when you need it most!
Supplies You Will Need to Clean Sandwich Maker
- Paper towels or cleaning cloth
- Soap and water
- Sponge or soft brush
- Cooking oil or cooking spray (optional)
- Baking soda (optional)
- Vinegar (optional)
Step-by-step Guidelines on How to Clean Sandwich Maker
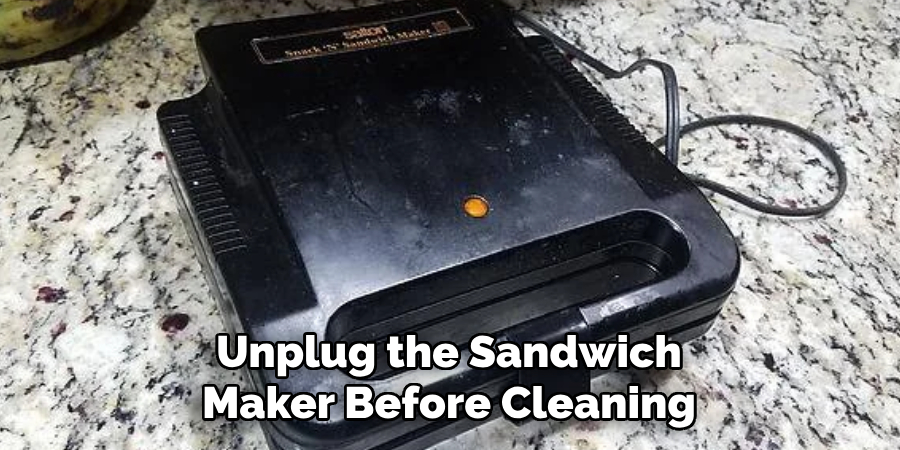
Step 1: Unplug and Allow the Sandwich Maker to Cool Down
The first step in cleaning any appliance is to unplug it from the power source. This not only ensures your safety but also prevents any damage to the sandwich maker while cleaning. Once unplugged, wait for 10-15 minutes or until the plates of the sandwich maker are cool enough to touch. This will make the cleaning process easier.
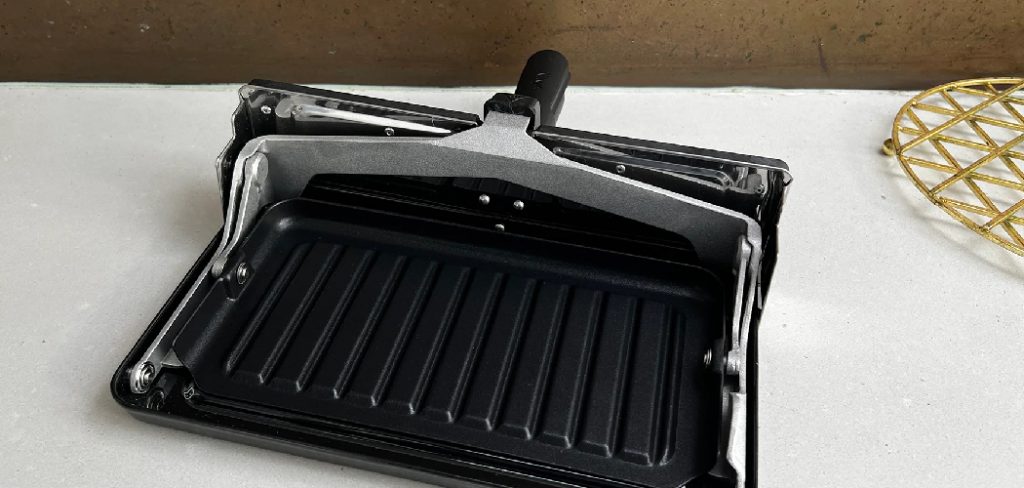
Step 2: Remove Excess Crumbs and Debris
Use a paper towel or cloth to remove any excess crumbs or debris from the sandwich maker plates. Be gentle and avoid scratching the non-stick surface of the plates as it can damage them. You can also use a small brush to reach into crevices and corners, making sure to remove all food particles.
Step 3: Wipe the Exterior
Take a damp cloth or sponge and wipe down the exterior of the sandwich maker. Be careful not to get any water inside the appliance or near the power cord. For tough stains, use a mild soap solution or a cleaning spray specifically designed for kitchen appliances. Dry with a clean cloth. This step should be done after every use to prevent any buildup on the exterior.
Step 4: Clean the Plates
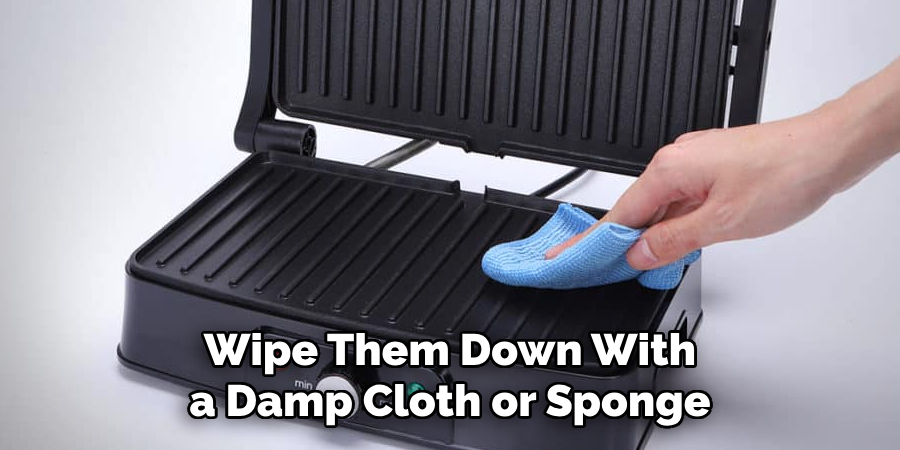
To clean the plates, simply wipe them down with a damp cloth or sponge. For tougher stains or residue, mix equal parts of baking soda and water to form a paste, then gently scrub onto the plates using a soft brush. Rinse off with warm water and dry thoroughly. You can also use vinegar instead of baking soda for a deep clean.
Step 5: Use Cooking Oil or Spray (Optional)
If your sandwich maker has removable plates, you can use cooking oil or spray on the plates before every use to prevent food from sticking and make cleaning easier. Simply brush or spray a small amount onto the plates before heating up the sandwich maker. Be sure not to overdo it to avoid any excess oil or spray drippings. Make sure to clean the plates after each use.
Step 6: Deep Clean Every Few Weeks
For a deeper clean, you can also detach the plates and soak them in warm soapy water for 10-15 minutes before cleaning them as described above. This will help remove any stubborn residue or buildup. You can also run a cycle of vinegar and water through the sandwich maker to help remove any remaining residue. Be sure to rinse and dry thoroughly before using again.
And that’s it! Your sandwich maker is now clean and ready for its next use. Remember to regularly clean your sandwich maker after every use and give it a deep clean every few weeks to ensure longevity and optimal performance. With these simple steps, you can enjoy delicious sandwiches without worrying about the cleanup afterward. Happy cooking!
Additional Tips and Tricks to Clean Sandwich Maker

1. Always make sure the sandwich maker is completely dry before plugging it back in and using it again.
2. Avoid using harsh chemicals or abrasive sponges on the non-stick plates as it can damage them. Instead, use a gentle dish soap and a soft cloth or sponge to clean the surfaces.
3. For tougher stains or residue buildup, mix equal parts of water and white vinegar in a spray bottle and generously spray the plates. Let it sit for a few minutes before wiping it down with a damp cloth.
4. To prevent food from sticking to the non-stick plates in between uses, lightly coat them with cooking oil or spray before making a sandwich.
5. If your sandwich maker has removable plates, take them out and soak them in warm soapy water for about 10-15 minutes before scrubbing them gently with a soft brush. Rinse and dry thoroughly before placing them back into the sandwich maker.
6. For stubborn residue that may be stuck in hard-to-reach areas, use a toothpick or a soft-bristled brush to carefully remove it.
7. To maintain the overall cleanliness of your sandwich maker, wipe down the exterior with a damp cloth after each use and dry it thoroughly.
8. Never submerge the sandwich maker in water or other liquids as it can damage the electrical components. Instead, always unplug it and clean it with a damp cloth.
9. If your sandwich maker has a drip tray, make sure to empty and clean it after each use to prevent any build-up of crumbs or spills.
Following these tips and tricks will not only ensure a clean and hygienic sandwich maker but also prolong its lifespan. Regular maintenance and proper cleaning will help you enjoy delicious sandwiches without any worries or hassle. Happy cooking!
Precautions Need to Be Followed for Cleaning Sandwich Maker
- Always ensure to unplug the sandwich maker before cleaning.
- Do not immerse the sandwich maker in water or any other liquid for cleaning.
- Avoid using abrasive materials like steel wool or scouring pads when cleaning as it can damage the non-stick surface of the plates.
- Make sure to wait for the sandwich maker to cool down completely before starting to clean it.
- Do not use any harsh cleaning agents or chemicals on the sandwich maker as it can be harmful when in contact with food.
- When cleaning, use a soft damp cloth and mild detergent to wipe down the exterior of the sandwich maker.
- For stubborn residue or grease build-up, you can use a non-abrasive kitchen cleaner specifically designed for non-stick surfaces.
- Be careful when cleaning the hot plates of the sandwich maker, ensure they are completely cool before removing them for cleaning.
Following these precautions will ensure the safety of both yourself and your sandwich maker while cleaning. Moreover, it will also prevent any damage to the appliance, ensuring its longevity.
Frequently Asked Questions
Do I Need to Clean My Sandwich Maker After Each Use?
Yes, it is important to clean your sandwich maker after each use to prevent the build-up of crumbs, oils, and other food particles. This not only ensures sanitary cooking conditions but also helps maintain the longevity of your appliance.
What Should I Use to Clean My Sandwich Maker?
You can use warm, soapy water and a non-abrasive sponge or cloth to clean your sandwich maker. Be sure to unplug the appliance and allow it to cool down before cleaning.
Can I Put My Sandwich Maker in The Dishwasher?
No, most sandwich makers cannot be placed in the dishwasher as this can damage the electrical components. Always refer to the manufacturer’s instructions for specific cleaning guidelines.
How Do I Remove Stubborn Residue From My Sandwich Maker?
For stubborn residue, you can use a mixture of baking soda and water to create a paste. Apply this paste to the affected areas and let it sit for 10-15 minutes before wiping clean with a damp cloth.
Can I Use Metal Utensils on My Sandwich Maker?
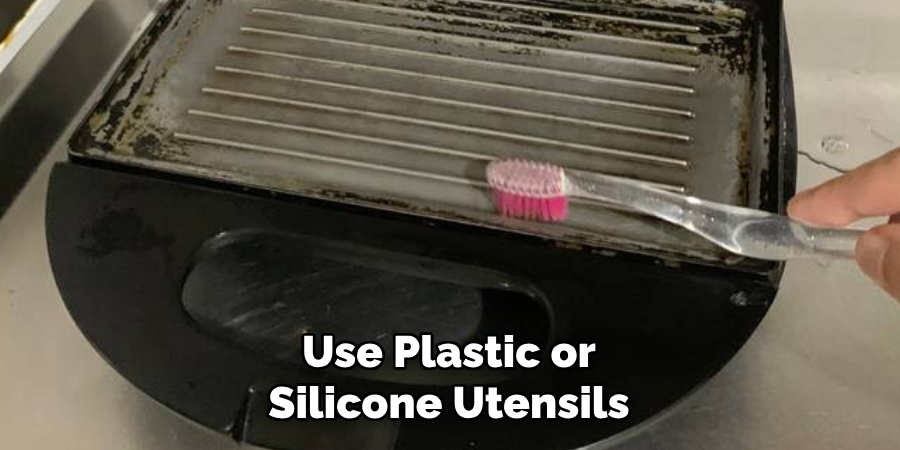
No, it is not recommended to use metal utensils on your sandwich maker as this can scratch the non-stick coating and damage the heating plates. Instead, use plastic or silicone utensils to avoid damaging your appliance.
How Often Should I Deep Clean My Sandwich Maker?
It is recommended to deep clean your sandwich maker every 3-6 months, depending on the frequency of use. This involves disassembling the appliance and cleaning all parts thoroughly with warm, soapy water.
Conclusion
In conclusion, cleaning a sandwich maker is an essential part of ensuring that you enjoy healthy and delicious sandwiches for as long as possible. It is important to clean the sandwich maker after every use and take special care not to break any of its parts.
Not only will this extend the life of your appliance, but it will keep it clean and free from any bacteria that may have formed because of food residue on the griddles. Rinsing with warm water, soap, and a non-abrasive pad should be enough for regular cleaning.
For tough stains, make sure to use baking soda or vinegar mixed with water. Don’t forget that everything can help but make sure to consult your manual beforehand so you don’t damage the heating elements or anything else in your sandwich maker. Now that you know how to clean sandwich maker properly, you’re ready to save time and money by making delicious sandwiches in no time!