Are you looking for a way to make cleaning your HVLP spray gun easier? If so, you’ve come to the right place! In this blog post, we’ll be discussing how to clean HVLP spray gun in order to get the best possible results when spraying paint or other materials.

We’ll cover everything from prepping the surface that needs painting to knowing what types of cleaners work best for different tasks. You’ll also learn how easy it is to spot problems with your gun before they become major issues and have even more control over the outcome of each project. So let’s get started on learning how we can keep our HVLP spray guns in top condition!
Supplies You Will Need to Clean Hvlp Spray Gun
- Dish soap or specialized gun cleaner
- Water
- Clean cloth or paper towels
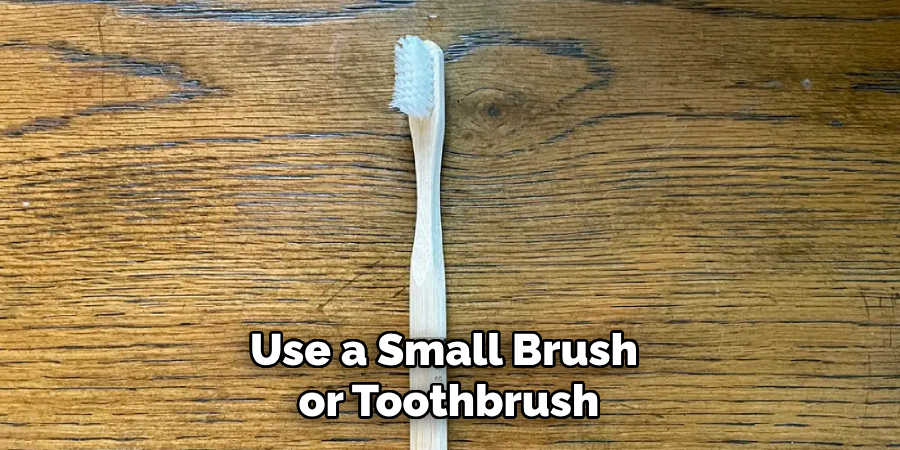
- Small brush or toothbrush
- Mineral spirits (optional, for stubborn residue)
- Needle cleaning tool (usually included with HVLP spray gun)
Step-by-step Guidelines on How to Clean Hvlp Spray Gun
Step 1: Disassemble the Spray Gun
The first step in cleaning your HVLP spray gun is to disassemble it. This will allow you to thoroughly clean each individual part and get rid of any built-up residue or paint that may be causing issues with the performance of your gun. Check your manufacturer’s instructions for specific information on how to take apart your particular model, but most spray guns will have a similar disassembly process.
Step 2: Clean the Fluid Nozzle
The fluid nozzle is one of the most important parts of your HVLP spray gun, as it is responsible for regulating the amount of paint that comes out. To clean it, use a small brush or toothbrush to gently scrub any dried paint or residue off. You can also soak it in warm, soapy water for a few minutes to help loosen any stubborn build-up. Be sure to rinse the nozzle thoroughly and dry it completely before reassembling.
Step 3: Clean the Air Cap
The air cap is another crucial component of your HVLP spray gun as it helps to atomize the paint into small particles for an even spray pattern. Similar to the fluid nozzle, use a brush or toothbrush to remove any residue that may be blocking the air holes. You can also soak it in warm water and dry it thoroughly before putting it back together.
Step 4: Clean the Needle
The needle is responsible for controlling the flow of paint, so it’s important to keep it clean and free of debris. Use a needle-cleaning tool or a small brush to clean the inside of the needle. If there is any stubborn paint, you can use mineral spirits to help dissolve it. Be sure to rinse and dry the needle before reassembling. This step may require some extra attention as any paint or residue left on the needle can cause issues with your spray pattern and lead to an uneven finish.
Step 5: Wipe Down the Outside of the Gun
After cleaning all the individual parts, take a clean cloth or paper towel and wipe down the exterior of your HVLP spray gun. This will remove any excess paint or residue that may have built up while spraying. Make sure to also clean the air cap and nozzle threads as any paint or residue on these parts can cause problems with your gun’s performance.
Step 6: Reassemble Your Spray Gun
Once all the individual parts are clean and dry, it’s time to reassemble your HVLP spray gun. Make sure everything is put back together correctly, and all connections are secure before using it again. While reassembling, keep an eye out for any worn or damaged parts that may need to be replaced.
Following these simple steps to clean your HVLP spray gun will not only help to prolong its lifespan but also ensure that you get the best results from each use. Regular cleaning is essential to avoid build-up and clogging, which can lead to a poor spray pattern and uneven finish. So make sure to take the time and properly clean your gun after each use for optimal performance and longevity. Happy spraying!

Additional Tips and Tricks to Clean Hvlp Spray Gun
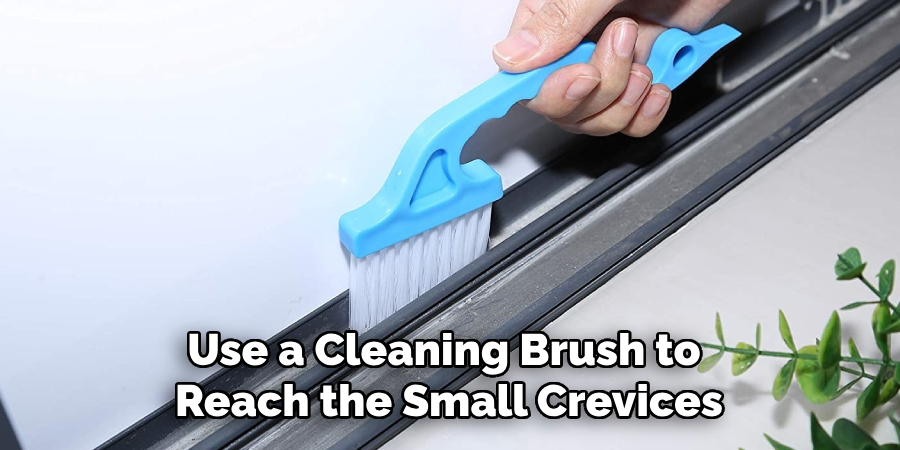
- Use a cleaning brush to reach the small crevices and corners of your HVLP spray gun. This will help remove any stubborn paint residue that may have built up over time.
- If possible, disassemble your spray gun before cleaning it. This will make it much easier to access all the parts and ensure a thorough cleaning.
- Soak your spray gun parts in a cleaning solution for at least 30 minutes before scrubbing them. This will help loosen any dried paint and make it easier to remove.
- Never use harsh chemicals or solvents to clean your HVLP spray gun. These can damage the internal components and affect its performance.
- Use a soft cloth to wipe down the exterior of your spray gun after every use. This will prevent any paint from drying and make it easier to clean in the future.
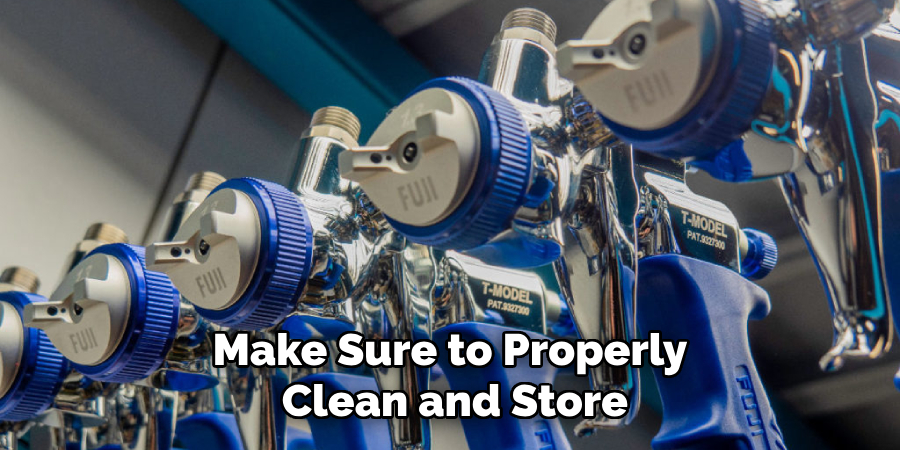
- Store your spray gun in a clean, dry place when not in use. This will prevent dust and debris from settling on it and ensure it stays in good condition.
- If you notice any clogs or blockages while using your spray gun, stop immediately and clean it thoroughly before continuing. This will prevent any damage to the gun and ensure a smooth painting experience.
- Regularly check and clean the air filter on your HVLP spray gun. A clogged or dirty filter can affect the spray pattern and cause issues with your paint application.
- After cleaning, make sure all parts are completely dry before reassembling and using your spray gun again. Any moisture left inside can cause rust and damage to the gun.
10. When in doubt, refer to the manufacturer’s instructions for cleaning your specific HVLP spray gun model. They may have specific recommendations or tips that can help keep your gun in top condition.
Following these tips and tricks will not only help you maintain a clean and well-functioning HVLP spray gun but also ensure a professional and smooth paint application every time. Happy spraying!
Additional Tips for Maintaining Your HVLP Spray Gun
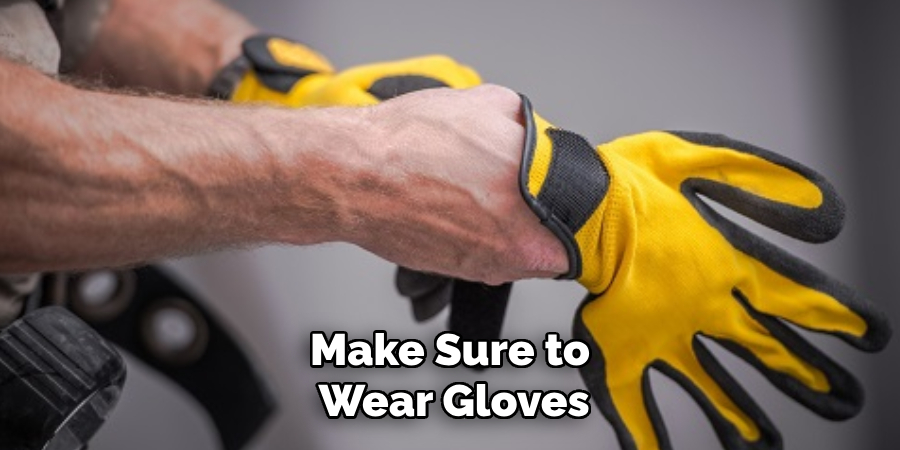
- Always make sure to use appropriate protective gear, such as gloves and a mask, when handling cleaning chemicals.
- After each use, make sure to clean your HVLP spray gun thoroughly. This will prevent the buildup of paint or other materials and keep your spray gun in good working condition.
- Never submerge your HVLP spray gun in water or any other liquid. This can damage the internal components and cause malfunction.
- If you notice a drop in pressure or uneven spray pattern, it may be time to clean your HVLP spray gun. These are signs of buildup and clogging.
- When cleaning the internal components of your HVLP spray gun, make sure to use appropriate tools and techniques. Refer to the manufacturer’s instructions for specific guidelines.
- It is important to regularly check and replace worn-out or damaged parts of your HVLP spray gun, such as the needle, nozzle, and air cap. This will ensure optimal performance and prevent any accidents.
- If you are not using your HVLP spray gun for an extended period of time, make sure to properly clean and store it. This will prevent drthe ing or hardening of paint or other materials in the internal components.
- Always follow proper disposal methods for used cleaning chemicals and materials. This will not only protect the environment but also prevent any potential hazards.
- Lastly, make sure to regularly inspect your HVLP spray gun for any signs of wear or damage. This will help you identify and address any issues before they become major problems.
By following these additional tips, you can ensure that your HVLP spray gun remains in good working condition and provides you with optimal results every time you use it. Happy painting!
Precautions Need to Follow for Cleaning Hvlp Spray Gun
1. Before starting the cleaning process, make sure to wear gloves, safety glasses, and a respirator mask. This is important as some of the solvents used for cleaning can be harmful if inhaled or come in contact with skin.
2. Always refer to the manufacturer’s instructions for specific cleaning guidelines. Different HVLP spray guns may have different components and require slightly different cleaning methods.
3. Work in a well-ventilated area to avoid inhaling any fumes from the solvents used.
4. Make sure to disconnect the gun from the air source and release any remaining pressure before starting the cleaning process.
5. Use appropriate cleaning solvents recommended by the manufacturer. Avoid using harsh chemicals or solvents that are not specifically designed for spray guns as they can damage the gun’s components.
6. Disassemble the spray gun carefully, following the manufacturer’s instructions. Take note of the order in which you disassemble the different components for reassembly later.
7. Soak any removable parts such as nozzles, needles, and air caps in a cleaning solvent for at least 10-15 minutes to loosen any dried paint or residue.
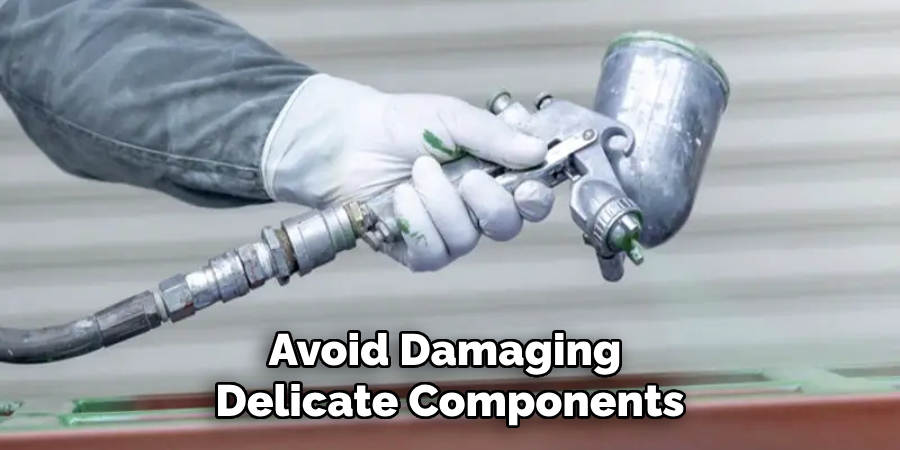
8. Use a brush, toothpick, or pipe cleaner to remove any stubborn residue from the spray gun’s parts. Be gentle to avoid damaging delicate components.
Following these precautions will ensure a safe and effective cleaning process for your HVLP spray gun. Regular maintenance and proper cleaning can help extend the lifespan of your spray gun and maintain its performance. Always take care to properly clean and store your HVLP spray gun after each use to keep it in top working condition. So, it is important to follow the precautions mentioned above for a clean and efficient HVLP spray gun.
Frequently Asked Questions
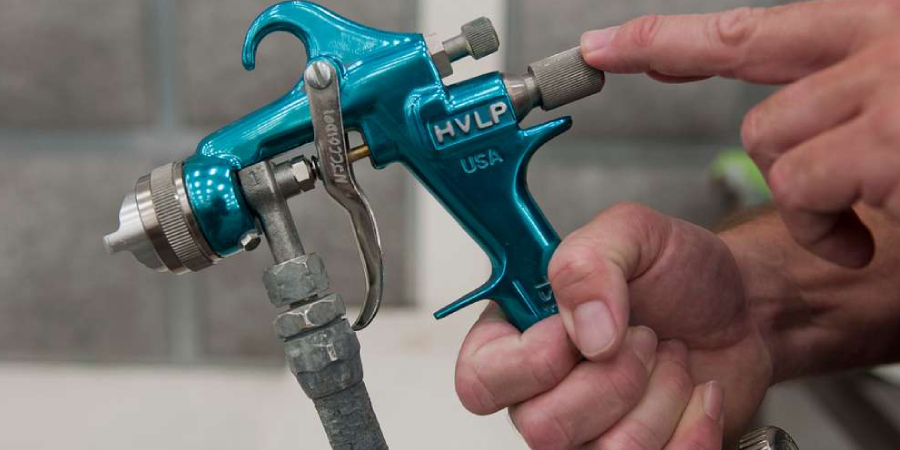
What is an Hvlp Spray Gun?
Hvlp spray gun stands for ‘High Volume Low Pressure’ spray gun. It is a type of spray gun that uses low air pressure to atomize the paint or coating material, resulting in less overspray and waste compared to traditional spray guns.
Why is It Important to Clean an Hvlp Spray Gun?
Cleaning an Hvlp spray gun is crucial for maintaining its performance and extending its lifespan. If the gun is not properly cleaned, it can cause clogging and uneven spray patterns, leading to a subpar finish. It also prevents any leftover paint or coating from drying up and causing damage to the gun.
How Often Should Hvlp Spray Guns Be Cleaned?
Hvlp spray guns should be cleaned after each use to ensure optimal performance and prevent any buildup of residue or paint. It is also recommended to thoroughly clean the gun at least once a week if it is used frequently.
Conclusion
Through following the above steps you can now confidently clean your HVLP Spray Gun without worries! Cleaning it often will guarantee that the type of finish you are aiming for will result in a much better finish and results. The sprayed materials will be far superior as well. However, always keep in mind the pressure setting and proper spraying technique when applying the product to the surface.
Maintaining proper setup and keeping your system clean will prolong its lifespan and give you many years of service from your HVLP Spray Gun! So, go ahead, tackle How to Clean Hvlp Spray Gun with confidence, and show off those new painting skills you’ve acquired! The finished product might just surprise you.