
Do you need help getting your Electrolux washing machine to perform its duties effectively? Does it seem like no matter how often you run the load, residue, and dirt remain in the drum, and your clothes don’t come out as clean as they used to? If so, chances are that it’s time for you to clean your washer’s drain pump filter deep.

Cleaning this filter is integral for keeping your clothes fresh and vibrant after each wash cycle — something that stands true for any type of front loader.
In this blog post, we’ll walk through step-by-step how to clean drain pump filter electrolux front loader so you can finally have properly rewashed clothes!
What Will You Need?
Before beginning the cleaning process, ensure all the necessary materials are on hand. Here’s a list of what you’ll need:
- A pair of gloves
- A towel or cloth to catch any water spills
- A flat-head screwdriver, if needed
Once you’ve gathered your materials, let’s move on to cleaning.
10 Easy Steps on How to Clean Drain Pump Filter Electrolux Front Loader
Step 1: Unplug the Machine
First, ensure your washing machine is completely unplugged from its power source before beginning the cleaning process. This ensures safety and avoids any potential electrical mishaps. Turn off the circuit breaker if your machine is hardwired to the wall.
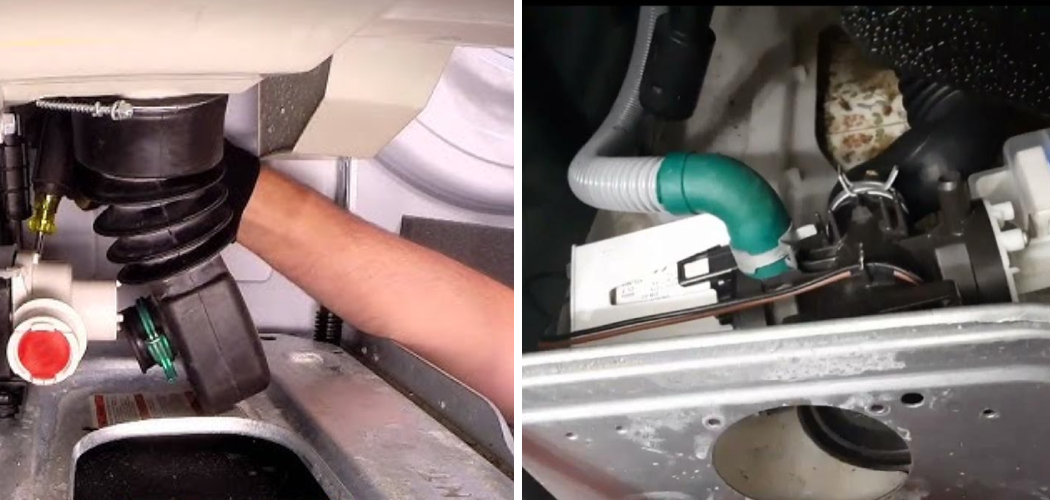
Step 2: Locate the Drain Pump Filter

The drain pump filter is usually located at the front of your washing machine, behind a small panel. Depending on the model, it could be in various spots, such as the bottom left or right corner of the machine or underneath the kick plate. Refer to your user manual if you’re having trouble finding it.
Step 3: Access and Remove the Drain Pump Filter
After locating the filter, you’ll need to get access to it. If it’s behind a small panel, use your flat-head screwdriver to pry open the panel gently. Be careful not to use excessive force as it could damage the machine. Once the panel is open, you should see a circular part, the drain pump filter. Slowly turn it counterclockwise until you can pull it out. Be prepared for some water to come out when you do this – have your towel or cloth ready to catch it.
Step 4: Clean the Drain Pump Filter
Now that you have the drain pump filter removed, it’s time to clean it. Run it under warm water to dislodge any debris. Using a soft brush, gently scrub all around it, cleaning out the filter’s interior and exterior. Remove any lint, hair, or residue clogging it up. Once you’re sure it’s thoroughly cleaned, leave it to dry before reinserting it into the machine.
Step 5: Reinstall the Drain Pump Filter
Once the drain pump filter is dry, it’s time to put it back in the machine. Insert the filter back into the slot from which you removed it. Twist it clockwise until it is firmly in place. Remember not to over tighten it, as this could lead to damage. After reinstalling the filter, close the panel securely.
Step 6: Run a Cleaning Cycle
After reinstalling the drain pump filter, it’s recommended to run a cleaning cycle. This will help to ensure any remaining residues are flushed out. Fill the detergent drawer with a washing machine cleaner or a homemade mix of vinegar and baking soda, and select the ‘cleaning’ or ‘maintenance’ cycle on your machine (refer to your user manual if unsure which setting to use).
Let the machine complete the cycle fully. This step not only cleans the drain pump filter but also the drum and pipes of your washing machine, ensuring a thorough clean.
Step 7: Dry the Machine
Once the cleaning cycle is complete, it’s time to dry your machine. Open up the washing machine’s door and leave it ajar for a few hours. This will allow any residual moisture to evaporate and prevent the growth of mold and mildew. You can also use a dry towel to wipe down the inside of the drum and the door seal for quicker drying.
Step 8: Regular Maintenance
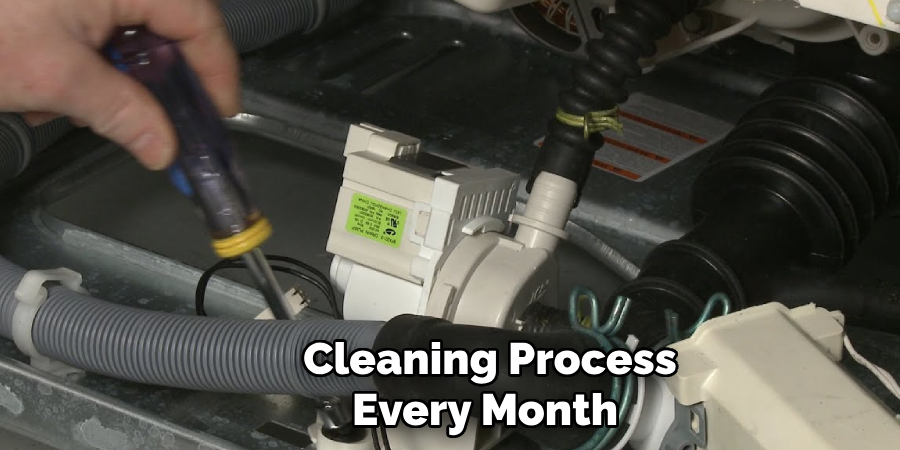
To keep your Electrolux front loader performing at its best, it’s recommended to repeat this cleaning process every month or so, depending on the frequency of your usage. Regular maintenance of the drain pump filter helps prevent future build-up, ensuring that your machine operates efficiently and prolongs the life of your washing machine. Always remember to unplug your machine before performing any maintenance to ensure safety.
Step 9: Test Your Machine
After drying, it’s time to test your Electrolux front loader to ensure that the cleaning process is successful. Plug the machine back into the power source or switch the circuit breaker back on.
Run a small load with a little detergent to test the machine’s performance. You should notice that the machine is operating more smoothly, and your clothes are coming out cleaner. If not, you should repeat the cleaning process or consider contacting a professional for a more thorough checkup.
Step 10: Final Rinse and Check
To finalize the cleaning process, run a rinse and spin cycle without any clothes in the machine. This will help rinse any residual cleaning agent or loosen particles left after the cleaning cycle. After this cycle completes, open the machine and inspect the drum visually.
If it appears clean and odorless, you have succeeded in cleaning your Electrolux front loader’s drain pump filter. Always remember regular maintenance can go a long way in enhancing the performance and lifespan of your washing machine.
By following these simple steps, you can easily clean the drain pump filter of your Electrolux front loader and maintain its efficiency in washing your clothes. Regular maintenance of this vital component ensures your machine runs smoothly and effectively.
5 Additional Tips and Tricks
- Regular Maintenance: Regular cleaning of your Electrolux front loader’s drain pump filter can prevent larger issues. It’s recommended to clean the filter every three to four months.
- Safety First: Always unplug your washing machine before starting any maintenance work. This will protect you from any potential electric shocks.
- Use of Proper Tools: Always use a non-abrasive sponge or cloth when cleaning the drain pump filter to avoid any damage. Harsh brushes can scratch and damage the filter.
- Check for Blockages: After removing the filter, check for any small items that may have been trapped. This could include coins, hairpins, or other small items.
- Proper Reinstallation: After cleaning, ensure the filter is securely reinstalled to prevent any leaks. If the filter is not fitted properly, it can cause the machine to stop working correctly.
With these additional tips and tricks, you can keep your Electrolux front loader running smoothly.
5 Things You Should Avoid
- Avoid Using Harsh Cleaners: Strong detergents or bleach can damage the material of the filter. Always opt for a mild cleaner or warm water with a gentle soap.
- Don’t Ignore Strange Noises: If your Electrolux front loader starts making unusual sounds, it may indicate a problem with the drain pump filter. Pay attention to these signals.
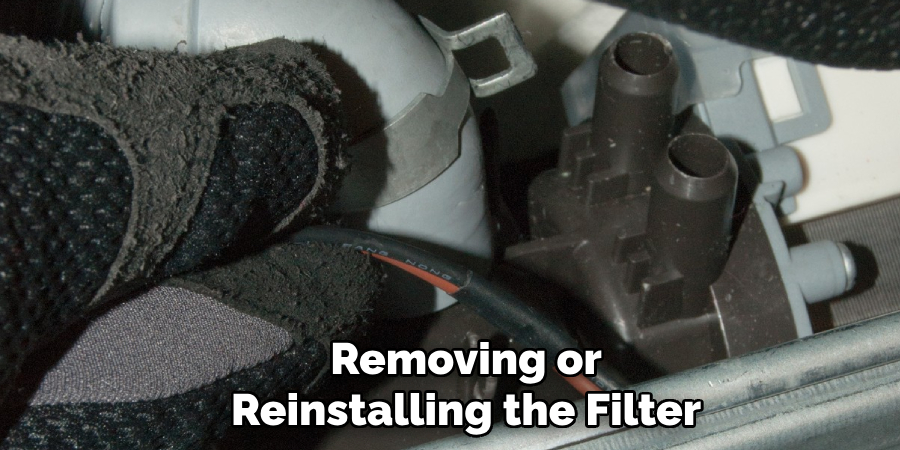
- Avoid Forcing the Filter: When removing or reinstalling the filter, be sure not to use excessive force, as this can break or damage the filter.
- Don’t Leave the Filter Out: Always reinstall the filter after cleaning. Running the machine without a filter can cause serious damage.
- Avoid Infrequent Cleaning: Don’t wait until your machine starts showing problems to clean the filter. Regular maintenance is key to keeping your Electrolux front loader functioning optimally.
By avoiding these common mistakes, you can ensure the longevity of your machine and keep it running efficiently.
What Happens if Washer Drain Filter is Clogged?
If you neglect to clean your Electrolux front loader’s drain pump filter, it can lead to a variety of issues. These include:
- Slow or Inefficient Drainage: A clogged filter can prevent water from draining quickly, causing your laundry cycle to take longer.
- Foul Odors: The trapped debris and stagnant water in the filter can create a foul smell, making your laundry smell unpleasant.
- Leakages: A clogged filter can cause water to leak from the machine. This creates a mess and can damage the flooring and surrounding areas.
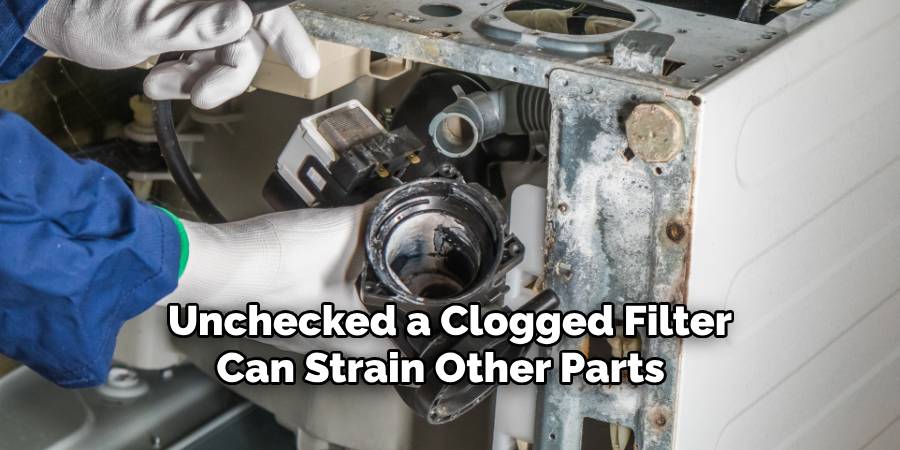
- Damage to Machine Parts: If left unchecked, a clogged filter can strain other parts of the machine, leading to potential damage and costly repairs.
To avoid these issues, cleaning the drain pump filter regularly is essential. With proper maintenance, you can keep your Electrolux front loader in top working condition for years.
Conclusion
To wrap up, it’s always best to prevent build-up in the drain pump filter of the Electrolux front loader whenever possible. Once it becomes clogged, clean the area thoroughly as soon as possible.
Following these simple steps, you can keep your washing machine running efficiently and ensure your garments come out fresh and clean. If cleaning the filter does not resolve the issue, there may be other issues with the appliance, so remember to contact a professional technician for help. Don’t let clogs stand in the way of getting your laundry done!
Hopefully, the article on how to clean drain pump filter electrolux front loader has been helpful and informative. Regular maintenance can keep your machine in top shape and avoid any potential problems. Happy washing!