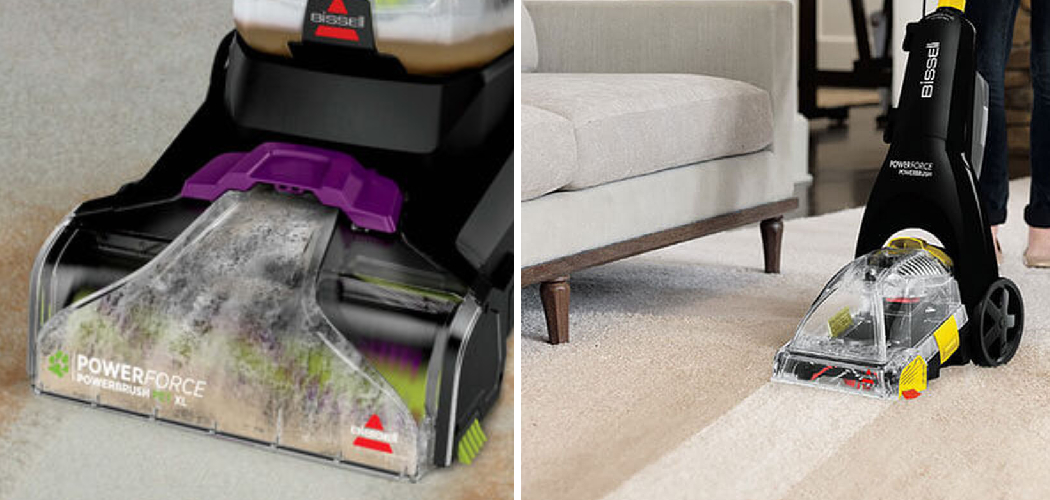
Are you seeking an easy, efficient way to keep your home spic and span? Keeping your carpets in top shape is essential for creating a healthy living space, and Bissell’s Powerforce Powerbrush Pet carpet cleaner makes it easier than ever.

Not only does this powerful machine remove dirt from the deepest fibers of your carpets, but it also neutralizes odors that may be lingering. With frequent use of this amazing device, you can keep your home free of messes and smelling fresh!
It’s important to keep your Bissell Powerforce Powerbrush Pet clean for it to work at its best. Here are some tips and tricks to help you do just that.
Read on to find out how to clean bissell powerforce powerbrush pet.
What Will You Need?
Before we dive into cleaning your Bissell Powerforce Powerbrush Pet, gathering all the necessary supplies is important. You’ll need:
- Bissell Cleaning Solution: This is specifically formulated with Bissell carpet cleaners and will help remove tough stains and odors.
- Clean, Cold Water: Hot water can damage your machine, so use cold water for cleaning.
- A Bucket or Container: This will be used to mix the cleaning solution and water.
- Clean Towels or Cloths: These will be useful for wiping down the machine after use.
Once you have all the necessary supplies, you can begin cleaning your Bissell Powerforce Powerbrush Pet.
10 Easy Steps on How to Clean Bissell Powerforce Powerbrush Pet
Step 1. Unplug the Machine:
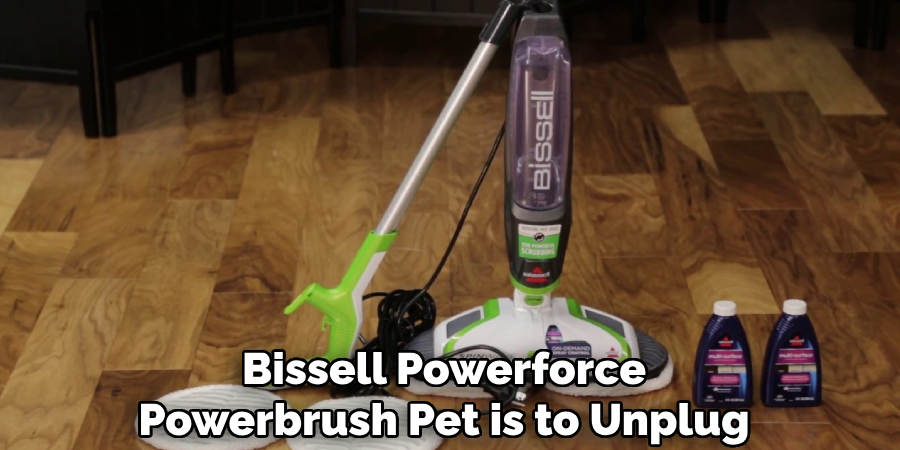
The first step in cleaning your Bissell Powerforce Powerbrush Pet is to unplug the machine. Safety should always be your first priority when cleaning an electrical device. If you have recently used the machine, wait for it to cool down before unplugging.
Step 2. Remove the Water Tank:
The next step to clean your Bissell Powerforce Powerbrush Pet is to remove the water tank. This is typically located on the back of the machine. Check to ensure that the water tank is empty before removal. If there is still water in the tank, dispose of it properly. Once the tank has been removed, rinse it thoroughly with cold water and leave it to dry.
Step 3. Clean the Nozzle:
The nozzle of your Bissell Powerforce Powerbrush Pet is where a lot of dirt and debris can accumulate, reducing the machine’s effectiveness over time. To clean it, simply remove the nozzle by lifting it upward. Once removed, rinse it thoroughly under cold water until all the dirt is washed away. After cleaning, leave it to dry before reattaching it to the machine.
Step 4. Clean the Brush Roll:
The brush roll of your Bissell Powerforce Powerbrush Pet is a key component that agitates dirt and debris from your carpet. To clean it, locate the brush roll at the bottom of the machine. You may need to use a screwdriver to remove the cover.
Once you have access, use a pair of scissors to remove any hair or threads tangled around the brush. Rinse the brush roll under cold water, ensuring that all dirt is rinsed away. Allow it to dry completely before reassembling the machine.
Step 5. Wipe Down the Machine:
After cleaning the individual components, it’s time to clean the exterior of your Bissell Powerforce Powerbrush Pet. Using a damp cloth or towel, wipe down the entire surface of the machine, paying special attention to any areas where dirt or dust may have accumulated.
Remember not to use harsh or abrasive cleaners, which could damage the machine’s surface. Once you’re done, dry the machine thoroughly with a clean towel.
Step 6. Reassemble Your Machine:
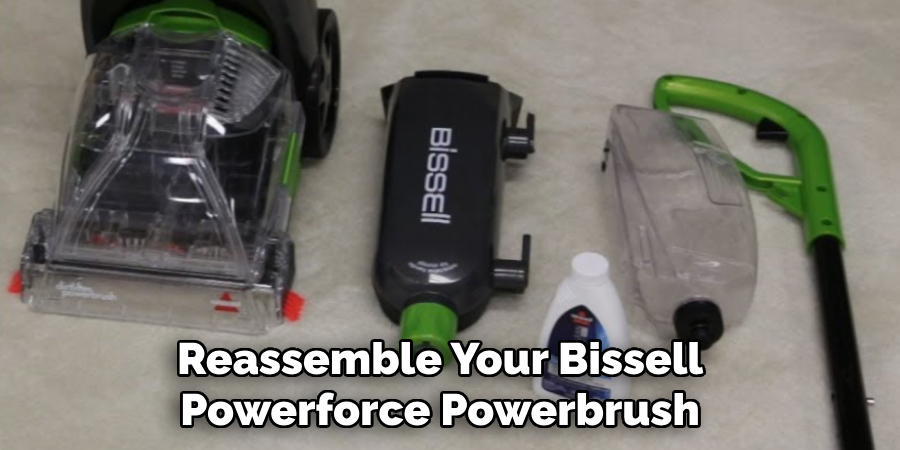
Once all the components are thoroughly dry, it’s time to reassemble your Bissell Powerforce Powerbrush Pet. Start by replacing the brush roll and screwing the cover back on. Next, slide the nozzle back into place.
Finally, refill the water tank and reinstall it on the back of the machine. Make sure all the components are secured in their correct places. Now, your machine is clean and ready to provide top-notch cleaning performance once again.
Step 7. Test Your Machine:
After reassembling your Bissell Powerforce Powerbrush Pet, testing it to ensure everything is working perfectly is crucial. Plug in the machine and turn it on. Perform a brief run on a small patch of your carpet to see if the machine is functioning as it should.
If you notice any irregularities or issues, double-check your reassembly process to make sure everything is in its proper place. Once you’re sure that your machine is working appropriately, you can confidently return to maintaining a clean and healthy home environment.
Step 8. Regular Maintenance:
Regular maintenance is crucial to ensure your Bissell Powerforce Powerbrush Pet continues to perform at its best. This includes emptying the water tank, cleaning the nozzle and brush roll after each use, and regularly wiping down the machine.
Sticking to a maintenance routine will prevent the buildup of dirt and debris, prolonging the machine’s life and ensuring it works efficiently every time you use it.
Step 9. Storing the Machine:
Proper storage of your Bissell Powerforce Powerbrush Pet is as essential as cleaning it. After each use, and once the machine is clean and dry, store it in a cool, dry place. Avoid storing it in direct sunlight or near a heat source, as this could damage the machine.
Also, make sure to wrap the cord neatly around the cord hooks to prevent it from getting tangled or damaged. Proper storage extends the life of your device and ensures it’s ready for use the next time you need it.
Step 10. Regularly Replace Filters and Solutions:
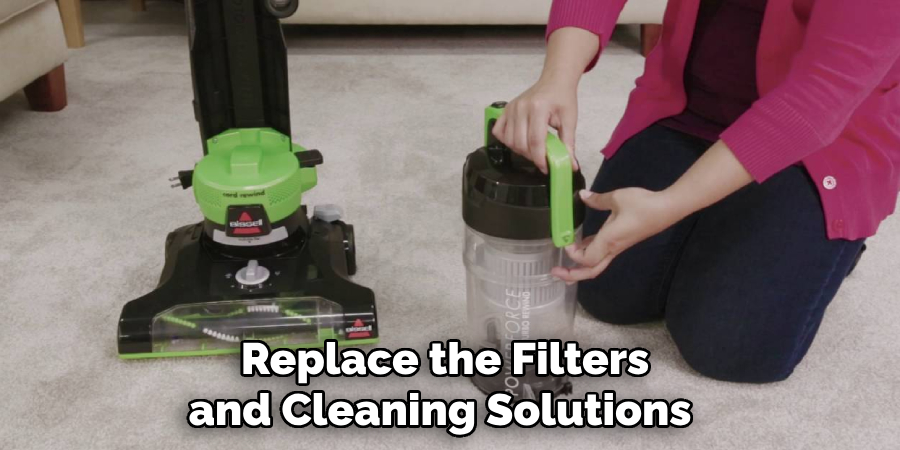
Lastly, ensure that you replace the filters and cleaning solutions of your Bissell Powerforce Powerbrush Pet as per the manufacturer’s instructions. Over time, filters can clog, and solutions can lose their effectiveness. Regularly changing these components not only maintains the cleaning efficiency of your machine but also extends its lifespan.
Always use Bissell-approved replacements to ensure optimal performance and to avoid any potential damage to your machine.
By following these simple steps, you can ensure that your Bissell Powerforce Powerbrush Pet remains in top condition and provides effective cleaning for years.
5 Additional Tips and Tricks
- Routine Maintenance: To ensure optimal performance of your Bissell PowerForce PowerBrush Pet, it’s vital to perform regular maintenance. This includes emptying the dirt tank after every use and checking the brush roll for tangled hair or debris.
- Deep Cleaning: At least once a month, it’s advisable to do a thorough cleaning. This involves disassembling the unit and washing the filter, dirt tank, and nozzle in warm soapy water.
- Spot Clean: If your PowerBrush Pet has stubborn stains, a good tip is to use a mild detergent or Bissell cleaning solution to spot clean the affected areas. Remember to dry parts thoroughly before reassembling.
- Check Belts and Brush: Regularly inspect the brush and belts for signs of wear and tear. If parts are damaged, it’s important to replace them immediately to avoid further damaging the machine.
- Vacuum Daily: To prevent a build-up of allergens, dirt, and pet hair on your carpets, it’s recommended to vacuum daily. This will keep your carpets clean and prolong the lifespan of your Bissell PowerForce PowerBrush Pet.
With these additional tips and tricks, your Bissell Powerforce PowerBrush Pet will continue providing powerful and efficient cleaning.
5 Things You Should Avoid
- Avoid Overfilling the Dirt Tank: Overfilling the dirt tank of your Bissell PowerForce PowerBrush Pet can lead to diminished suction and potential damage. Always empty the tank when it reaches the indicated fill line.
- Don’t Use Hot Water: Never use hot water to clean the parts of your vacuum cleaner. Stick to warm, soapy water to avoid damaging the plastic components.
- Steer Clear of Harsh Chemicals: Avoid harsh or abrasive cleaning chemicals on your PowerBrush Pet. These can cause unnecessary wear and tear on the unit.
- Avoid Vacuuming Large Objects: Large objects can damage the brush roll and other internal parts of your PowerBrush Pet. Always pick up larger debris by hand before vacuuming.
- Don’t Neglect Regular Maintenance: It can be tempting to skip regular maintenance in the interest of time. However, neglecting this can shorten the lifespan of your PowerBrush Pet. Regular maintenance keeps your vacuum running efficiently and prolongs its life.
By avoiding these common mistakes, you can keep your Bissell PowerForce PowerBrush Pet in top condition for years.
Conclusion
In conclusion, the Bissell Powerforce Powerbrush Pet is a great tool for pet owners to keep their carpets clean and free of pet hair. With the right cleaning solutions and a powerful brushing system, this machine can quickly clean up even the messiest stains and furballs.
Hopefully, this guide has provided you with all the necessary information on how to clean Bissell PowerForce PowerBrush pet. Remember to regularly maintain and perform deep cleaning for optimal performance and avoid common mistakes that can damage your machine.
By following our steps, you can care for your Bissell easily and ensure it runs at peak capacity. So remember to give your Powerforce Powerbrush Pet a regular clean! Take some time today, grab your cleaning supplies, and get started now for fresher, cleaner carpets in no time!