
If you’ve recently discovered mold growing on the walls or shelves of your refrigerator, it can be overwhelming to figure out what steps to take in order to clean up this mess and restore your appliance back to working order. Don’t worry, we’re here to help!

In this blog post on how to clean an old refrigerator with mold in it, we’ll discuss the proper way of cleaning an old refrigerator with mold so that you don’t have any lingering issues surrounding bacteria or food-related safety concerns. We’ll also provide some tips for keeping your future fridge free from developing more mold. Keep reading to learn how routine maintenance of your appliance could save you a lot of time and effort in the long run!
Necessary Precautions
When it comes to mold, the most important thing is that you take necessary precautions before attempting to clean. Mold spores are easily inhaled and can cause respiratory issues if proper protection isn’t worn. Before starting any cleaning of your refrigerator, make sure to always wear a mask or respirator along with gloves and long sleeves.
Cleaning Supplies You’ll Need
It’s also important to have the right supplies on hand when tackling this cleaning task. Here’s a list of recommended supplies:
- A Large Bucket or Sink Filled With Warm Water
- Dishwashing Soap
- White Vinegar
- Baking Soda
- Clean Rags or Sponges
- Toothbrush (for hard-to-reach spaces)
11 Step-by-step Guidelines on How to Clean an Old Refrigerator With Mold in It
Step 1: Unplug the Refrigerator

This is a critical step to avoid any electrical shocks while cleaning the fridge. It will also allow you to work with water and cleaning products more safely. You can unplug the fridge by pulling its plug out of the socket, or if it’s not readily accessible, you could temporarily switch off the circuit breaker. You don’t want to skip this step, as it’s essential for your safety!
Step 2: Remove All Food Items
Take out all the food items from the refrigerator and place them in a cooler with ice packs until you’re done cleaning. Discard any spoiled or expired food and wipe down any containers or jars that may have traces of mold on them. This will prevent any cross-contamination and ensure your food stays fresh.
Step 3: Take Out All Removable Parts
Remove all shelves, drawers, and trays from the refrigerator. This includes any door shelves or compartments. If these parts are removable, take them out and clean them separately. But if they’re not easily removable, simply wipe them down where they are with a clean rag and warm soapy water. It’s essential to clean these parts as they often accumulate mold growth. You can also soak them in warm soapy water if they’re particularly dirty.
Step 4: Mix Cleaning Solution
In a bucket or sink, mix together warm water, dishwashing soap, and a cup of white vinegar. You can also add a tablespoon of baking soda for extra cleaning power. It’s important to use warm water as it can help loosen any stubborn mold. This cleaning solution is also safe for food areas and will help kill any bacteria lingering in your refrigerator. You can also add some lemon juice or essential oils if you want a fresh scent.
Step 5: Scrub the Walls and Shelves
Using a sponge or rag, dip it into the cleaning solution and start scrubbing the walls and shelves of your refrigerator. Focus on areas where mold is visible, but don’t forget to clean all surfaces thoroughly. You can also use an old toothbrush for hard-to-reach areas. If the mold is particularly stubborn, you can sprinkle some baking soda on the affected area before scrubbing.
Step 6: Rinse and Wipe Dry
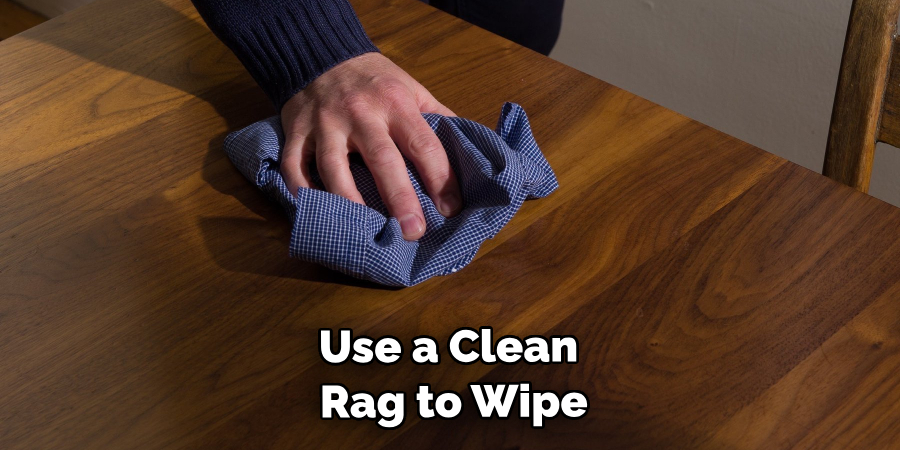
After you’ve scrubbed all surfaces, rinse them off with clean water. Make sure to thoroughly remove any cleaning solution residue. Then, use a clean rag to wipe down all surfaces until they’re dry. You can also use a hairdryer in a cool setting to speed up the drying process. It’s crucial to make sure all surfaces are dry to prevent any remaining moisture from creating a new breeding ground for mold.
Step 7: Clean the Rubber Gasket and Door Seals
The rubber gasket and door seals are often forgotten when cleaning a refrigerator, but they can also harbor mold. Using a rag or toothbrush, scrub the gasket and door seals with the cleaning solution. Make sure to get into all the crevices as these areas can be prone to mold growth. Rinse off with clean water and wipe dry.
Step 8: Clean the Exterior of the Fridge
It’s essential to also clean the exterior of your fridge, especially if it has visible mold growth. Use a sponge or cloth dipped in the cleaning solution to wipe down the exterior, including handles and doors. Rinse off with clean water and dry with a rag. Afterward, you can also wipe the exterior with a disinfectant to kill any remaining mold spores.
Step 9: Clean the Inside of the Door
Don’t forget to clean inside the door! This includes any shelves or compartments on the door. You can use a sponge or rag dipped in the cleaning solution and scrub away any visible mold. Rinse off with clean water and dry thoroughly. You can also use a disinfectant wipe for extra cleanliness. It’s important to clean the inside of the door as it often gets overlooked and can easily accumulate mold growth.
Step 10: Reassemble Your Refrigerator
Once all parts are clean and dry, reassemble your refrigerator. Make sure all shelves and drawers are in their proper place, and doors are closed tightly. Double-check that there is no moisture remaining anywhere in your fridge before plugging it back in. You can also place an open box of baking soda in your refrigerator to help absorb any lingering odors.
Step 11: Dispose of Cleaning Supplies
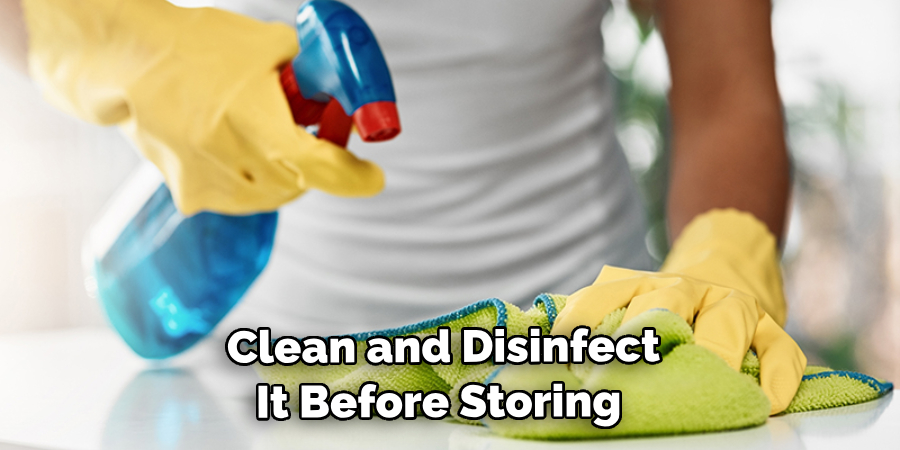
Properly dispose of all used cleaning supplies and wash your hands thoroughly. If you use a mask or respirator, make sure to clean and disinfect it before storing it away for future use. This step is critical to prevent any cross-contamination and ensure a safe and clean refrigerator.
Following these step-by-step guidelines on how to clean an old refrigerator with mold in it. It’s essential to regularly check and clean your refrigerator to prevent mold growth and maintain a healthy environment for you and your family. And remember, safety first – always unplug your fridge before cleaning!
Do You Need to Hire Professionals?
In most cases, you can clean an old refrigerator with mold on your own following the steps outlined above. However, if you have a severe mold problem and are unsure how to handle it safely, it’s best to call in professionals. Mold can pose health risks, and trained professionals will know how to handle the situation properly. They have the necessary equipment and expertise to remove mold safely from your refrigerator.
Frequently Asked Questions
Q: How Often Should You Clean Your Refrigerator to Prevent Mold Growth?
A: It’s recommended to clean your refrigerator at least once a month, or more frequently if you notice any signs of mold or food spills. It’s also essential to regularly check the door seals and gasket for any mold growth.
Q: Can You Use Bleach to Clean Mold in Your Refrigerator?
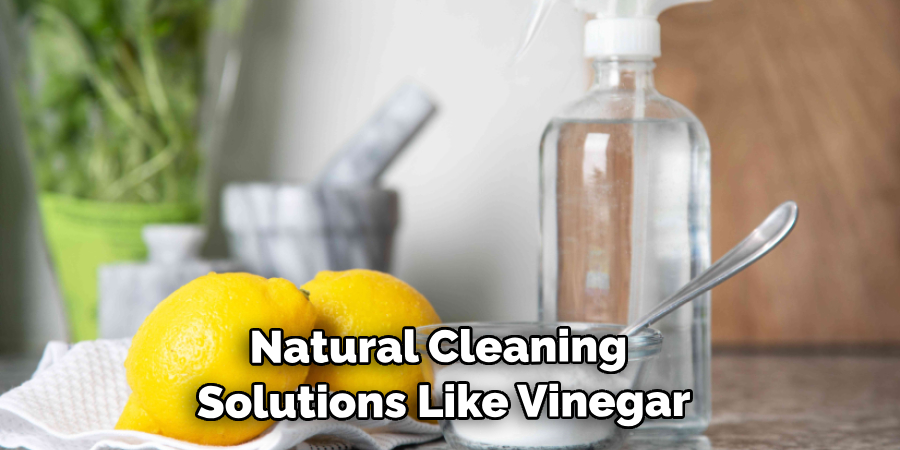
A: While bleach is a strong disinfectant, it’s not recommended for use in refrigerators. The fumes can be harmful if they come into contact with food, and they can also damage the interior of your fridge. Stick to using natural cleaning solutions like vinegar and baking soda.
Q: How Do You Prevent Mold from Growing in Your Refrigerator?
A: To prevent mold growth in your refrigerator, make sure to regularly clean and dry all surfaces, especially the door seals and gasket. Don’t leave any spills or food residue inside your fridge and check for any signs of mold growth often. Additionally, keeping an open box of baking soda in your fridge can help absorb any moisture and odors.
Conclusion
To ensure that your refrigerator is completely clean and free of any mold, follow the steps listed above. These methods are simple and safe to use, as long as you take the necessary safety precautions. Be sure to wear protective equipment such as gloves and a face mask while cleaning out your old refrigerator. Doing so will help keep you safe from any potential health risks associated with handling mold or mildew growth.
Additionally, be sure to check in with an appliance repair specialist if needed to have any areas of concern professionally addressed. It may even be worthwhile to invest in a home dehumidifier to reduce moisture which can prevent mold from growing in the future. By taking all of these important measures on how to clean an old refrigerator with mold in it, you’ll make sure that your old fridge is not only clean but also protected against any future mold growth. Get cleaning today-it may just save your old appliance in the end!