Burnishing a floor can be a daunting task, but once you understand the process and have the right tools, it becomes much more manageable. Burnishing is an essential part of maintaining shine and appearance on many types of hardwood floors.

Whether you’re burnishing as part of regular maintenance or trying to refresh an older floor surface, taking the time to carefully learn how to do it correctly will result in beautiful results that last for years to come. In this blog post, we’ll provide step-by-step instructions on how to burnish a floor so you can achieve a professional finish without having to hire somebody else!
Regular burnishing removes minor scratches, scuffs and other types of surface damage that can occur from foot traffic and daily activities. Burnishing will help make your floor shine brighter than ever before; plus, it can extend its life significantly. Whether you have a hardwood, tile or linoleum floor, there are important steps for properly executing a successful burnish.
Here we will cover how to prepare the space before starting the burnish process as well as what types of materials are required in order to safely and effectively achieve long-lasting results without damaging your beautiful floors!
Why is It Important to Burnish a Floor?
1. To Remove Minor Scratches
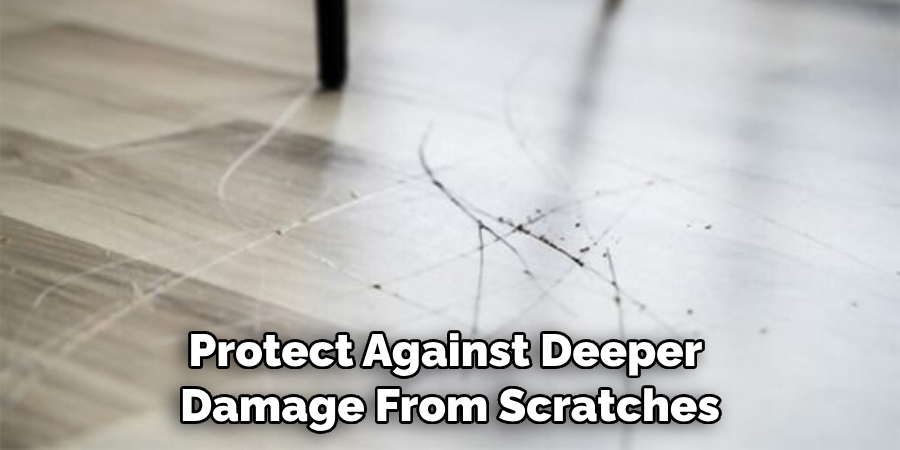
One of the primary reasons to burnish a floor is to remove minor scratches that can be caused by foot traffic or moving furniture. Regularly burnishing your floor can help keep it looking its best and protect against deeper damage from scratches.
2. To Restore Shine
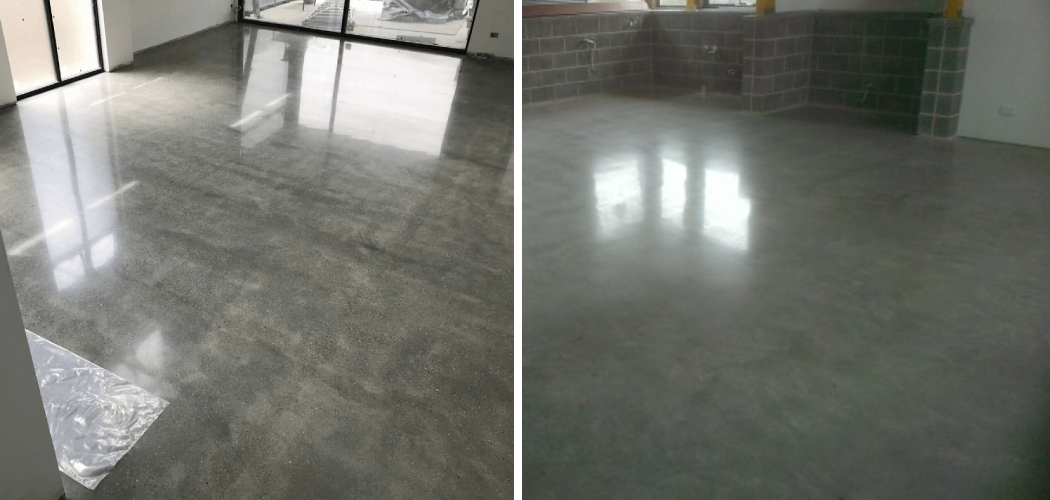
Another important reason to burnish a floor is to restore the shine of the finish. Over time, dirt and grime can dull the finished surface of the floor and burnishing can help to restore that shine. This is especially important for areas that receive a lot of foot traffic, such as in offices or commercial settings.
3. To Increase Durability
Finally, burnishing a floor helps to increase its overall durability. Regularly burnishing your floor will help make it more resistant to wear and tear, which can help extend its life. Burnishing also helps protect against dirt and other contaminants that can cause damage to the floor over time.
By regularly burnishing your floor, you can keep it looking great for years to come. It’s an important part of any home or business’s maintenance routine and should be done at least once a year in areas that receive a lot of foot traffic. With the right tools and techniques, you can easily burnish your floor to keep it looking its best for years to come.
How to Burnish a Floor in 7 Easy Steps
Step 1: Gather All The Tools You May Need
The very first step is to gather all the necessary tools that you may need throughout the burnishing process. Make sure you have a floor machine, an absorbent cloth, gloves, safety glasses, a dust mop, and a cleaning solution.
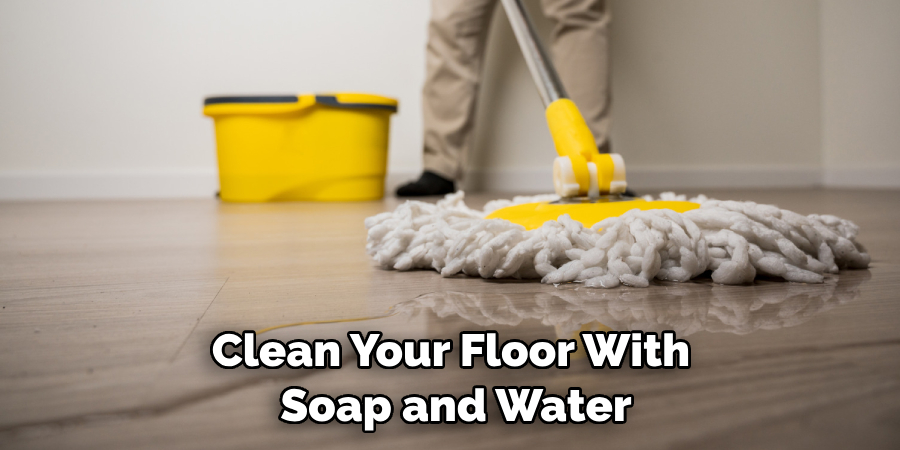
Step 2: Clean The Floor With Soap And Water
Before beginning the burnishing process, it is important to clean your floor with soap and water. This will help to remove any dirt or debris that may be on the surface of the floor.
Step 3: Apply The Burnishing Pad
Next, you need to attach a burnishing pad to your floor machine and apply it onto the floor in a circular motion. Make sure to cover as much of the area as possible, but don’t press too hard as it could cause damage to the floor.
Step 4: Activate The Machine
Once you have applied the burnishing pad, turn on the machine and allow it to run for approximately two minutes. This will help to evenly spread the solution across the surface of the floor. Also, make sure to keep a steady pace while the machine is running.
Step 5: Remove The Burnishing Pad
Once you have finished the burnishing process, remove the pad and inspect the floor for any scratches or marks. If there are any, use a cloth to buff them out before continuing with the next step. Make sure to dispose of the pad in an appropriate manner.
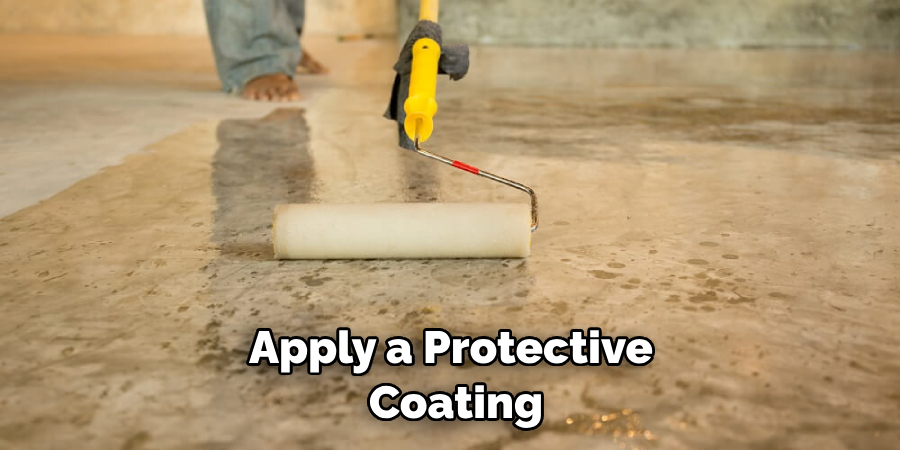
Step 6: Apply A Protective Coating
Once you have finished buffing out any scratches or marks, it is time to apply a protective coating. This will help to protect the floor from dirt and debris, as well as helping to make it easier to clean in the future.
Step 7: Allow Time To Dry
Finally, give the protective coating time to dry before you begin using the floor again. This will help it to bond properly and ensure that your floor is protected for a longer period of time.
Burnishing your floor can be a lengthy process but it is worth it in the end. By following these 7 easy steps, you’ll have a beautiful, shiny floor that will last for years to come. So, why not get started today? You won’t regret it!
Some Extra Tips to Burnish a Floor
1. Do Not Overdo It
As burnishing a floor is a labor-intensive and time-consuming process, it is advisable to not overdo it. Too much burnishing can damage the protective sealant on the floor leading to damage to its finish. Also, make sure to not use too much pressure during burnishing as it can also cause damage.
2. Use Proper Pads
Using the appropriate pad is essential for efficient and effective burnishing of the floor. It should be flexible enough to adjust with the contour of the floor and be suitable for the type of finish on your flooring. Pads that are too hard or too soft can damage the surface.
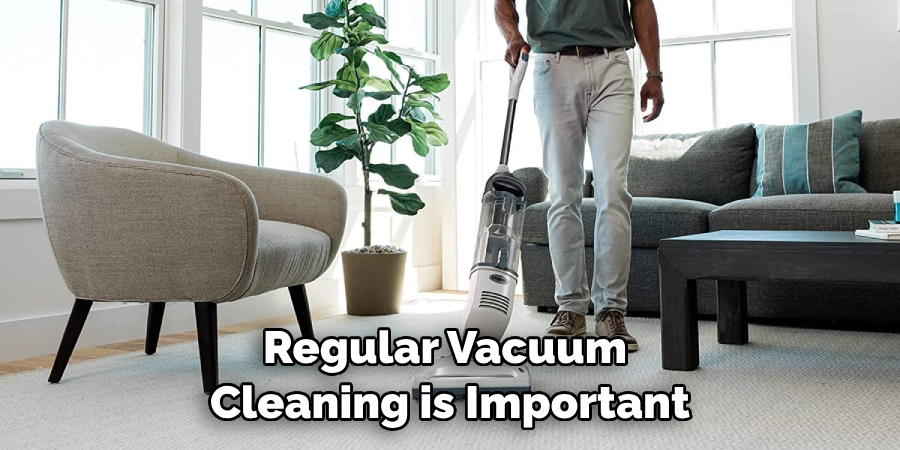
3. Vacuum the Floor Regularly
Regular vacuum cleaning is important to ensure that all dirt and debris from the floor is removed prior to burnishing. This will help in getting a better shine and longevity of the floor’s finish.
4. Apply Cleaners Sparingly
Using cleaner or polisher while burnishing, should be done sparingly. Too much use of cleaning fluids can damage the sealant and dull the floor’s finish. Therefore, it is important to use them in moderation.
5. Do Not Overlap Your Passes
When burnishing a floor, make sure to not overlap your passes as this could cause discoloration or even permanent damage to the floor. Make sure to work in a pattern and cover each part of the floor equally.
6. Check the Temperature
One important factor to keep in mind while burnishing is temperature. Most floor finishes have optimal temperatures at which they need to be applied and maintained during the burnishing process. Make sure to check the manufacturer’s instructions for this and use fans or air conditioning to maintain the right temperature, if necessary.
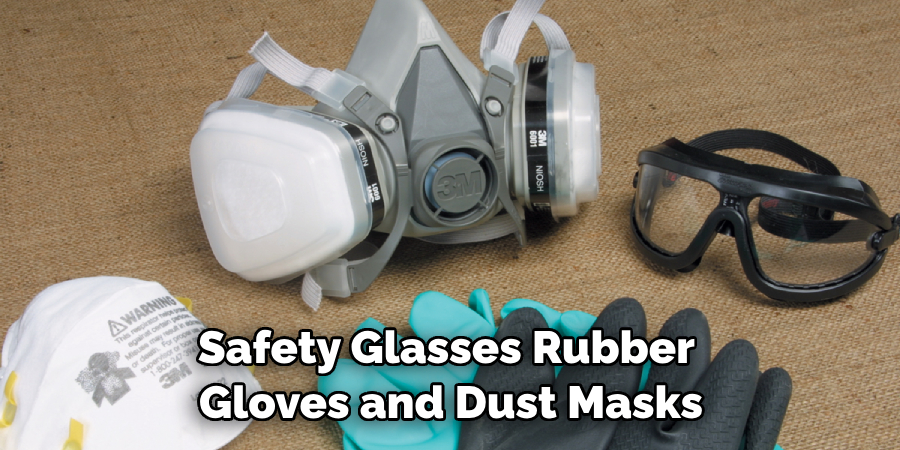
7. Wear Protective Gear
When burnishing a floor, it is important to wear protective gear such as safety glasses, rubber gloves, and dust masks. This will help in protecting your eyes, skin, and respiratory system from the dust particles generated by the process of burnishing.
These tips are important when burnishing a floor, as they ensure that your floor gets the maximum shine and is not damaged in any way during the burnishing process. Taking these simple steps can help get a glossy finish on your floors!
Frequently Asked Questions
What Precautions Should I Take Before Starting To Burnish a Floor?
Before starting to burnish a floor, it is important to make sure that the area is well-ventilated and dust-free. Additionally, it is recommended to wear protective gear such as safety glasses and gloves in order to avoid any potential injury from the process.
How Do I Prepare The Floor for Burnishing?
It is important to ensure that the surface of the floor is free from dirt and debris before beginning the process. This can be done by sweeping and cleaning the area with a damp mop. It is also recommended to check for any cracks or chips in the floor that need repairs before starting burnishing procedures.
What Equipment Is Necessary To Burnish a Floor?
In order to burnish a floor, it is necessary to have the following pieces of equipment: an electric polisher, a soft cloth or brush, and water-based polish. It is important to use the correct type of polish when burnishing as some products can cause discoloration or damage to the floor.
How Long Does The Burnishing Process Take?
The burnishing process usually takes between 30 minutes to an hour, depending on the size of the floor and how much polish is used. It is important to work in small sections at a time in order to avoid overworking the area and ensure that all areas are adequately burnished.
What Are The Benefits Of Burnishing A Floor?
Burnishing a floor can provide a range of benefits, including restoring the original luster and shine to dull floors. It can also help to protect the floor from further damage by creating a protective coating that will repel dirt and dust. Additionally, burnishing is an easy process that can be completed at home without professional assistance.
What Should I Do After Burnishing The Floor?
After burnishing the floor, it is important to vacuum the area and remove any residual polish. It is also recommended to apply a sealer or finish to help protect the floor from further damage. Additionally, regular cleaning and maintenance should be performed in order to keep the floor looking its best.
How Frequently Should I Burnish My Floor?
It is usually recommended to burnish a floor once or twice a year in order to maintain its luster and shine. However, this may vary depending on the amount of foot traffic and type of flooring that is being used.
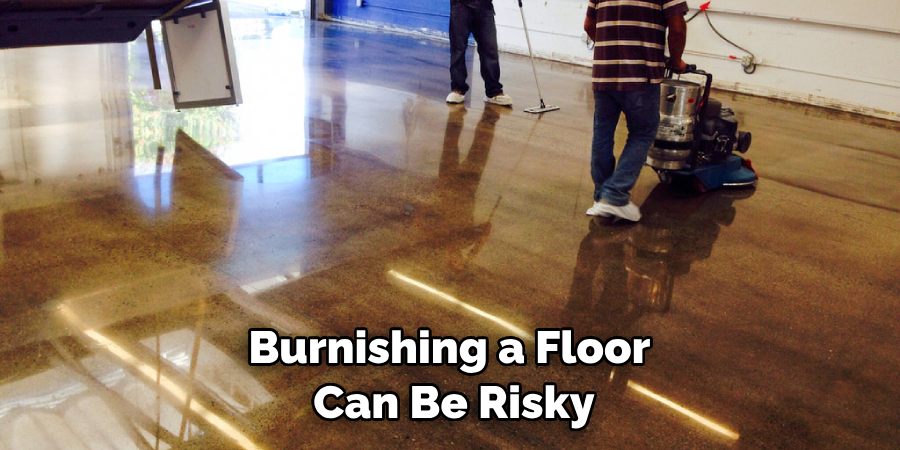
What Are The Risks Of Burnishing A Floor?
Burnishing a floor can be risky if done incorrectly or with the wrong type of equipment. It is important to use the correct polishing products and follow all safety precautions in order to avoid any potential damage or injury. Additionally, over-burnishing can leave a floor looking dull or discolored, so it is important to be aware of this possibility before beginning the process.
Conclusion
After just a few simple steps, you will be on your way to having a burnished floor that is not only beautiful but also durable! The benefits of burnishing are many and include an increase in durability, enhanced appearance, and even improved slip resistance. Once your floor is burnished correctly, you will enjoy an improved finish and longevity.
Now you know how to burnish a floor! Remember to use the right technique, followed by regular buffing and burnishing maintenance to get the best results. With a few hours of work, that dull-looking floor can become so shiny it reflects your image! Whether you are tackling a large job or just spot-refinishing one section of your home’s floors, this is the perfect do-it-yourself projects for any weekend warrior.