Cabinet boxes serve as the backbone of any cabinetry system, playing a crucial role in both kitchens and bathrooms, as well as other storage spaces throughout the home. Understanding how to build cabinet box structures accurately is essential, as they form the foundation for durable, functional, and aesthetically pleasing cabinetry. Precision in construction ensures the cabinet’s longevity and contributes to the seamless…
integration of the finished piece into a room’s design. This guide will walk you through the necessary steps for building a standard cabinet box. It covers the basic tools you’ll need, such as saws and drills, and the materials required, including plywood and screws. By following our detailed step-by-step instructions, you’ll be well-equipped to construct a cabinet box that meets your storage needs and enhances your home’s style.
Materials and Tools Needed
To build a sturdy and reliable cabinet box, certain materials and tools are essential. Materials include plywood or MDF (medium-density fiberboard) for crafting the cabinet sides, back, and bottom, ensuring a robust structure. Incorporating hardwood or plywood for face frames is optional but recommended for additional strength. Assembly requires screws, nails, wood glue, and brackets, which ensure the cabinet’s parts are securely joined. If your design includes doors, hinges, and suitable hardware will be necessary. Prior to finishing, you’ll need sandpaper and wood filler to smooth out any imperfections. Finally, finishing supplies, such as paint or stain, will help protect and beautify the wood surface.
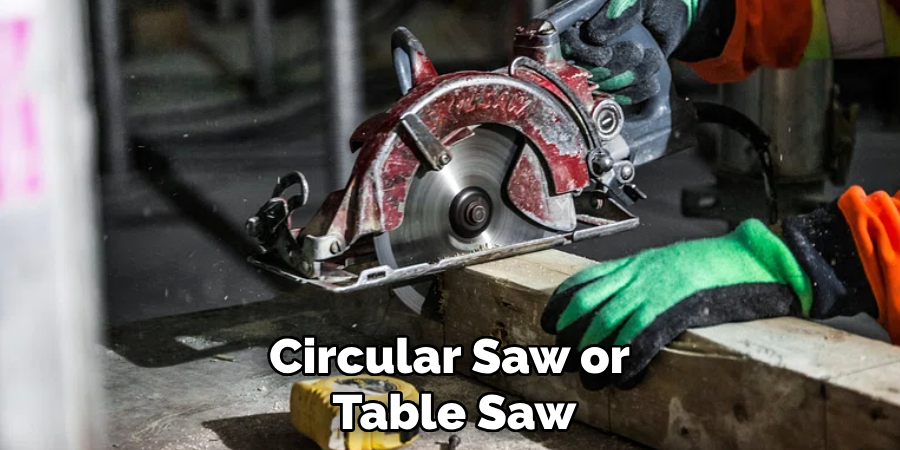
When it comes to tools, a circular saw or table saw is indispensable for cutting wood accurately. A power drill and driver will be needed to secure screws and attach hinges. Clamps are vital for holding pieces firmly in place as you assemble the cabinet. Accurate measurements and layout require a tape measure, a carpenter’s square, and a pencil. A sander or sanding block will be essential to achieve smooth edges and surfaces. With these materials and tools on hand, you’ll be well-prepared to construct a durable and visually appealing cabinet box.
Measuring and Planning the Cabinet Box
Step 1: Measure the Space Where the Cabinet Will Go
Accurate measurements are crucial for ensuring that the cabinet box fits seamlessly into its intended space. Begin by measuring the height, width, and depth of the area where the cabinet will be installed. Use a tape measure for precision, ensuring to note any irregularities in the space that may affect installation. It’s important to leave a bit of extra space around the cabinet to add doors, drawers, or trim. Typically, allowing an extra 1/8 inch on all sides can accommodate slight variations and ensure smooth operation of doors and drawers.

Step 2: Plan the Dimensions of the Cabinet Box
Once you have the space measurements, plan the dimensions of the cabinet box. Standard cabinet sizes vary: base cabinets are typically 34.5 inches in height and 24 inches in depth, while wall cabinets range from 12 to 42 inches in height and are usually 12 inches deep. Pantry cabinets, on the other hand, can be between 84 to 96 inches in height. Adjust these dimensions to suit your space or functional preferences, keeping in mind the overall layout and design of the room. Consider the depth, height, and width of your cabinet to ensure it meets the space’s aesthetic and practical requirements.
How to Build Cabinet Box: Cutting the Cabinet Pieces
Step 1: Cut the Sides of the Cabinet
To begin constructing your cabinet box, cut the two side panels. These should be made from sturdy plywood or MDF to ensure the cabinet’s durability. Measure and mark these panels’ desired height and depth onto your material. Carefully cut along the marked lines using a circular saw or table saw. Employ a reliable guide or straightedge clamped to the board for straight and accurate cuts. This ensures that the saw follows a precise path, minimizing any wobble or deviation. Verifying that the saw blade is sharp and correctly set will further guarantee clean, smooth edges. Once cut, inspect the edges of the panels to confirm uniformity and make minor adjustments if necessary.
Step 2: Cut the Top, Bottom, and Back Panels
The next step involves cutting the top and bottom panels of the cabinet. These should be cut to match the width of the cabinet as measured during the planning stage. Additionally, ensure the depth aligns with the side panels to maintain a cohesive structure. For these cuts, mark the dimensions clearly on the wood and use your saw with the guide for straight, clean cuts.
When cutting the back panel, it should typically match the cabinet’s width but be slightly shorter in height. This reduction, generally around 1/8 inch, accommodates any unevenness in the wall against which it will be positioned, ensuring a snug fit. Similarly, precision in cutting the back panel contributes to the stability and alignment of the entire cabinet. Check all pieces for any ragged edges and smooth them using sandpaper if needed.
Step 3: Cut Additional Shelves or Dividers (Optional)
For added functionality, consider installing shelves or dividers within the cabinet. Begin by deciding the number and placement of these components, considering what you plan to store. Cut each shelf to match the cabinet’s internal width, typically slightly shorter than the full width, to allow for easy installation and adjustment.
If you opt for adjustable shelves, consider drilling a series of evenly spaced holes inside the side panels. Use a jig to maintain consistent spacing and alignment for these holes, which will accommodate shelf pins or supports. This setup allows for flexibility in shelf height and can be customized based on changing storage needs. When placing dividers, ensure they are cut to the same depth as the shelves and affix securely to prevent movement. Remember, careful measurement and planning for each cut will significantly contribute to the overall build quality and functionality of the cabinet.
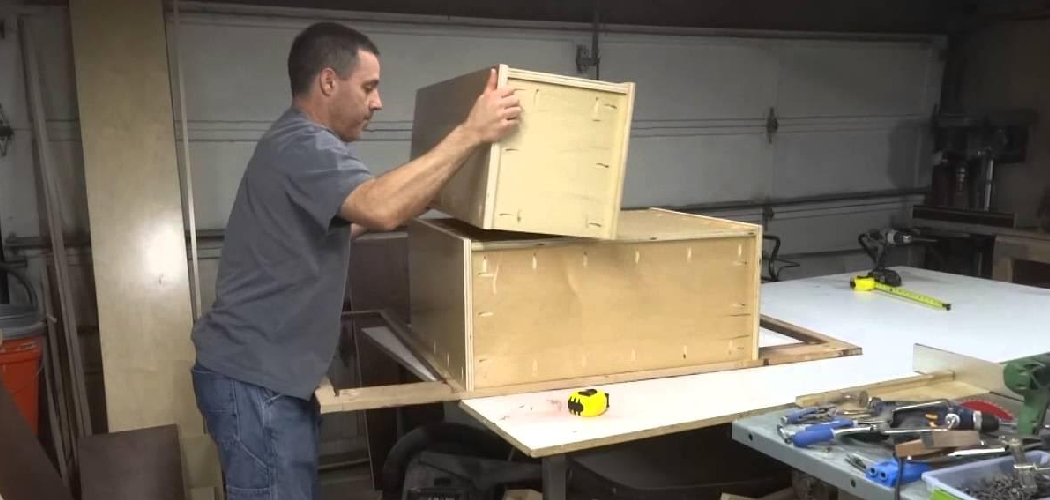
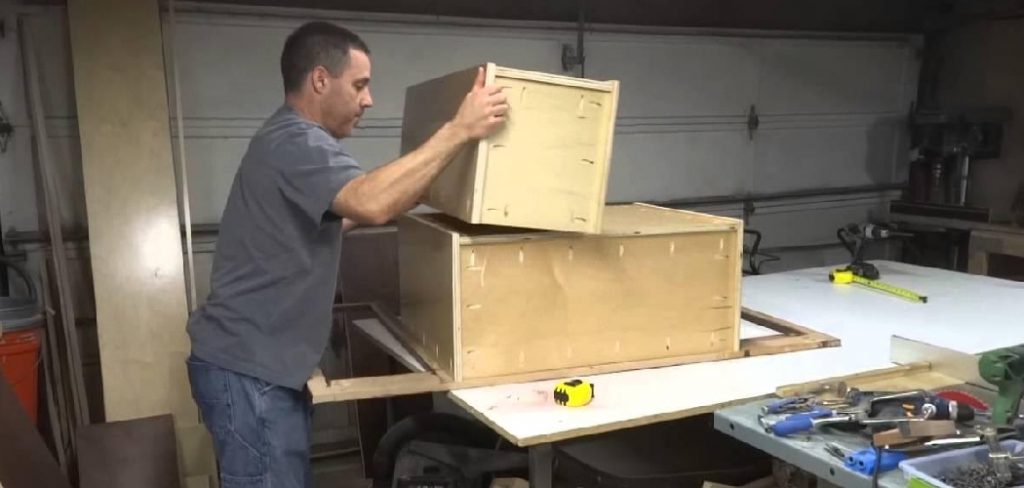
Assembling the Cabinet Box
Step 1: Attach the Bottom Panel to the Side Panels
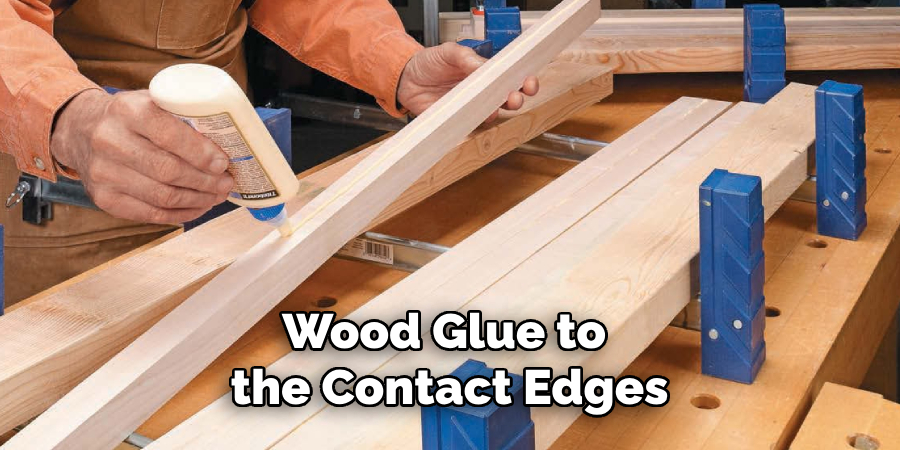
Begin the assembly by attaching the bottom panel to the two side panels. Apply a line of wood glue along the edge of the bottom panel, where it will contact the side panels. Position the bottom panel between the two side panels, ensuring the ends are flush. Insert screws through the side panels into the edges of the bottom panel to securely fasten them together. Use clamps to hold pieces in place during attachment, preventing any shifting or misalignment. Checking for squareness after securing the pieces by using a carpenter’s square is crucial. Ensuring everything is square during this initial stage sets the foundation for the rest of the cabinet assembly.
Step 2: Attach the Top Panel
Next, secure the top panel similarly to the bottom panel. Again, apply wood glue to the contact edges and position the top panel between the side panels. Fasten the pieces together using screws through the sides, taking care to maintain alignment. A carpenter’s square can help confirm that the top panel is perfectly level and square with the sides and bottom, ensuring the entire structure is balanced. Maintaining consistent pressure with clamps as the glue dries will contribute to the cabinet’s overall sturdiness and precision.
Step 3: Attach the Back Panel
The back panel is essential for both aligning and reinforcing the cabinet box. Start by applying wood glue along the edges of the side, top, and bottom panels where the back panel will sit. Position the back panel so that it is evenly aligned with the other edges. Secure it using nails or screws, spacing them at regular intervals for added stability. Ensure the panel is pressed firmly against the cabinet box, as this step helps guarantee a squared assembly and provides crucial structural support. The back panel acts as a brace that prevents racking and enhances the rigidity of the entire structure.
Step 4: Reinforce the Corners
To further strengthen the cabinet box, reinforce the corners with L-brackets or wood blocks. Place these brackets at each corner inside the cabinet, attaching them with screws to the intersecting panels. This extra layer of reinforcement will increase durability, help in maintaining squareness, and ensure the long-term sturdiness of the cabinet, especially if it is subject to heavy use. Before proceeding to the next assembly stage, double-check all joints to ensure they are tight and secure. This comprehensive reinforcement will enhance the cabinet’s load-bearing capacity and contribute to its longevity and functionality in daily use. With these steps completed, you have a solid cabinet box ready for further customization or installation.
Installing Shelves or Dividers (Optional)
Step 1: Measure and Mark Shelf Placement
Begin by determining where each shelf or divider will be installed within the cabinet box. For fixed shelves, measure equal distances from the base of the cabinet to maintain uniform spacing, ensuring practicality and aesthetic balance. Mark these positions clearly with a pencil. If using adjustable shelves, mark a series of evenly spaced points along the inside of the cabinet side panels to accommodate shelf brackets or pins. Use a spirit level to ensure horizontal alignment for each mark, which maintains levelness once the shelves are installed.
Step 2: Attach Shelves
For fixed shelves, secure them using screws, ensuring they are driven into pre-drilled pilot holes to prevent splitting. Alternatively, insert shelf pins into the pre-marked holes and rest each shelf on top for adjustable setups, checking that they sit evenly. Using a level during installation is essential to confirm the shelves are perfectly flat and sturdy. Reinforce each shelf as necessary to ensure that it can support the anticipated load without bending or shifting. This careful installation will ensure functional and reliable storage within your cabinet.

Adding a Face Frame (Optional)
Step 1: Cut the Face Frame Pieces
The face frame adds an aesthetic finish and structural integrity to the cabinet box by using hardwood or plywood strips to create a frame around the front. Begin by measuring the dimensions of the cabinet’s front opening to determine the required lengths for the stiles (vertical pieces) and rails (horizontal pieces). Cut the stiles and rails accordingly, ensuring the edges are straight and true to provide a snug fit against the cabinet box. Use a miter saw for precise, clean cuts, and verify the measurements twice to prevent errors.
Step 2: Assemble the Face Frame
First, lay out the cut pieces on a flat work surface to assemble the face frame. Apply wood glue to the ends of the rails where they meet the stiles, aligning the edges carefully to maintain squareness. Use pocket screws or nails to join the pieces securely, thereby forming a strong and cohesive frame. Checking that the frame is square at this stage is crucial for proper attachment to the cabinet.
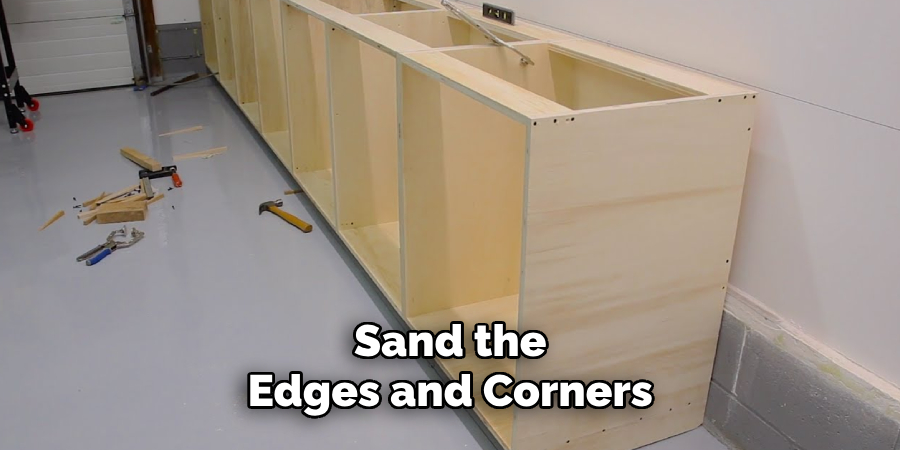
Step 3: Attach the Face Frame to the Cabinet Box
Attach the completed face frame to the front of the cabinet box by applying wood glue to the contact surfaces. Ensure the frame edges align perfectly with the cabinet box. Secure the frame in place using brad nails, driving them through the frame into the box at regular intervals to maintain stability. For added refinement, sand the edges and corners to achieve a seamless look, enhancing the finished cabinet’s appearance and feel.
Conclusion
In conclusion, the process of how to build cabinet box involves meticulous attention to detail, utilizing proper tools, and executing careful assembly. Following these steps ensures a well-constructed cabinet that enhances both function and style in any space. Precision in measuring and cutting, along with the strategic use of reinforcement techniques, leads to a sturdy and reliable cabinet. By taking their time during each step, DIY enthusiasts can achieve a high-quality result that showcases craftsmanship and elevates the room’s aesthetic appeal. A well-built cabinet box is an investment in both utility and design elegance.