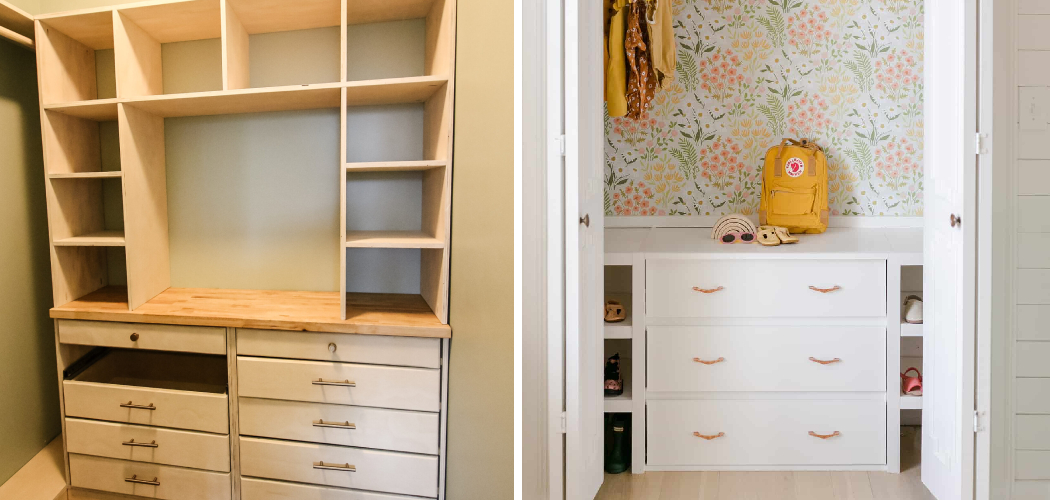
Building a dresser inside a closet is a clever and practical solution to maximize storage space and create a elegant and organized bedroom. Whether you have limited space or simply want to utilize the closet area efficiently, constructing a dresser inside the closet can be a rewarding DIY project.

By customizing the dimensions and design to fit your specific needs, you can create a functional and visually appealing storage solution. In this article, we will guide you through the process of how to build a dresser in a closet, providing step-by-step instructions and valuable tips to help you create a customized piece that optimizes your closet space while adding style and functionality to your room.
Get ready to transform your closet into a well-organized and efficient storage area with a built-in dresser.
The Convenience and Space-Saving Benefits of Building a Dresser in a Closet
Building a dresser in a closet adds a unique design element to your space while also offering convenience and saving you some much-needed square footage. This can be especially beneficial if you have limited bedroom or living space, such as in an apartment or condominium.
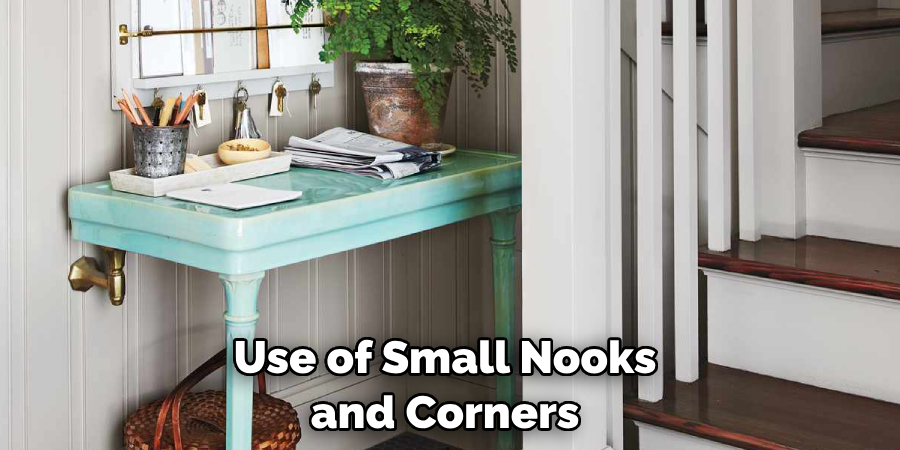
Not only is building a dresser inside of your closet extremely practical, but it can also offer a great aesthetic look. By creating a custom dresser in your closet, you can tailor the design to your specific needs and preferences. This is especially helpful if you have an odd-shaped closet or want to make use of small nooks and corners that may otherwise be wasted.
In addition to the visual appeal, building a dresser in your closet also offers the convenience of keeping all of your clothing and accessories in one place. Clutter can be an issue in any room, and having a dresser can help to keep it organized. This will make it easier for you to find items when needed without having to search the entire room.
10 Methods How to Build a Dresser in a Closet
1. Assess the Closet Space:
Start by assessing the available space in your closet. Measure the width, height, and depth of the closet to determine the dimensions for your built-in dresser. Consider the placement of existing shelving or hanging rods and plan accordingly.
Too much furniture or storage in the closet can make it feel cramped and cluttered. Although a built-in dresser is an excellent storage solution, be sure to leave ample room for clothing and other items.
2. Plan the Design:
Based on your measurements, sketch a design for the built-in dresser. Decide on the number of drawers, their sizes, and any additional features such as shelves or compartments. Consider the style and functionality you desire and create a detailed plan to guide the construction process.
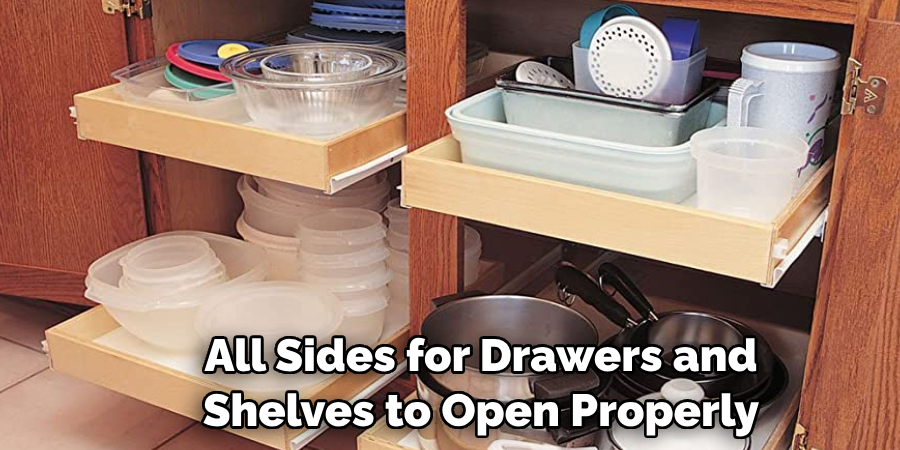
While measuring the available space, make sure to leave enough room on all sides for drawers and shelves to open properly. Additionally, consider any potential obstructions, such as pipes or wires. However, if necessary, these obstructions can be worked around.
3. Choose Suitable Materials:
Select the materials for your built-in dresser that are appropriate for your budget, style, and skill level. Opt for sturdy and durable materials such as plywood or medium-density fiberboard (MDF). Determine the type of finish or paint you want for the dresser to match your room decor. You can also use wood veneer to give the dresser an elegant look. When selecting the hardware, consider the type of knobs and pulls you prefer.
4. Gather the Necessary Tools:
Ensure you have all the necessary tools for the construction process. This may include a tape measure, circular saw or jigsaw, drill, screwdriver, level, clamps, and sandpaper. Having the right tools on hand will make the building process smoother and more efficient.
To ensure the dresser fits properly in the closet, measure all of the dimensions and angles and make sure to take into account any obstructions such as windows or wall vents. Although the process can be completed without any power tools, they may make the job go faster and more efficiently.
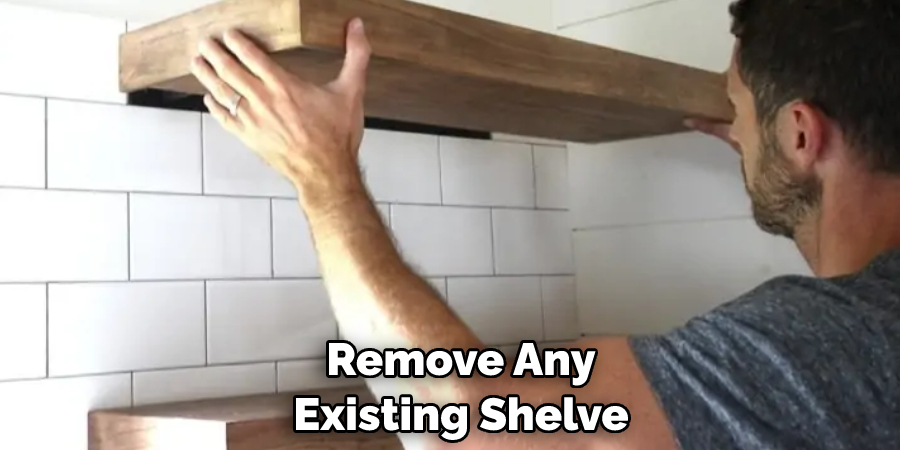
5. Prepare the Closet:
Clear out the closet and remove any existing shelves or rods that may interfere with the dresser construction. Patch and paint the closet walls if desired. Ensure the closet is clean and free from any obstructions before proceeding with building the dresser.
When the closet is ready, measure the back wall to determine how wide of a dresser frame can be constructed. Though it is possible to build a dresser of any size, ensure that the closet width will not be exceeded.
6. Build the Frame:
Start by building the frame of the dresser using the chosen materials. Cut the panels according to your design and assemble them using screws or dowels. Use clamps and a level to ensure the frame is square and sturdy.
Attach the frame securely to the closet walls for added stability. To add a finished look, use wood filler to cover any gaps or screws. While the frame is drying, cut and attach the face frame to dress up the look of your closet dresser. Use a router for any decorative edges you desire.
7. Construct the Drawers:
Measure and cut the pieces for the dresser drawers. Assemble the drawer boxes using dado joints, screws, or dowels. Install drawer slides on the frame and attach the drawer fronts. Ensure the drawers glide smoothly and align properly.
To add a finished look to the drawers, attach edge banding. Once completed, carefully slide each drawer into its designated spot in the frame. While the drawers are in place, secure them into the frame using screws.
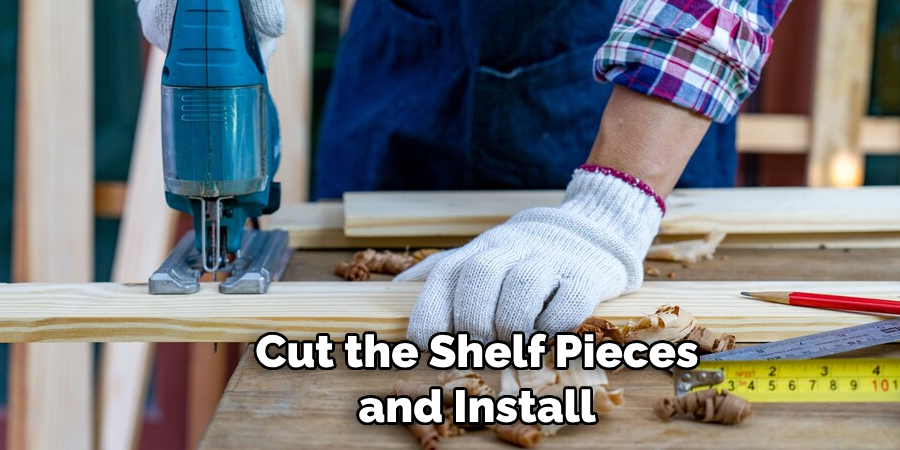
8. Add Shelves or Compartments (Optional):
If desired, incorporate shelves or compartments within the dresser. Measure and cut the shelf pieces and install them securely. This provides additional storage options and customization for organizing your belongings.
Consider making one or more of the shelves adjustable. Although the shelves are not necessary to build a dresser in a closet, they can make the most of available space by providing additional storage.
9. Sand and Finish:
Once the dresser is assembled, sand the surfaces to achieve a smooth finish. Fill any gaps or imperfections with wood filler and sand again once dry. Apply the desired finish, such as paint or stain, following the manufacturer’s instructions. Allow adequate drying time between coats.
10. Install Hardware and Accessories:
Complete the dresser by installing the desired hardware, such as drawer pulls or knobs. Ensure they are securely attached. Consider adding additional accessories like drawer dividers or organizers to optimize the functionality of the dresser. With the hardware and accessories in place, your dresser is complete!
Some Common Mistakes When Building a Dresser in a Closet
1. Not Measuring the Available Space Accurately:
This is an important step, as it will help you determine exactly how large of a dresser you can fit in the closet and how much room will be left for other accessories or clothing. Make sure to measure the length, width, and height of the closet space and then use those measurements to determine the size of the dresser that will work best.
2. Not Planning Ahead:
It’s important to have a plan for what type of dresser and what size it should be before you start building. There are a lot of different options available, so take the time to research your options and decide which one is best for your space.
3. Not Preparing the Closet Space Properly:
Before beginning any construction, it’s important to ensure that the closet space is properly prepared. This means making sure that all dust and debris is removed from the area, as well as checking for any potential hazards such as exposed wiring or other structural issues. Additionally, make sure to measure twice and cut once when installing any materials in order to avoid unnecessary waste or damage to the space.
4. Not Using Quality Materials:
It’s important to use quality materials when building a dresser in a closet. This means using sturdy wood for the frame, and high-quality screws and fasteners to ensure that it will last for many years. Additionally, make sure to use paint or sealant that is appropriate for the space.
5. Not Following Directions:
When following any instructions related to construction, it’s important to follow them exactly as laid out. Not doing so can result in poor results or even potential injury if not done properly. Make sure to take your time and read all directions carefully in order to get the best possible outcome from your project.
Conclusion
Ultimately, building a dresser in a closet is a straightforward but labor-intensive process. It requires you to measure twice and cut once, as precise measurements are crucial for the success of your project. If DIY isn’t your specialty, it may be worth contacting a professional carpenter to help better ensure the dresser is built properly from start to finish.
Furthermore, quality materials and supplies should be used when creating something meant to last for years. Building your own dresser in your closet can provide you with additional storage space by utilizing an area that would otherwise go unused. Thanks for reading, and we hope this has given you some inspiration on how to build a dresser in a closet!