Adding grommets to curtains is a great way to spruce up any room. Not only do they add visual interest, but they are functionally beneficial too! Grommets can be used to cover or reinforce existing holes in the fabric and create an efficient, neat-looking manner for hanging your curtains.
If you’re looking to give your curtains a professional, finished look, adding grommets is a great way to go. Grommets can not only help make hanging and opening curtains easier, but they can also add an elegant detail to your window treatments.

Installing grommets in curtains can seem intimidating, but with the right supplies and tools, it doesn’t have to be! In this blog post, we will walk you through the steps for how to add grommets to curtains so that your windows are dressed up even more.
Additionally, once you know how easy it is, you’ll see just why this type of trim can be used for a variety of craft projects too. Whether you’re looking for extra stability or just want to give something a designer look, this guide will walk you through all the steps needed when it comes time to install grommets into curtains and other items.
What Are Grommets?
Grommets are metal, plastic, or reinforced fabric pieces that are designed to protect and reinforce fabric openings. They provide an efficient and neat-looking manner for hanging curtains with a rod. Grommets can also be used in many different craft projects, such as leatherworking, upholstery, and clothing design.
What You’ll Need
To get started with installing grommets, you will need a few supplies. These include:
- Grommets (metal or plastic)
- Hammer
- Awl (or sharp point tool)
- A cutting board, block of wood, or similar flat surface
- A sharp pair of scissors or rotary cutter
- Measuring tape
- Pen or marker
- Iron and ironing board (optional but helpful)
10 Ways How to Add Grommets to Curtains
Now that you have all the necessary supplies, here are 10 ways how to add grommets to curtains:
1. Measurement
Measure and mark where your grommets will go. Start by measuring the width of your curtain panel and then divide it into even sections that include a center point for each grommet location. The right size of grommets should fit the width of your panel and rod.
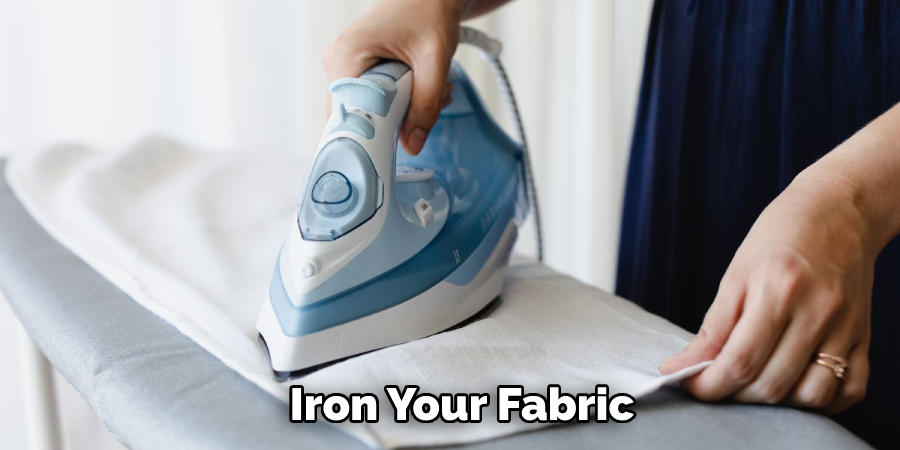
2. Iron the Fabric
If you’re working with a fabric that wrinkles easily, like linen or cotton, you’ll want to iron it before adding your grommets, as this will make it easier to work with. Fabric can be tricky when it comes to grommets, so ironing is key for a successful installation.
3. Mark the Grommet Positions

Once you’ve measured and marked the grommet locations, make sure to double-check them before proceeding. When marking your fabric, use a pen or marker that is easy to see but won’t damage or bleed through to the other side of your fabric.
4. Create a Pilot Hole
Using an awl, create a small hole at each grommet location. This will make it easier for your grommets to fit and stay in place when being hammered. Pilot holes should be just large enough for the grommet but not so big that it causes the fabric to pull away from the edges of the grommet.
5. Insert the Grommets
Now it’s time to insert the grommets into your fabric. Place each grommet over its corresponding pilot hole and make sure they are centered. Inserting the grommets with a hammer is the easiest way to do this. Make sure to align the flat side of the grommet against your fabric before gently tapping it in place with your hammer.
6. Secure the Grommets
Once you have inserted all of your grommets, make sure to check that they are all securely in place. Use your fingers to press around the edges of each grommet to check for any loose spots. If everything is secure, you’re ready to move on to the next step.
7. Cut the Holes
Using a sharp pair of scissors or a rotary cutter, carefully cut out the fabric from around each grommet. Make sure to cut just enough so that your grommets can move freely when hung.
8. Hammer the Grommets In Place
Once you’ve cut out the fabric, use a hammer to secure the grommets in place. This will help keep them secure and prevent any fabric damage when they are hung. Hammer around the edges of each grommet to ensure a secure fit.
9. Iron the Fabric Again (Optional)
If you’d like, you can iron your fabric again once the grommets are in place. This will help smooth out any wrinkles or folds that have been created during installation and make sure they are properly secured.
10. Hang the Curtain
Finally, hang your curtains on the rod and enjoy! You can use any curtain rod or grommet system to hang your curtains. If you’ve followed all of the steps correctly, you should have a neat and secure way to hang your curtains.
Adding grommets to your curtains is a great way to add style and personality to your home. With the right supplies, tools, and a bit of patience, you can easily create beautiful curtains with grommets that will last for years.
8 Safety Precautions to Follow
When adding grommets to curtains, safety should be a top priority. Here are eight tips to help ensure your projects go off without a hitch:
1. Always wear appropriate clothing and protective gear when using the tools associated with this task. This includes wearing eye protection and sturdy gloves in case any of the materials being used slip.
2. Read all instructions and safety warnings associated with the tools being used for this project. Taking the time to familiarize yourself with the tools will prevent any accidents in the long run. Instructions should be understood before beginning.
3. Make sure that the surface where you will be working is clean and clear of any debris or tripping hazards. If using a workbench, secure it so it does not move during the process. Wherever possible, use a surface that can be laid down flat.
4. Plug all tools into an outlet with ground fault circuit interrupter (GFCI) protection. This will minimize the risk of electric shock if any water or other liquids are present during the grommet installation process.
5. Check to make sure that the power tool is in good working condition before beginning. Inspect it for any signs of damage or wear that could lead to an accident. Checking the connections, cords, and switches to make sure they are secure is a good idea.
6. Keep fingers away from all moving parts of the power tool when it is in use. Never stick anything into the opening near where the blade or bit is located, as this can lead to serious injury if something becomes caught in the mechanism.
7. Make sure that all blades and bits are sharp and in good condition before beginning the project. Dull blades can cause more harm than good, leading to slips or other accidents while cutting the fabric for the grommets.
8. Disconnect power tools when not in use to prevent accidental start-up of the machine. Unplugging your tools also minimizes the risk of electrical shock if any water or liquids are present during the process.

By taking these safety precautions into consideration, you can ensure that your project is a success and prevent any potential accidents. Always remember that safety should come first when adding grommets to curtains!
Frequently Asked Questions
How Long Will It Take to Finish the Project?
Adding grommets to curtains is a fairly straightforward task, and most people can complete the job in less than an hour. The exact amount of time will depend on the amount of curtains you are working with and your skill level.
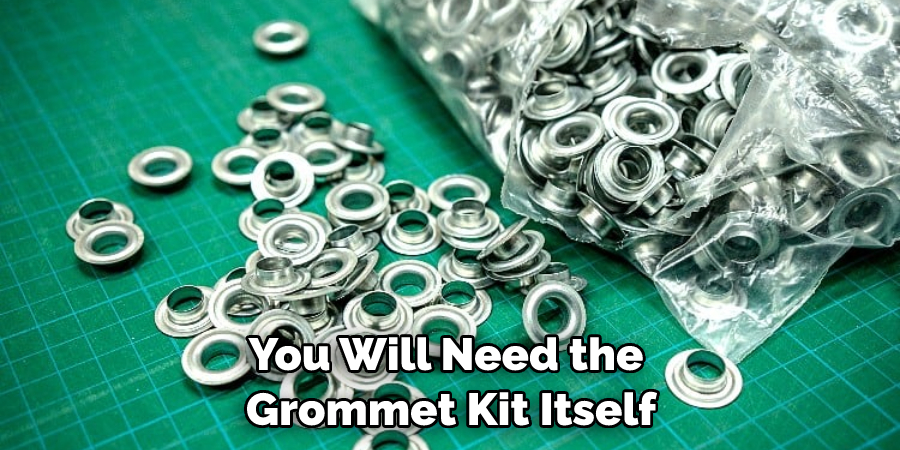
What Do I Need to Add Grommets to Curtains?
You will need a few basic supplies to add grommets to curtains. Most importantly, you will need the grommet kit itself, which usually comes with the tools needed for installation. You’ll also need a ruler and fabric scissors for measuring and cutting the material.
Do I Need to Use Fabric Stabilizer?
Using a fabric stabilizer is an optional step in the grommet installation process. Stabilizers help to give the fabric added strength and durability, which can be especially helpful if you are using a lightweight material. It is also beneficial if your curtains will be hung frequently or exposed to outdoor elements.
Conclusion
Adding grommets to curtains is a great way to enhance the look and style of any window treatment, as well as give you the ability to hang them in an easy and efficient manner.
You do not need an entire afternoon or a sewing machine to complete the task; a few basic tools are all that is needed. With the directions given in this blog post, you should now have a clearer understanding of what steps to take when adding grommets to curtains.
And if you’d like to make your new curtains even more beautiful still, you can find countless ideas on Pinterest for creative and eye-catching DIY crafts and decorations to adorn your windows with.
Go out there and get creative with this guide on how to add grommets to curtains – it’s so rewarding! Before grabbing those sewing supplies, be sure that you go into your project confidently with all the knowledge you’ll need to complete your DIY curtaining craft item!