
Laying vinyl plank flooring is a transformative and cost-effective way to enhance the aesthetics of any space, offering durability and a wide range of design options. However, the success of this flooring project hinges on proper installation techniques.
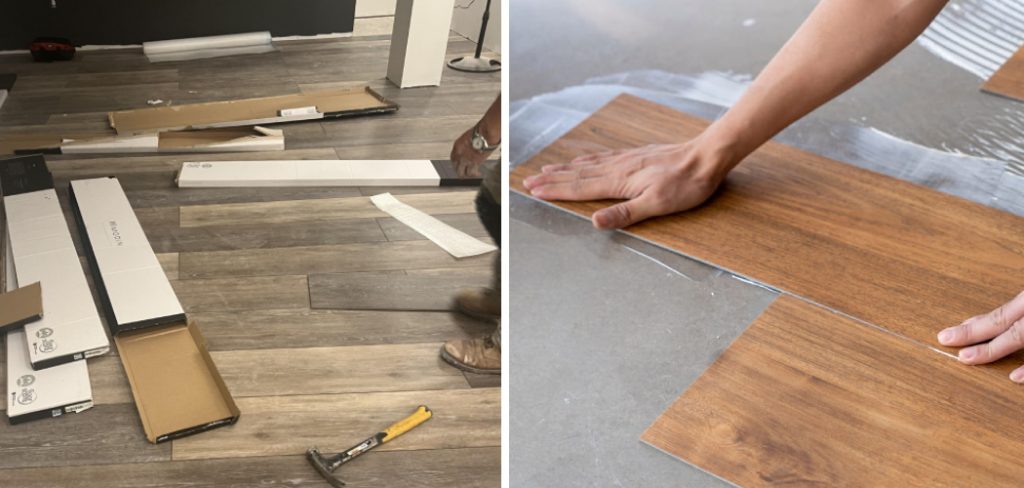
In this article, we delve into the crucial considerations and step-by-step guidance on how should vinyl plank flooring be laid. From preparing the subfloor to acclimating the planks and achieving a seamless finish, each stage of the installation process is explored in detail.
Whether you are a seasoned DIY enthusiast or a first-time floor installer, understanding the correct procedures is essential to ensure a long-lasting, visually appealing result. Join us on a journey through the fundamentals of laying vinyl plank flooring, empowering you with the knowledge to tackle this project confidently and create a stylish, resilient foundation for your living spaces.
Importance of Proper Installation for Durability and Aesthetics
When it comes to vinyl plank flooring, proper installation plays a crucial role in ensuring its durability and aesthetics. While vinyl flooring is known for its resilience and low maintenance, incorrect installation can lead to many problems such as buckling, warping, or even premature wear and tear.
One of the main reasons why proper installation is important for vinyl plank flooring is because it helps maintain the structural integrity of the planks. The majority of vinyl flooring is made up of multiple layers, each serving a specific purpose such as providing stability, protection against moisture, and creating a realistic wood-like texture.
If these layers are not properly laid out during installation, it can result in weak spots or uneven surfaces that can compromise the overall quality and lifespan of the flooring.
Moreover, proper installation also ensures a seamless and visually appealing look for your vinyl flooring. By following the recommended guidelines and techniques, you can achieve a smooth surface without any gaps or unevenness between the planks. This not only enhances the overall aesthetics of your flooring but also makes it easier to clean and maintain in the long run.
In addition to that, proper installation is crucial for ensuring the stability and safety of your vinyl flooring. Most vinyl plank flooring is designed to be water-resistant, but improper installation can create gaps or openings between the planks, making them vulnerable to water damage. This can also lead to other issues such as mold growth, which not only affects the appearance of your flooring but also poses health risks.
10 Methods How Should Vinyl Plank Flooring Be Laid
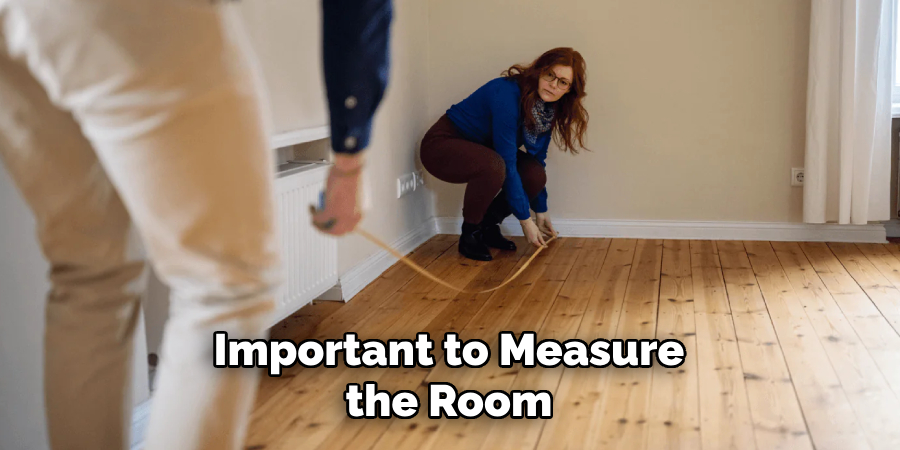
1. Measure and Prepare the Room
Before laying vinyl plank flooring, it’s important to measure the room and determine how many planks will be needed. This will also help to determine where to start laying the planks and if any adjustments need to be made for uneven walls or corners.
2. Acclimate the Flooring
Vinyl plank flooring should be acclimated to the room it will be installed in for at least 48 hours before installation. This allows the planks to adjust to the temperature and humidity of the room, preventing any potential warping or buckling after installation.
3. Start from a Straight Wall
When laying vinyl plank flooring, it’s best to start from a straight wall rather than an uneven one. This will ensure that the first row of planks is straight and will make it easier to lay subsequent rows. If your starting wall is uneven, you can use a chalk line to mark a straight line that will serve as your guide.
4. Use Spacers
Using spacers between each plank and the wall is crucial when installing vinyl plank flooring. These spacers will allow for expansion and contraction of the planks due to changes in temperature and humidity. This will help prevent buckling or warping of the planks over time.
5. Stagger Plank Lengths
To create a more natural look, stagger the lengths of each plank as you lay them down. This will avoid having noticeable seams running in a straight line across the floor. Instead, the seams will be staggered, mimicking the look of real hardwood flooring.
6. Cut Planks with a Utility Knife
When cutting vinyl plank flooring, use a sharp utility knife instead of a saw. This will give cleaner cuts and prevent any damage or splintering of the planks. Although vinyl is a durable material, it can still be prone to chipping or breaking if cut with a saw.
7. Leave Space for Doorways
When reaching doorways, cut planks accordingly so that there is enough space for them to fit underneath door frames without causing any obstruction or difficulty opening and closing doors. This will also ensure a clean and professional look for your vinyl plank flooring installation.
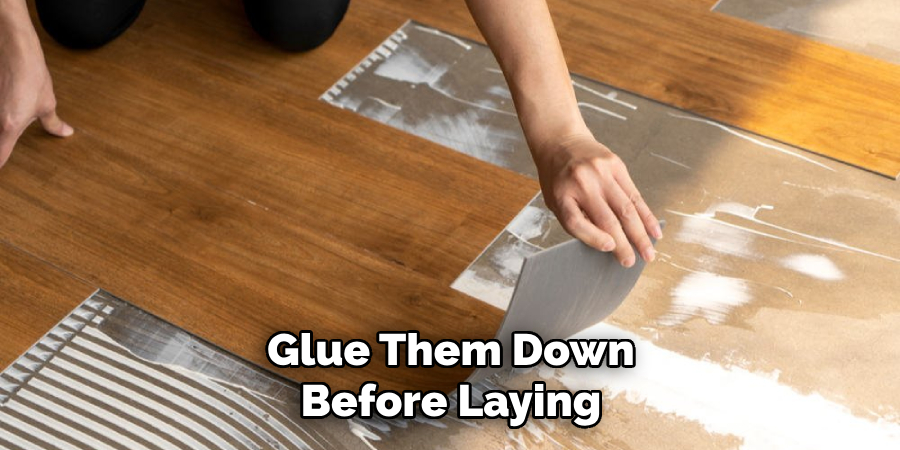
8. Glue Down Loose Planks
If there are any loose or raised edges on the subfloor, glue them down before laying vinyl plank flooring over them. This will create a smooth surface for installation. You can use a strong adhesive, such as construction glue or wood glue, to secure the planks in place. Apply the glue evenly on the subfloor and then firmly press down the loose plank until it is fully adhered. Be sure to clean up any excess glue that may squeeze out from between the planks.
9. Use a Tapping Block
A tapping block can be used to securely lock planks together and create tight seams. This will help prevent any gaps or unevenness between planks. Tapping blocks are typically made of a hard rubber or plastic material and have a groove on one side to fit over the edge of the plank. To use, simply place the tapping block over the edge of the plank and gently tap with a hammer until it is snug against the previous plank.
10. Allow Time for Adhesive to Dry
After installation, allow at least 24 hours for the adhesive to fully dry before walking on the flooring or moving furniture back into the room. This will ensure that the planks are properly adhered and will prevent any shifting or movement later on.
Things to Consider When Installing Vinyl Plank Flooring
Vinyl plank flooring is a popular choice for homeowners due to its durability, affordability, and easy maintenance. However, proper installation is essential to ensure that your vinyl plank flooring looks great and lasts for years to come. Here are some things to consider when installing vinyl plank flooring:
Subfloor Preparation
Before laying down the vinyl planks, it is important to properly prepare the subfloor. The subfloor should be flat, smooth, and clean of any debris or imperfections. If the subfloor is not level, it can lead to an uneven floor and cause issues with the installation.
Acclimation
Vinyl planks need time to acclimate to the room’s temperature and humidity before installation. This process allows the planks to adjust and expand or contract accordingly, ensuring a proper fit. Be sure to follow the manufacturer’s instructions on how long to acclimate the flooring before installation.
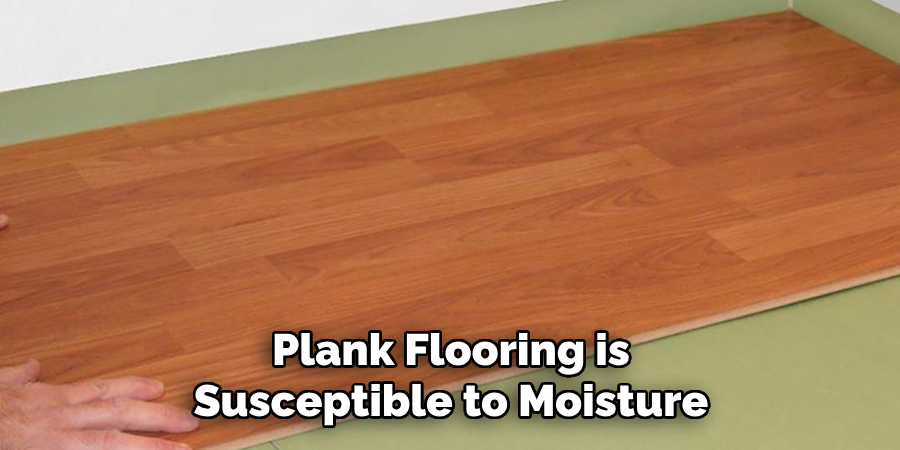
Moisture Levels
Vinyl plank flooring is susceptible to moisture, so it is crucial to test the subfloor for any excess moisture. If there are high levels of moisture, it can lead to mold, mildew, and damage to the planks. If necessary, use a moisture barrier or sealant to prevent any moisture from seeping through.
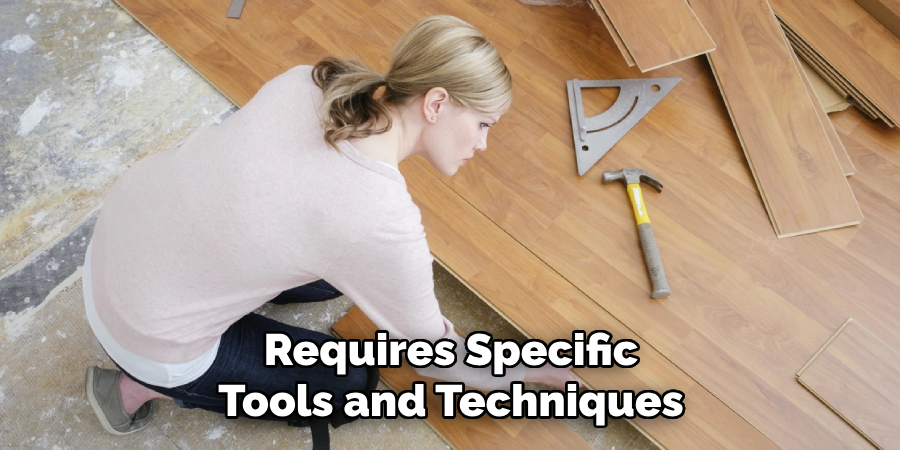
Proper Tools and Techniques
Having the right tools and knowing the proper techniques for installation is crucial for a successful vinyl plank flooring project. Some essential tools include a utility knife, measuring tape, tapping block, and a rubber mallet. Additionally, make sure to follow the manufacturer’s instructions for specific techniques and methods.
Common Mistakes to Avoid When Installing Vinyl Plank Flooring
Installing vinyl plank flooring is a popular choice for many homeowners due to its durability, affordability, and easy maintenance. However, as with any DIY project, there are some common mistakes that can easily be avoided to ensure a successful installation. In this section, we will discuss some of the most common mistakes made when installing vinyl plank flooring and how you can avoid them.
1. Not Preparing the Subfloor Properly
One of the most common mistakes made when installing vinyl plank flooring is not properly preparing the subfloor. It is essential to have a clean, level, and dry subfloor before installing vinyl planks. Any imperfections on the subfloor can cause issues with the installation and lead to problems down the road. Make sure to remove any debris, fill in any holes or cracks, and level the surface before beginning installation.
2. Skipping the Acclimation Process
Another crucial step that is often overlooked is the acclimation process. Vinyl plank flooring needs time to adjust to the temperature and humidity levels of the room it will be installed in. Skipping this step can cause the planks to expand or contract after installation, leading to gaps or buckling. Make sure to follow the manufacturer’s instructions for acclimating your vinyl plank flooring before installation.
3. Not Using Proper Tools and Techniques
Installing vinyl plank flooring requires specific tools and techniques for a clean and secure installation. One common mistake is using the wrong type of adhesive or not using enough adhesive, which can cause the planks to shift or pop up. It is also essential to use a tapping block and rubber mallet when installing the planks to ensure they are firmly in place.
Conclusion
In conclusion, regardless of whether you decide to install your vinyl plank flooring in a staggered, herringbone, or diagonal pattern, the most important thing is to make sure you follow the manufacturer’s instructions and properly prepare your subfloor. With a little bit of planning and creativity, vinyl plank flooring can transform any space into a beautiful and durable floor.
So don’t be afraid to mix things up and add your own personal touch to the installation process. And remember, if you ever have any questions or concerns, don’t hesitate to consult a professional for assistance. Hopefully, this article gave you some helpful tips about how should vinyl plank flooring be laid successfully, so now that you have the proper knowledge on how to get the job done, why not give it a try today?