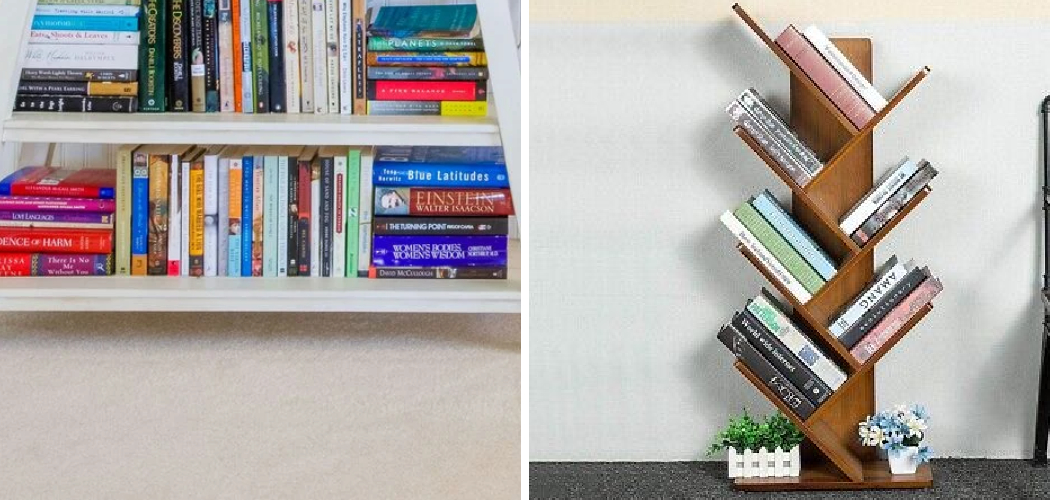
Free-standing bookshelves can be both a blessing and a curse. They offer flexible storage and aesthetic appeal but can become a safety hazard if not properly stabilized. This comprehensive guide on how to stabilize free standing bookshelves will take you through the essentials of stabilizing free-standing bookshelves, ensuring they remain a secure and stylish feature in your home.

The Importance of Stability
A wobbly bookshelf is more than just an annoyance; it’s a potential danger. Unstable bookshelves can tip over, causing damage to your belongings or, worse, injuring someone. Whether you have kids running around or you live in an earthquake-prone area, stabilizing your bookshelves should be a top priority. Not only is it a matter of safety, but it also helps to prolong the lifespan of your bookshelf by preventing wear and tear.
Why You Need Stability
Stabilized bookshelves offer peace of mind. They protect your cherished items, keep your living space neat, and ensure the safety of everyone in your home. By taking a few simple steps, you can transform a precarious piece of furniture into a reliable storage solution.
You may think that your bookshelf is sturdy enough on its own, but there are several factors that can contribute to instability. Uneven floors, heavy items placed on one side, and even slight bumps or movement in the surrounding area can all impact the balance of a free-standing bookshelf.
What You’ll Learn
In this guide, we’ll cover everything you need to know about stabilizing free-standing bookshelves. From the materials required to detailed step-by-step instructions and additional tips, you’ll walk away with the confidence and know-how to make your bookshelves rock solid. So, whether you’re a DIY enthusiast or just looking to ensure the safety of your loved ones, keep reading to learn how to stabilize free-standing bookshelves.
Needed Materials
Before diving into the stabilization process, gather the following materials:
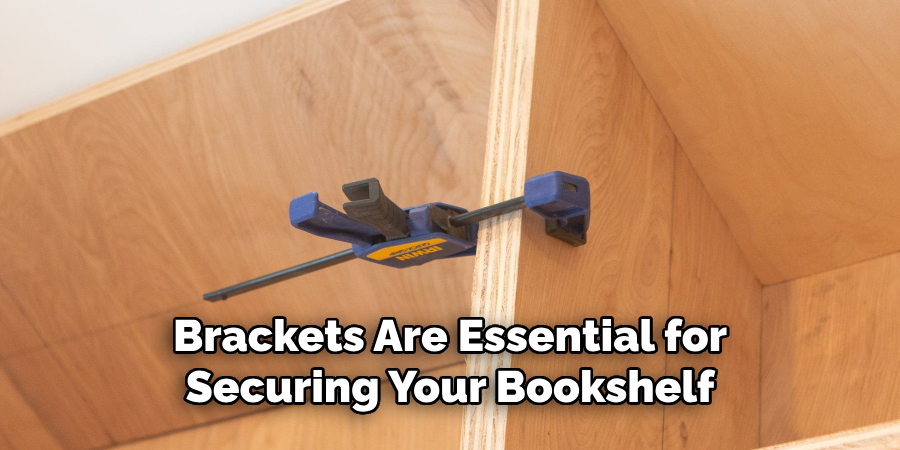
L-brackets:
These sturdy metal brackets are essential for securing your bookshelf to the wall.
Wall Anchors:
Wall anchors provide extra support when attaching the L-brackets to drywall.
Screws:
Make sure to use screws that can hold a significant amount of weight and are appropriate for the material of your bookshelf and wall.
Drill:
A power drill will make the installation process much more manageable and efficient.
Level:
To ensure your bookshelf is properly aligned, use a level to check for any tilting or unevenness.
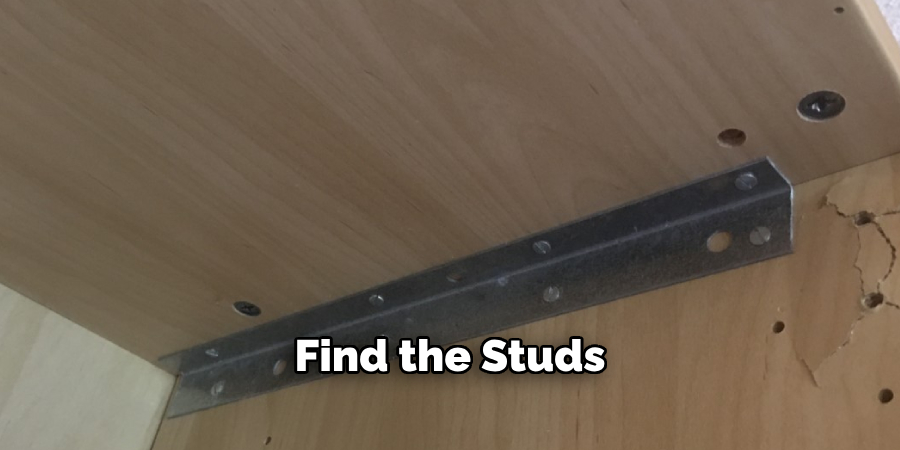
Stud Finder:
If you are attaching your L-brackets to a wall stud, a stud finder will help you locate them efficiently.
10 Step-by-step Guidelines on How to Stabilize Free Standing Bookshelves
Step 1: Find the Studs
Locate the wall studs using a stud finder. Mark their positions with a pencil. Studs provide a secure anchor point for your bookshelves, making them much more stable. If your bookshelf is wider than the distance between two studs, you will need to use wall anchors. It’s essential to make sure the anchors you choose can support the weight of your bookshelf.
Step 2: Measure and Mark
Measure the height and width of your bookshelf. Using a level, mark corresponding points on the wall where you intend to place the L-brackets. This ensures that your shelves will be level and securely attached. You may need a helper to hold the bookshelf in place while you make the marks. It’s always a good idea to double-check the measurements and marks before drilling any holes.
Step 3: Drill Pilot Holes
Drill pilot holes into the wall where you’ve marked the stud locations. Pilot holes make it easier to insert screws and reduce the risk of splitting the drywall or plaster. Make sure to use the appropriate size drill bit for your screws. The depth of the pilot holes should match the length of your screws. But be careful not to drill too deep, as this could damage the wall.
Step 4: Attach L-Brackets
Secure L-brackets to the wall using screws and wall anchors if necessary. Make sure they are aligned with the pilot holes. The brackets should be positioned at the top of the bookshelf for maximum stability. It’s best to use at least two brackets per shelf for proper support. You can use more if your bookshelf is particularly heavy or wide.
Step 5: Secure the Bookshelf to the Brackets
Move the bookshelf into position. Align the L-brackets with the back of the shelf and attach them using screws. Ensure the shelf is level before tightening the screws completely. This will prevent any tilting or unsteadiness. But be careful not to overtighten the screws, as this could damage the shelf or brackets.
Step 6: Use Anti-Tip Straps
For added security, install anti-tip straps. Attach one end of the strap to the wall and the other to the bookshelf. These straps are particularly useful in households with children or in areas prone to earthquakes. It’s best to use at least two straps per shelf for maximum stability. There are various types of anti-tip straps available, so make sure to choose the appropriate one for your bookshelf and wall.
Step 7: Insert Wooden Shims
If your floor is uneven, use wooden shims to level the bookshelf. Insert shims under the base until the shelf stands straight and stable. Trim any excess shim material that extends beyond the base. This will prevent any tripping hazards and make the bookshelf more secure. It’s a good idea to periodically check and adjust the shims if needed.
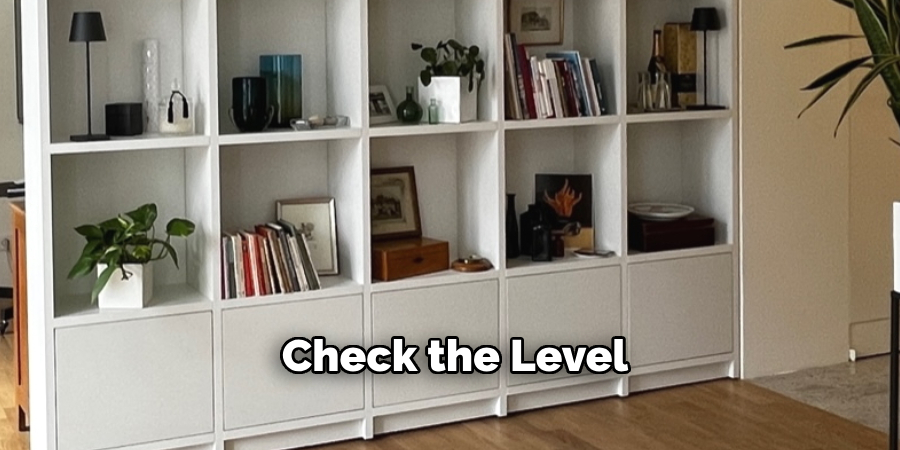
Step 8: Check the Level
Use a level to ensure the bookshelf is perfectly vertical. Adjust as needed by tightening screws or adding more shims. Stability depends on how level your bookshelf stands. It’s crucial to get this step right for the safety of your items and family. You can also use furniture pads under the legs of your bookshelf to help level it out.
Step 9: Rearrange Items Evenly
Distribute the weight of items on your bookshelf evenly. Place heavier items on the lower shelves to lower the center of gravity and reduce the risk of tipping. This will also help maintain the stability of your bookshelf in case of any slight movements or bumps. If certain shelves seem to be tilting, you can add more shims or adjust the level of the L-brackets.
Step 10: Regular Maintenance
Periodically check the stability of your bookshelf. Tighten any loose screws and ensure that the straps and brackets remain secure. Regular maintenance helps prevent future issues. If you notice any significant changes or damage to the stabilization, it’s best to redo the process. Safety should always be a top priority when it comes to free-standing bookshelves.
Following these step-by-step guidelines on how to stabilize free standing bookshelves will ensure your bookshelves are properly stabilized and safe for use. Proper installation and regular maintenance can prevent accidents and damage to your items. Now you can proudly display your collection of books and other items without worrying about the stability of your free-standing bookshelves! So, grab your materials, gather a helper if needed, and get ready to make your bookshelves rock solid! Happy stabilizing!
Additional Tips
Tip 1: Choose the Right Location
Place your bookshelf against a sturdy wall, preferably one that has studs. Avoid placing it near high-traffic areas where it could be bumped or knocked over.
Tip 2: Use Quality Hardware
Invest in high-quality L-brackets, screws, and wall anchors. Cheap materials can fail over time, compromising the stability of your bookshelf.
Tip 3: Consider Professional Help
If you’re not confident in your DIY skills, consider hiring a professional. Ensuring your bookshelf is securely anchored is worth the investment.
Frequently Asked Questions
Q: Can I stabilize my bookshelf without drilling into the wall?
A: While it’s possible to use floor-based stabilizers or heavy-duty adhesive strips, attaching your bookshelf to wall studs provides the most secure and long-lasting solution.
Q: Are anti-tip straps necessary if I use L-brackets?
A: Anti-tip straps offer an additional layer of security, especially in homes with children or pets. They are a worthwhile investment for extra peace of mind.
Q: Can I use this method for any type of bookshelf?
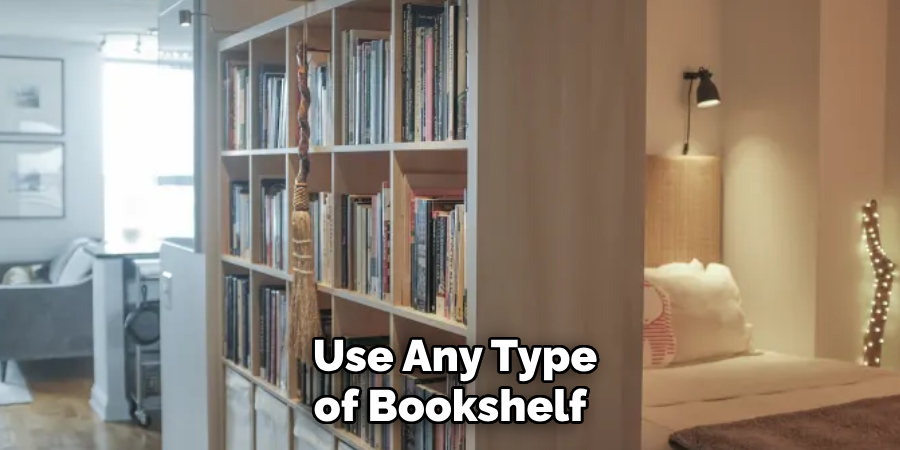
A: These steps are designed for free-standing bookshelves. While some techniques may apply to other types of shelving, always follow the manufacturer’s guidelines for the best results.
Conclusion
Stabilizing free-standing bookshelves may seem like a daunting task, but with the right materials and a bit of effort, you can ensure your shelves remain secure and stable. By following these steps and tips, you’ll protect your belongings and create a safer home environment.
Incorporate these practices into your home improvement routine, and enjoy the peace of mind that comes with knowing your bookshelves are rock solid. For those looking to delve deeper into home safety or DIY projects, numerous resources are available to help you become a more confident and capable homeowner. Thanks for reading this article on how to stabilize free standing bookshelves.
You can also check it out to Cover Uneven Floors