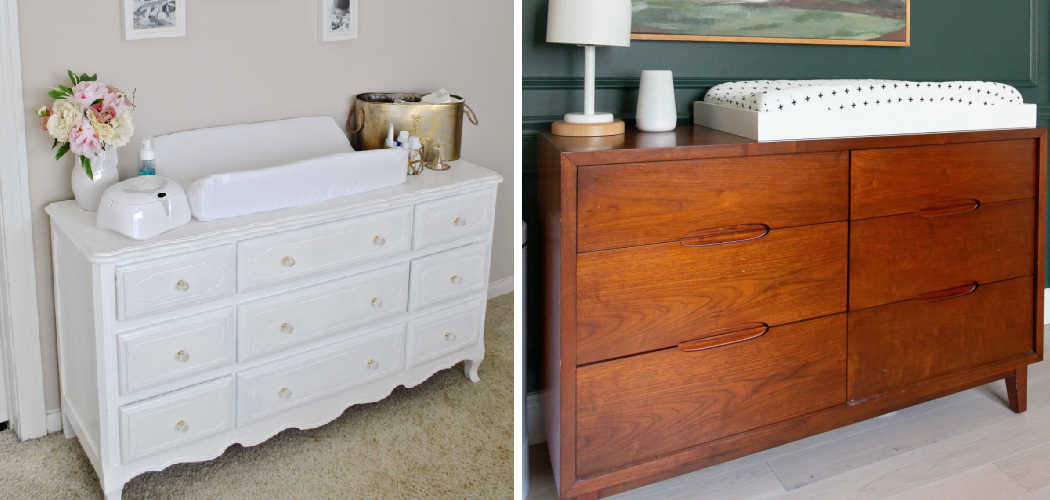
As new parents, one of the essential items you’ll need for your baby is a changing pad. While standalone changing tables are available, many parents opt to attach a changing pad directly to a dresser for convenience and space-saving purposes.
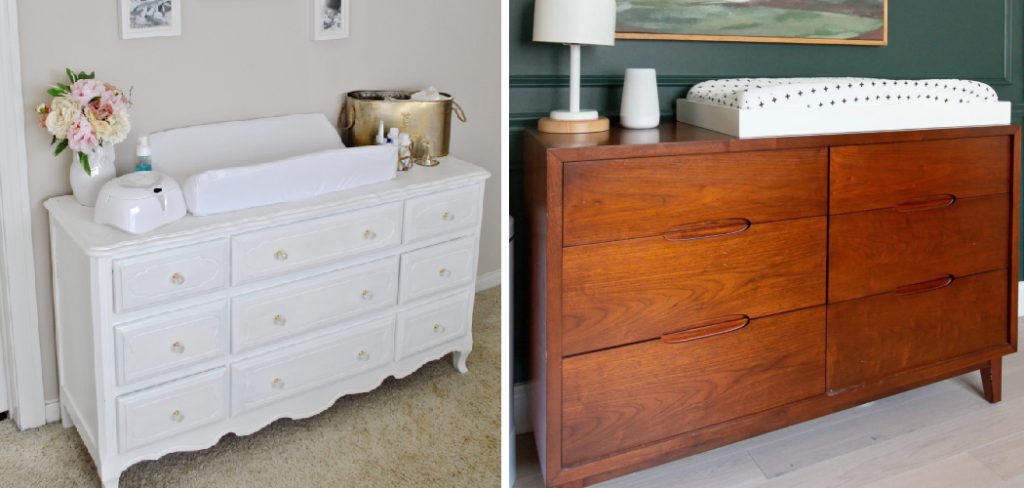
Attaching a changing pad to a dresser ensures a dedicated and secure space for diaper changes while utilizing existing furniture. In this article, we will guide you through the process of how to attach changing pad to dresser, providing you with step-by-step instructions and valuable tips.
From choosing the right dresser to securing the changing pad in place, we will cover all the necessary methods to ensure a safe and functional changing station for your little one. Get ready to transform your dresser into a practical and stylish changing area with these helpful guidelines.
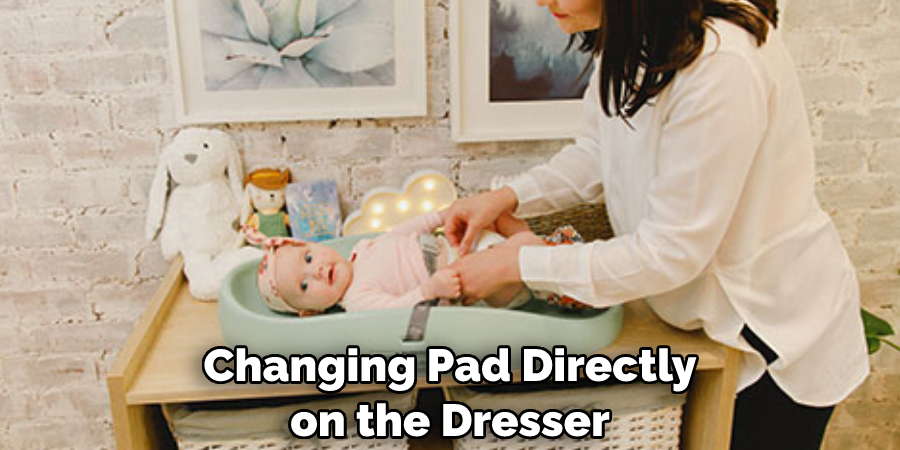
Can You Put Changing Pad Directly on the Dresser?
No, you should not put the changing pad directly on the dresser. While it may seem like a good idea to save time and energy by forgoing attaching it to the dresser, this could have dangerous consequences. The baby could easily slip off of a smooth surface without any protection or safety straps.
Furthermore, the dresser itself isn’t designed for use as a changing table and could have sharp edges that can harm the infant. Therefore, it is important to take proper precautions when using a dresser as a changing table by securely fastening it with accessories such as safety straps or clips. Doing so will ensure that your baby is safe from potential hazards while also protecting the furniture from damage caused by spills or accidents.
Attaching the changing pad to the dresser will also give you peace of mind knowing that your baby is in a safe and secure environment. Additionally, it will help prevent any items stored on top of the dresser from getting wet or stained due to accidents. Taking these steps will not only make life a little easier but also helps ensure the safety and security of your child.
Finally, be sure to regularly check any attachments used for safety and replace them when necessary. Doing this can help keep both the baby and furniture free from harm for many years to come. It is important to remember that no matter how securely you attach a changing pad to a dresser, there are still potential hazards that may occur if proper care is not taken.
At What Age Do You Stop Using a Changing Table?
Once your baby starts to outgrow the changing table, you can transition into using a dresser with a changing pad on top. Changing tables is typically only necessary up until around 18 months when most babies start to become more mobile and can move around safely without assistance. After this age, they no longer need the elevated surface that changing tables provide and it may even become unsafe for them to use since they will be able to climb out of it.
To keep your little one safe during diaper changes, you can attach a changing pad directly onto the dresser instead. This way you will still have an elevated surface for easy cleaning and accessibility but it won’t pose any safety risks if your child manages to slip away from you during a diaper change. Many dresser drawers have holes in the sides that can be used to attach a changing pad, but if yours doesn’t you can always secure hooks or straps directly onto the sides of the dresser for extra security and stability.
10 Methods How to Attach Changing Pad to Dresser
1. Choose a Suitable Dresser:
Start by selecting a dresser that is sturdy and has a flat, spacious top surface. Ensure that the dresser is the appropriate height for comfortable diaper changes. Consider the dresser’s dimensions, material, and overall stability when making your selection.
If possible, avoid dressers with sharp edges or other details that could injure your baby. While attaching a changing pad to a dresser is relatively easy, making the wrong selection could lead to an unsafe product.

2. Measure and Position the Changing Pad:
Measure the dimensions of the changing pad to ensure it fits properly on the dresser’s surface. Place the changing pad on top of the dresser and position it centrally, leaving enough space for your baby and any necessary supplies.
Consider the accessibility of nearby storage for diapers, wipes, and other essentials. If you are using a cover, make sure it fits properly over the changing pad. However, keep in mind that the cover will need to be removed before use, as it is not intended for diaper changes.
3. Purchase a Changing Pad Attachment Strap:
To enhance the stability and safety of the changing pad, consider purchasing a changing pad attachment strap. These straps typically consist of buckle or hook-and-loop fasteners that secure the changing pad to the dresser, preventing any movement during use.
This is especially important if the dresser surface is not completely flat. Attachment straps are relatively inexpensive, making them a great investment regardless of how secure the pad and dresser may seem. Try to purchase a strap made from breathable material to keep your baby cool and comfortable during changes.
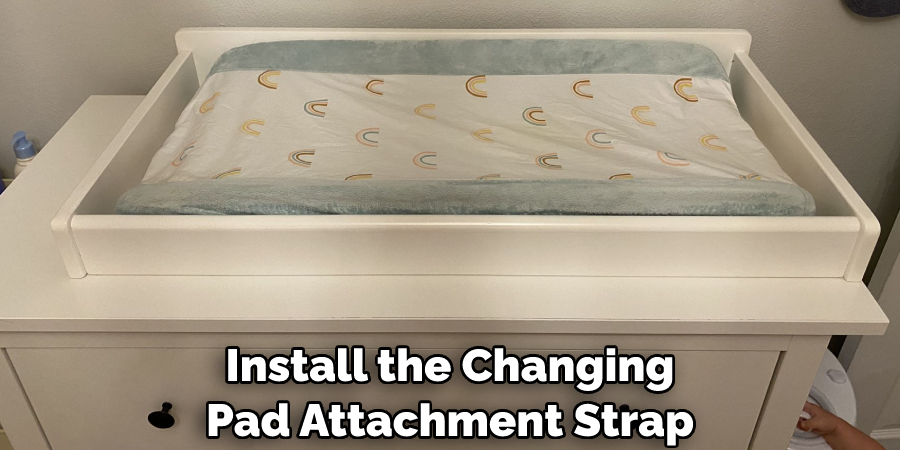
4. Install the Changing Pad Attachment Strap:
Follow the manufacturer’s instructions to install the changing pad attachment strap. Typically, this involves attaching one end of the strap to the changing pad and the other end to the dresser. Ensure the strap is tightened securely but not overly tight, allowing for easy removal and adjustment.
When finished, check that the changing pad is secure and properly mounted to the dresser. If the strap appears loose or overly tight, adjust it as necessary. Try to keep the strap as tight as possible for added security.
5. Use Non-Slip Grip Pads:
To provide additional security and prevent the changing pad from sliding on the dresser’s surface, place non-slip grip pads or drawer liner material underneath the pad. This will help keep the pad in place during diaper changes, ensuring your baby’s safety. If using non-slip grip pads, be sure to check them regularly for wear and tear. Replace the pads if they become worn or damaged.
6. Consider Adding a Back Support:
For added stability, especially if your dresser is against a wall, consider installing back support to prevent any potential movement or tipping. This can be achieved by attaching a piece of plywood or a safety bracket to the back of the dresser and securing it firmly to the wall. Make sure to use appropriate screws when attaching the bracket and to follow any safety regulations for your specific dresser model.
7. Utilize Safety Straps:
If your dresser has built-in safety straps or anchors, utilize them to further secure the dresser to the wall. This is especially important if the changing pad is positioned near the edge of the dresser or if you anticipate your baby becoming more active during diaper changes. Safety straps can be purchased at most home improvement stores and will provide an extra layer of safety in case your child attempts to pull themselves up on the dresser.
8. Create a Diaper Supply Organization System:
To flowline diaper changes, create an organized system for storing diapers, wipes, and other essentials. Use drawer dividers, baskets, or hanging organizers within the dresser to keep supplies easily accessible and neatly arranged.
Place items you use most often in the top drawers or within easy reach. This will help ensure that each diaper-changing session is as smooth and quick as possible. Additionally, consider adding an additional changing pad station in another room of the house for convenience and backup.
9. Ensure a Comfortable Changing Area:
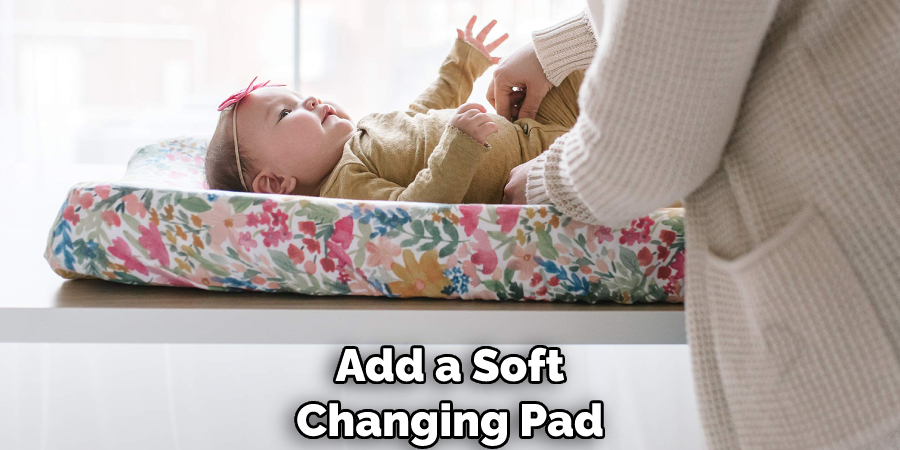
Add a soft changing pad cover or waterproof liner to the changing pad to provide comfort for your baby and facilitate easy cleaning. Consider having a few extra covers on hand for quick changes between washes. Place a few toys or books near the changing area to keep your little one occupied and content while you take care of the task. Don’t forget to keep any hazardous items out of reach or locked away.
10. Regularly Inspect and Maintain:
Regularly inspect the changing pad attachment, straps, and the dresser itself to ensure they remain secure and in good condition. Replace any worn or damaged parts promptly and tighten any loose fasteners. Regular maintenance will ensure the longevity and safety of the changing pad setup.
Conclusion
Attaching a changing pad to a dresser is an essential part of preparing a nursery for a new baby. By following the steps previously outlined in this post, it should be easy and stress-free to complete the task. Make sure to measure all relevant spaces correctly before you begin the process and double check that none of your measurements are off afterwards.
Additionally, ensure that all pieces stay securely in place so that everything remains safe and secure for your little one. With our guidance, it won’t be long before you’ve finished up this necessary baby-proofing chore! Be sure to follow all instructions on how to attach changing pad to dresser carefully, and always consult an expert when in doubt.
