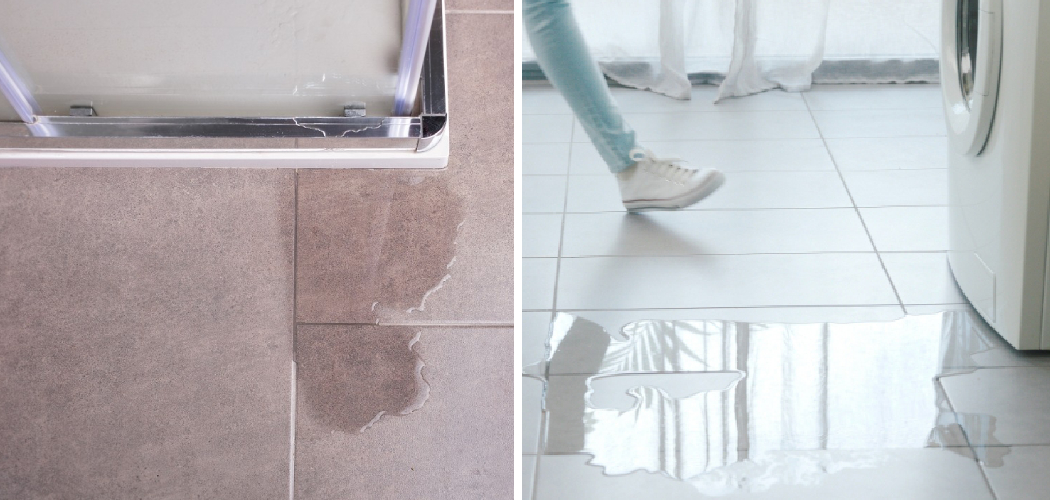
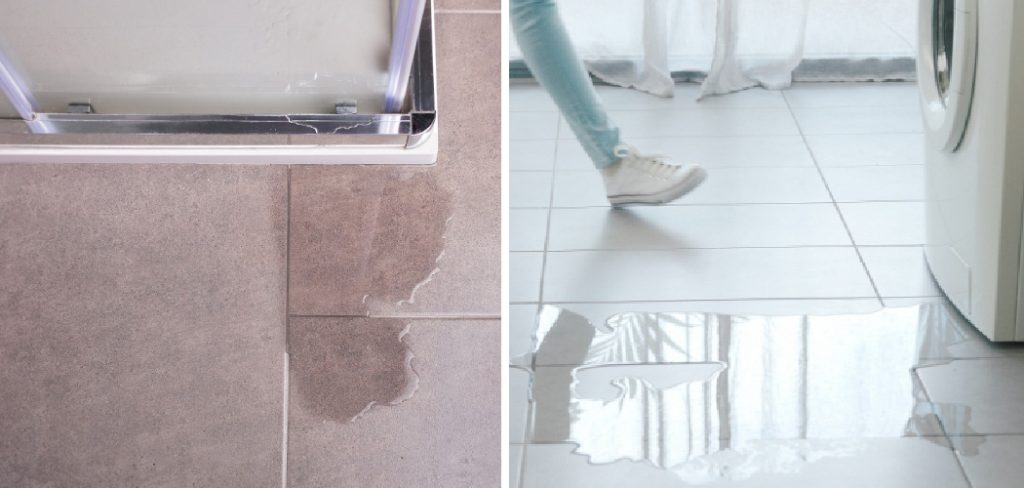
Are dripping shower doors driving you crazy? Are you fed up with water collecting between the tiles after your shower? Are you struggling to figure out how to stop it leaking from the edges of your glass door? If your home is burdened with a leaking shower door, you don’t have to suffer through it any longer. Whether it’s due to a faulty seal or just general wear and tear, there are simple ways you can effectively stop the leak.
In this blog post, we’ll discuss how to identify the source of the issue and take easy steps on how to stop water leaking from shower door and repair it quickly so that your precious minutes in the bathroom aren’t spent stressing over water damage. If replacing parts isn’t an option, no problem, we’ve also got lots of advice on creating make-shift solutions too! So keep reading if you’re ready to get rid of those annoying leaks for good. So, let’s get started!
Why Stopping Water Leaking From Shower Door?
1. Water Leakage
Having a leaking shower door is more than just an aesthetic problem. Not only will it affect the look and feel of your bathroom, but water leakage can also lead to mold, mildew, and other potentially hazardous issues. If left unchecked, it could even result in severe structural damage to your home. Therefore, it’s important that you take steps to fix the issue as soon as possible.
2. Increase Home Value
Stopping water leakage from your shower door is also a great way to increase the value of your home. If you’re considering selling, potential buyers are always looking for signs of good maintenance and repair work, which could make them more likely to buy. Taking care of minor issues like a leaking shower door can also demonstrate that the house is well taken care of and could be a deciding factor in their decision.
Required Items
Before getting started, you’ll need to make sure you have the right materials and tools for the job. Here’s a list of items that should be on hand before attempting these fixes:
- Silicone sealant
- Towels or rags
- Screwdriver (if needed)
- Replacement parts (if necessary)
How to Stop Water Leaking From Shower Door 10 Steps
Step 1: Check Sealant
The first step when trying to fix your leaking shower door is to check for any imperfections in the sealant. If you can spot any gaps or cracks, you’ll be able to take steps towards rectifying the issue.
Step 2: Clean Sealant
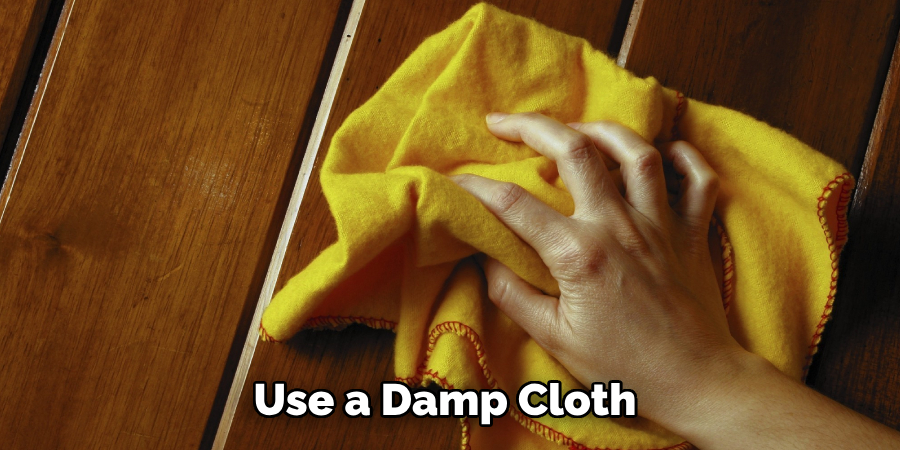
Once you’ve identified any damage to the sealant, it’s time to start cleaning it up. Use a damp cloth and some mild detergent to ensure all dirt and grime are removed from around the edges of your shower door frame and sealant.
Step 3: Reapply Sealant
If you’ve determined that the sealant needs to be replaced, now is the time to do it. Applying a new layer of sealant around your shower door frame should provide an effective barrier against any further water leakage. Make sure you use waterproof silicone sealant that’s specifically designed for bathrooms.
Step 4: Check for Loose Parts
It’s possible that the issue could be due to a loose or broken part in your shower door. If you’re able, carefully examine all of the components to make sure they are properly secured and not causing any leakage. You may need to tighten up screws or replace any parts that have come apart.
Step 5: Replace Parts
If you find that any of the parts in your shower door are broken, or beyond repair, it’s time to replace them. This could be a slightly more costly solution, but it should solve the issue for good and help prevent any further leakages.
Step 6: Check for Gaps
If all of the parts in your shower door are secure, you should then check for any gaps between the edges of the frame and glass. Even a small crack can be enough to allow water to escape and cause damage. If this is the case, there are a few things you can do to repair it.
Step 7: Use Tape
If you’re looking for a quick and easy temporary solution, you can use waterproof tape to seal up any gaps in the frame. This won’t be a permanent fix, but it should do enough to stop water from leaking until you’re able to replace or repair any broken parts.
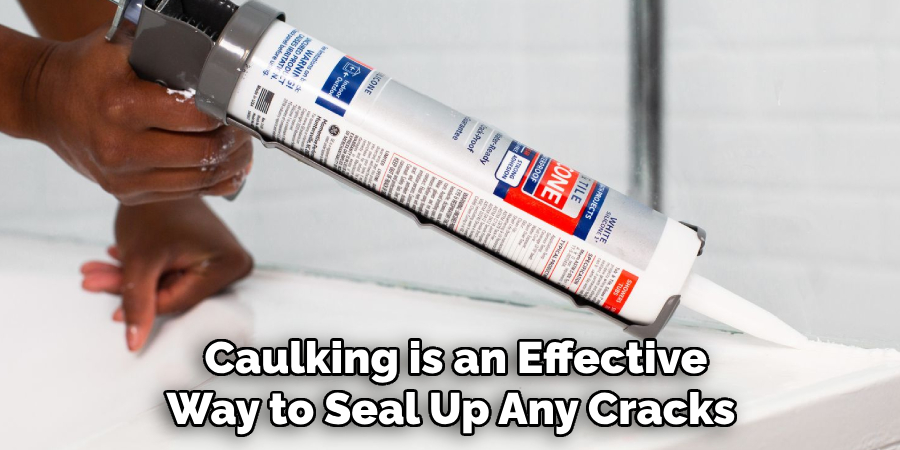
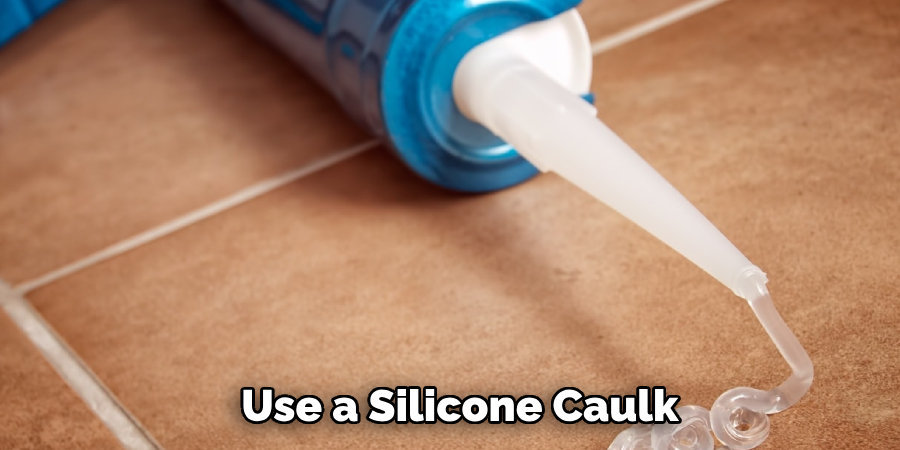
Step 8: Use Caulk
Caulking is an effective way to seal up any cracks or gaps in the frame and help protect against further water leakage. To do this, apply a thin layer of silicone caulk around the edges of your shower door frame and let it dry for at least 24 hours.
Step 9: Use Shower Curtain
If all else fails, you can use a shower curtain as a make-shift solution. Simply hang it around the edges of your shower door, and it should provide enough protection from any water leakage until you’re able to repair or replace it properly.
Step 10: Call a Professional
If you find that none of these methods are effective or if you don’t feel comfortable attempting them yourself, then it’s best to call in an experienced professional. They’ll be able to quickly identify and fix any issue with your shower door, leaving you with one less thing to worry about.
Following these steps should help you successfully stop water leaking from your shower door. So go ahead and get started today and kiss those pesky leaks goodbye!
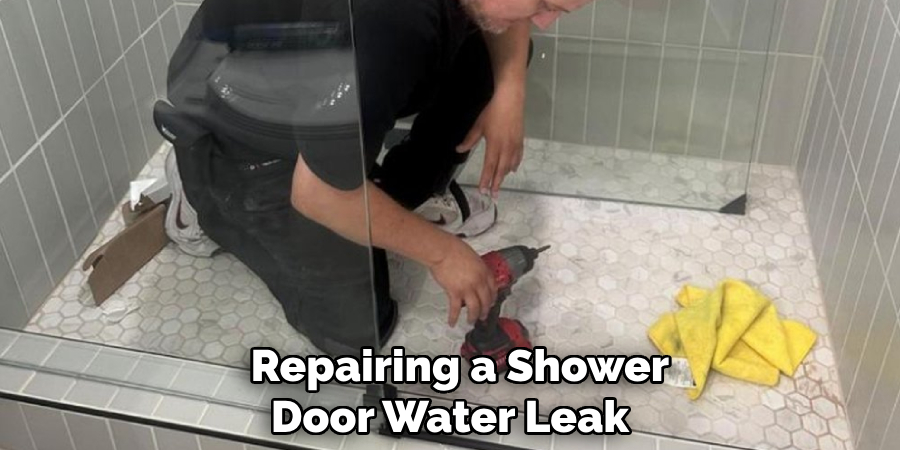
8 Safety Measures to Follow When Repairing a Shower Door Water Leak
- First and foremost, always make sure the power is shut off in the area of the shower to avoid putting yourself at risk of electrocution. Also, before attempting any repairs or replacements of the shower door, make sure it is completely dry.
- Inspect the entire length of the frame and glass for signs of water leakage. If there are signs of water damage, such as discoloration or rusting, this indicates a more serious problem that may require professional help.
- Check the seal of the shower door for any gaps or cracks that could be letting water through. If necessary, you can use a silicone caulk to reinforce the seal around the edges of the door.
- Make sure that all screws securing the shower door are tightened properly since loose screws can cause leaks as well. Also, ensure that there are no broken pieces of glass that could be contributing to the water leakage.
- If possible, open up the shower door and inspect the tracks for obstructions or debris that might be blocking the water’s path out of the shower and causing it to pool in the bottom.
- Check for any cracks or tears in the rubber seal around the edges of your shower door – if there are any, these should be replaced or repaired as soon as possible.
- Invest in a good-quality shower door cleaner to use on the glass and frame of your shower door. This will help keep it free from dirt and grime, which can clog up the workings of your shower door over time.
- Consider investing in a waterproof sealant to use on the edges of your shower door. This will provide an additional layer of protection against water leakage and also make cleaning the door much easier.
By following these tips, you can prevent or stop a leaking shower door and keep yourself and your home safe from water damage. It’s always better to be safe than sorry when it comes to making repairs around the house, so be sure to take all necessary precautions before starting any repair job. With a little bit of care and attention, you can ensure that your shower door is always in top condition.
How Much Will It Cost?
The cost of repairing a shower door water leak can vary depending on the severity of the problem. Some minor repairs may only require a few dollars worth of supplies, like sealing caulk or waterproof sealant, while more serious issues could require professional help and result in higher costs. It’s always best to get an estimate from a qualified professional before tackling any
Conclusion
While a leaking shower door can be a cause of frustration, it’s generally an easy fix. By following the above steps and consulting your bathroom installation professional where necessary, you can get your shower door back to its leak-free best in no time. Why not tackle this challenge today? You’ll be amazed at how fast and easy it can be – and you’ll be eternally grateful that you spent time stopping water from seeping out onto your bathroom floor!
Thanks to taking on this DIY project, you’ll now have both the confidence and experience to take on similar repairs in the future. That way, the next time a leaking shower door interrupts your perfect morning routine, you’ll know just what to do! Follow these steps on how to stop water leaking from shower door, and you’ll be sure to have a working shower in no time.