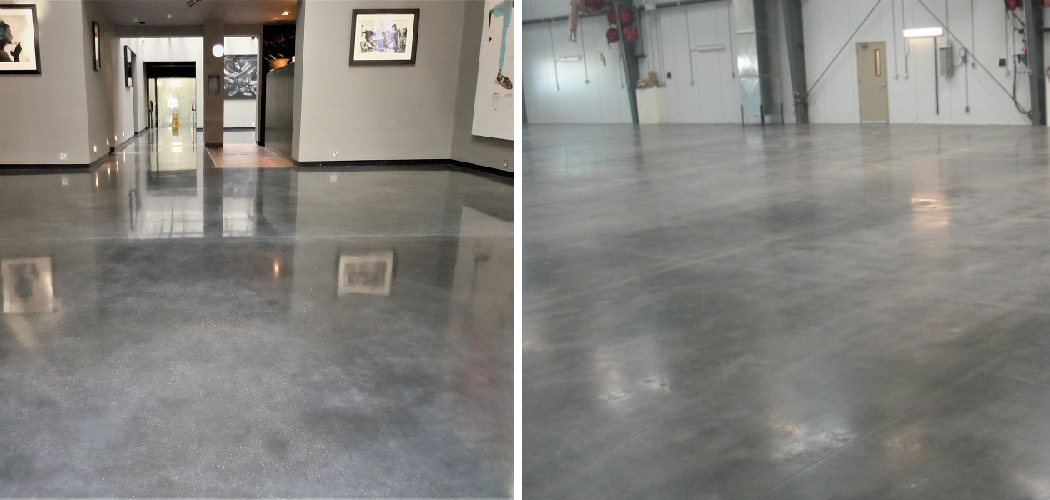
Whether you’re a home contractor or an avid DIYer, having to dry a concrete floor quickly can be a time-consuming and frustrating job. This is especially true if there has been an unexpected leak or pipe burst causing the concrete surface to become wet.
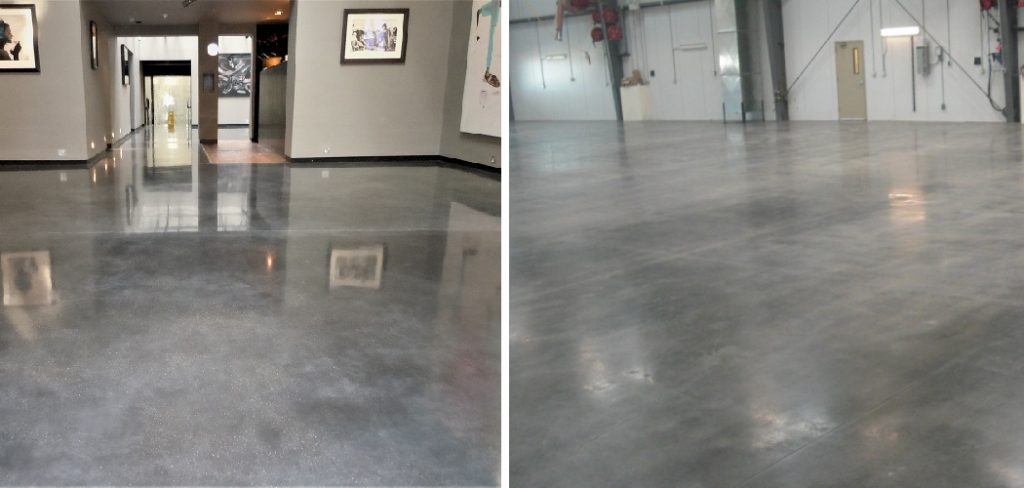
While traditional methods for drying out your concrete may take days or weeks of waiting, there are alternative solutions that can make the process much quicker and more effective. In this blog post on how to dry a concrete floor quickly, we’ll explore several strategies for speed-drying your concrete floors in no time at all!
11 Step-by-step Guidelines on How to Dry a Concrete Floor Quickly
Step 1: Gather the Needed Materials
Before starting the drying process, make sure to have the necessary materials on hand. These include a fan or blower, a dehumidifier, a wet-dry vac, absorbent floor mats, towels, and protective gear. It is also recommended to wear protective clothing such as long sleeves, gloves and safety glasses. But most importantly, make sure that your workspace is well-ventilated. If possible, open all windows and doors to allow for maximum airflow.
Step 2: Increase Air Circulation
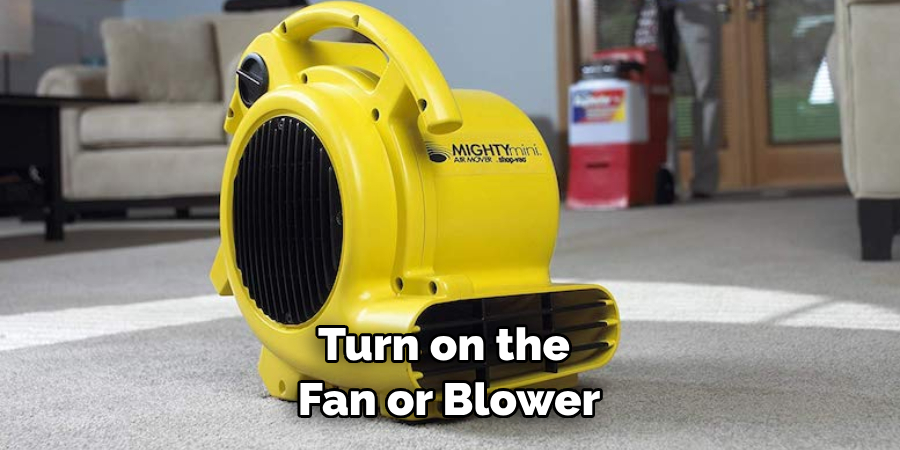
Airflow is key when it comes to drying out concrete floors quickly. Turn on the fan or blower and direct it towards the wet area to increase air circulation in the room. This will help evaporate any standing water on the surface of the concrete more quickly.
This process can be further accelerated by using a dehumidifier to remove excess moisture from the air. It is important to note that the dehumidifier should be used in conjunction with the fan or blower, not as a replacement. But make sure to keep the dehumidifier away from any wet spots on the floor.
Step 3: Install Absorbent Mats
Absorbent mats are very effective at absorbing moisture from wet surfaces like concrete. Place them directly over the damp area for optimal absorption of excess moisture.
Allow them to remain in place until they are completely saturated before replacing them with fresh ones as needed. It is important to note that absorbent mats should only be used on floors that are not heavily damaged. Otherwise, they may cause further damage to the surface.
Step 4: Vacuum Excess Water
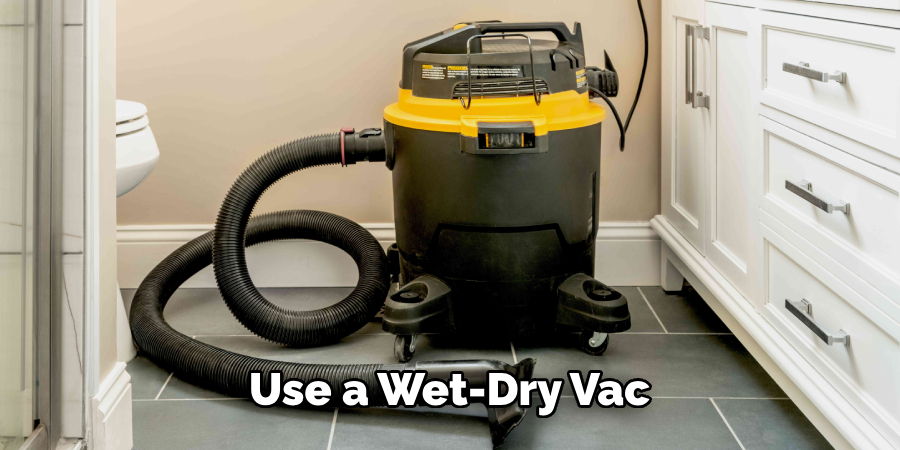
Use a wet-dry vac to suck up any standing water on the concrete. This will ensure that the surface is completely dry before you move on to other drying steps. But keep in mind that wet-dry vacuums can be very loud, so it is best to wear protective headphones or earplugs when using them.
However, if the noise is too loud or uncomfortable, opt for a handheld vacuum instead. You can also choose to use a mop and bucket for this step, but it may take longer. If you decide to go the mop route, make sure to use hot water whenever possible.
Step 5: Use Towels and Cloths
Dampen a few towels or clothes with warm water and lay them flat over the damp area. Leave them in place for several hours or overnight, allowing the towels to absorb moisture from the concrete floor. When they become saturated, replace them with fresh ones as needed.
This method is not as effective as the previous one but it can help speed up the drying process. But make sure to use towels or clothes that are absorbent and made of a material that does not cause staining.
Step 6: Install a Dehumidifier
If the air in the room is humid, it can slow down the evaporation process of moisture from the concrete floor. To help reduce humidity levels, install a dehumidifier in the room and allow it to run until the desired humidity level has been achieved.
It is important to note that the dehumidifier should not be used as a replacement for the fan or blower. The two should be used together for optimal drying results. Moreover, make sure to keep the dehumidifier away from any wet spots on the floor.
Step 7: Apply a Sealant
Once the concrete floor has had enough time to dry out, apply a sealant over the entire surface. This will help protect it from future water damage and keep moisture out of the concrete itself. It is best to use a high-quality sealer that is specifically designed for concrete surfaces.
This will ensure that the surface remains properly sealed and prevent any moisture from seeping in. You can also choose to apply a waterproofing membrane as an added layer of protection.
Step 8: Monitor Progress Regularly
Check on the progress of your drying project regularly and adjust accordingly. If you notice any areas that are still damp or wet, repeat steps 1-7 as needed until all moisture is completely gone.
It may take several days for the concrete floor to completely dry, so make sure to monitor it over the course of a few weeks. Otherwise, you may end up with areas of dampness or wet spots that can cause long-term damage to the surface.
Step 9: Inspect for Structural Damage
Before starting any kind of repair work, inspect the concrete floor for any structural damage. This could include cracks, sagging, or unevenness in the surface. If any of these issues are present, you may need to call in a professional contractor for repair work.
This will ensure that the surface is properly restored and can help prevent further water damage in the future. You can also opt to use a concrete sealer on the damaged area to help keep moisture out.
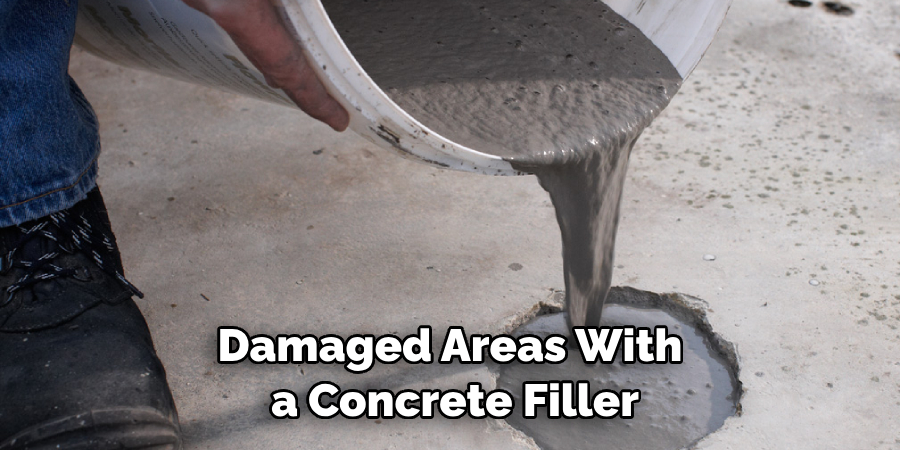
Step 10: Make Repairs as Needed
If repairs are required, patch up any damaged areas with a concrete filler and allow it to dry completely before continuing with other steps. Once all repairs have been made, apply a sealant over the entire floor once again for extra protection against water damage.
It is also important to inspect the area on a regular basis and address any issues quickly before they worsen. But most importantly, make sure to practice proper safety protocols when handling any wet or damp materials.
Step 11: Clean and Maintain Regularly
Finally, be sure to keep your concrete floors clean and dry by routinely vacuuming and mopping them with an appropriate cleaning solution. Regular maintenance will help to ensure that you won’t have to worry about water damage or having to dry out your concrete floors quickly in the future.
Always take the necessary precautions when dealing with wet surfaces and make sure to have a plan in place for dealing with any potential water damage. This will help keep your floors looking their best and functioning properly for years to come.
Following these steps on how to dry a concrete floor quickly should help you dry out a concrete floor quickly and effectively so you can get on with your project faster. With any luck, your floors will be completely dry in no time at all! Good luck!
Frequently Asked Questions
Q: How Long Does It Take to Dry Out a Concrete Floor?
A: The amount of time it takes to completely dry out a concrete floor can vary depending on the age of the concrete, humidity levels in the room, and the amount of water that has been spilled. In general, it can take anywhere from several hours to a few days for a concrete floor to dry completely.
Q: Can You Use an Electric Heater to Dry Out Concrete Floors?
A: No, electric heaters are not suitable for drying out wet concrete floors as they may cause further damage or create a fire hazard. It is best to use fans or blowers instead in order to increase air circulation and speed up the drying process.

Q: Is It Better to Seal Before or After Drying a Concrete Floor?
A: It is usually best to wait until the concrete floor has completely dried before applying a sealant. This will ensure that all moisture has been removed from the surface and that it is adequately protected from future water damage.
Q: What Should I Do If My Concrete Floor Still Feels Damp?
A: If the concrete floor still feels damp after following the steps above, then try using a dehumidifier to reduce humidity levels in the room and help speed up the drying process. You may also need to apply additional absorbent mats or towels over any remaining wet areas until they are completely dry.
Conclusion
With a few simple steps, you can quickly and effectively dry your concrete floor, saving you time, money, and energy in the future. As a homeowner or business owner it pays to have knowledge of your home or business’s infrastructure. You should know how to dry a concrete floor now that you understand the importance drying correctly has on its lifespan.
Have all necessary supplies on hand next time the need arises- including fans, dehumidifiers, brooms and squeegees. Not only will this help prevent unnecessary moisture buildup but also protect your floors from any potential damage.
Now that you have read this blog post about how to dry a concrete floor quickly, it’s time to put what you’ve learned into action – take precautions by regularly inspecting and drying concrete floors in your home or workplace for shimmering results each season!
