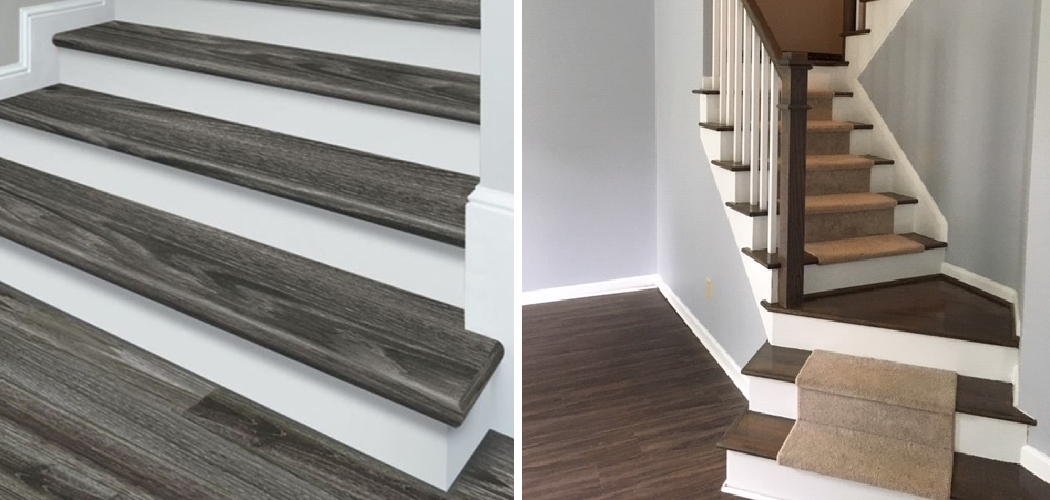
Installing vinyl plank flooring on stairs is a great way to add style and durability to your interior stairs. Vinyl plank flooring looks like real wood but with better resistance to wear, tear, and moisture damage. It also provides an easy-to-clean, low-maintenance surface that will last many years without requiring regular refinishing or sanding. Vinyl plank flooring is much easier to install than traditional hardwood stairs and can be less expensive.
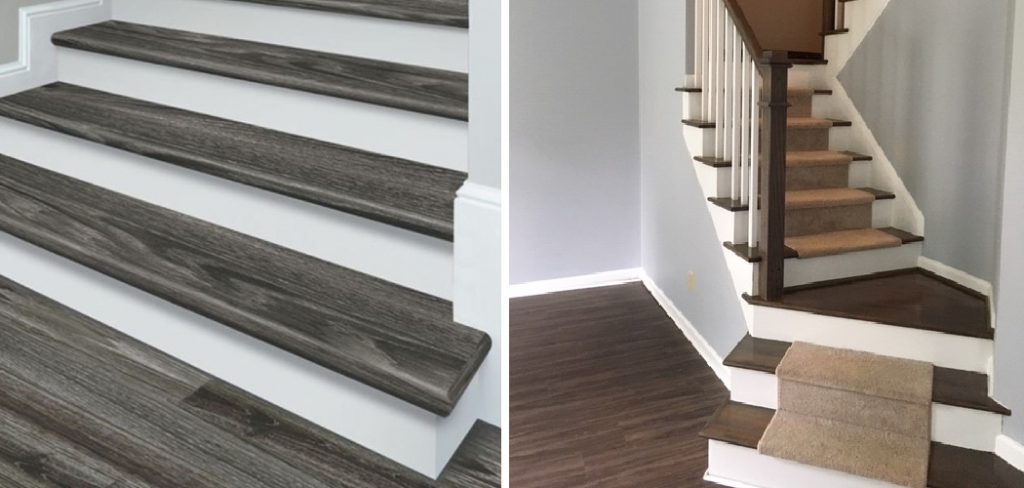
Installing vinyl plank flooring on stairs is a great way to update the look of your home and add value to it. Vinyl planks are relatively easy to install, durable, and require low maintenance.
They can be installed in just one day with no mess or fuss, making them perfect for DIYers who want a quick upgrade without much hassle. Additionally, vinyl planks can be installed over most existing surfaces without the use of adhesives. In this blog post, You will learn how to install vinyl plank flooring on stairs.
Importance of How to Install Vinyl Plank Flooring on Stairs
- Durability: Vinyl plank floors are known for their superior durability and scratch resistance. When installed correctly on stairs, they are even more durable than standard flooring and can last for years without needing replacement or repair.
- Easy Maintenance: Installing vinyl planks on your stairs is much easier to clean and maintain than other types of flooring. It resists spills and stains better than carpet, making it ideal for high-traffic areas like stairs.
- Aesthetics: Vinyl plank flooring can add a stylish and modern look to any room, especially when used on stairs. The sleek finish of vinyl planks can quickly and effectively elevate a space’s look.
- Safety: Vinyl plank floors on stairs also provide additional safety benefits due to their slip-resistant surface. This can be especially important for homes with children, as it prevents slips and falls resulting from slippery surfaces.
- Cost Efficiency: Installing vinyl planks on your stairs is a cost-effective way to update the look of your home without breaking the bank. The cost of vinyl planks is significantly lower than other types of flooring, making them a great option for anyone on a budget.
- Versatility: Lastly, vinyl plank floors are versatile and can be used in any room or area of your home. This includes stairs, which can be transformed quickly and easily with this type of flooring.
These are just some of the benefits that come with installing vinyl plank floors on stairs. It is a great option for anyone looking for an easy and cost-effective way to update their home’s look while still ensuring durability, safety, and ease of maintenance.
Step-by-Step Processes for How to Install Vinyl Plank Flooring on Stairs
Step 1: Inspect the Stair’s Surface
Before installing vinyl plank flooring on the stairs, ensure the surface is clean, flat, and free of debris or dust. This will ensure that the planks stick properly to the stair’s surface and do not cause any damage.
Step 2: Measure and Cut The Vinyl Planks
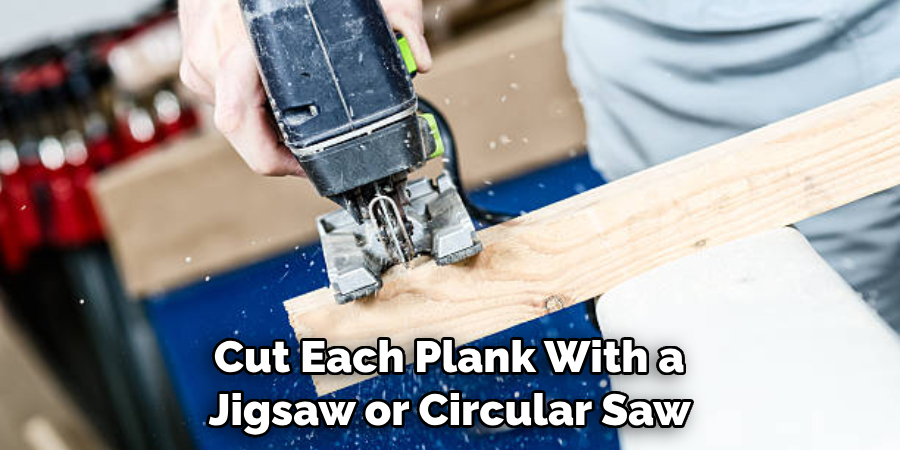
Take accurate measurements of each step before cutting the planks into the desired size. Cut each plank with a jigsaw or circular saw so it fits properly on the stair’s surface, ensuring no gaps between the planks and the steps. Apply adhesive strips to the back of each plank before affixing them to the stairs. Ensure that each strip is securely attached to the plank so it does not slip off during installation.
Step 3: Install Underlayment
Cover each step with an underlayment before laying down the planks. This will help provide a smooth surface for the vinyl planks and reduce noise when someone is walking on them. Start laying the planks from the bottom step and work your way up. Make sure each plank is securely attached to the stair’s surface using a hammer or mallet.
Step 4: Trim Any Excess Planks
Once all planks are installed, use a utility knife to trim any excess material. This will ensure no gaps between the planks and the stairs. Cut seam strips and insert them along each plank where they meet with another one. This will help ensure the planks stay securely in place and do not fall due to wear or tear.
Step 5: Secure The Planks In Place With Staples
Use a staple gun to fasten the planks deep into the stair’s surface to ensure they do not fall apart. Once the planks are secured, use caulk to cover any gaps or seams between them. This will help protect the planks from water damage and keep them looking nice for years.
Step 6: Install The Final Trim Pieces
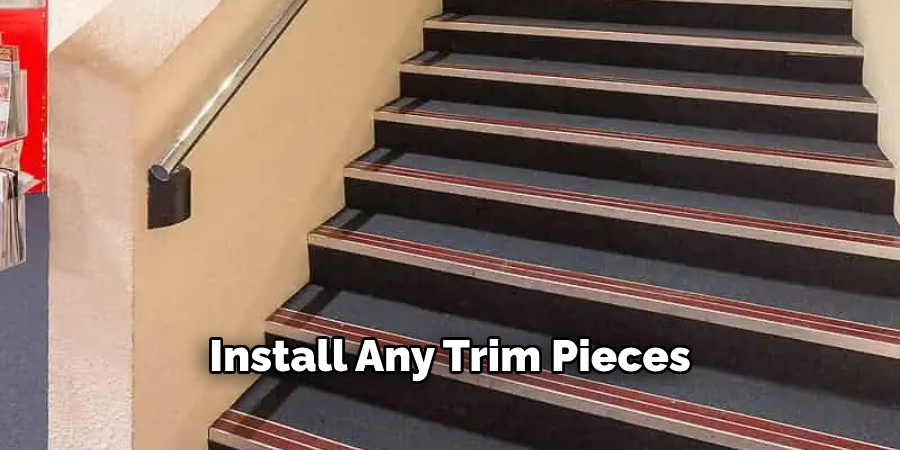
Finally, install any trim pieces as desired to complete the look of your vinyl plank flooring on the stairs. Ensure these pieces are securely attached so they don’t fall apart over time.
Following these steps will help ensure you successfully install your vinyl plank flooring on stairs. With this process, a homeowner can easily lay down their own vinyl planks for a beautiful, long-lasting finish.
Safety Tips for How to Install Vinyl Plank Flooring on Stairs
- Measure the staircase steps accurately to ensure proper fitting of the vinyl plank flooring.
- Wear protective gear such as gloves, safety glasses, and a dust mask while installing to avoid any potential hazards.
- Clean the surface properly before beginning the process of installation to remove any dirt or debris that may be present on it.
- Wear anti-slip shoes to prevent slipping while working on the stairs.
- Ensure that all tools are in proper working order and sharpened to work effectively and accurately when used to install vinyl plank flooring on the staircase.
- Keep children away from the area where you install the vinyl planks since it involves using sharp objects and powerful tools.
- Ensure to properly secure the vinyl planks after installation so they don’t become loose in any way. This will ensure a safe and proper fit on the staircase steps.
Following these safety tips while installing vinyl plank flooring on stairs ensures that you don’t risk yourself and get a good result.
What is the Best Way to Avoid Common Mistakes When Installing Vinyl Plank Flooring on Stairs?
One should take several steps before beginning the installation process to avoid common installation mistakes. First, carefully measure the area of the stairs you will install. Measure the width and height of each step, then confirm that your measurements match up with the vinyl plank flooring you will use. Taking accurate measurements will ensure that your stair installation looks professional and is done correctly.
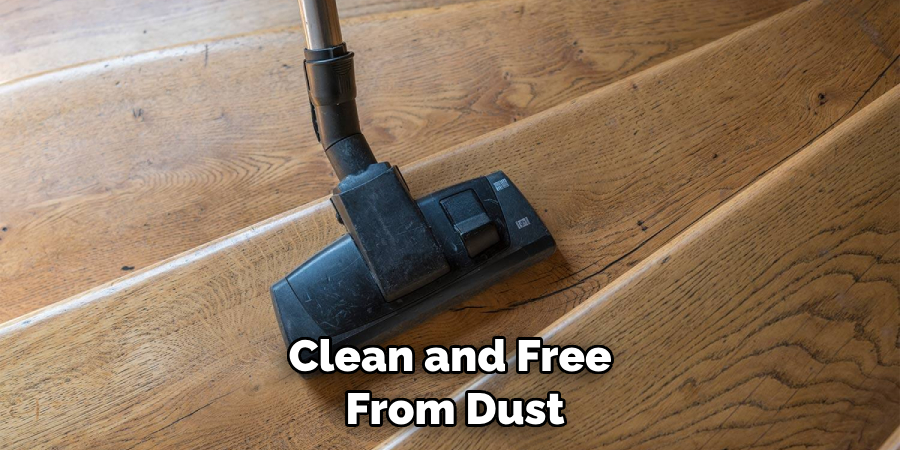
Second, ensure that all surfaces where you install vinyl plank flooring are clean and free from dust, dirt, and debris. If necessary, use a vacuum or broom to remove any unwanted particles that may be present before beginning work.
Third, pay attention to the condition of the stairs themselves. Make sure they are level and secure before laying down vinyl planks. If there are any loose boards or nails, make sure to take care of them before beginning the installation process.
What is the Best Way to Make Sure Your Vinyl Plank Flooring Installation Lasts a Long Time?
When installing vinyl plank flooring on stairs, a few key steps should be taken to ensure that your installation lasts for many years. These steps include: properly measuring and cutting the planks, ensuring you use the right type of adhesive, and using a leveler between each board.
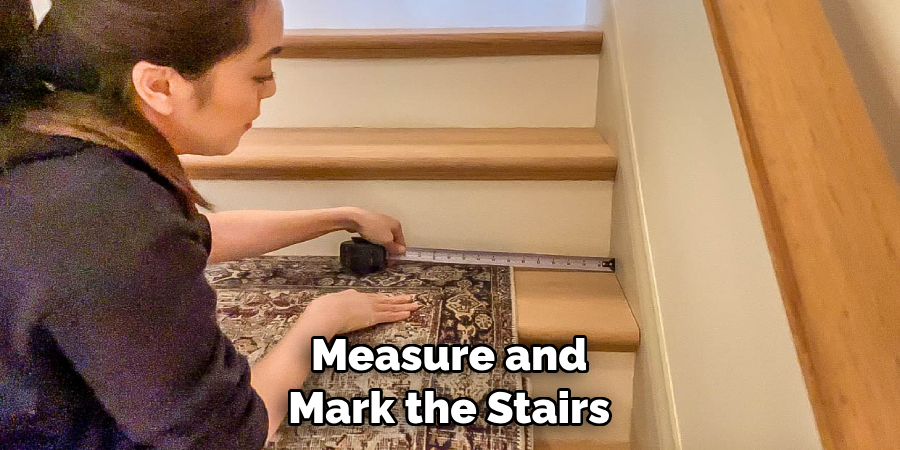
Before beginning the installation process, make sure to measure and mark the stairs exactly, ensuring that each plank will fit within the stairwell. Using a leveler after cutting each plank is important to ensure that all planks are even. If you have irregular steps, it is best to use smaller boards or strips of vinyl to accommodate these areas.
When choosing an adhesive for installing your vinyl plank flooring, use a high-quality product specifically designed for vinyl flooring. This will ensure that it securely bonds the planks and prevents gaps or air pockets from forming between them. Installing vinyl plank flooring on stairs requires a bit of extra work compared to regular floors, but if done correctly, it can provide a beautiful and long-lasting solution.
Is There Any Maintenance Required for Vinyl Plank Flooring on Stairs?
Although vinyl plank flooring is easy to install and requires little maintenance, there are a few things you need to consider to keep your stair installation looking its best. After installing your vinyl planks on the stairs, you must clean the steps regularly. Vacuum or sweep away dust and debris at least once weekly, and mop with a gentle cleaner periodically.
To protect your vinyl plank flooring on the stairs, make sure to place felt pads on the bottoms of all furniture that may be moved around in your home. Additionally, keep pets’ claws trimmed and immediately wipe up any spills or accidents.
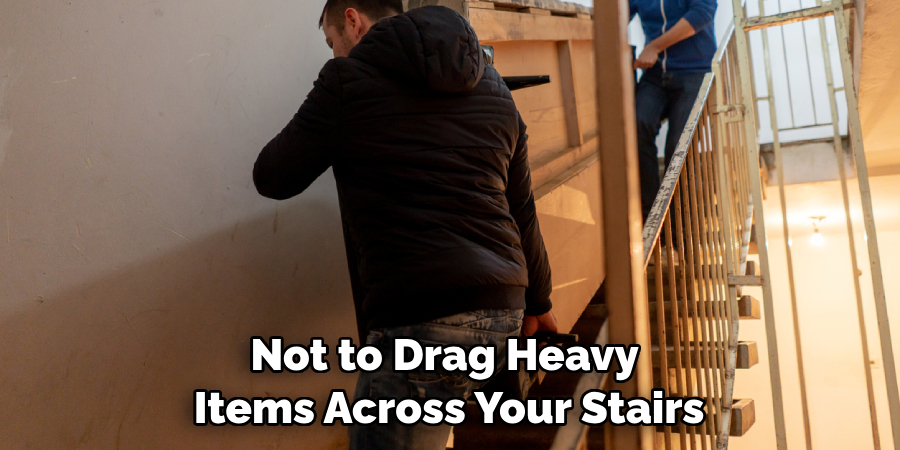
Be careful not to drag heavy items across your stairs, as this can cause damage to the planks. You should also try to limit direct sunlight on your vinyl plank flooring, as UV rays from the sun can quickly fade and discolor the material. Consider using window treatments or blinds if you have large windows that face your stairs.
Are There Any Special Considerations for Installing Vinyl Plank Flooring on Steps With Odd Angles or Curves?
Yes, stairs with odd angles or curves require a few extra steps to ensure the finished product looks great. Before beginning, measure and note any unusual angles or curves and plan for them when cutting the vinyl plank flooring.
If there are sharp turns on the stairs, you can cut each piece of flooring into small sections that will fit those turns rather than one large piece. To create a neat finish, use a miter saw to make precise 45-degree cuts on the ends of each plank.
Finally, before placing the planks, thoroughly clean and vacuum all surfaces—even those with odd angles or curves! With proper planning and care, you can achieve professional-looking results when installing vinyl plank flooring on steps with odd angles or curves.
What is the Best Way to Ensure That Your Vinyl Plank Flooring Installation Looks Professional and Neat?
When installing vinyl plank flooring on stairs, it is important to take your time and ensure each step of the installation process is done properly. This includes prepping the stairs, measuring accurately, cutting the planks to the right size, and then laying them down carefully. Additionally, there are a few extra steps that can help ensure a professional-looking install:
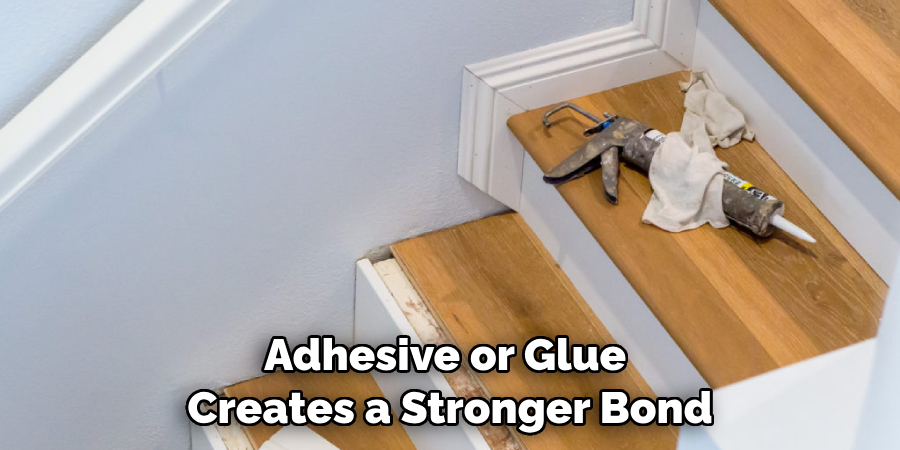
- An adhesive or glue creates a stronger bond between the planks and stairs. This will help keep them in place and prevent any gaps from forming between the planks once they are laid.
- If you want to hide any seams, use matching trim pieces to cover them up. Also, if there are uneven areas around the edges, you can use a router to carve out grooves for the planks to fit into.
- To prevent any slipping of the planks, make sure to install stair nosings at the edges of each tread and riser. This will also add an extra layer of safety for anyone using the stairs.
By following these steps when installing vinyl plank flooring on stairs, you will have a professional-looking installation that will last for years. With the right preparation and attention to detail, your vinyl plank stairs can be the perfect addition to any home.
Conclusion
The potential disadvantages of installing vinyl plank flooring on stairs include the time and effort involved in preparing the stairs, potentially having to cut many pieces for treads or risers, difficulty matching existing stairs with new planks, and squeaks from the joints when walked upon. Installing stair treads can be difficult and long-lasting if not done properly.
In conclusion, installing vinyl plank flooring on stairs is a complex project that requires some preparation and knowledge. But with the right tools, accessories, and materials – and some patience – you can create a beautiful, durable staircase to complement your home.
Following these steps, you can easily install vinyl plank flooring on stairs with professional results. This article has been beneficial for learning how to install vinyl plank flooring on stairs. Make Sure the precautionary measures are followed chronologically.
