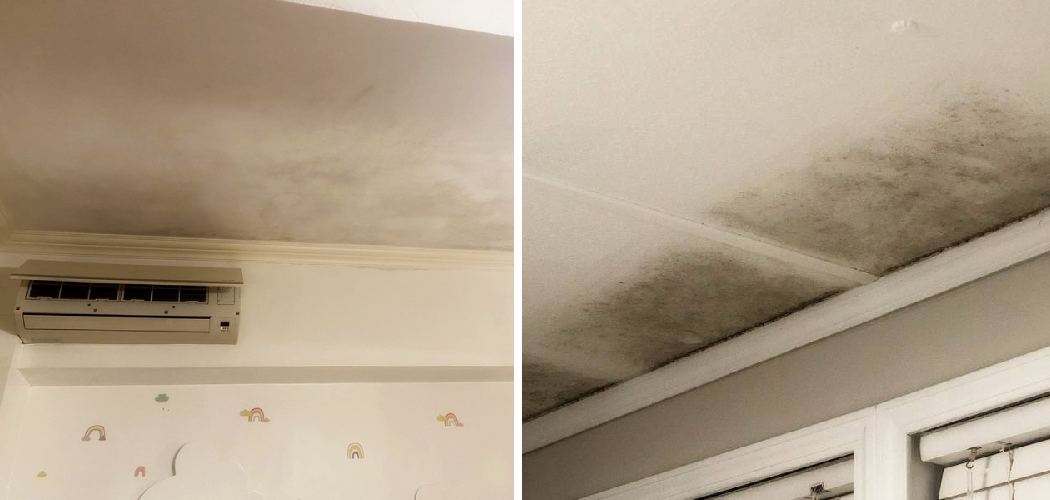
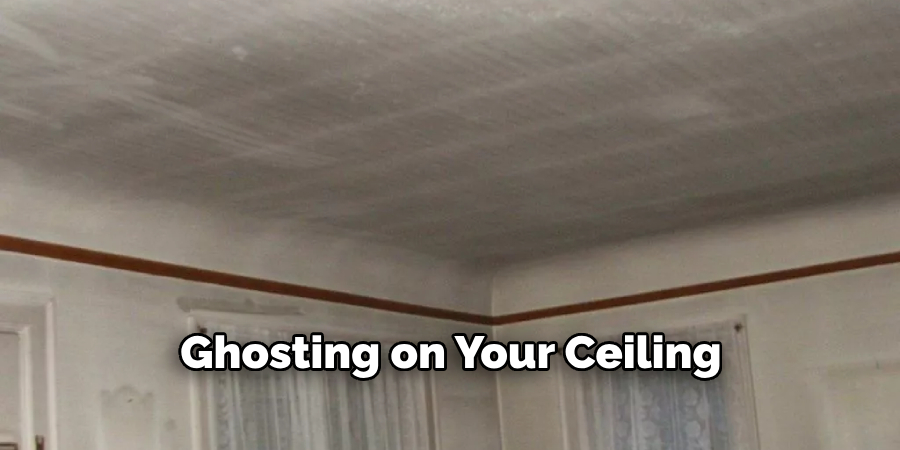
Are you struggling to remove ghosting on your ceiling? Ghosting, which is caused by the buildup of residue left behind from vaporized substances like smoke and dust, can be a nuisance to get rid of. It creates an ugly appearance in your home, and ghosting can lead to other issues, such as mold formation, if not treated properly.
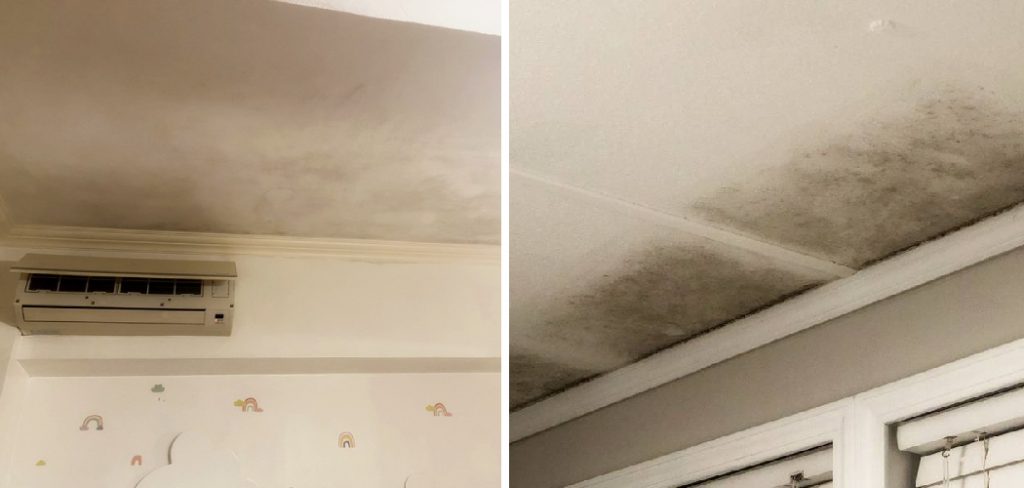
Fortunately, several effective methods exist for eliminating this common problem—you just need to know what they are and how best to use them. Whether you’re a homeowner or renter, here are some helpful tips on how to remove ghosting on ceiling.
In this blog post, we’ll discuss the steps necessary for successfully removing ghosting on ceilings so that you no longer have to worry about its negative effects!
What Can Cause Ghosting on Ceilings?
Ghosting is usually caused by the build-up of residue left behind from vaporized substances like smoke, steam, and dust. This buildup can come from various sources, such as cooking fumes, cigarette smoke, or even just general dust that has settled on the ceiling over time.
Additionally, ghosting can also be caused by poor ventilation, which prevents the smoke and dust from leaving the room—trapping them on the ceiling instead.
Overall, the best way to prevent ghosting from occurring in the first place is to maintain a clean and well-ventilated environment.
What Will You Need?
Before tackling the ghosting on your ceiling, ensure you have all the necessary materials. Here’s a list of everything you’ll need:
- A vacuum cleaner with a brush attachment
- Soft cloths or microfibre cloths
- Mild detergent
- White spirit or rubbing alcohol
Once you’ve gathered all of the items listed above, you’re ready to begin!
10 Easy Steps on How to Remove Ghosting on Ceiling
Step 1. Vacuum the Area:
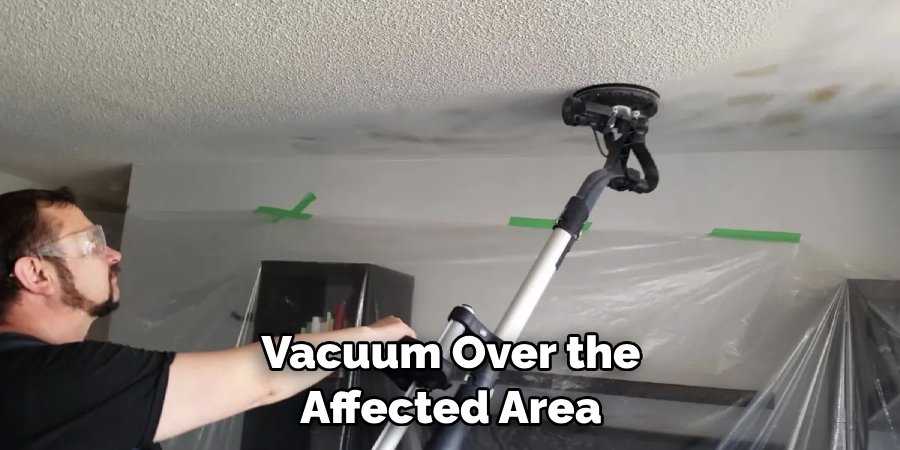
Before attempting any other solutions, it’s important to vacuum around and above the affected area on the ceiling to remove as much dust and dirt as possible. This will help reduce the amount of residue left behind that could interfere with the other steps. If possible, use a vacuum cleaner with an attachment that can reach into corners and crevices.
Step 2. Test the Detergent:
Mix some mild detergent in warm water and test it on a hidden ceiling area—inside a cupboard or behind furniture. This will ensure that your solution won’t cause any damage to the paintwork or wallpaper. Try to use a non-abrasive detergent and ensure it’s suitable for the surface of your ceiling.

Step 3. Apply Detergent:
Apply the mixture to the affected area using a soft cloth and allow it to sit for 10 minutes before wiping it away with another cloth. Make sure you use gentle motions so as not to rub too hard against the ceiling, which could damage it further. Don’t forget to rinse the cloth off occasionally, as this will help to prevent any residue from being spread.
Step 4. Rinse & Dry:
Once you’ve removed the detergent mixture, rinse the area with clean water and dry thoroughly using a soft cloth. Be careful not to rub too hard, which could cause additional ghosting. As an extra precaution, inspect the area for any remaining residue or stains and reapply detergent if necessary.
Step 5. Apply White Spirit:
If there are still traces of ghosting left behind, try applying white spirit or rubbing alcohol to the affected area and let it sit for 10 minutes before wiping it away with another cloth. Be sure to use gentle motions to not rub too hard against the ceiling. If the ghosting still persists, repeat this step as necessary.
Step 6. Vacuum Again:
Finally, vacuum over the affected area once more to remove any remaining residue from the detergent or white spirit solution. This step is important in order to prevent any new particles from settling on top of what you’ve already cleaned up. It will also help to avoid any new ghosting from forming.
Step 7. Inspect the Area:
Now that you’ve completed the cleaning process, it’s time to inspect the area and make sure that all of the ghosting has been removed. If any remains, repeat steps 1-6 until it is gone. Remember that this process may take a few attempts, but with patience and diligence, you can eliminate all of the ghosting on your ceiling.
Step 8. Open Windows & Fans:
Once you’re satisfied with the results, be sure to open windows and turn on fans in order to improve ventilation and keep dust particles from settling back onto your ceiling. This will help prevent new ghosting from forming in the future. As an added bonus, improved ventilation can also help reduce allergens in the air that could be causing health issues.
Step 9. Clean Regularly:
In order to maintain a clean ceiling free of ghosting, it’s important to clean regularly. Try to vacuum the area at least once a month and apply the detergent and white spirit solution every few months as needed. Test on a hidden area before applying, just to be sure.
Step 10. Hire a Professional:
If you’re having difficulty removing ghosting from your ceiling, or the residue is too stubborn to tackle on your own, it may be best to hire a professional cleaning service. This will ensure that all of the ghosting is completely removed and that future buildup can be adequately prevented. Remember, it’s better to be safe than sorry when it comes to matters of home maintenance.
With these ten steps in mind, you should now have all the knowledge you need for successfully removing ghosting on ceilings! Be sure to use these tips whenever needed, so your home looks beautiful and free of any unwanted residue left behind from vaporized substances.
5 Additional Tips and Tricks
- Rinse the area with vinegar and water to prepare the surface for cleaning.
- Apply a plaster paste, such as a spackle, over the area to fill any holes or cracks in the ceiling.
- After the paste is dried, sand it smooth with fine-grit sandpaper.
- Apply an oil-based primer to the entire area and let it dry completely before applying a coat of paint.
- Use a roller for painting to ensure even coverage on the ceiling, but use a brush around windows and door frames for better control and precision.
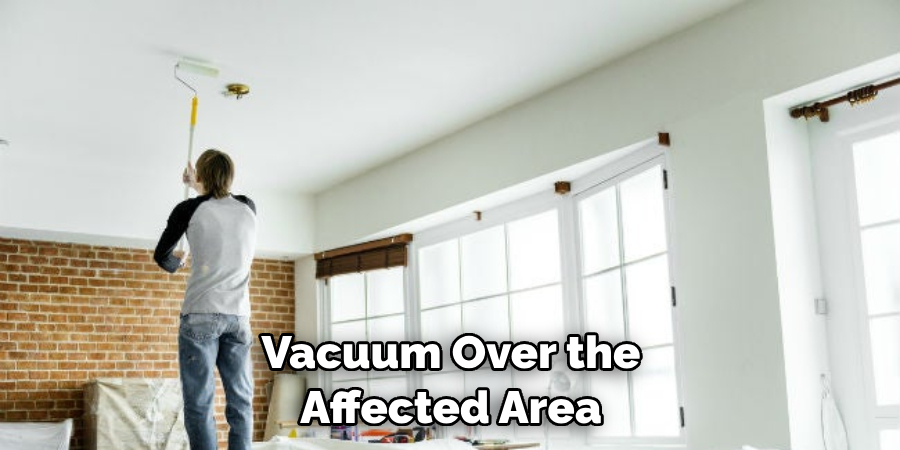
With these tips, you’ll be able to remove ghosting from your ceiling quickly and easily!
5 Things You Should Avoid
- Don’t use bleach or harsh cleaners to clean the ceiling.
- Avoid using abrasive materials such as steel wool, scouring pads, or sandpaper when cleaning.
- Do not apply too much pressure when scrubbing the area with a sponge or cloth.
- Don’t use oil-based paint over latex paint as this may cause discoloration and damage to the surface of your ceiling.
- Finally, don’t forget to wear protective gear such as goggles and gloves when cleaning to avoid potential injury from hazardous chemicals or debris that may be present on the ceiling.
By following these tips and avoiding these common mistakes, you can easily remove ghosting from your ceiling and maintain its original beauty.
Is Ghosting on Ceiling Bad?
Ghosting on the ceiling can be a nuisance, but it doesn’t necessarily mean there’s an issue with your home. While ghosting isn’t detrimental to the structure of your house or its occupants, it can still be an eyesore and should be removed if possible.
If left untreated, however, ghosting may eventually lead to permanent staining and discoloration that could affect your home’s value. For this reason, it is important to take steps to address any ghosting on your ceiling as soon as you notice it.
Additionally, if you are uncertain as to the cause of ghosting on your ceiling, it is important to call a professional to investigate and determine what is causing the staining. Sometimes, the source may be something as simple as a leaking pipe or roof that quick repairs can easily address.
Overall, ghosting on your ceiling isn’t always a sign of a serious issue, but it still should be addressed to ensure your home looks its best.
By following these tips and taking proper precautions when removing ghosting from your ceiling, you can keep it looking like new for years to come!
Conclusion
In conclusion, all the steps mentioned above can help you remove ghosting on the ceiling and get a smooth wall that looks like new. Combining elbow grease and the right tools is key to achieving success with this task, but it’s also quite manageable when taken one step at a time. With patience, a steady hand, and some serious attention to detail, you will soon find yourself with sparkling new walls and ceilings that dazzle.
Of course, if the ghosting doesn’t completely come off after following these steps, consulting a specialist or having professional help finish up what was started might be the best option. Either way, removing ghosting on your ceiling may sound daunting but taking it step-by-step leads to beautiful results that are worth the effort.
Hopefully, the article on how to remove ghosting on ceiling helped achieve your goal of having a good-looking wall or ceiling that you can be proud of. Good luck!
