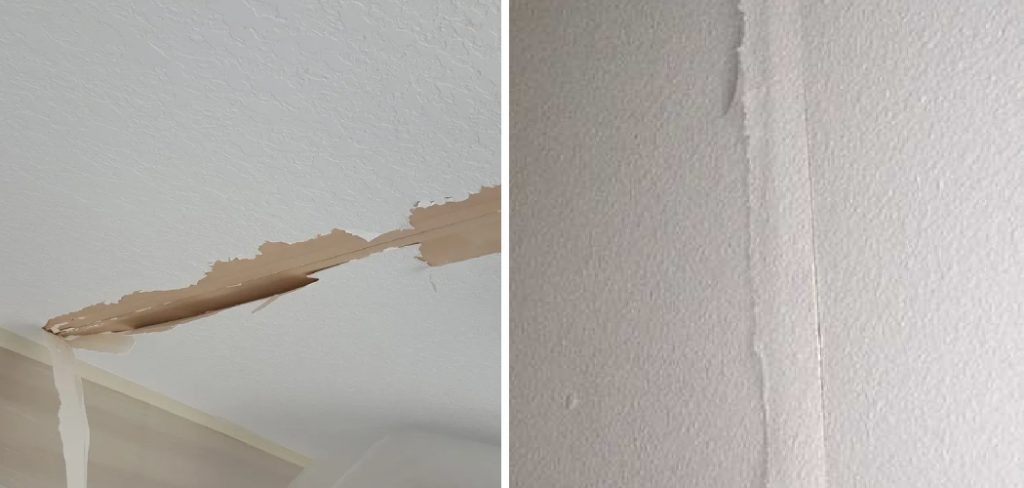
If you have ever experienced loose drywall tape on the ceiling, you know how unsightly and bothersome it can be. Loose drywall tape can also be dangerous if it is not repaired promptly, as it could potentially fall and injure someone. Repairing loose drywall tape on the ceiling is not as difficult as it may seem. In this blog post, we will provide easy-to-follow steps on how to repair loose drywall tape on ceiling.
Can You Repair Loose Drywall Tape on The Ceiling?
When it comes to repairing loose drywall tape on the ceiling, it can seem like a daunting task. However, with the right approach, it doesn’t have to be. This common issue can occur over time due to settling or humidity changes in your home, but luckily there are a few ways to fix it.
One method is to remove the loose tape and replace it with new tape using a joint compound. Another solution is to apply a layer of joint compound over the loose tape and carefully smooth it out with a putty knife. Whatever method you choose, it’s important to take your time and approach the repair with patience. With a little effort, your ceiling will be back to its former flawless state in no time.
Why Should You Repair Loose Drywall Tape on The Ceiling?
When it comes to home maintenance, repairing loose drywall tape on your ceiling might not be at the top of your to-do list. However, it’s important to address this issue sooner rather than later to prevent further damage. Loose tape can allow air and moisture to seep in, causing the tape to peel even more, potentially leading to more severe ceiling damage.
Additionally, loose tape is unsightly and can detract from the overall appearance of your home. Take the time to repair loose drywall tape on your ceiling to keep your home looking great and avoid more significant issues down the road.
How to Repair Loose Drywall Tape on Ceiling: A Comprehensive Guide
1. Prepare the Surface
Before repairing the loose drywall tape, you must prepare the surface. Use a putty knife to scrape off any loose or peeling tape. Sand the area with fine-grit sandpaper to remove any existing adhesive residue.

2. Apply Joint Compound
Next, apply a layer of joint compound to the area where the tape was removed. Use a putty knife to spread the compound evenly over the surface. Allow it to dry completely according to the manufacturer’s instructions.
3. Sand the Joint Compound
After the joint compound has dried, sand it with a fine grit sandpaper until it is smooth and leveled with the surrounding surface. Be sure to wipe the area with a damp cloth to remove any sanding dust.
4. Apply New Tape
Once you have smoothed out the joint compound, it’s time to apply the new tape. Measure and cut the tape to fit the length of the repair area. Apply it to the joint compound, making sure to smooth out any air bubbles or wrinkles.
5. Apply More Joint Compound
After applying the tape, use a putty knife to apply a thin layer of joint compound over the tape. This will ensure the tape is properly secured and create a smooth surface. Allow it to dry completely before sanding it down.
6. Sand the Joint Compound Again
Once the joint compound has dried, use fine-grit sandpaper for sanding it down until it is even with the surrounding surface. Wipe down the area with a damp cloth to remove any dust created during sanding.
7. Paint or Texture
The last step in repairing loose drywall tape is to paint or texture the area. This will help blend in the repair and make it look new. Be sure to use a paint or texture that matches the surrounding surface.
That’s it! You’ve now learned how to repair loose drywall tape on ceiling. You can restore your walls and ceilings to their original condition with a few simple steps.
5 Considerations Things When You Need to Repair Loose Drywall Tape on a Ceiling
1. The first thing you need to do is identify the source of the problem. If the loose drywall tape is due to a crack in the drywall, then you will need to repair the crack before you can repair the tape. If the loose tape is not due to a crack, then you will need to determine what caused the tape to become loose in the first place.
2. Once you have identified the source of the problem, you will need to gather the necessary materials. If you are repairing a crack, you will need a drywall joint compound, mesh drywall tape, and a putty knife. If the loose tape is not due to a crack, you will need a drywall joint compound and a putty knife.
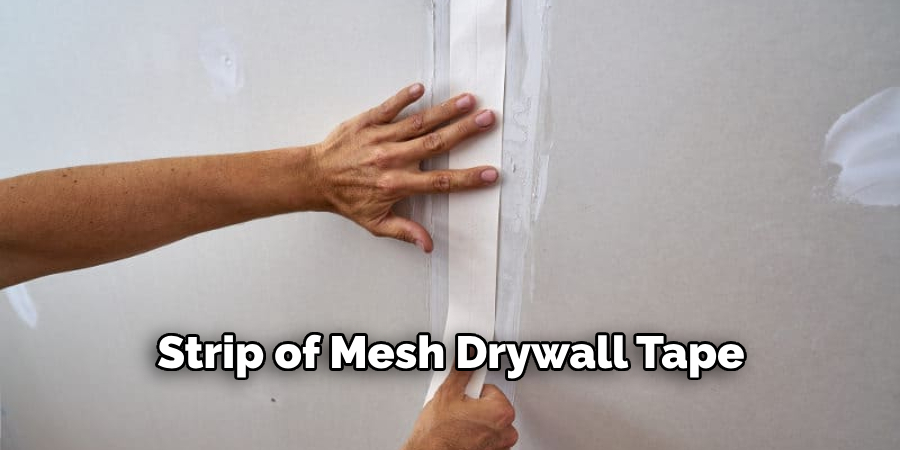
3. The next step is to repair the crack or re-attach the loose tape. For a crack, apply a joint compound to both sides of the crack and then place a strip of mesh drywall tape over the top. Use your putty knife to smooth out the joint compound and firmly adhere to the tape.
For loose tape, apply joint compound around the perimeter of the area where the tape is loose and then press the tape back into place. Again, use your putty knife to smooth out any joint compound that may have been displaced.
4. Once you have repaired the crack or re-attached the loose drywall tape, you will need to allow sufficient time for the joint compound to dry completely. Depending on the size of the repair, this could take anywhere from 24 hours to several days.
5. After the joint compound has dried completely, you will need to sand down any rough edges and apply primer and paint as necessary.
5 Benefits of Repair Loose Drywall Tape on Ceiling
1. Prevents Cracks
One of the primary benefits of repairing loose drywall tape on a ceiling is that it prevents cracks from forming. Cracks in a ceiling can be caused by a variety of factors, including poor construction, settling foundations, and water damage. By repairing loose drywall tape, you can help to prevent these cracks from forming and potentially causing serious damage to your home.
2. Improves Aesthetics
Another benefit of repairing loose drywall tape is that it improves the aesthetics of your ceiling. Cracks in a ceiling can be unsightly and can make your home look old and run-down. By repairing the tape, you can help to give your ceiling a smooth, finished look that will improve the overall appearance of your home.
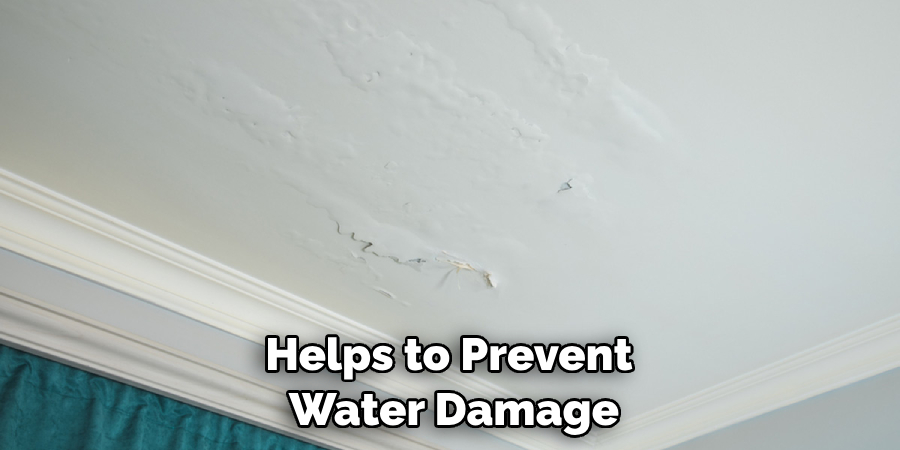
3. Helps to Prevent Water Damage
Another benefit of repairing loose drywall tape is that it helps to prevent water damage. Water can seep through cracks in a ceiling and cause serious damage to the structure of your home. By repairing the tape, you can help to seal these cracks and prevent water from causing any damage.
4. Increases Energy Efficiency
Cracks in a ceiling can allow heat to escape from your home, which will cause your heating and cooling bills to increase. By repairing the tape, you can help seal these cracks and keep heat inside your home, saving you money on your energy bills.
5. Helps to Prevent Mold Growth
Another benefit of repairing loose drywall tape is that it helps to prevent mold growth. Mold thrives in damp, dark environments and can cause serious health problems if left unchecked. By repairing the tape, you can help to seal cracks and prevent moisture from seeping in and causing mold growth. This can help keep your home safe and healthy for years to come.
Repairing loose drywall tape on a ceiling is a simple way to improve the overall look of your home while also helping prevent damage. By gathering the necessary materials and following the steps outlined above, you can easily repair any cracks or loose tape on your ceiling in no time. With just a bit of effort, you can ensure that your home looks great while also helping keep it safe and healthy for years to come.
4 Common Mistakes People Make When Trying to Repair Loose Drywall Tape on Ceiling
1. Not Applying Enough Pressure
One of the most common mistakes people make when trying to repair loose drywall tape is not applying enough pressure. When you are trying to apply the tape, you need to press it firmly against the wall so that it will adhere properly. If you do not apply enough pressure, the tape will not stick and will eventually start to peel away from the wall.
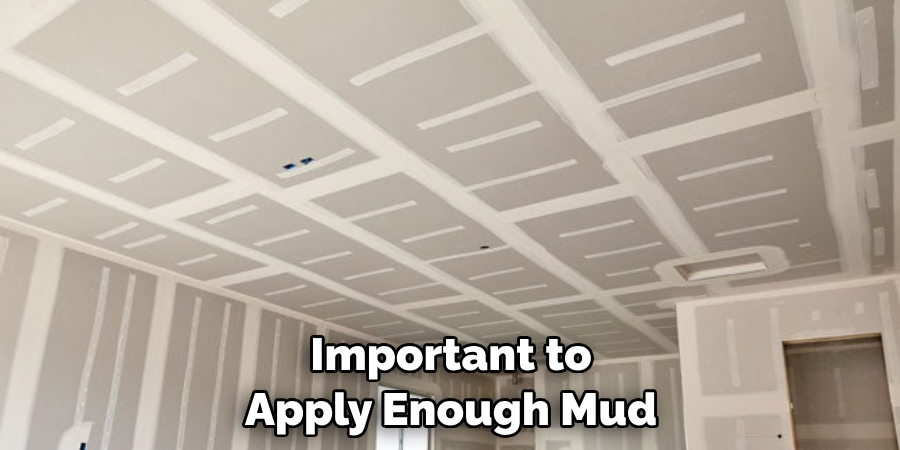
2. Not Applying Enough Mud
Another common mistake people make when repairing loose drywall tape is not applying enough mud. Mud helps to hold the tape in place and gives the repair a smooth, finished look. The repair will look lumpy and uneven if you do not apply enough mud.
3. Applying Too Much Mud
While it is important to apply enough mud, it is also possible to apply too much mud. If you apply too much mud, it will be difficult to smooth out and will take longer to dry. Additionally, if there is too much mud on the wall, it can start to sag and eventually fall off.
4. Not Letting the Mud Dry Completely
Finally, one of the most common mistakes people make when repairing loose drywall tape is not letting the mud dry completely before painting or sanding. If you try to paint or sand before the mud is completely dry, you run the risk of damaging the repair. Letting the mud dry for at least 24 hours before doing anything else is important.
Repairing loose drywall tape on a ceiling can be tricky, but by avoiding these common mistakes, you can ensure that your repair is effective and long-lasting. With just a bit of patience and dedication, you can easily repair any cracks or loose tape on your ceiling without any problems.
Conclusion
Repairing loose drywall tape on the ceiling may seem like a daunting task, but it can be easily accomplished with the right tools and techniques. Follow the steps outlined in this blog post to repair any loose drywall tape on your ceiling.
Don’t let unsightly and potentially dangerous loose drywall tape go unaddressed when it can be easily repaired with little effort. Thanks for reading our post about how to repair loose drywall tape on ceiling.