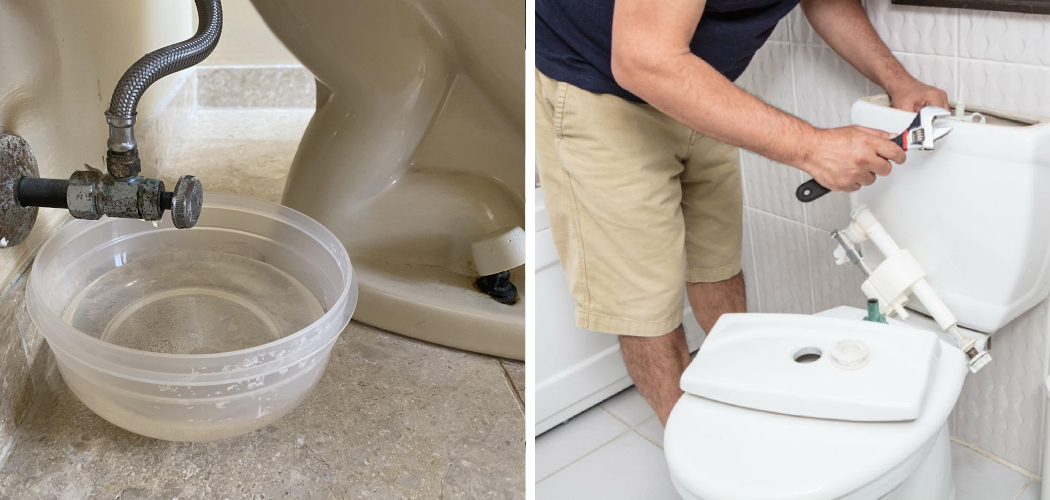
Testing a toilet for leaks is an essential maintenance task that can help identify and prevent water wastage and potential damage to your home. Even small leaks can lead to significant water loss over time, not to mention increased water bills. In this article, we’ll explore various methods on how to test toilet for leaks. From simple visual inspections to using dye tablets and listening for telltale signs, we’ll cover everything you need to know to detect and address leaks in your toilet.
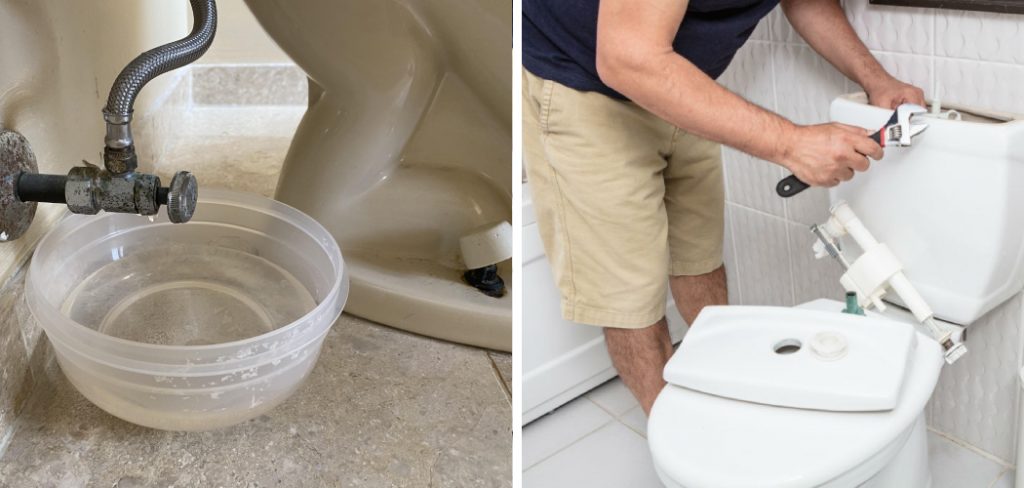
By learning how to test your toilet for leaks regularly, you can take proactive steps to conserve water, save money, and ensure the proper functioning of your plumbing system.
The Importance of Testing Toilets for Leaks
Testing toilets for leaks is crucial for several reasons. Firstly, it helps conserve water, a vital resource that should be used efficiently. Leaky toilets can waste hundreds of gallons of water daily, contributing to water scarcity issues and placing unnecessary strain on local water supplies. Secondly, identifying and fixing leaks can significantly reduce water bills. Over time, even small, undetected leaks can result in substantial financial loss.
Additionally, undiagnosed leaks can lead to more severe plumbing issues, causing damage to floors, walls, and other parts of your home, which can be costly to repair. Regularly testing your toilet for leaks ensures that it operates efficiently, prevents potential water damage, and fosters a more sustainable household.
Why Leaks May Occur in Toilets
Toilet leaks can stem from a variety of sources, each requiring different approaches for detection and repair. One common cause is a faulty flapper valve, which controls the flow of water from the tank to the bowl. Over time, the flapper can become worn or warped, preventing it from sealing properly and allowing water to leak continuously.
Another frequent issue is the fill valve, which regulates the water level in the tank. If the fill valve malfunctions, it can either overfill the tank or fail to turn off completely, resulting in leaks.
Additionally, cracks in the toilet tank or bowl can lead to water seepage, while worn-out washers and bolts can result in leaks at the base of the toilet. Regular maintenance and timely replacement of these components can help prevent leaks and ensure the efficient operation of your toilet.
Common Causes of Toilet Leaks
Understanding the common causes of toilet leaks is essential for effective detection and repair. Here are some of the most frequent culprits:
Worn Flapper Valve
The flapper valve controls the release of water from the tank to the bowl. Over time, it can become worn or warped, leading to a poor seal and continuous water leakage. Replacing the flapper valve is often a simple and inexpensive fix.
Faulty Fill Valve
The fill valve regulates the water level in the tank. If it malfunctions, it may overfill the tank or fail to shut off properly, causing continuous water flow into the toilet. Adjusting or replacing the fill valve can resolve this issue.
Cracks in the Tank or Bowl
Cracks in the ceramic or porcelain of the toilet tank or bowl can lead to water seepage. Depending on the severity and location of the crack, you might need to patch it or replace the entire toilet.
Worn-Out Washers and Bolts
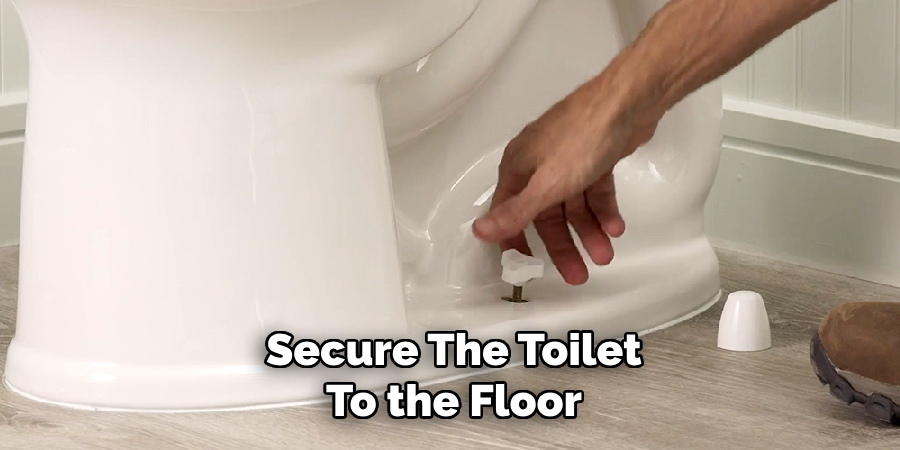
The washers and bolts that secure the toilet to the floor can deteriorate over time, resulting in leaks around the base of the toilet. Replacing these components can stop leaks and prevent further water damage to your floor.
Loose Connections
Loose or corroded connections between the toilet tank and the bowl, or the water supply line and the fill valve, can also cause leaks. Tightening these connections or replacing damaged components can fix the problem.
By routinely inspecting these common areas and addressing any issues promptly, you can prevent leaks and ensure the proper operation of your toilet.
Understanding Types of Toilet Leaks
Understanding the various types of toilet leaks is essential for accurate detection and effective resolution. Toilet leaks can generally be categorized into three main types: silent leaks, visible leaks, and leaks at the base.
Silent Leaks
Silent leaks are often the most deceptive, as they are not immediately noticeable and do not produce obvious signs of water leakage. These leaks typically occur when the flapper valve fails to create a proper seal, allowing water to slowly drain from the tank into the bowl and subsequently into the sewer system.
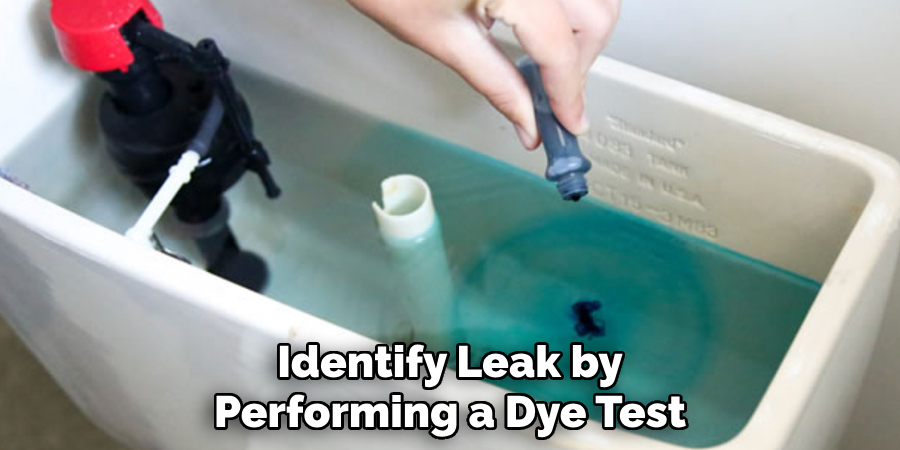
This type of leak can be identified by performing a dye test: adding a few drops of food coloring or a dye tablet into the tank and waiting for about 15-30 minutes without flushing. If the colored water appears in the bowl, you have a silent leak.
Visible Leaks
Visible leaks are easier to detect and can often be spotted during a simple visual inspection. These leaks commonly manifest as water seeping from the tank or bowl, pooling around the base of the toilet, or continuously flowing into the bowl. Potential causes include cracks in the toilet tank or bowl, faulty fill or flush valves, or deteriorated washers and bolts.
Keeping an eye on the water level in the tank and regularly inspecting the toilet’s components can help in identifying visible leaks.
Leaks at the Base
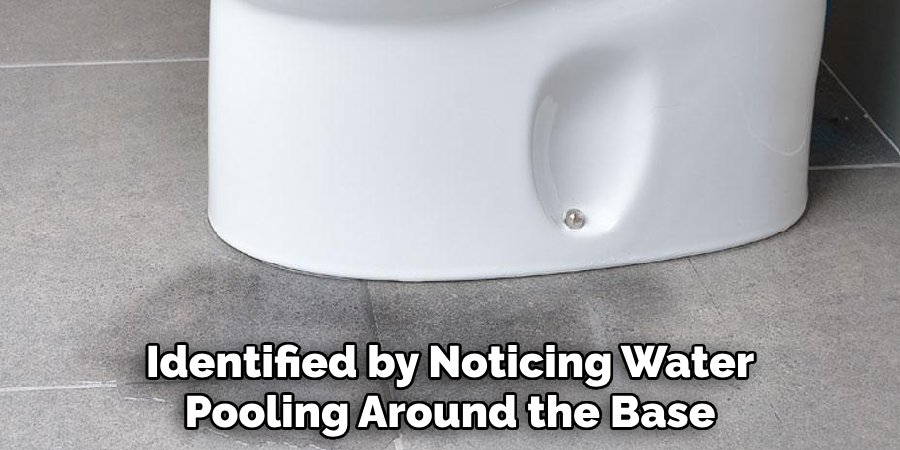
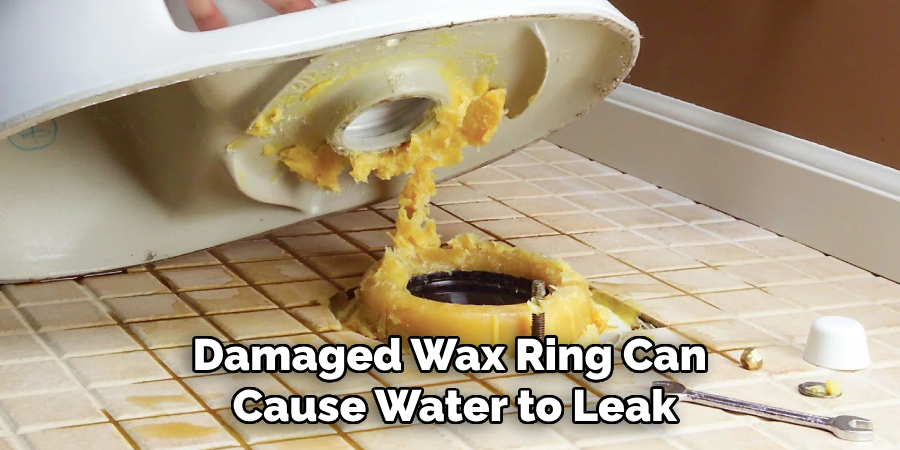
Leaks at the base of the toilet occur when water escapes the connections between the toilet and the floor. These leaks are typically caused by worn-out wax rings, which are designed to create a watertight seal between the toilet and the sewer pipe. Over time, the wax ring can deteriorate or become displaced, leading to water seepage during flushing.
This type of leak can be identified by noticing water pooling around the base of the toilet or by detecting a foul odor due to lingering moisture. Replacing the wax ring usually resolves the issue.
By understanding these types of toilet leaks, you can better diagnose and address any leakage problems, ensuring the longevity and efficiency of your toilet. Regular inspections and maintenance will help in early detection and timely repair, ultimately leading to water conservation and reduced household expenses.
Causes and Consequences of Each Type of Leak
Silent Leaks
Causes: Silent leaks primarily occur due to a malfunctioning flapper valve. Over time, the flapper can become warped, brittle, or coated with mineral deposits, preventing it from sealing the tank properly. Additionally, issues with the flush valve seat or a damaged overflow pipe can also lead to silent leaks.
Consequences: Despite being silent, these leaks can result in significant water wastage over time. Since silent leaks often go unnoticed, they can lead to a substantial increase in water bills. Furthermore, the continuous flow of water from the tank to the bowl can cause wear and tear on toilet components, potentially leading to more severe plumbing issues if left unaddressed.
Visible Leaks
Causes: Visible leaks can be attributed to several factors, including cracks in the toilet tank or bowl, a malfunctioning fill valve, or worn-out washers and bolts. Loose or improperly connected fittings and hoses can also cause water to escape visibly from the toilet.
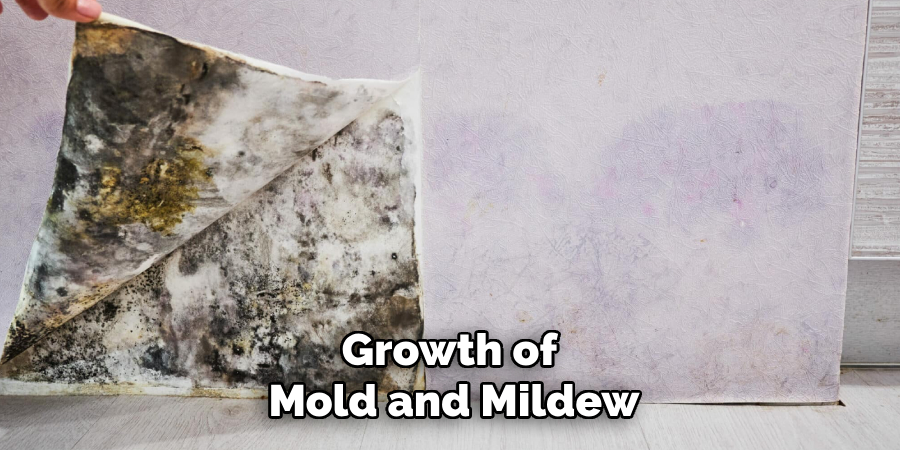
Consequences: The primary consequence of visible leaks is water damage, which can affect the flooring, walls, and other parts of your home. This type of damage can lead to mold and mildew growth, creating health risks for household members. Additionally, visible leaks can undermine the structural integrity of the bathroom if the water seeps into the subfloor or wall cavities over time.
Leaks at the Base
Causes: Leaks at the base of the toilet are typically caused by a deteriorated or displaced wax ring. This ring creates a seal between the toilet and the sewer pipe. If it hardens, cracks, or shifts out of place, it can no longer maintain a watertight seal. Other causes can include loose toilet bolts or a cracked toilet base.
Consequences: Base leaks can lead to water pooling around the toilet, which can damage the bathroom floor and subfloor. Persistent moisture from these leaks can promote the growth of mold and mildew, which poses health risks and can be challenging to remove. Moreover, unresolved base leaks can cause unpleasant odors due to sewer gases escaping into the bathroom.
By identifying the causes and understanding the consequences of each type of toilet leak, homeowners can take proactive measures to repair and prevent leaks, ensuring the longevity and efficiency of their toilets while safeguarding their homes from potential water damage.
Signs of Toilet Leaks
Identifying toilet leaks early can prevent significant water damage and costly repairs. Here are some common signs that indicate your toilet may be leaking:
Increased Water Bill
One of the most apparent signs of a toilet leak is an unexplained increase in your water bill. Even a silent leak can waste a considerable amount of water over time, leading to higher costs. Comparing your current bill to previous months can help identify any unusual spikes in water usage.
Constantly Running Toilet
If your toilet seems to be running continuously or frequently without being flushed, this may indicate a leak. The sound of running water, even when the toilet is not in use, suggests an issue with the internal components, such as the flapper valve or fill valve.
Water Stains or Damage
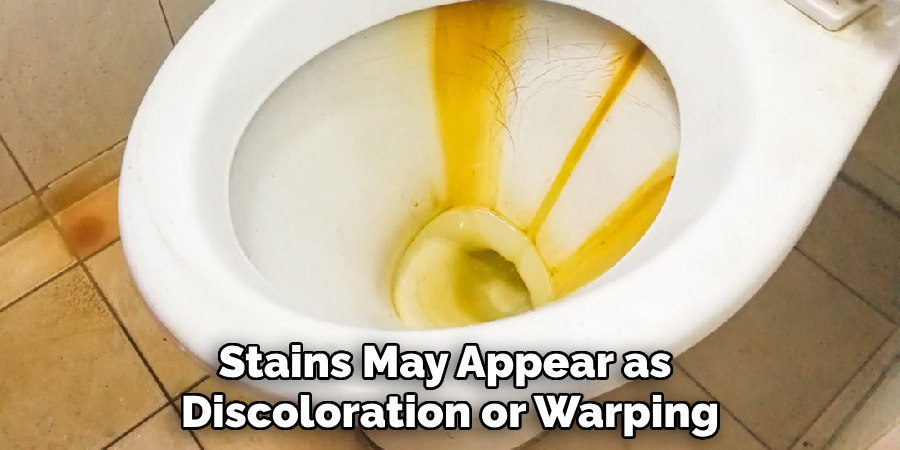
Water stains on the floor around the base of the toilet, or on the ceiling of the room below, can indicate a leak. These stains may appear as discoloration, warping, or soft spots in the flooring material. Early identification of these signs can help prevent extensive water damage.
Mold and Mildew
Excessive moisture from toilet leaks can create an environment conducive to mold and mildew growth. If you notice mold or mildew around the base of the toilet, on nearby walls, or in adjacent areas, it may be due to a leak. Unpleasant odors can also accompany mold growth, signaling a need for immediate inspection.
Low or Noisy Water Flow
If you experience low water flow when flushing, or if the toilet makes unusual noises like gurgling or bubbling, this could be a sign of a leak or blockages within the toilet system. Addressing these issues promptly can help maintain proper function and prevent further complications.
Loose or Wobbly Toilet
A toilet that feels loose or wobbly when you sit on it might have a leak at the base. This instability often indicates that the wax ring seal has failed, and water is seeping out during each flush.
By being vigilant and recognizing these signs, homeowners can detect toilet leaks early and take necessary steps to repair them. Regular maintenance and prompt attention to any issues will ensure the efficiency and longevity of the toilet, as well as prevent potential water damage to the home.
10 Methods How to Test Toilet for Leaks
1. Visual Inspection
Start by visually inspecting the toilet for any obvious signs of leaks. Check around the base of the toilet, the tank, and the supply line for water pooling, drips, or moisture. Look for discoloration or warping of the flooring or walls, as these can indicate water damage caused by leaks.
2. Check the Toilet Tank
Remove the tank lid and inspect the components inside for any signs of leaks. Look for water dripping from the fill valve, flush valve, or any cracks in the tank. Flush the toilet and observe the tank as it refills to see if water continues to flow after the tank is full, which could indicate a faulty fill valve.
3. Use Dye Tablets
Dye tablets are a simple and effective way to test for leaks in the toilet tank. Drop a dye tablet or a few drops of food coloring into the tank and wait for several minutes without flushing. If the color appears in the bowl without flushing, it indicates that water is leaking from the tank into the bowl, signaling a faulty flush valve or flapper.
4. Listen for Hissing Sounds
Listen carefully for any hissing or running water sounds coming from the toilet. These sounds may indicate that water is leaking from the tank into the bowl due to a faulty flush valve or flapper. If you hear continuous hissing or running water, it’s a sign that the toilet is not sealing properly and may be wasting water.
5. Check the Flapper
Inspect the flapper inside the toilet tank for any signs of wear, tear, or damage. A worn or misaligned flapper can prevent the toilet from sealing properly, leading to leaks. Test the flapper by flushing the toilet and observing its movement. If the flapper doesn’t close fully or sits unevenly on the flush valve, it may need to be replaced.
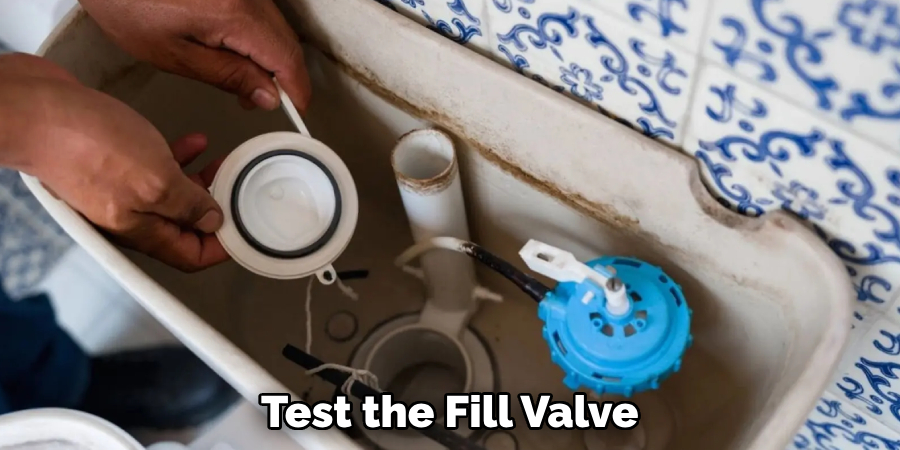
6. Inspect the Fill Valve
Check the fill valve for any signs of leaks or malfunctions. The fill valve is responsible for refilling the toilet tank with water after each flush. Look for water dripping from the valve or any cracks or damage to the valve body. Test the fill valve by flushing the toilet and observing the water level in the tank as it refills.
7. Check the Water Supply Line
Inspect the water supply line that connects the toilet tank to the water supply valve on the wall. Look for any signs of leaks, such as water dripping or pooling around the connection points. Tighten any loose fittings or connections and replace any damaged or worn parts to prevent leaks.
8. Perform a Toilet Paper Test
To perform a toilet paper test, place a few sheets of toilet paper around the base of the toilet and along the back of the bowl where it meets the tank. Flush the toilet and wait a few minutes. If the toilet paper becomes wet or soggy, it indicates that water is leaking from the base or tank, signaling a faulty wax ring or tank-to-bowl gasket.
9. Check the Wax Ring
Inspect the wax ring seal between the base of the toilet and the flange on the floor. Look for any signs of water leakage or deterioration, such as water stains or soft spots on the flooring around the base of the toilet. A worn or damaged wax ring can cause water to leak from the base of the toilet, leading to potential water damage.
10. Test with a Water Meter
For a more accurate assessment of water usage and leaks, use a water meter to monitor water consumption in the toilet. Turn off all water sources in the home except for the toilet being tested. Record the water meter reading and wait for several hours without using the toilet. If the water meter reading increases during this time, it indicates that water is leaking from the toilet and requires further investigation.
Conclusion
In conclusion, accurately identifying and addressing toilet leaks is crucial in maintaining an efficient and cost-effective household. By following the steps outlined above, including thorough visual inspections, employing dye tablets, and checking various components such as the flapper, fill valve, and water supply line, you can pinpoint the root cause of any leak.
Timely repairs not only help conserve water but also prevent potential water damage to your home. Remember to document your findings and, if necessary, consult a professional plumber for more complex issues. Thanks for reading, and we hope this has given you some inspiration on how to test toilet for leaks!
