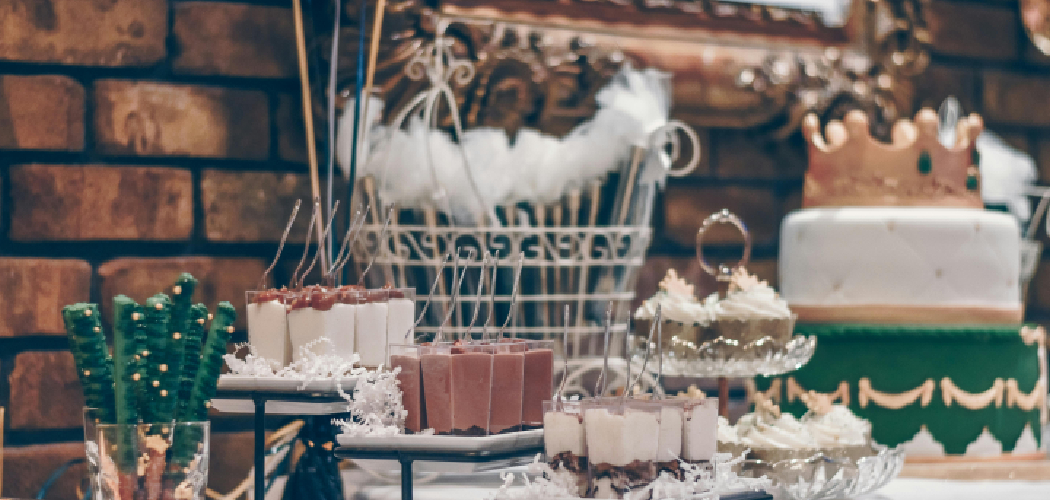
How to set up a dessert table can be both a fun and rewarding experience that adds a touch of elegance and charm to any event.
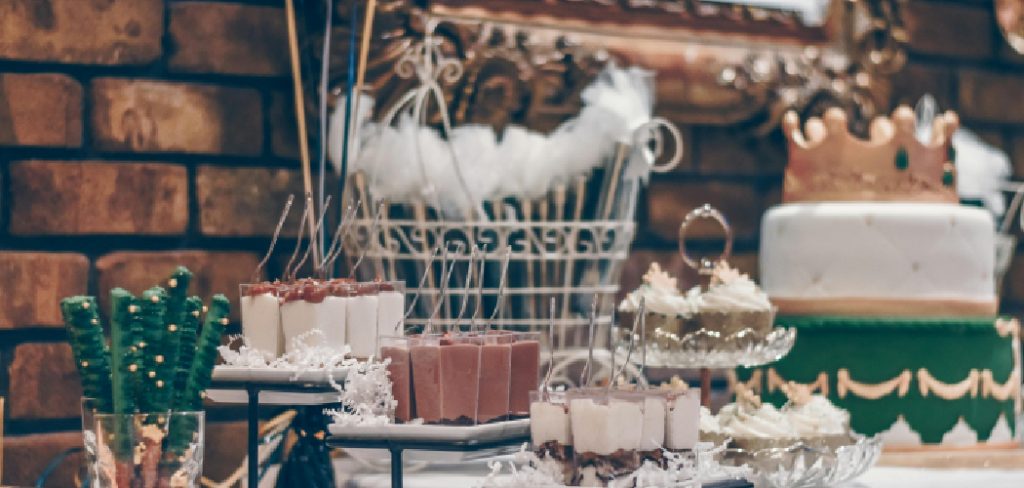
Whether you are planning a birthday party, wedding, or any social gathering, a well-arranged dessert table is sure to impress your guests and satisfy their sweet tooth. The key to a stunning dessert table lies in thoughtful planning, creativity, and attention to detail. Each step plays a crucial role in creating a visually appealing and delectable display, from selecting a theme and color scheme to choosing an assortment of sweet treats and decorative elements.
This guide will walk you through the essential steps to set up a dessert table that not only looks beautiful but also offers a delightful experience for your guests.
What Will You Need?
Before you start setting up your dessert table, it’s important to gather all the necessary items. Here is a list of essential elements that you will need:
- A Sturdy Table or Surface: Choose a stable and level surface that can support the weight of all your desserts.
- Tablecloth or Runner: Choose a color or pattern that complements your theme and adds visual interest to the table.
- Dessert Stands, Plates, and Platters: These are essential for displaying your treats at different heights and creating a visually appealing layout.
- Assortment of Desserts: Choose a variety of sweets such as cakes, cupcakes, cookies, chocolates, tarts, macarons, etc. that cater to different tastes and preferences.
- Serving Utensils: Provide enough serving spoons, tongs, and other utensils for guests to use when serving themselves.
- Napkins and Plates: Have plenty of these on hand for guests to use while enjoying their desserts.
- Decorative Elements: These can include flowers, candles, banners, or any other decorative items that fit your theme and add a touch of charm to the table.
- Signage or Labels: This is especially helpful if you have desserts with different flavors or dietary restrictions. Use signs or labels to inform guests about what each treat contains.
9 Easy Steps on How to Set Up a Dessert Table
Step 1. Choose a Theme and Color Scheme:
Choosing a theme and color scheme is the foundational step for setting up a dessert table. Your theme will guide all your subsequent decisions and ensure that the final display is cohesive and visually pleasing. You might already have a theme in mind based on the event—for instance, a rustic theme for a wedding, a whimsical theme for a child’s birthday party, or a minimalist modern theme for a corporate event.
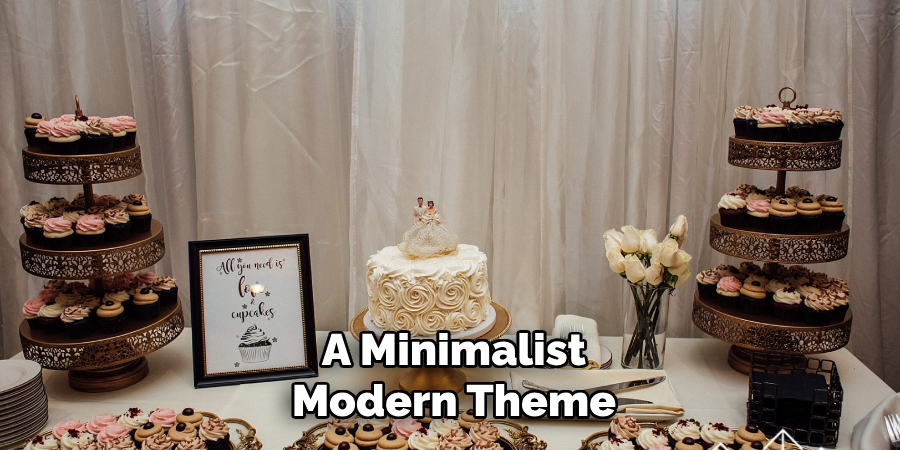
Consider the overall ambiance you want to create when selecting a color scheme. Soft pastels are perfect for a spring celebration, while bold, vibrant colors can energize a summer gathering. Neutral tones with a splash of metallic accents exude elegance and sophistication, often suitable for formal occasions.
Step 2. Select Your Desserts:
With your theme and color scheme in place, it’s time to choose the desserts that will be the stars of your table. Aim for a variety of treats that appeal to different tastes and preferences. Consider incorporating a mix of flavors, textures, and sizes to keep things interesting. Popular choices include cakes, cupcakes, cookies, macarons, tarts, cake pops, and chocolates.
When selecting desserts, think about the overall aesthetic you’re trying to achieve. Match the desserts to your color scheme by choosing icing colors, edible decorations, and display items that complement your theme. Additionally, consider dietary restrictions and offer options for guests with allergies or special dietary needs, such as gluten-free, vegan, or nut-free treats. Remember, the more variety you have, the more appealing your dessert table will be to a diverse crowd.
Step 3. Arrange Your Table:
Once you have chosen your desserts, it’s time to arrange your table. Start by laying out your tablecloth or runner to create a clean and elegant base. Next, place your dessert stands, plates, and platters on the table, keeping in mind the heights and visual balance. Use stands of varying heights to create an interesting and dynamic display. Taller items should be placed at the back, with shorter items towards the front, allowing all desserts to be easily seen and accessed.
Consider grouping similar types of desserts together, such as cakes with cakes and cookies with cookies. This not only makes it easier for guests to choose but also adds a cohesive look to the table. Leave enough space between each dessert to avoid overcrowding and to allow for easy serving. Finally, add your serving utensils, napkins, and plates in designated areas for convenience, ensuring guests can effortlessly help themselves with the delicious treats.

Step 4. Add Decorative Elements:
Decorative elements can elevate the look of your dessert table from simple to spectacular. Begin by selecting items that enhance your theme and color scheme. Fresh flowers, candles, and fairy lights can add a touch of elegance and warmth. Balloons, banners, and custom signage can inject a sense of fun and personalization. Arrange these decorations thoughtfully around your desserts, ensuring they complement rather than overshadow the treats. Use decorative trays, jars, and stands to add layers and interest. Remember, the key is balance—too many decorations can make the table look cluttered, whereas too few can make it appear sparse.
Step 5. Label Your Desserts:
Labeling your desserts serves both practical and aesthetic purposes. It helps guests easily identify each item and can also enhance the visual appeal of your table. Create small, elegant labels that match your theme using calligraphy or printed fonts. Place them in front of each dessert, ensuring they are legible and attractively designed. If you are offering desserts with dietary considerations, such as gluten-free or vegan options, clearly indicate this on the labels. This thoughtful touch will be greatly appreciated by guests with specific dietary needs.
Step 6. Incorporate Personal Touches:
Adding personal touches makes your dessert table unique and memorable. This could be customized dessert toppers, monogrammed napkins, or a signature dessert that has special meaning to you or the occasion. Consider incorporating elements of the couple’s story for a wedding, such as photos or mementos. Feature the guest of honor’s favorite desserts or color scheme for a birthday party. These small, personalized details will make your dessert table stand out and create a lasting impression on your guests.
Step 7. Ensure Easy Accessibility:
While arranging your table and decorations, always keep functionality in mind. Ensure that guests can easily reach and serve themselves the desserts without causing a disruption to the setup. Place frequently chosen items in easily accessible spots and consider the flow of movement around the table. Keep serving utensils within easy reach and position napkins and plates in an intuitive manner so guests can help themselves with ease.

Step 8. Monitor and Refill Your Table:
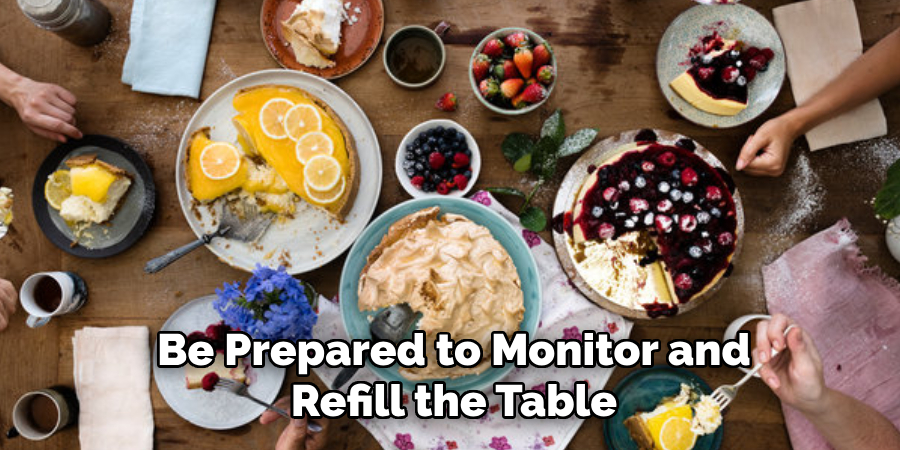
A beautifully set dessert table can quickly lose its appeal if it is not properly maintained throughout the event. Designate someone to periodically monitor the table, ensuring that it remains clean and orderly. As guests enjoy the treats, gaps and empty spaces will appear; these should be promptly refilled to keep the table looking abundant and inviting. Have extra batches of desserts ready to replace those that run out, and be prepared to move items around to maintain a balanced and attractive display. Additionally, keep an eye on the supply of napkins, plates, and utensils, replenishing them as needed.
Step 9. Capture the Moment:
After all the effort you’ve put into designing and arranging your dessert table, you’ll want to capture this masterpiece in photographs. Before guests arrive and start enjoying the treats, take a few moments to photograph the table from different angles. Consider taking close-up shots of individual desserts to highlight their intricate details and colors. These photos are not only great for sharing on social media but also serve as a wonderful keepsake for you and your guests. If possible, hire a professional photographer to ensure high-quality images that truly capture the elegance and effort of your setup.
By following these steps, you can create a stunning and inviting dessert table that will impress your guests and have them coming back for seconds.
5 Things You Should Avoid
- Overcrowding: Avoid cramming too many desserts onto your table. This can make it difficult for guests to see and access the treats and can also create a cluttered and unappealing look.
- Clashing Colors: While incorporating a variety of colors can add visual interest, be mindful of how they work together. Avoid using colors that clash or overwhelm the overall look of your dessert table.
- Overcomplicating: While showcasing elaborate and intricate desserts can be tempting, remember that simplicity can also be elegant. Avoid overcomplicating your table with too many decorative elements or difficult-to-serve desserts.
- Forgetting Dietary Needs: It is important to consider the dietary needs of your guests and offer options that cater to them. Avoid only featuring desserts that may not be suitable for everyone, and remember to clearly label any dietary considerations.
- Neglecting Maintenance: A beautifully set dessert table requires upkeep throughout the event. Avoid neglecting it, as gaps and empty spaces can quickly detract from the overall look. Be prepared to monitor and refill the table as needed and keep it clean and inviting throughout the event.
Conclusion
How to set up a dessert table involves careful planning and attention to detail.
By starting with a cohesive theme and adding elegant decorations, you can transform a simple table into a centerpiece that draws your guests’ attention. Labeling desserts thoughtfully and incorporating personal touches not only enhances the visual appeal but also adds meaning and individual flair. Ensuring easy access and maintaining the table throughout the event will keep it looking bountiful and neat while capturing photographs will allow you to cherish the memory of your beautiful setup.
Whether for a wedding, birthday, or any celebration, following these steps will help you craft a dessert table that’s both gorgeous and functional, ensuring a joyous and sweet experience for all.
