
A comfortable and stylish cushion can transform any rocking chair into a favorite spot for relaxation and contemplation. A well-fitted cushion enhances comfort and showcases personal style and taste. By learning how to sew a rocking chair cushion, you can create a custom piece that perfectly fits your chair, matches your preferred fabric, and reflects your unique design sense.
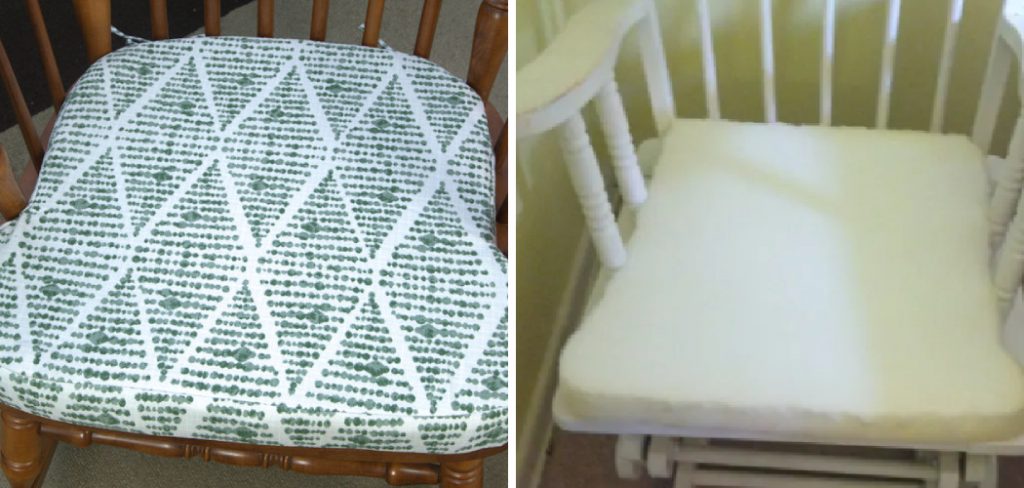
This DIY approach allows for a tailored fit, ensuring that the cushion stays in place and provides consistent comfort. Additionally, you can choose durable, washable fabrics to suit your lifestyle. The basic steps involved in sewing a rocking chair cushion include gathering materials and tools, measuring and cutting fabric and foam, sewing the cushion covers, adding ties or Velcro for attachment, and finally, assembling and installing the cushions. This process allows you to craft a bespoke cushion that enhances your rocking chair’s comfort and aesthetic.
Gathering Materials and Tools
- List of required materials:
- Fabric (amount depends on chair size and cushion thickness)
- High-density foam or pre-made cushion inserts
- Matching thread
- Zipper (optional, for removable cover)
- Velcro or fabric ties (optional for securing the cushion)
- Sewing machine
- Scissors or rotary cutter
- Measuring tape or ruler
- Pins or fabric clips
- Iron and ironing board
Choosing the right materials and tools is crucial for crafting a durable and comfortable rocking chair cushion. Start by selecting a high-quality fabric that is both durable and washable, ensuring it can withstand frequent use and remain easy to clean. High-density foam or pre-made cushion inserts provide the necessary support and comfort, making the cushion feel plush while retaining its shape over time. A matching thread will help blend the seams seamlessly with the fabric, enhancing the overall look of the cushion.
Optional additions such as a zipper can make the cover removable for easy washing, while Velcro or fabric ties offer practical solutions for securing the cushion to the chair. Essential tools include a sewing machine for efficient and precise stitching, scissors or a rotary cutter for cutting the fabric accurately, and a measuring tape or ruler for precise dimensions. Pins or fabric clips hold the fabric in place, making the sewing process smoother, while an iron and ironing board helps to create crisp seams and hems for a polished finish.
How to Sew a Rocking Chair Cushion: Measuring and Cutting the Fabric and Foam
Accurate measurements and precise cutting are essential to ensure your rocking chair cushion fits snugly and looks professionally made. Follow these step-by-step instructions for success:
Step-by-step Instructions for Measuring the Chair:
Measuring the Seat:
- Use a measuring tape to determine the width and depth of the seat area.
- It’s crucial to measure at the widest and deepest points to capture the full dimensions.
- Measuring the back:
- Measure the height and width of the chair’s backrest.
- Note any curves or angles in the backrest to factor them into your measurements.
- Deciding on cushion thickness:
- Comfortable cushions typically range between 2 and 3 inches in thickness. When deciding on the thickness, consider the overall aesthetic and functional needs.
- Calculating fabric dimensions:
- Adding seam allowances:
- Add a seam allowance of approximately 1/2 inch to all sides of each fabric piece to account for stitching.
- For example, if your cushion needs to be 20 inches by 20 inches, cut your fabric to be 21 inches by 21 inches.
- Cutting fabric:
- Cut two identical pieces of fabric for the seat cushion and two identical pieces for the back cushion.
- Lay the fabric flat, ensuring it is smooth and free of wrinkles before cutting.
Cutting Foam or Purchasing Pre-made Inserts:
- For foam:
- Use a marker to trace the seat and back dimensions onto the foam.
- Cut the foam using a sharp knife or an electric carving knife for clean edges. For pre-made inserts:
- Choose inserts that match the measured dimensions of your chair seat and back.
Tips for Accurate Measuring and Cutting:
- Ensure the chair is on an even surface when measuring.
- Double-check your measurements before cutting, as mistakes can result in ill-fitting covers.
- Use sharp scissors or a rotary cutter for clean fabric edges, resulting in a more professional finish.
How to Sew a Rocking Chair Cushion: Sewing the Cushion Covers
Preparing the Fabric Pieces:
Before starting sewing, prepare the fabric pieces by hemming the edges if desired. Hemming can prevent the fabric from fraying over time and enhance the durability of your cushion covers. To hem the edges:
- Fold the raw edge of the fabric over by 1/4 inch and press with an iron.
- Fold it over again by another 1/4 inch, press, and pin in place.
- Sew close to the folded edge with a straight stitch to secure the hem.
Sewing the Seat Cushion Cover:
Placing the Two Fabric Pieces Right Sides Together and Pinning Them:
- Lay the two pieces of fabric for the seat cushion with their right sides facing each other.
- Align the edges and pin them together, leaving one side open for inserting the foam.
Sewing Around the Edges, Leaving One Side Open:
- Use a sewing machine to sew a straight stitch around the pinned edges, maintaining a 1/2-inch seam allowance.
- Ensure you leave one side open to insert the foam later.
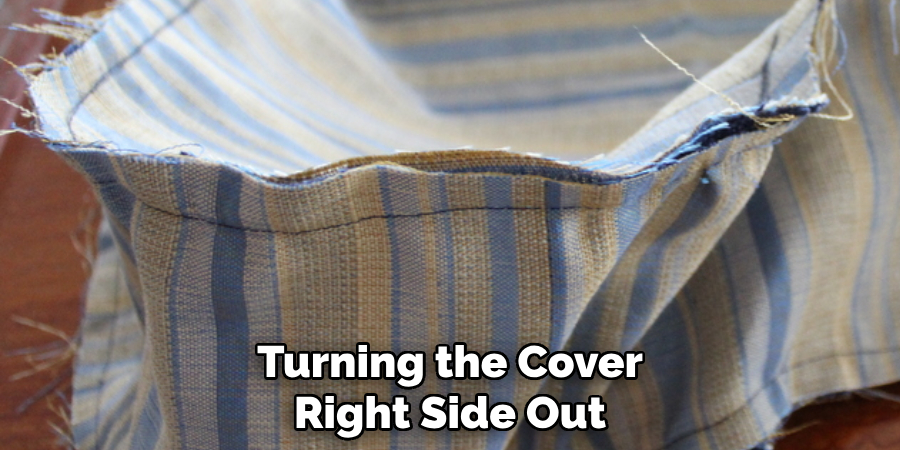
Clipping Corners and Turning the Cover Right Side Out:
- Clip the corners of the fabric at a diagonal angle to reduce bulk, being careful not to cut through the stitching.
- Turn the cushion cover right side out through the open side.
- Push out the corners gently with a blunt tool for a neat finish.
Inserting the Foam and Closing the Opening:
- Insert the foam into the cushion cover, ensuring it fits snugly and adjusts it as needed.
- To close the opening, either hand-stitch it using a ladder stitch or use a sewing machine to secure it shut.
Sewing the Back Cushion Cover:
Repeat the steps for the seat cushion cover for the back cushion. Ensure the fabric pieces are appropriately sized and follow the same process of pinning, sewing, clipping corners, turning right side out, inserting the foam, and closing the opening.
Optional Step: Adding a Zipper for Removable Covers:
- If you prefer a removable cover, add a zipper along one side of the cushion cover.
- Before sewing the other sides, place the zipper face down along the edge of one fabric piece.
- Sew the zipper in place using a zipper foot on your sewing machine, then attach the other side of the zipper to the corresponding fabric piece.
Tips for Achieving Neat Seams and Ensuring the Foam Fits Snugly Inside the Covers:
- Use straight pins or fabric clips to keep the fabric in place while sewing.
- Press your seams with an iron as you work to keep them flat and professional-looking.
- Take your time inserting the foam to avoid wrinkling the fabric.
- Ensure the seams are straight and even, which will help the cushion look neat and well-crafted.
By following these steps, you will create well-fitted and professional-looking cushion covers that enhance both the comfort and aesthetics of your rocking chair.
Adding Ties or Velcro for Attachment
Importance of Securing the Cushions to The Chair to Prevent Slipping:
Securing your cushions to the rocking chair is crucial to prevent them from shifting or slipping out of place. This enhances comfort and ensures safety, as loose cushions can be a tripping hazard. Properly attached cushions also maintain the aesthetic appeal of your rocking chair.

Step-By-Step Instructions for Adding Fabric Ties:
Cutting Strips of Fabric to Create Ties:
- Measure and cut four strips of fabric, each about 1 inch wide and 12 inches long, to create ties for each corner.
- Fold each strip in half lengthwise, with the right sides facing in.
- Sew along the long edge with a 1/4-inch seam allowance, then turn the strip right side out and press with an iron.
Sewing the Ties to the Corners of the Cushion Covers:
- Pin a fabric tie to each corner of the cushion cover, aligning the raw edge of the tie with the raw edge of the cushion cover.
- Sew the ties in place with a straight stitch, reinforcing the stitching by backstitching for extra durability.
Tying the Cushions Securely to the Rocking Chair:
- Position the cushion on the chair and tie each fabric strip around the chair’s frame, securing the ties with a bow or a knot.
Step-By-Step Instructions for Adding Velcro Strips:
Sewing One Side of the Velcro to the Cushion Cover and the Other Side to the Chair Frame:
- Cut four pairs of Velcro strips, each about 3 to 4 inches long.
- Sew one side of each Velcro strip to the back of the cushion cover, ensuring they are evenly spaced.
- Sew the corresponding Velcro strips to the chair frame at matching positions.
Pressing the Velcro Strips Together to Secure the Cushion:
- Position the cushion on the chair, aligning the Velcro strips on the cushion with those on the chair frame.
- Press the Velcro strips together firmly to secure the cushion in place.
Tips for Ensuring Ties or Velcro Are Securely Attached and Easily Adjustable:
- Reinforce the stitching on fabric ties and Velcro strips to ensure they are securely attached and can withstand regular use.
- Use high-quality Velcro with a strong adhesive backing for better durability.
- Ensure fabric ties are long enough to be easily tied and adjustable as needed.
- Double-check that Velcro strips align correctly to maintain a neat and secure attachment.
Assembling and Installing the Cushions
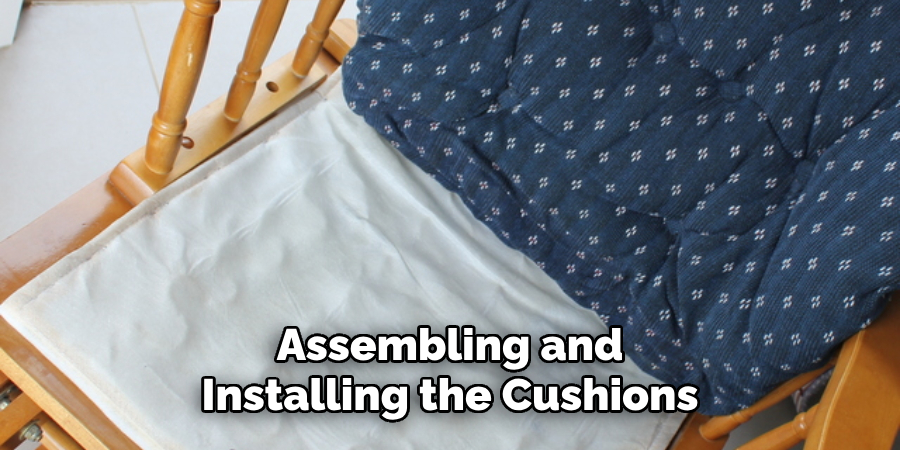
Ensuring the Foam Is Properly Inserted and The Covers Are Securely Closed:
Before assembling and installing the cushions, ensure the foam is properly inserted into each cover. The foam should fit snugly without any wrinkles or gaps, and the covers should be securely closed using either a ladder stitch or a sewing machine for stitched openings or zippers if opted for removable covers.
Step-By-Step Instructions for Assembling the Cushions:
Placing the Seat Cushion on the Chair Seat:
- Position the seat cushion on the chair seat, ensuring it lays flat and evenly distributes across the surface.
- Adjust the corners and edges of the cushion to fit the seat contours perfectly.
Aligning and Attaching the Ties or Velcro Strips to Secure the Cushion:
- If you are using fabric ties, bring the ties around the seat frame and secure them with a firm knot or bow, ensuring they are tight enough to hold the cushion in place but not too tight to restrict movement.
- For Velcro strips, align the Velcro on the cushion with the corresponding Velcro on the chair frame. Press the strips together firmly to ensure a secure attachment.
Placing the Back Cushion Against the Chair Back and Securing It:
- Position the back cushion against the chair’s backrest, aligning it accurately with the seat cushion.
- If using ties, wrap them around the backrest frame and secure them with knots or bows. For Velcro, align and press the strips together firmly.
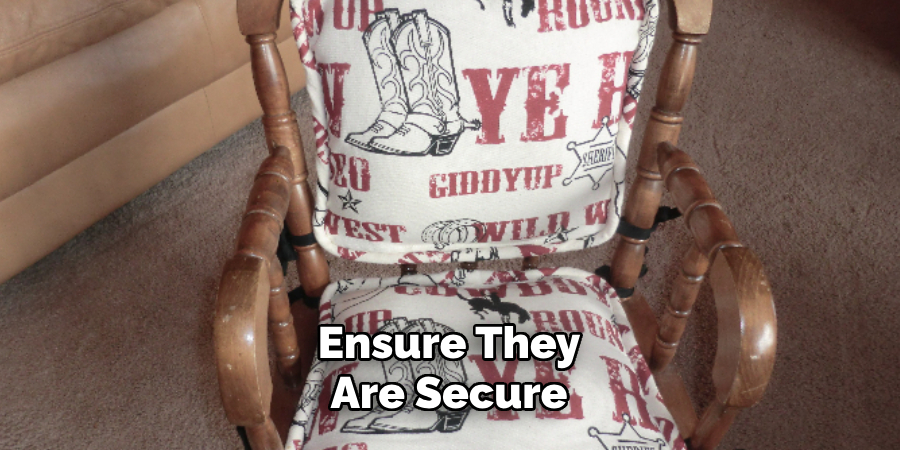
Tips for Making Adjustments to Ensure a Snug, Comfortable Fit:
- Check all attachments to ensure they are secure and that the cushions do not shift when you sit.
- Adjust the ties or Velcro if needed to improve fit and comfort.
- Smooth out any wrinkles in the fabric to enhance the appearance and comfort.
- Ensure the positioning allows for a natural and comfortable seating posture.
Conclusion
Creating a custom cushion for your rocking chair involves several key steps. Start by gathering all necessary materials and tools, ensuring you have everything from fabric and filling to sewing equipment. Measure and cut the fabric precisely to fit the chair’s dimensions. Next, sew the covers, incorporating any desired decorative elements like piping or embroidery. Attach ties or Velcro strips to secure the cushions to the chair. Finally, assemble the cushions, ensuring they are securely fastened and fit snugly.
The satisfaction of crafting a custom cushion that enhances both comfort and style cannot be overstated. The opportunity to choose your fabrics and designs allows for a unique and personalized creation that fits your aesthetic and improves the functionality of your rocking chair. Don’t hesitate to experiment with different fabrics and designs to create a cushion that truly reflects your taste. Remember, mastering “how to sew a rocking chair cushion” can transform your seating experience and contribute to a personalized home décor.
You can also check it out to Open Floor Outlet Cover