Are you looking for an effective way to clean wooden toys and keep them looking like new ones? If so, then this post is perfect for you! Today’s article will discuss the best methods for washing wooden toys safely and effectively.
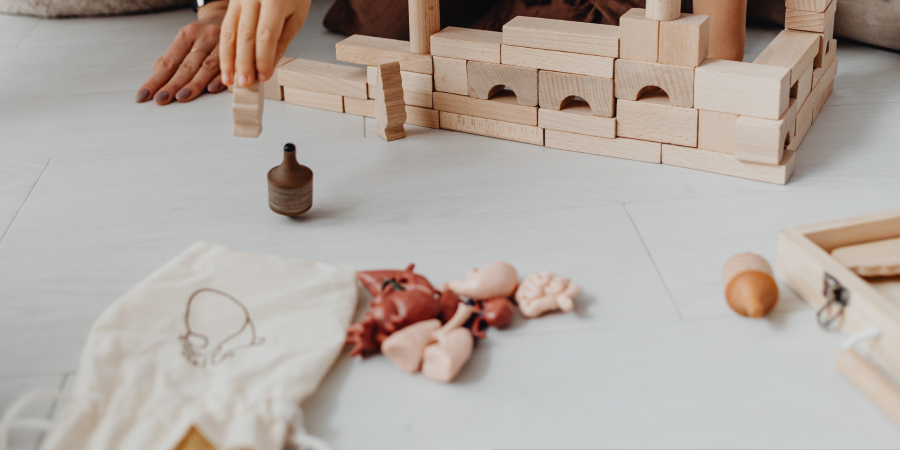
Wooden toys can be a great addition to your child’s toy collection. They are durable, long-lasting, and provide endless opportunities for imaginative play.
From pre-treatments to drying techniques, we have all the information needed to help you keep these special items in excellent condition, plus advice on how to wash wooden toys. Whatever kind of play item your child has—from traditional stacking blocks to intricate dollhouses—we can help restore them to their original glory. So take a deep breath, roll up your shirt sleeves, and let’s dive right in!
What Will You Need?
Before we get started, gather the following items:
- A large bowl or bucket
- Mild soap (such as baby shampoo)
- Clean cloths or sponges
- A soft-bristle brush/toothbrush
- Water (warm)
Once you have all of these items ready, we can begin.
10 Easy Steps on How to Wash Wooden Toys
Step 1. Preparation:
Begin by removing loose dirt or debris from the toy using a dry cloth or soft-bristle brush. This will help the cleaning process and prevent the dirt from spreading further onto the toy during washing. If the toy has stubborn dirt or grime, gently scrape it off using a dull knife.
Step 2. Soak and Scrub:
Next, fill your bowl or bucket with warm water and add some mild soap. Mix until it forms a soapy solution. Place the toy into the solution and let it soak for a few minutes. This helps to loosen any remaining dirt or grime stuck on the surface.
After soaking, gently scrub the toy with a cloth, sponge, or soft-bristle brush. Pay attention to crevices and corners where dirt can hide. Remember, you don’t want to submerge wooden toys fully as they can warp and crack. Just clean the surface as best you can.
Step 3. Rinse:
After scrubbing, it’s time to rinse off the soap. Using warm water, carefully rinse the surface of the wooden toy. Make sure all the soap is completely rinsed off to avoid any residue, which could potentially harm the wood or make it sticky. You can use a clean, damp cloth to help remove any remaining soap. Just like in the soaking step, avoid submerging the toy completely to prevent water damage.
Step 4. Dry:
Once all the soap has been rinsed off, it’s critical to dry the toy immediately to prevent water from soaking into the wood and causing damage. Use a clean towel to pat dry the wooden toy, making sure to reach all crevices and corners. You may leave it to air dry for a while, but remember – never leave a wooden toy to dry near a heat source like a radiator, as this can cause the wood to crack.
Step 5. Sanitize:
Post drying, the next step is to sanitize the toy. This is especially important if your child tends to put toys in their mouth or if the toy has been shared with other children. To sanitize, prepare a solution of equal parts white vinegar and water.
Dampen a cloth with the vinegar solution and wipe the toy thoroughly. Vinegar is a safe, natural disinfectant that effectively kills germs without damaging the wood.
Step 6. Rinse Again:
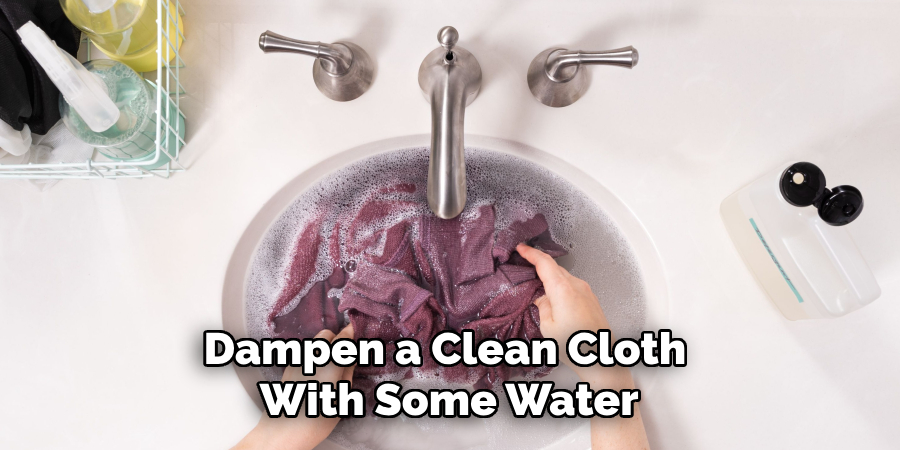
After sanitizing the toy, it’s crucial to rinse off the vinegar solution to avoid leaving any residue that might give the toy a sour smell. Dampen a clean cloth with some water and thoroughly wipe the toy. It’s essential to ensure no vinegar solution is left on the toy, as this can affect the wood’s finish and potentially irritate your child.
Step 7. Final Drying:
Once the vinegar solution is completely rinsed off, it’s time to dry the toy again. As before, you should pat dry the toy with a clean, dry cloth or towel, making sure to reach all nooks and crannies. You can then leave the toy to air dry but away from direct heat sources.
Step 8. Check for Damage:
After the toy is dry, take a moment to check it over for any signs of damage. Water and cleaning can sometimes cause paint to chip or wood to crack. If you notice any such issues, it might be time to retire the toy or seek professional repair if it’s a particularly cherished item.
Step 9. Re-oil (If Necessary):
Some wooden toys might need a fresh coat of oil after cleaning, especially if they have lost some of their shine. If required, use a cloth to apply a small amount of baby-safe mineral oil or beeswax, then wipe off any excess. This will help to protect the wood and keep it looking beautiful. Remember, this step should only be undertaken if the manufacturer’s instructions recommend it.
Step 10. Play Time:
Now that the toy is clean and dry, it’s ready to be played again. After this thorough cleaning process, you can rest assured that your child’s wooden toys are safe, clean, and ready for many more hours of imaginative play. Be careful to store the toy in a clean, dry place after playtime to prevent it from getting dirty again.
5 Additional Tips and Tricks
Tip 1. Regular Cleaning:
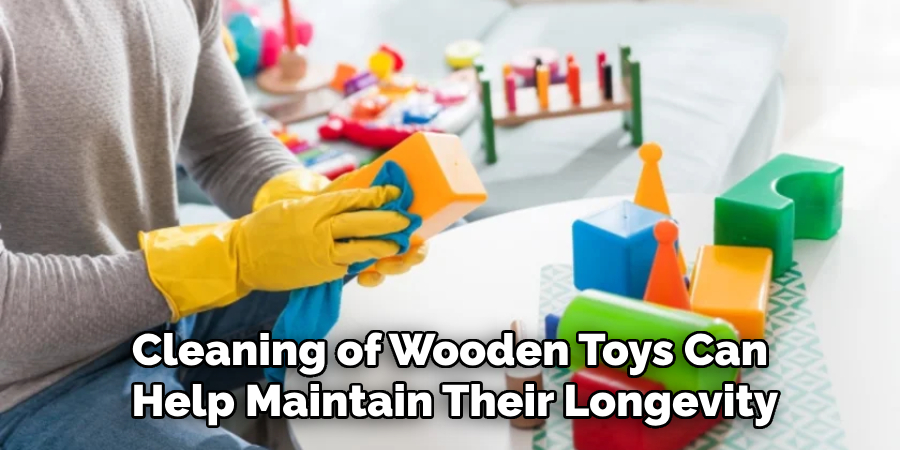
Regular cleaning of wooden toys can help maintain their longevity. Aim to clean these toys once a month or more frequently if they are heavily used or have been outdoors.
Tip 2. Use Non-Toxic Products:
Some cleaning products can be harmful to your child and the environment. Use mild, non-toxic soaps and natural disinfectants like vinegar to ensure a safe and healthy playtime.
Tip 3. Avoid Harsh Chemicals:
Avoid using harsh chemicals, such as bleach, on wooden toys. These can strip away the natural oils and damage the wood.
Tip 4. Wash Stuffed Toys Separately:
If your child’s wooden toy has fabric or stuffed parts, it’s best to wash these separately, following the manufacturer’s instructions to avoid damaging the fabric.
Tip 5. Seek Professional Help:
If your child’s wooden toy is particularly delicate, handcrafted, or has sentimental value, it might be best to seek professional help for cleaning and repairs. This will ensure the toy is cleaned without causing any damage.
By following these steps and tips, you can keep your child’s wooden toys clean, safe, and ready for hours of imaginative playtime
5 Things You Should Avoid
1. Oversoaking: Avoid soaking wooden toys in water for extended periods. Oversoaking can lead to swelling, warping, or cracking of the wooden materials.
2. Using Abrasive Tools: Never use abrasive scrubbing tools like steel wool on wooden toys, as they can scratch and damage the surface of the wood.
3. Delayed Drying: Immediately dry your wooden toys after cleaning. Leaving them wet can cause the wood to warp and degrade.
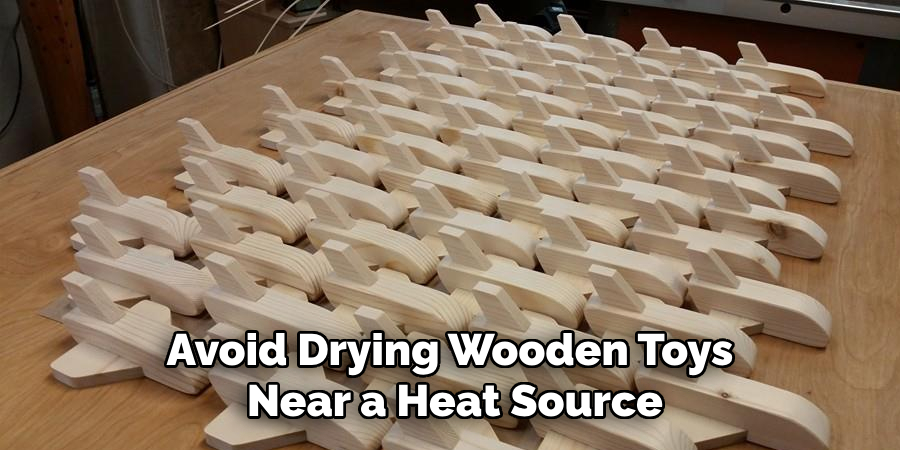
4. Exposure to Direct Heat: Avoid drying wooden toys near a heat source such as a heater or direct sunlight, as it can cause the wood to dry out and crack.
5. Disregarding Manufacturer’s Instructions: Always follow the manufacturer’s cleaning instructions. Some wooden toys may have specific cleaning methods or products to avoid, which, if not adhered to, could damage the toy or pose a risk to your child’s safety.
By avoiding these common mistakes, you can ensure that your child’s wooden toys remain in good condition and last for years. So next time your little one’s favorite wooden toy needs cleaning, follow these steps and tips for safely and effectively washing wooden toys.
When to Replace Wooden Toys
Wooden toys are generally durable and can last for years with proper care. However, there may come a time when it’s necessary to replace them. Here are some signs that indicate it may be time to retire your child’s wooden toy:
- The wood is cracked or splintered, posing a safety hazard.
- The paint is chipping or peeling off, revealing bare wood.
- The toy has been exposed to water for a prolonged period and shows signs of warping or swelling.
- The wood feels dry, brittle, or rough to the touch.
If you notice any of these signs, replacing the toy with a new one is best to ensure your child’s safety and enjoyment.
Conclusion
To sum up, cleaning and sanitizing wooden toys often is important for keeping them in great condition and helping them last even longer. Use the right cleaning products and methods, like mild soap, warm water, and a soft cloth or brush. It’s also important to regularly check your wooden toys for any signs of wear or damage before giving them to your kids so they don’t get hurt.
Regular cleaning and maintenance allow your little ones to enjoy their favorite wooden toys for many years!
Hopefully, the article on how to wash wooden toys has provided you with the information and tips to keep your child’s toys clean and safe. Share this article with other parents who may also find it useful! Thank you for reading.
