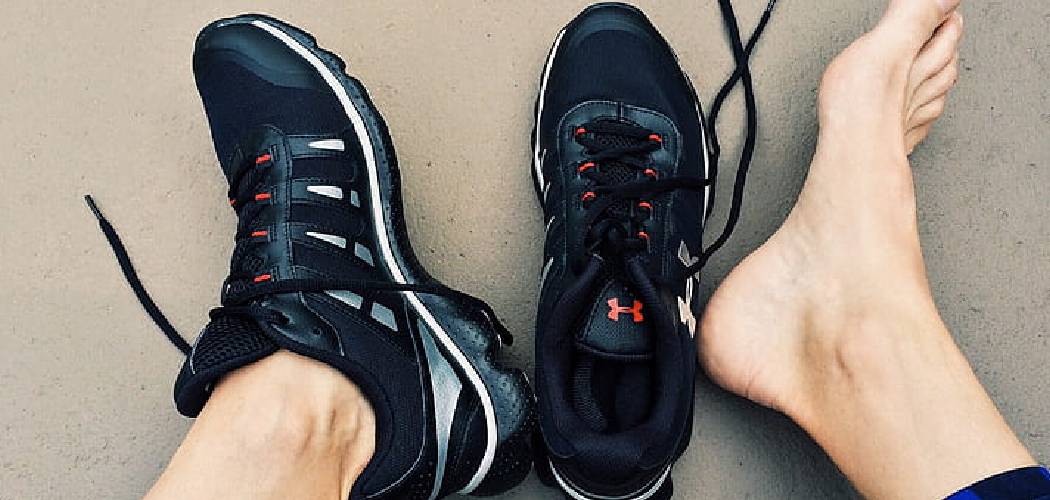
Washing your Under Armour shoes doesn’t have to be a daunting task anymore. Whether you want them spick and span for a special event or simply need to restore their good-as-new look, it’s easier than ever with some simple tips.
In this blog post, we’ll share the best methods on how to wash Under Armour shoes effectively while preserving their quality and maximizing their lifespan.
Don’t worry if you’re worried about ruining or discoloring them – our advice will help keep your favorites looking great wear after wear! Read on for expert insights into how to clean those hardworking UA kicks the right way.
What Are Armour Shoes?
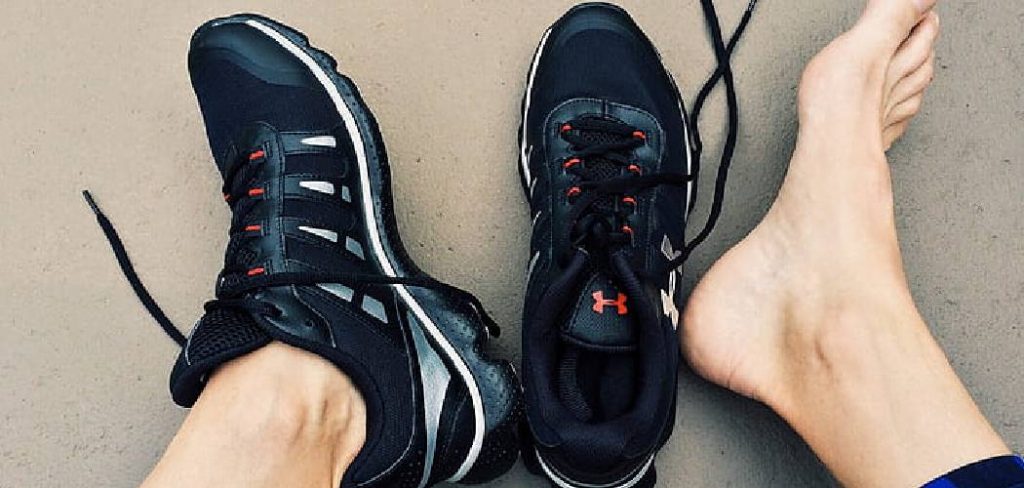
Before we dive into the actual cleaning process, let’s first understand what Under Armour shoes are. These athletic footwear are designed to provide maximum comfort and support during workouts, sports activities or everyday wear.
They come in a variety of styles, including running shoes, training shoes, basketball shoes and more. Their signature lightweight and breathable material makes them a popular choice among athletes and fitness enthusiasts.
Why Is It Important to Wash Your Under Armour Shoes?
Like any other pair of shoes, Under Armour shoes are exposed to dirt, sweat and bacteria on a daily basis. Over time, these elements can cause unpleasant odors, discoloration and even deterioration of the shoe’s material. Therefore, it’s crucial to clean your UA kicks regularly to maintain their appearance, hygiene and functionality.
Needed Materials
Given that Under Armour shoes are typically made of mesh or synthetic materials, you’ll need gentle cleansers and soft tools to clean them. Here’s a list of the necessary items:
- A Large Bowl or Bucket
- Mild Detergent or Dish Soap
- Soft-bristled Brush or Toothbrush
- Clean Cloth
- Water (Preferably Warm)
10 Step-by-step Guidelines on How to Wash Under Armour Shoes
Step 1: Prepare the Cleaning Solution
Mix a small amount of mild detergent or dish soap with warm water in a large bowl or bucket. If you’re using a concentrated detergent, make sure to dilute it as per the instructions on the label.
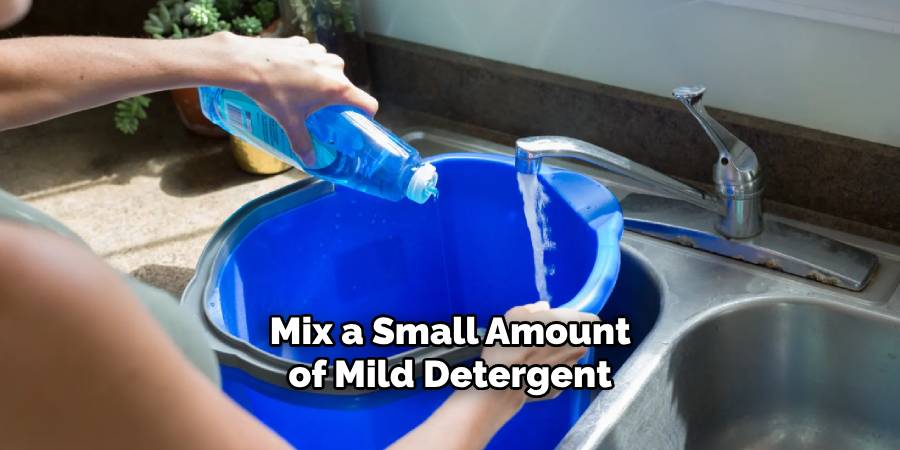
It’s important to use a mild cleanser to avoid damaging the shoe’s material. But, if you have a stain that is difficult to remove, you may use a designated stain remover instead.
Step 2: Remove the Insoles
Take out the insoles from your Under Armour shoes and set them aside. These inserts can be washed separately with mild detergent and water. However, make sure to rinse them thoroughly and let them dry completely before placing them back It’s advisable to replace worn-out insoles with new ones for maximum comfort and support.
Step 3: Remove the Laces
Untie and remove the laces from your UA shoes. If you’re planning on washing them, place them in a mesh laundry bag or pillowcase to prevent tangling in the washer. Otherwise, you can hand wash them separately using mild detergent and water.
Rinse thoroughly and let them air dry. It’s recommended to replace old or frayed laces for a fresh and secure fit.
Step 4: Brush off Loose Dirt and Debris
Before immersing your Under Armour shoes in the cleaning solution, use a soft-bristled brush or toothbrush to remove any loose dirt and debris. This will prevent them from further staining the shoe’s surface while washing. It’s important to use a gentle hand to avoid damaging the shoe’s material.
Step 5: Soak Your Under Armour Shoes
Place your UA shoes in the cleaning solution, making sure they are fully submerged. Let them soak for about 10-15 minutes to loosen any tough grime and stains. However, avoid soaking them for too long as it may fade their color.
You may also add a small amount of baking soda to the solution for extra stain-fighting power. It’s important to use a large enough container to prevent overcrowding and to allow the shoes to soak evenly.
Step 6: Scrub Gently
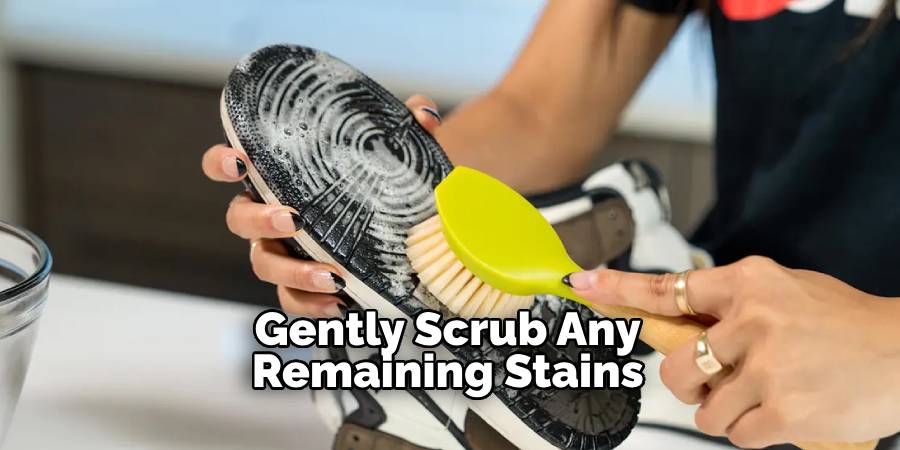
After soaking, take your soft-bristled brush or toothbrush and gently scrub any remaining stains. Use circular motions for best results. You may also use a small amount of detergent directly on the brush for tough spots.
However, avoid using harsh chemicals or bleach as they can damage the shoe’s material. This step may require some patience, but it’s essential to remove all dirt and stains properly.
Step 7: Rinse Thoroughly
Once you’re satisfied with the cleaning, rinse your Under Armour shoes thoroughly with clean water. Make sure to remove all traces of soap or detergent as they can leave a residue and cause discoloration.
You may also fill a second bucket with clean water and dip the shoes in it for a final rinse. It’s crucial to rinse multiple times if you’ve used baking soda or any other cleaning agents. This step is crucial in maintaining the shoe’s quality.
Step 8: Remove Excess Water
After rinsing, gently squeeze out any excess water from your UA shoes. Avoid wringing them as it can damage their shape and material. It’s advisable to blot them with a clean towel or cloth to soak up as much water as possible.
You may repeat this process until the shoes are no longer dripping wet. But, don’t let them completely dry before moving on to the next step. It’s essential to clean them while they’re still damp.
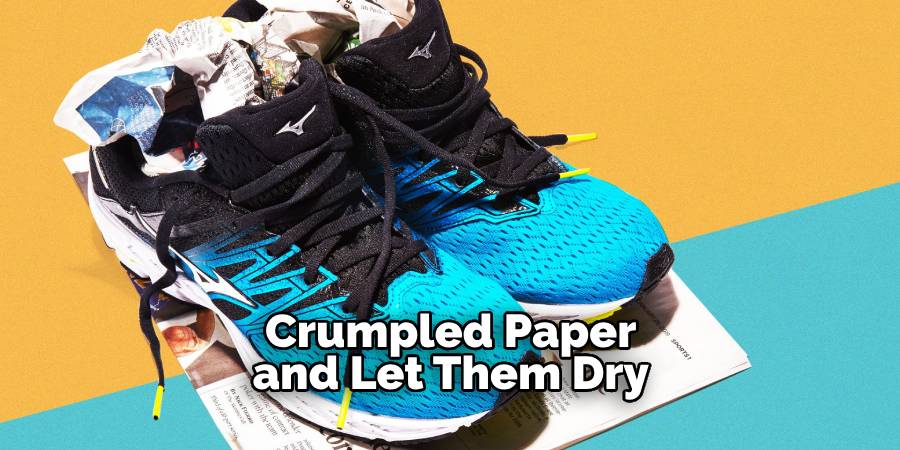
Step 9: Dry Them Naturally
Avoid drying your Under Armour shoes in direct sunlight or using any artificial heat source as it can damage their material. Instead, stuff them with clean towels or crumpled paper to help absorb moisture and keep their shape intact. Place them in a well-ventilated area and let them air dry naturally.
Don’t try to speed up the drying process as it may cause shrinkage or deformation. It’s important to let them dry completely before wearing them.
Step 10: Re-Lace and Wear
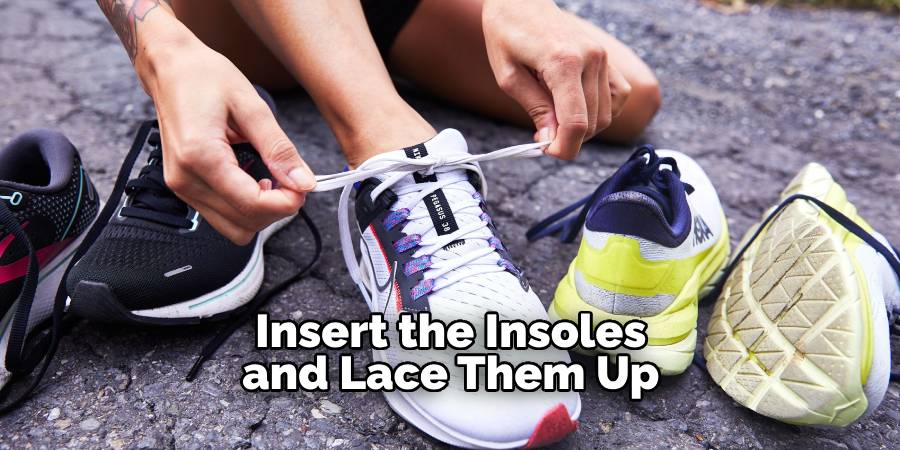
Once your UA shoes are completely dry, insert the insoles and lace them up with clean laces. Your Under Armour shoes should now look and feel fresh, clean and ready for your next workout or activity. It’s recommended to clean them regularly, especially after intense workouts or outdoor activities, to maintain their quality and durability.
Following these simple steps will not only help you clean your Under Armour shoes properly, but it will also extend their lifespan and save you from the hassle of buying new ones frequently.
Remember to be gentle and patient while cleaning them, as these shoes deserve proper care and maintenance for them to perform well in the long run. Now that you know how to wash Under Armour shoes, say goodbye to dirty and smelly shoes and hello to clean and fresh ones! So, lace up your clean UA shoes and get ready to conquer your next workout.
Frequently Asked Questions
Q1. Can I Wash My Under Armour Shoes in the Washing Machine?
A1. It’s not recommended to wash your Under Armour shoes in the washing machine as it can damage their material and affect their performance. Hand washing is a gentler and safer method. It’s also important to use a mild detergent and avoid harsh chemicals or bleach.
Q2. How Often Should I Wash My Under Armour Shoes?
A2. It’s recommended to clean your UA shoes regularly, especially after intense workouts or outdoor activities. However, if they’re not visibly dirty or smelly, you can spot-clean them with a damp cloth and let them air dry instead of washing them fully.
Q3. Can I Use a Different Cleaning Solution to Wash My Under Armour Shoes?
A3. It’s best to stick with mild detergent and water when cleaning your UA shoes. However, if you’re dealing with tough stains, you can add a small amount of baking soda or white vinegar to the solution for extra stain-fighting power. Avoid using harsh chemicals or bleach as they can damage the shoe’s material.
Q4. Can I Put My Under Armour Shoes in the Dryer?
A4. No, you should never put your UA shoes in the dryer as it can damage their material and affect their shape. It’s important to let them air dry naturally and avoid using any artificial heat sources.
So, stuff them with clean towels or crumpled paper and let them dry in a well-ventilated area. So, lace up your clean UA shoes and get ready to conquer your next workout! So, lace up your clean UA shoes and get ready to conquer your next workout!
Conclusion
In conclusion, washing your Under Armour shoes doesn’t have to be a complicated process. By following the simple steps provided in this article, you’ll be back to lacing up and running in no time! It’s important to remember that the frequency with which you need to wash your shoes will depend on how often you use them and for what activities.
If you take care of your shoes not only by cleaning them regularly but also storing them properly when they’re not in use, then they should last for years to come. Now, don’t just stand there—get going! Show off those spotless kicks and keep racking up those miles. Thanks for reading this article on how to wash under armour shoes.