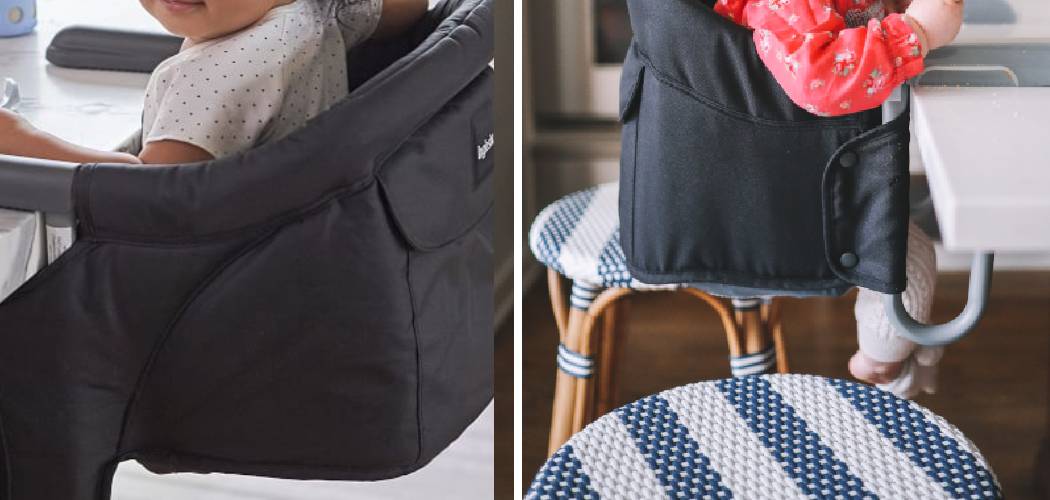
Are your Inglesina chairs looking a little worse for wear? Don’t worry – it’s easy to get them looking like new again with just a few simple cleaning steps!
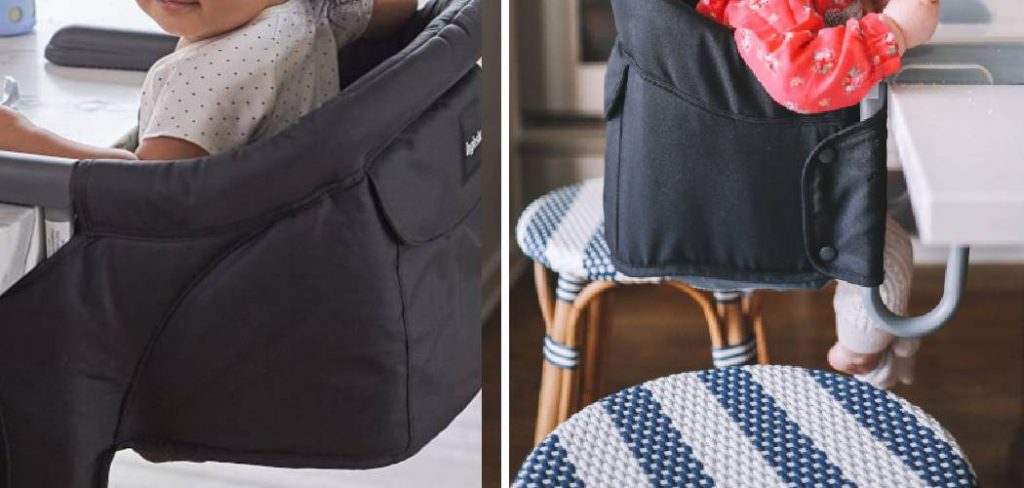
Inglesina chair is a popular brand of high chairs that are known for their durability and style. However, like any other piece of furniture, they can get dirty over time. In addition, with babies or toddlers using them daily, food spills and stains are inevitable.
In this blog, we’ll go through the process of how to wash inglesina chair from top to bottom so you can be sure that your kids are sitting in immaculate and hygienic seats. We’ve included helpful tips on what materials to use and how to approach each section of the chair so you can have confidence that every inch is sparkling clean. Let’s get started!
What Will You Need?
- Warm water
- Mild soap or dishwashing liquid
- Soft cloth or sponge
- Old toothbrush (optional)
- A damp cloth for wiping and drying
Once you have gathered these materials, you’re ready to start cleaning your Inglesina chair.
10 Easy Steps on How to Wash Inglesina Chair
Step 1. Remove the Fabric Cover:
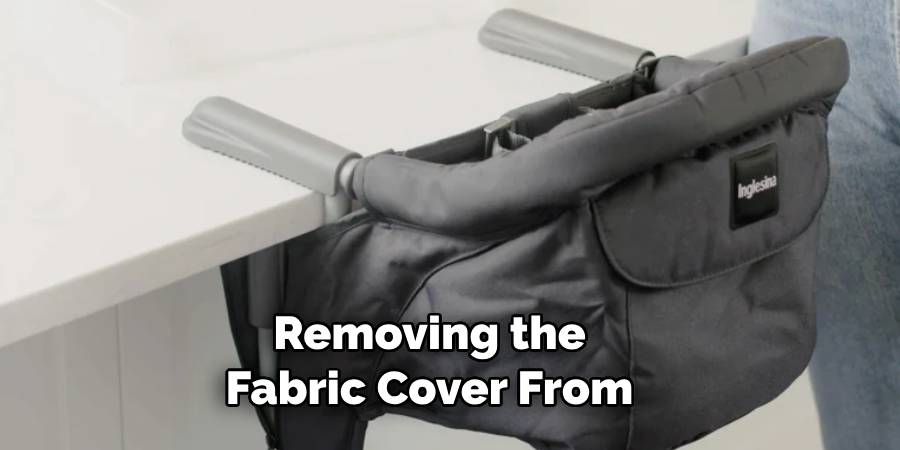
Begin by removing the fabric cover from the chair. Most Inglesina chair covers are removable for easy cleaning. Please consult your manual for specific instructions on how to do this. Be careful not to damage the fabric while removing it.
Step 2. Hand Wash the Fabric Cover:
After removing the cover, submerge it in a basin of warm water mixed with a few drops of mild soap or dishwashing liquid. Using your hands or a soft cloth, gently scrub the fabric, paying special attention to any stained spots.
If the stains are stubborn, an old toothbrush can be used for a more focused scrubbing. Once clean, thoroughly rinse the cover to remove all soap residues. Follow the care label on the fabric for specific washing instructions.
Step 3. Dry the Fabric Cover:
After thoroughly rinsing the fabric cover, gently squeeze out any excess water. Do not wring the fabric as it may cause stretching or damage. Then, lay the cover flat or hang it up to air dry.
Avoid exposing it to direct sunlight as it may cause the color to fade. Ensure the cover is completely dry before reattaching it to the chair. If needed, a cool iron can be used to smooth out any wrinkles.
Step 4. Clean the Frame:
While the fabric cover is drying, take this time to clean the chair’s frame. Dip a soft cloth or sponge into warm, soapy water and gently wipe down the entire frame. For tight corners and crevices where food crumbs and dirt can accumulate, use an old toothbrush to scrub these areas clean.
After scrubbing, rinse the frame with a damp cloth to remove soap residues, then wipe it dry. Ensure all parts of the chair are completely dry to prevent rusting or mold growth.
Step 5. Clean the Tray:
The tray of the Inglesina chair often encounters the most spills and stains. Remove the tray from the chair if possible. Then, use a sponge or cloth dipped in warm, soapy water to scrub the tray, ensuring it reaches all corners and crevices.
If there are stubborn food stains, gently scrub them with an old toothbrush. Once the tray is clean, rinse it with warm water to remove any soap residue, then wipe it dry. Ensure the tray is completely dry before reattaching it to the chair to prevent mold or mildew growth.
Step 6. Check the Belts and Buckles:
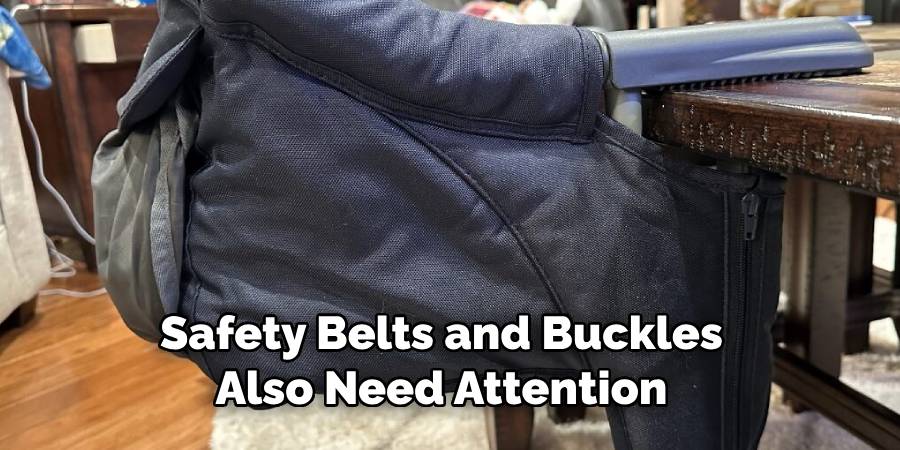
The safety belts and buckles also need attention. Use a damp cloth with a little soap to wipe over the belts, addressing any areas where food or liquid may have spilled. For stubborn stains, an old toothbrush can be very effective.
Rinse the soap off thoroughly and let the belts air dry completely before using the chair again. Remember to clean the buckles, using a cloth for the surface and a toothbrush for any crevices. Always ensure the buckles are functioning properly after cleaning.
Step 7. Reassemble the Chair:
Once all parts of the Inglesina chair are thoroughly cleaned and completely dry, you can start to reassemble the chair. Begin by attaching the fabric cover back onto the frame.
Make sure it’s securely fastened and that there are no loose edges. Next, reattach the tray and ensure it glides smoothly and locks into place properly. Finally, reattach the belts and buckles, ensuring they click into place securely and function correctly.
Step 8. Final Checks:
After reassembly, examine the chair thoroughly. Ensure all components are fixed securely and the fabric fits snugly around the frame. The tray should slide and lock into place smoothly.
The safety belts and buckles need to be working properly and securely fastened. If all these conditions are met, your Inglesina chair is now clean and ready for use. Regular cleaning will prolong the chair’s life and provide your little one with a safe and hygienic environment.
Step 9. Establish a Routine Cleaning Schedule:
Establish a routine cleaning schedule to keep your Inglesina chair in optimal condition. Daily wipe-downs with a damp cloth can help manage spills and prevent stains from setting.
For a more thorough cleaning, aim to disassemble and deep-clean the chair at least once every two months or more often if your child uses the chair frequently or if there are visible stains or spills. Regular maintenance ensures the chair’s longevity and maintains a hygienic environment for your child.
Step 10. Store Properly:
When the Inglesina chair is not in use, especially for an extended period, store it properly to maintain its cleanliness and extend its lifespan. Store the chair in a cool and dry environment to prevent mold and mildew growth. Cover it with a protective cover to shield it from dust and dirt. By following these steps, you can ensure that your Inglesina chair is ready whenever needed.
You can effectively and safely clean your Inglesina chair by following these ten easy steps. Regular maintenance and cleaning will not only prolong the life of your chair but also provide a safe and hygienic environment for your child.
5 Additional Tips and Tricks
- Spot Cleaning: If your Inglesina chair has minor stains, spot cleaning can be an effective method. Use a mild detergent mixed with water and a soft cloth to scrub the stain gently.
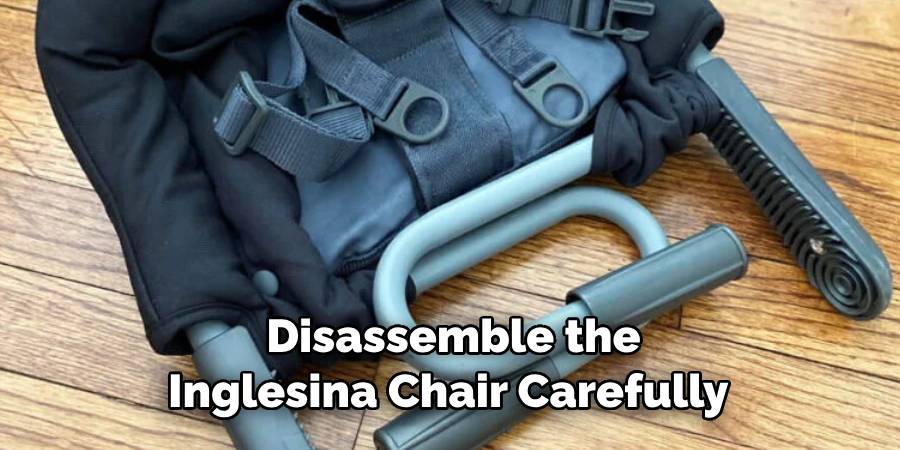
- Disassembling the Chair: Before washing, make sure to disassemble the Inglesina chair carefully. Take note of the arrangement of the parts for easy reassembly.
- Machine Wash: The fabric parts of the chair are machine washable. Use a gentle cycle and cold water to prevent damage. Avoid using bleach or fabric softeners, as they can degrade the fabrics.
- Air Dry: Once washed, let the fabric parts of the chair air dry. Avoid putting them in the dryer, as high heat can shrink or warp the material.
- Regular Maintenance: Regularly wipe down the chair with a damp cloth to prevent the build-up of dirt and stains. This can extend the life of the chair and keep it looking its best.
With these additional tips and tricks, your Inglesina chair will stay clean and well-maintained for years to come.
5 Things You Should Avoid
- Avoid Harsh Chemicals: Using harsh chemicals or abrasive cleaners on your Inglesina chair can cause serious damage to the fabric and frame. Always opt for mild detergents and soft cloths for cleaning.
- Avoid Soaking the Frame: The frame of the Inglesina chair should not be soaked in water, as it can cause rusting and damage to the mechanical parts. Clean it with a damp cloth and dry it immediately.
- Avoid Ironing: Ironing the fabric parts of the chair can potentially burn or warp the material. After washing, allow the fabric to air dry naturally.
- Avoid Direct Sunlight: Although the fabric should be air dried, avoid leaving it in direct sunlight for extended periods as it can cause fading or discoloration.
- Avoid Neglecting Regular Maintenance: Postponing or ignoring regular maintenance can lead to a build-up of dirt and stains, which might become harder to remove over time. Regular cleaning extends the life and maintains the aesthetics of the chair.
By avoiding these common mistakes, you can ensure your Inglesina chair remains in excellent condition for years.
How Long Can You Use Inglesina?

The Inglesina chair is designed to be used from 6 months up to 37 pounds, making it suitable for infants and toddlers. However, proper maintenance and care can extend its lifespan and allow you to use it for future children or even pass it on to someone else in need.
Additionally, the chair is lightweight and portable, making it a convenient option for traveling or using in multiple areas of your home. With its versatile design and durable construction, the Inglesina chair can be a long-term investment for your family’s needs.
Is the Inglesina High Chair Safe?
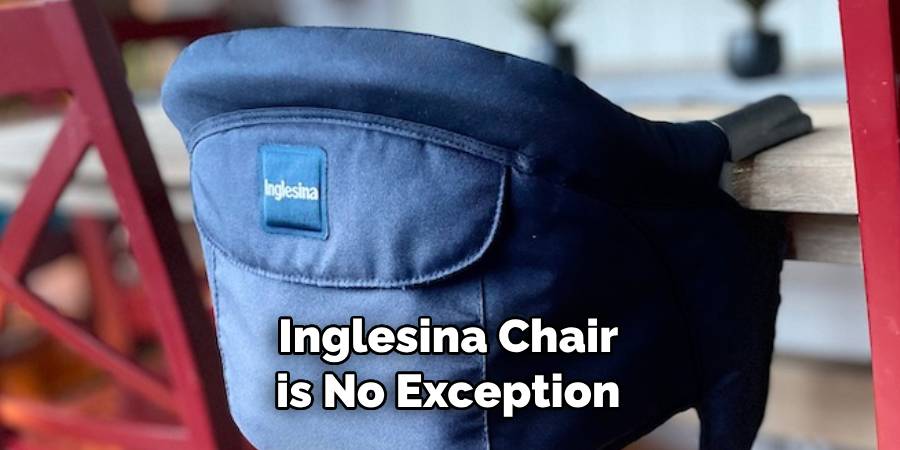
Safety is a top priority for any baby product, and the Inglesina chair is no exception. The chair is designed with multiple safety features, including a 5-point harness system, a stable base, and non-toxic materials.
Moreover, the chair has been certified by the Juvenile Products Manufacturers Association (JPMA) and meets or exceeds all US safety standards. This gives parents peace of mind, knowing their child is secure using the Inglesina chair.
Overall, the Inglesina chair is not only a practical and stylish choice for your baby’s mealtime but also a safe one. By following proper cleaning and maintenance techniques, the chair can continue to be a reliable and safe option for years.
Conclusion
Keeping your Inglesina chair clean may seem daunting, but it can be done if you follow the steps outlined in this post. By regularly following the washing and care instructions discussed, your reliable and stylish Inglesina Chair will look brand-new for years.
Hopefully, this guide has given you all the information you need to wash and maintain your Inglesina chair confidently. Remember, proper maintenance keeps the chair clean and ensures its safety and longevity for your little one’s mealtime needs.
Now that you know how to wash inglesina chair, you’ll be more confident about when and where you use it! So go ahead, have fun with family or friends at a picnic, or take that trip you always wanted – just remember to keep your Inglesina chair squeaky clean. Your kids will thank you!
