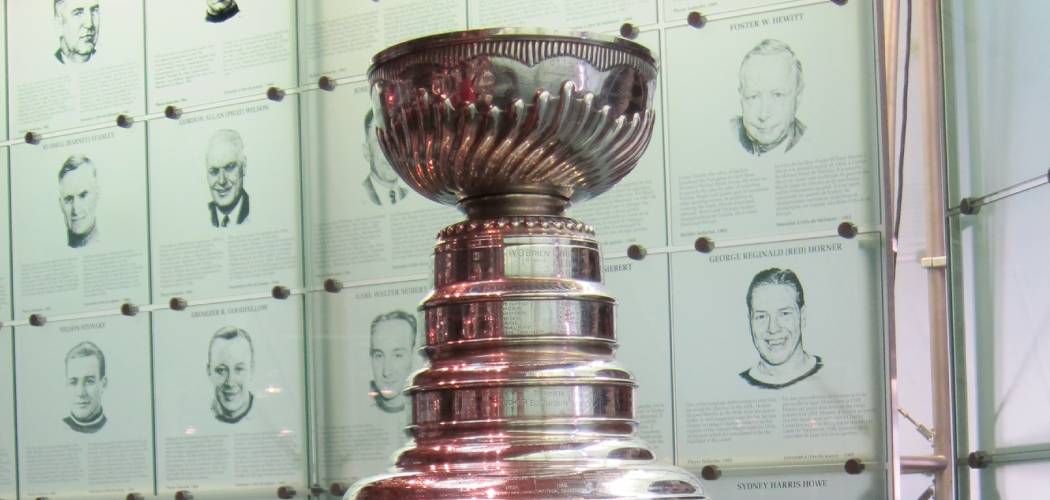
Are you ready to tackle the biggest challenge any amateur hockey rink manager will ever face? Are you prepared to take on a task considered one of history’s most sacred rituals? Then congratulations, for you are now in charge of washing a Stanley Cup!
It’s no secret that the Stanley Cup is one of the most iconic and revered trophies in all sports. As such, it requires a certain level of care and respect when cleaning it.
The task may seem daunting, and rightfully so; after all, it is the single greatest symbol of excellence in professional ice hockey. But don’t fret–in this comprehensive blog post, we will walk you through how to wash a Stanley cup step-by-step, so at the end, everyone can say with pride: This Stanley Cup was cleaned right!
What Will You Need?
Before diving into the cleaning process, let’s ensure you have all the necessary tools and equipment. Here’s what you’ll need to wash a Stanley Cup properly:
- Soft cloths or microfiber towels
- A mild detergent or soap (avoid harsh chemicals)
- Warm water
- A soft-bristle toothbrush (optional)
Now that you have everything ready let’s move on to cleaning.
10 Easy Steps on How to Wash a Stanley Cup
Step 1: Remove Any Dust or Debris
The first step is to gently remove any dust or debris from the surface of the cup. This can be done using a soft cloth or a microfiber towel. Make sure to be gentle and avoid scratching the cup.
Step 2: Prepare a Mild, Soapy Solution

Next, prepare a mild, soapy solution by mixing a few drops of mild detergent or soap in a bowl of warm water. Remember, the key is to use a gentle, non-abrasive soap to prevent damage to the Stanley Cup’s finish. It’s also important to use warm, not hot, water as excessive heat can also harm the cup’s surface. Stir the solution until it’s well mixed.
Step 3: Dip the Cloth in the Soapy Solution
Now that your soapy solution is ready, it’s time to start the cleaning. Dip your soft cloth or microfiber towel in the soapy solution, ensuring it’s thoroughly soaked but not dripping. If you’re using a toothbrush, dip it in the solution.
Step 4: Wipe the Stanley Cup
With your cloth or towel damp with the soapy solution, carefully wipe the Stanley Cup. Start from the top and slowly work down to the base, ensuring you cover all areas, including the edges and crevices.
This is where the soft-bristle toothbrush can come in handy for reaching tricky spots. Remember to be gentle and patient – the aim is to clean, not scratch or damage the trophy.
Step 5: Rinse the Stanley Cup
It’s time to rinse after wiping the Stanley Cup with the soapy solution. Carefully rinse the cup with warm water to remove the soap residue. Again, avoid using hot water to prevent any potential damage. Be thorough in your rinsing to ensure all soap has been removed as any leftover can tarnish the finish of the cup.
Step 6: Dry the Stanley Cup
Once you’ve rinsed off all the soap, it’s crucial to dry the Stanley Cup properly. Use a clean, dry, soft cloth or microfiber towel to pat dry the cup gently. Avoid vigorous rubbing, as it could scratch or damage the cup’s finish.
Make sure to reach into all the little nooks and crannies where water may be hiding. It’s important to ensure the Stanley Cup is completely dry to avoid water spots or potential tarnishing.
Step 7: Polish the Stanley Cup
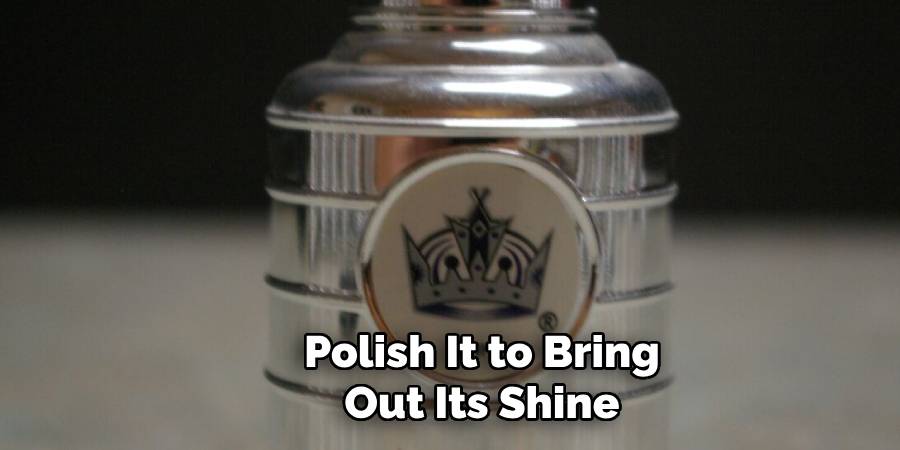
The next step in washing a Stanley Cup is to polish it to bring out its shine. Use a designated Silver Polish or gentle, non-abrasive metal polish suitable for the Stanley Cup. Apply a small amount of polish to a clean, soft cloth and gently rub it onto the cup, working in small sections at a time.
Be sure to follow the manufacturer’s instructions when using the polish. Once you’ve applied the polish, use another clean, dry cloth to buff the surface until it shines gently. Remember to be gentle and patient during this process to avoid causing any damage.
Step 8: Inspect the Stanley Cup
After you’ve polished the Stanley Cup, take a moment to inspect it carefully. Look for any areas you might have missed during cleaning and polishing. If you spot any remaining dirt, residue, or tarnish, repeat the appropriate steps. Remember, the goal is to make the cup shine like it’s brand new.
Step 9: Store the Stanley Cup Safely
Once you’re satisfied with your cleaning and polishing, it’s time to store the Stanley Cup. The ideal storage place is somewhere dry, cool, and out of direct sunlight to prevent any potential damage or tarnishing. Consider wrapping it in a soft cloth for added protection.
Step 10: Regular Maintenance
Finally, remember that regular maintenance is key to keeping the Stanley Cup in pristine condition. Plan to clean and polish the cup at regular intervals, especially before major events or presentations. By following these steps to wash a Stanley Cup, you’ll ensure this iconic trophy maintains its beauty and shine for years to come.
By following these simple steps, you’ll now be equipped to wash a Stanley Cup with the care and respect it deserves. Remember, this isn’t just any trophy – it’s an emblem of dedication, determination, and excellence in hockey.
5 Additional Tips and Tricks

- Use Mild Soap: When washing the Stanley Cup, it’s best to use a mild soap. Harsh detergents can potentially harm the surface of the cup.
- Avoid Abrasive Materials: Do not use materials like steel wool or abrasive scrubbers. These can scratch and damage the Cup’s surface. Instead, opt for a soft cloth or sponge.
- Dry Immediately: After washing, dry the Stanley Cup immediately to prevent water spots or potential rusting. Use a soft, lint-free cloth for best results.
- Handle with Care: Always handle the Stanley Cup with clean hands to avoid leaving fingerprints or transferring oils to the cup.
- Keep it on Display: The Stanley Cup is not just a trophy but a piece of history. Keep it on display in a well-lit area to showcase its beauty and significance. Make sure to dust it regularly to prevent build-up.
With these additional tips and tricks, you can ensure that your Stanley Cup stays in pristine condition for years to come.
5 Things You Should Avoid
- Avoid Using Harsh Chemicals: Steer clear from cleaning agents that contain bleach or ammonia. These substances can tarnish and corrode the Stanley Cup’s surface.
- Never Put It in the Dishwasher: The high heat and harsh detergents commonly used in dishwashers can potentially damage the Cup. Always opt for hand washing.
- Don’t Leave it Wet: Leaving the Stanley Cup wet for extended periods can lead to water stains or rust. Always dry it thoroughly immediately after washing.
- Avoid Touching with Dirty Hands: Dirt and oils from your hands can transfer to the Cup, resulting in smudges or potential damage over time. Always handle with clean, dry hands.
- Don’t Neglect Regular Cleaning: Even if the Stanley Cup isn’t visibly dirty, dust and dirt can accumulate over time. Regular cleaning helps maintain its condition and luster.
By avoiding these common pitfalls, you can ensure that your Stanley Cup remains a shining symbol of victory and tradition.
Can You Put Lemon Water in Your Stanley Cup?

Yes, you can use lemon water to wash your Stanley Cup. Lemon has natural cleaning properties and can help remove any built-up grime or dirt on the surface of the cup. However, it’s essential to dilute the lemon juice with water and avoid using too much acidic solution, as this can potentially damage the Cup’s surface.
Additionally, rinse thoroughly with clean water and dry immediately after using lemon water to avoid any potential damage.
So, if you’re looking for an all-natural alternative to soap, lemon water can be a great option for keeping your Stanley Cup sparkling clean. Just remember to use it sparingly and handle the cup with care. Keep these tips in mind, and you’ll be able to maintain the pristine condition of your Stanley Cup for years to come. So, get ready to show off your shiny Stanley Cup with pride!
Conclusion
Whether you’ve won the Stanley Cup or are simply trying to wash your replica, it’s important to follow the steps outlined above. Doing so may help to keep your trophy looking sparkling for years to come. After all, the Stanley Cup is a symbol of excellence in hockey that generations have held sacred.
Hopefully, the article on how to wash a Stanley cup has been informative and helpful. Remember to use mild soap, avoid abrasive materials, dry immediately, handle with care, and keep it on display.
Be sure to take special care of this treasured object by washing and storing it properly – and you’ll witness its magnificence for yourself! So what are you waiting for? Grab some supplies and get started on washing that Stanley Cup today!