Cross stitch projects, whether they’re cherished heirlooms or beloved handmade creations, often require special care to maintain their beauty and longevity. Knowing how to wash a cross stitch piece is essential for preserving the intricate stitches and vibrant colors. Over time, dust and dirt can accumulate on these handcrafted works of art, and stains or discoloration may occur.

In this article, we’ll delve into the delicate process of washing cross stitch projects, offering step-by-step guidance on how to safely clean and refresh your treasured pieces.
From choosing the right cleaning materials to understanding the importance of gentle handling and proper drying, you’ll discover the best practices to ensure your cross stitch creations remain pristine and continue to bring joy and charm to your home for years to come.
The Importance of Washing Cross Stitch Projects
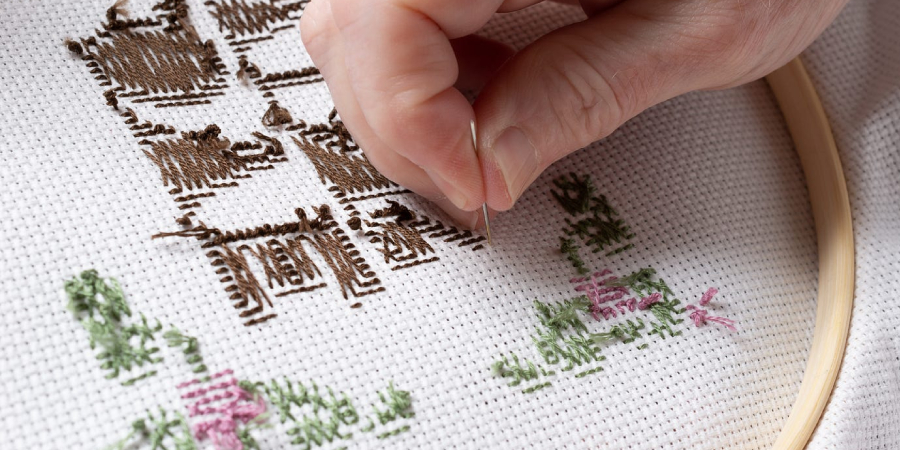
Cross Stitch is a popular form of embroidery that involves making small cross-shaped stitches to create a pattern or design. It is loved by many due to its simplicity and versatility, as it can be used to create anything from intricate portraits to simple home decor items.
One step that is often overlooked in the cross-stitch process is washing the finished project. Some people may assume that their project is clean since it was worked on with clean hands and materials, but this couldn’t be further from the truth. Washing your cross stitch project is not only important for cleanliness but also for preserving the quality of your hard work.
cross-stitch
Why Wash a Cross Stitch Project?
There are several reasons why washing your cross-stitch project is necessary. Firstly, the fabric and threads used in cross stitches are not always completely clean. They can harbor dust, oils, and other debris from the environment or from handling during the stitching process. These particles can affect the appearance of your finished project and may even attract insects.
Moreover, washing a cross stitch project helps to remove any visible marks or stains that may have occurred during the stitching process, such as pencil or pen marks used for transferring the pattern onto the fabric. These marks can be difficult to remove once the project is complete, so it’s best to wash while the fabric is still in its natural state.
Another important reason for washing a cross-stitch project is to remove any excess oils from your hands that may have transferred onto the fabric. Oils from our skin can cause stains and discoloration over time, which can greatly diminish the appearance of your cross-stitch project.

10 Methods How to Wash a Cross Stitch
1. Gently Remove Dust
Before you begin washing your cross stitch, it is important to gently remove any dust or dirt that has accumulated on the fabric. This can be done using a soft brush or a vacuum cleaner with a soft brush attachment. Make sure to use gentle strokes when brushing off the dust, as too much pressure can damage the fabric. Once the dust has been removed, your fabric will be ready for washing.
2. Pre-Treat Stains
If there are any stains on your cross stitch, it is best to pre-treat them before washing. To do this, mix a small amount of mild detergent with warm water and apply it directly onto the stain with a clean cloth. Allow the detergent mixture to sit for 10 minutes before rinsing off with cold water. For tougher stains, you may need to repeat this process a few times before the stain is fully removed.
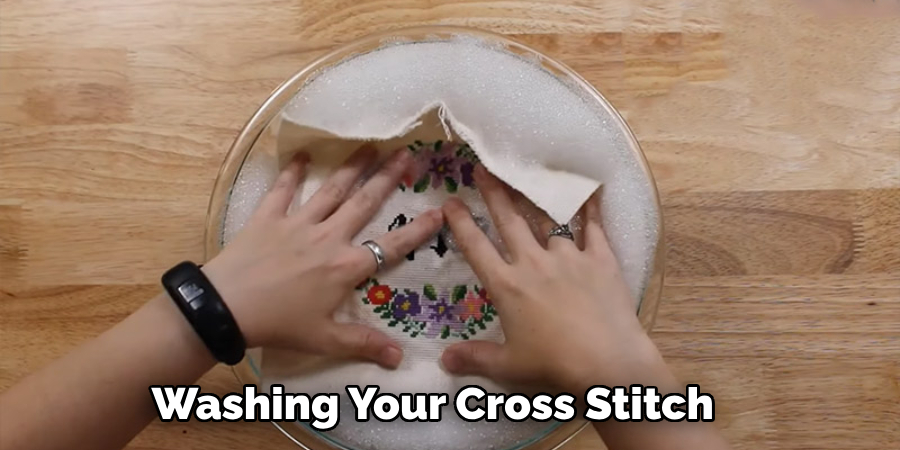
3. Hand Wash in Cold Water
Once you have removed any dust and pre-treated any stains, you can begin washing your cross stitch by hand in cold water. Use a mild detergent and make sure to dissolve it completely in the water before immersing your cross-stitch fabric into it. Soak for 10 minutes before gently agitating the fabric in the soapy water to remove any dirt or grime. Do not rub or scrub the fabric as this can cause damage to the delicate stitches.
4. Rinse Thoroughly
After soaking and agitating your cross-stitch fabric in soapy water, rinse thoroughly under cold running water until all of the soap has been removed from the fabric. Make sure to rinse until there are no suds left in the fabric as this will help ensure that no soap residue remains on your finished product after drying. If you are washing a delicate or intricately stitched piece, it is recommended to use a spray bottle filled with cold water to gently rinse the fabric instead of running it directly under the faucet.

5. Blot Excess Water
Once you have finished rinsing your cross-stitch fabric, carefully blot away any excess moisture using a clean towel or cloth. Do not wring out or twist the fabric as this could cause damage to the delicate threads of your project and result in an uneven finish after drying.
6. Lay Flat To Dry
To prevent shrinkage or distortion of your project, lay your cross stitch flat on towels or another absorbent surface and allow it to air dry naturally away from direct sunlight or heat sources such as radiators or hairdryers, which could cause damage to delicate threads and fabrics over time if used too frequently for drying projects like these. In case you want to speed up the drying process, you can place a fan nearby to help circulate the air and expedite evaporation.
7. Iron On Low Heat Setting
Once your project is completely dry, you can iron it on a low heat setting (if applicable) using either an ironing board or pressing cloth, depending on what type of material was used in its construction (e g cotton vs linen). Make sure not to apply too much pressure when pressing down onto delicate fabrics, as this could cause them to stretch out of shape over time. If you are unsure about the best way to iron your cross stitch project, consult a professional or do some research online for tips and tricks specific to your type of fabric.
8. Avoid Using Bleach
Bleach should never be used when cleaning cross-stitch projects as this could cause discoloration and fading over time due to its strong bleaching agents, which are not suitable for use on delicate fabrics such as these. Instead, opt for gentle cleaners specifically formulated for cross-stitch and embroidery projects. These can be found at most craft stores or online.
Additionally, avoid using fabric softeners as they can leave a residue on the project which could attract dirt and dust over time. It is best to stick with mild detergents or specialized cleaners for optimal cleaning results.
9. Store In A Safe Place
When storing completed projects such as these, make sure they are kept away from direct sunlight, extreme temperatures, humidity, insects, rodents, etc, which could all potentially damage them over time if exposed too often. You will want to protect your cross stitch from any potential hazards that could ruin its appearance or damage the fabric and threads. There are several ways you can do this, depending on personal preference and resources available.
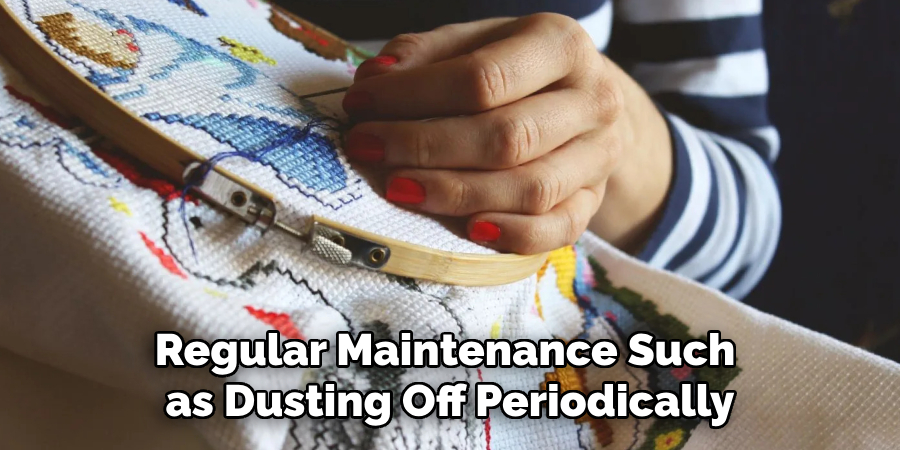
10. Regular Maintenance Is Key
Regular maintenance such as dusting off periodically (as mentioned earlier), pre-treating stains quickly upon discovery, etc will go a long way towards ensuring that all completed projects remain looking their best for many years to come! Additionally, regular maintenance will also make it easier to tackle any unexpected stains or dust build-up in the future.
Things to Consider When Washing a Cross Stitch
When it comes to washing a cross stitch, there are a few things to keep in mind in order to ensure that your project stays intact and looking its best. Here are some important considerations to take into account when washing your cross stitch.
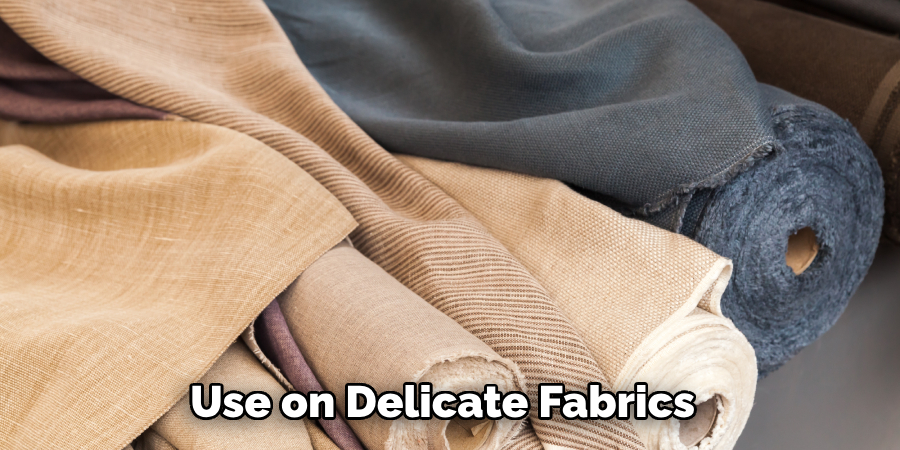
- The Fabric – The type of fabric used for your cross stitch can greatly affect how it should be washed. For example, a delicate linen fabric may require more gentle care than a sturdier cotton fabric. Make sure to check the fabric content and any specific washing instructions before proceeding.
- The DMC Threads – The threads used in your cross stitch can also impact how it should be washed. Some threads may bleed when exposed to water, while others may fade or discolor. It’s always a good idea to test a small area of your project before fully submerging it in water.
- Stains and Dirt – If your cross stitch has any stains or dirt, it’s important to address them before washing. Use a gentle stain remover or spot cleaning method to avoid damaging the fabric or threads.
Common Mistakes to Avoid When Washing Your Cross Stitch
Cross stitching is a popular and enjoyable hobby that many people around the world take part in. It involves creating beautiful designs by sewing various colored threads onto a fabric using a needle. However, after completing a cross stitch project, the next step is to wash it to remove any dirt or oils that may have accumulated during the stitching process.
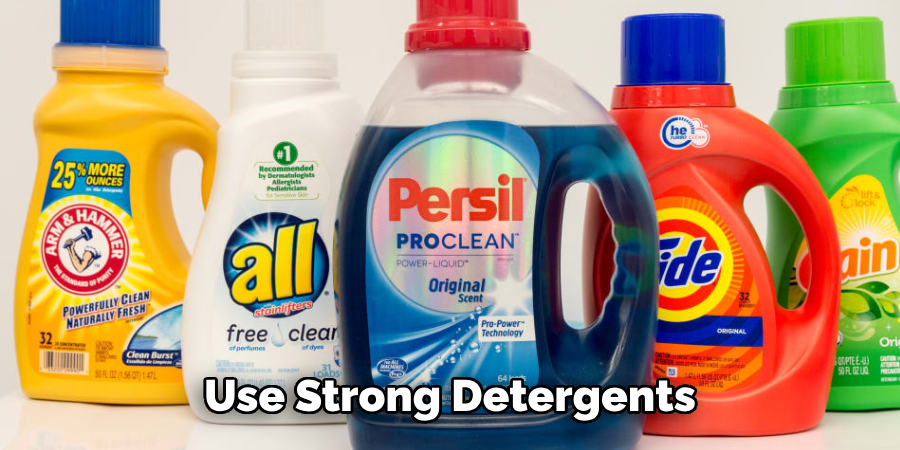
Using Harsh Chemicals
While it may be tempting to use strong detergents or bleach to get your cross stitch clean, these harsh chemicals can actually damage the fabric and threads. Stick to using mild soap and lukewarm water instead.
Not Testing the Colors for Bleeding
Before washing your cross stitch, it is important to test the colors to see if they bleed. To do this, you can dampen a white cloth with water and gently rub it on the stitched area. If any colors transfer onto the cloth, then you should not wash your cross stitch as it may cause the colors to run and ruin your hard work.
Using High Heat
It is recommended to air dry your cross stitch rather than using high heat to dry it. High heat can cause the fabric to shrink or the threads to weaken, resulting in a distorted and damaged piece.
Not Properly Securing the Fabric
When washing your cross stitch, make sure to secure the edges of the fabric with masking tape or sewing clips. This will prevent the fabric from fraying and becoming misshapen during the washing process.
Conclusion
To conclude, hand washing your finished cross stitch projects will leave you with a quality piece that is sure to last for years.
There is something truly special about creating something with your own hands and knowing that it was done correctly – not only aesthetically but hygienically too! Keep each step in mind when washing a new or finished cross stitch project and your work will look as good as the day it was completed. With the tips inside this blog post, you’ll have all the knowledge you need to know how to wash a cross stitch properly.
So dive into those projects and enjoy knowing that when you’re done, your beautiful handmade pieces can be handled with care and washed without worry. Now get ready to show off all of your gorgeous creations!