
Vacuum sealing a mattress is a practical and space-saving solution for a variety of situations. Whether you’re moving to a new home, storing a mattress for an extended period, or simply looking to reduce clutter, the process of vacuum sealing can help you protect your mattress and maximize storage space.
Vacuum sealing not only minimizes the mattress’s size but also guards against dust, moisture, and pests, ensuring that it stays in pristine condition until you’re ready to use it again.
In this article, we will guide you through the steps and provide valuable tips on how to vacuum seal a mattress effectively. Whether you’re a homeowner, a college student moving to a dorm, or someone seeking to preserve a spare mattress, understanding the proper techniques for vacuum sealing can be a game-changer in maintaining the longevity and usability of your bedding investment.
Importance of Vacuum Sealing a Mattress
Vacuum sealing your mattress is an important step for preserving the quality and longevity of your product. It keeps dirt, dust, and other allergens away from the mattress while also preventing damage from moisture or humidity. Vacuum sealing a mattress can also help keep it clean and make sure it remains free of stains.
By vacuum sealing your mattress you will be able to prolong the life of your mattress, ensuring you get the most out of your investment. Additionally, vacuum sealing helps keep odors from forming and will help to protect the mattress from damaging pests such as mites or bed bugs. With all these benefits, it’s easy to see why it is important to vacuum seal a mattress before you use it for the first time.
Benefits of Vacuum Sealing a Mattress
Vacuum sealing your mattress will not only keep it clean and well-protected, but can provide numerous other benefits as well. It can help to extend the life of the mattress by reducing odors, dust mites, and mold growth. Vacuum sealed mattresses are also much easier to move, as they take up less space and weigh significantly less than traditional mattresses.
Furthermore, they are more resistant to temperature and humidity changes, which is beneficial for regulating sleep temperature and avoiding the common problems associated with a non-temperature controlled sleeping environment. By reducing allergens in your mattress, it can also help to improve air quality in your bedroom, making it easier to breathe while you sleep.
These benefits make vacuum sealing your mattress an excellent option for those who want to keep their mattresses in the best condition possible. It can also be beneficial for those who frequently move and need to pack up their mattress quickly and easily.
Vacuum sealed mattresses are even great for camping trips, as they take up much less space than a regular mattress and can be inflated whenever needed. In short, vacuum sealing your mattress can help to increase its longevity and ensure that you get the best possible sleep.
10 Steps How to Vacuum Seal a Mattress
Gather Your Supplies:
Before you begin vacuum-sealing your mattress, make sure you have all the necessary supplies. You will need a vacuum cleaner with a hose attachment, a large plastic bag, and packing tape. Though you may not need it, having a pair of scissors on hand can be helpful in case you need to trim the plastic bag for a better fit.
Clean the Mattress:
Before you begin the vacuum sealing process, it’s important to make sure your mattress is clean. Vacuuming the surface of the mattress with an upholstery attachment can help remove any dirt or debris from the surface. Make sure to get into all the nooks and crannies, especially around the edges. Once you have vacuumed the mattress, you can move on to the next step.
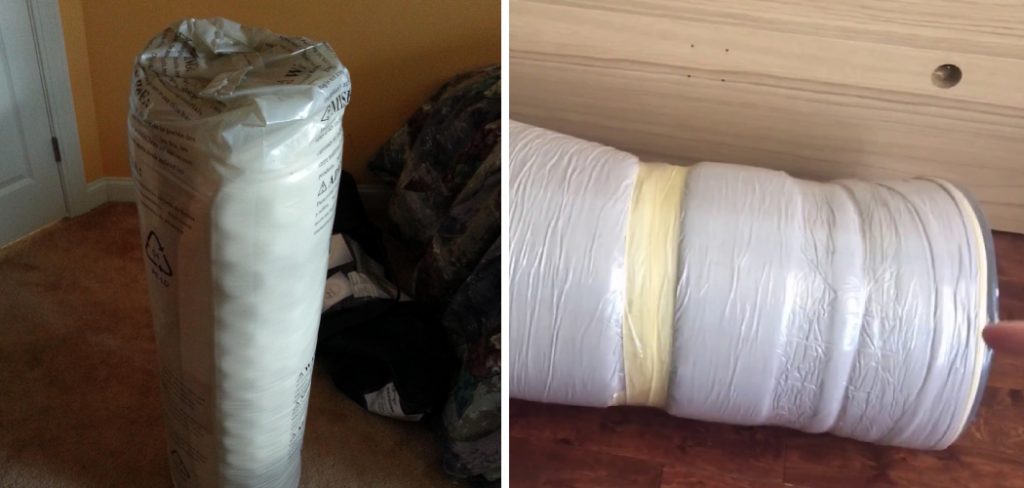
Place Mattress in Plastic Bag:
Once your mattress is clean, place it inside a large plastic bag that is big enough to fit around the entire mattress. Make sure to leave enough room for air to be sucked out during the vacuum sealing process. Securely tie the top of the plastic bag shut.
Secure Bag Around Mattress:
Once your mattress is inside the plastic bag, secure it tightly around the edges using packing tape or heavy-duty zip ties. This will help ensure that no air can escape from the bag during the vacuum sealing process. You can also use a plastic sheet or tarp to wrap the mattress securely before placing it in the bag, ensuring that no air pockets are created and further sealing your mattress.
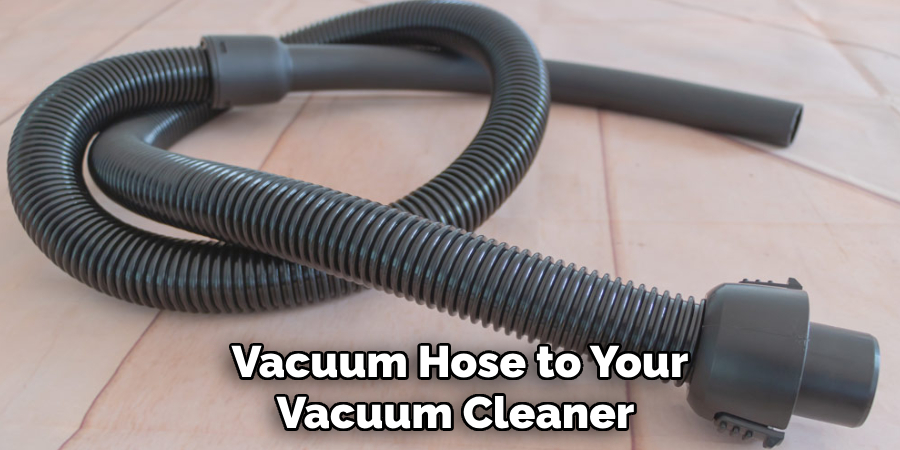
Attach Vacuum Hose:
Next, attach one end of your vacuum hose to your vacuum cleaner and then connect the other end to an opening in the top of the plastic bag that is covering your mattress. Make sure that there are no gaps between where you connected the hose and where it meets with the plastic bag so that all of the air can be removed from inside when vacuuming begins. However, be careful not to rupture the plastic bag with the hose.
Begin Vacuuming Process:
Once everything is securely attached, turn on your vacuum cleaner and begin vacuuming out all of the air from inside of your sealed bag containing your mattress until there is no air left inside and all of it has been sucked out by your vacuum cleaner’s powerful suction force!
You should be able to feel and hear the air being sucked out as you do this. This will ensure that your mattress is completely free of all air particles and ready for storage or shipping.
Remove Hose & Seal Bag:
After all of the air has been removed from inside, quickly remove your vacuum hose from both ends and seal up any openings in order to prevent any new air from entering back into your sealed plastic bag containing your now-vacuumed mattress! You can use either double-sided tape or re-sealable plastic strips to seal up the bag tightly. Make sure that all of the air is sealed out and your mattress will stay protected from dust, water, mold, bacteria and other allergens!
Check for Leaks:
After everything has been securely sealed up again, check for any possible leaks by pressing down on various parts of your sealed bag containing your now-vacuumed mattress; if you feel any areas where air might be escaping through then quickly reseal them before continuing on with Step 9 below!
Store Mattress Properly:
Now that you’ve successfully vacuum sealed up your now-compressed mattress, store it away properly in an upright position so as not to damage its shape or structure while also ensuring maximum protection against dust mites and other allergens!
If you’re storing it away for a long period of time, try placing some blankets or sheets in between the mattress and where it will be stored to ensure maximum protection against dust and other environmental factors. Additionally, make sure that your mattress is kept away from any direct sunlight or intense heat sources to avoid damage over time.
Enjoy Your Comfortable Night’s Sleep!:
Finally, once everything has been stored away properly enjoy a comfortable night’s sleep every night knowing that you’ve taken extra precautions to protect yourself against dust mites and other allergens with this simple yet effective method known as “vacuum sealing” your mattress.
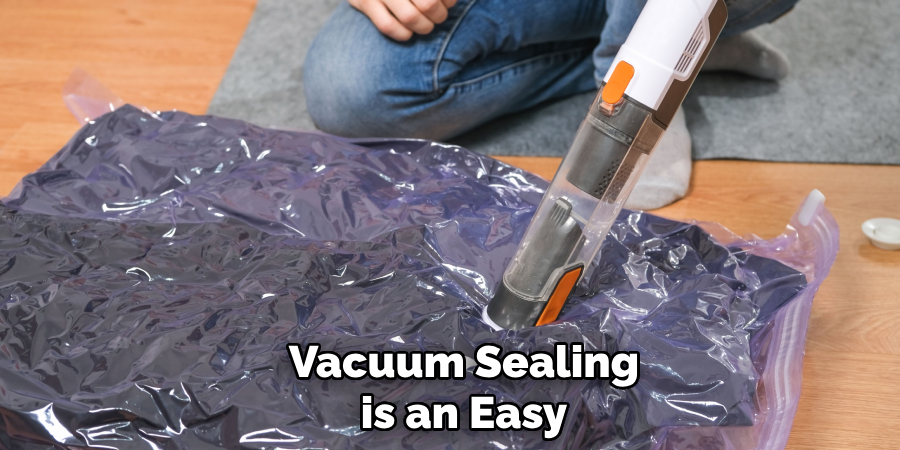
Vacuum sealing is an easy, cost-effective way to protect yourself and make sure you get the most out of your investment in a quality mattress. With a few simple steps, you can have peace of mind that your mattress will last for years to come!
Some Common Mistakes to Avoid when Vacuuming a Mattress
- Failing to inspect the mattress before vacuuming: Before you begin the process of vacuum sealing your mattress, be sure to check it thoroughly and identify any signs of wear or damage. This will help ensure that the mattress is in good condition before being sealed.
- Using too much suction: Applying too much suction when vacuuming can cause the fabric to be damaged or stretched. It is important to ensure that you are not applying too much suction or using an inappropriate tool for the task.
- Not allowing sufficient time for drying: Once your mattress has been vacuum sealed, be sure to allow it plenty of time to dry before using it. This will help prevent the growth and spread of mold or mildew on the mattress.
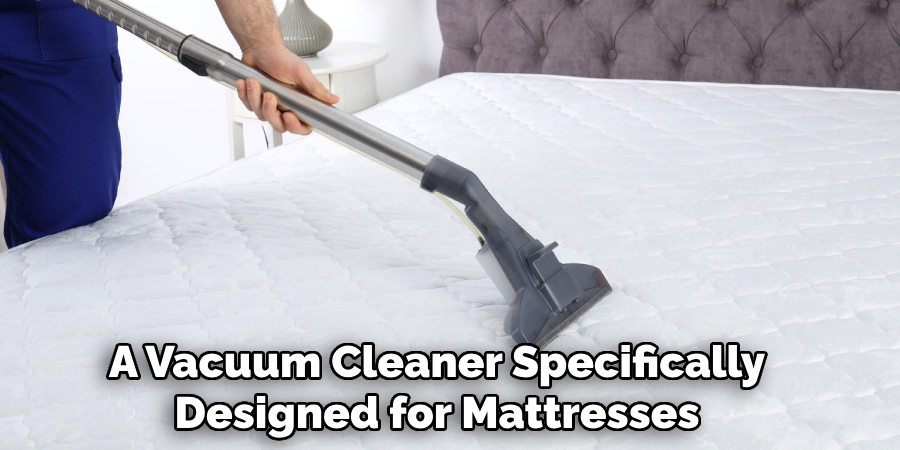
- Not using a vacuum cleaner designed for mattresses: Regular vacuums may not be suitable for vacuuming a mattress, as they can cause damage to the fabric or leave behind small particles that can attract dust mites. Be sure to use a vacuum cleaner specifically designed for mattresses.
Conclusion
After reading this blog post, you now have all the tools to successfully vacuum seal a mattress. Vacuuming your mattress can be a tedious process, but with patience and careful measuring, you can have a tight, sealed mattress.
Vacuum sealed mattresses also help keep dust mites, bed bugs and allergens away, so it’s well worth the effort! Now that you know how to vacuum seal a mattress, why not go ahead and do so today?
Vacuuming is an easy way to increase the longevity of your investment in sleep comfort. Plus, your wallet will thank you later for extending the life of your beloved mattress. Don’t hesitate any further – start vacuuming today and experience the rewarding feeling of using preventative care on your valuable possession.