
Upcycling furniture is a great way to transform a boring dresser into something totally new and unexpected. Not only does it give your old furniture an entirely new look, but it can also help you save money by avoiding having to buy another piece of furniture altogether!
If you’re looking for an easy upcycling project, why not turn that dresser into a cool tv stand? In this post, we’ll go through the simple steps on how to turn a dresser into a tv stand that will be sure to impress all your friends and family. Read on to find out what supplies you need, and get ready for some exciting DIY fun!
Is It Worth It Turning a Dresser into a TV Stand?
When deciding whether to turn a dresser into a TV stand, there are many factors to consider. For one, it may be cheaper and easier to buy a pre-made TV stand than to purchase materials for an at-home project. If you have certain tastes or styles that you can’t find in stores, however, then making your own could be the better choice.
Another thing to consider is time investment; some DIY projects can take several hours or even days if you are going for something more elaborate. That said, turning a dresser into a TV stand doesn’t usually require much time and effort. All you need is basic carpentry skills and the right tools.
Finally, think about the materials you’re working with. An old dresser may need to be sanded and painted, or it might even need structural repairs if it is very worn down. If a dresser is too far gone, then it may not be worth turning into a TV stand.
Overall, whether or not turning a dresser into a TV stand is worth it depends on your individual situation. Depending on the cost of materials and time investment required, as well as the condition of the dresser itself, you can decide what’s best for you and your needs. With some careful consideration, you should be able to make the right decision!
10 Methods How to Turn a Dresser into a TV Stand
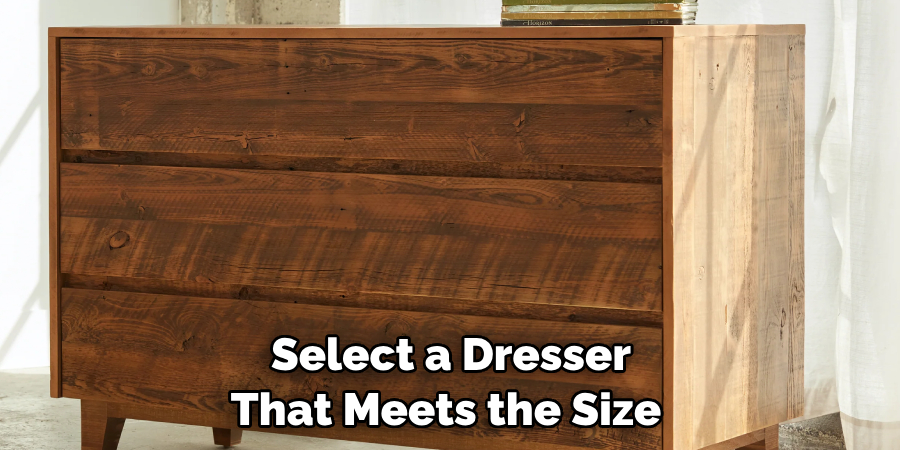
1. Choose the Right Dresser:
Select a dresser that meets the size and style requirements for your TV stand project. Consider the dimensions of your television, audiovisual components, and available space. Look for a dresser with ample storage options, such as drawers and cabinets, to accommodate media devices, DVDs, and accessories.
If you choose a dresser with an intricate design, consider painting it before transforming it into a TV stand. While you can certainly make over a modern dresser, an old-fashioned style will often look the most interesting. Although you don’t have to, it can be a good idea to strip off any old paint or varnish and sand down the dresser before repainting it.
2. Measure and Plan:
Measure the dimensions of your TV and the dresser to ensure a proper fit. Take into account the height, width, and depth of both the TV and the dresser. Sketch out a plan that includes the placement of the TV, any additional shelves or compartments needed, and the location of cables and power outlets.
While you’re at it, measure the dresser to determine where it needs to be cut and drilled. However, you should be aware that the dresser may be weak in some locations due to existing joints and drawers, so plan accordingly. Make sure to measure twice and cut once!
3. Prepare the Dresser:
Remove any drawers, shelves, or hardware from the dresser. Sand the surface to remove the existing finish or paint, providing a smooth and clean base for the transformation. Fill any holes or imperfections with wood filler and sand them down once dry.
Wipe down the dresser to remove any dust or debris. When prepping the dresser, think about how you want to paint or stain it. If painting, make sure to use a primer before applying the color of your choice. The dresser should be completely dry before moving on to the next step.

4. Create Openings for Cables:
To accommodate cables and wires, drill holes in the back of the dresser. Determine the number and size of holes needed based on the number of devices you plan to connect. Use a hole saw or a drill with an appropriate drill bit size to create clean and precise openings.
Seal the edges of the holes with wood putty or wooden plugs to prevent them from splintering and keep wires securely in place. If necessary, add a power strip or surge protector to the interior of the dresser for extra outlet space. When finished, vacuum out the interior of the dresser to ensure no sawdust is left behind.
5. Paint or Stain:
Choose a paint or stain color that complements your existing decor. Apply a primer if necessary and allow it to dry. Then, paint or stain the dresser using even strokes and following the grain of the wood. Apply multiple coats as needed, allowing sufficient drying time between each coat. Once the final coat is dry, seal it with a topcoat to protect your beautiful new TV stand.
When finished, all that’s left to do is enjoy your new TV stand/dresser! You may be tempted to rush through this step, but taking your time will pay off in the end. Make sure to use a high-quality paint or stain and follow the manufacturer’s directions for best results. Enjoy the transformation and give yourself a pat on the back!
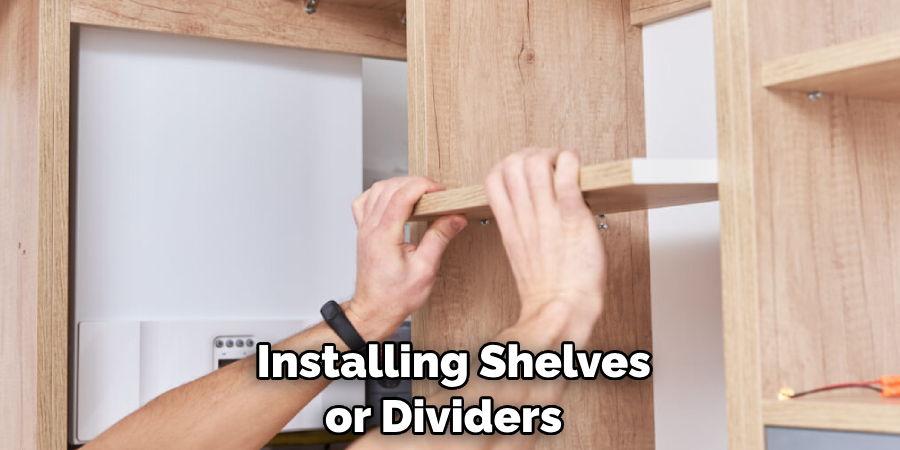
6. Install Shelves or Dividers (Optional):
If you desire additional storage or compartments, consider installing shelves or dividers inside the dresser. Measure the desired height and width of the shelves or dividers and use a saw to cut them to size. Install them securely using brackets or screws. You can also use a drill to create pilot holes for the screws, which will make the installation much easier. This step is completely optional and will depend on the dresser’s design and your own preferences.
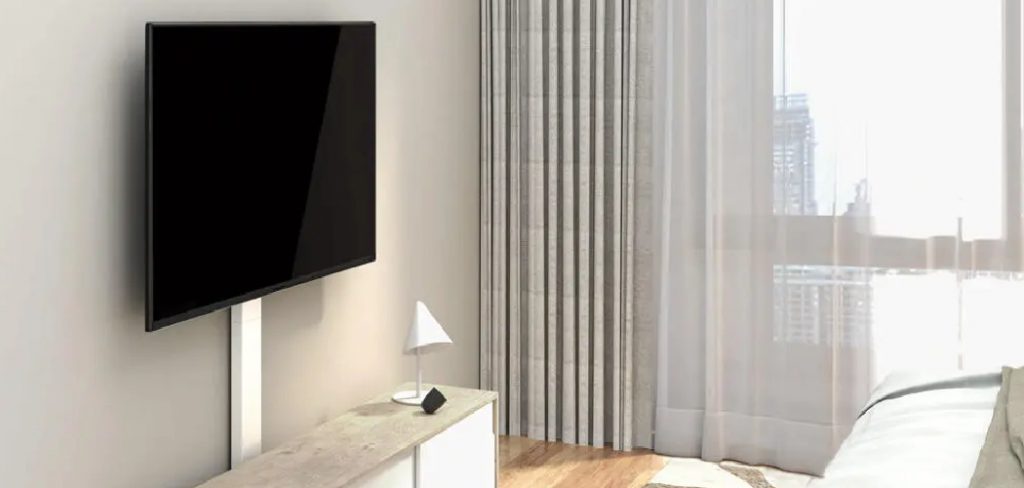
7. Attach TV Mount or Stand:
Decide whether you want to mount your TV directly to the dresser or use a TV stand. If mounting, follow the manufacturer’s instructions to securely attach a TV mount to the back of the dresser. Ensure the mount is compatible with the weight and size of your TV.
Alternatively, place a TV stand on top of the dresser and adjust its position for optimal viewing. Be sure to secure the stand to the dresser for added stability. Although a wall mount may provide more stability, if you choose to use the dresser as a TV stand, be sure to secure it to the wall for safety.
8. Organize Cable Management:
To keep cables and wires organized and hidden, use cable management solutions such as cable clips, zip ties, or cable sleeves. Bundle the cables together and route them through the openings created in the back of the dresser. Use adhesive cable clips or tape to secure them to the inside of the dresser, keeping them tidy and out of sight.
For extra reinforcement, you can use zip ties to hold the cables in place inside. To hide the cords and cables, try using fabric or rubber cable sleeves. This will give your TV stand a neat and finished look. When you’re finished, use a surge protector power strip to connect your devices and plug it into the wall. Now you can enjoy your new TV stand!
9. Decorate and Personalize:
Add personal touches to your TV stand by decorating and accessorizing it. Consider adding decorative knobs or handles to the dresser drawers or cabinets. Place decorative items, such as framed photos, plants, or artwork, on top of the TV stand to enhance its aesthetic appeal and blend it with your room decor.
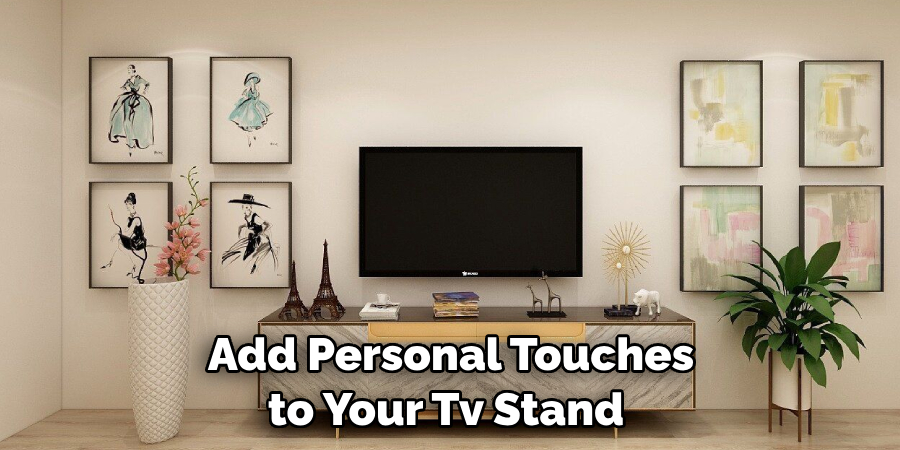
You can also hang wall art or place a statement rug in the area around the TV stand to finish off your design. With these simple steps, you can easily turn an old dresser into a stylish and functional TV stand.
10. Arrange Media Components and Accessories:
Organize your media components, such as cable boxes, gaming consoles, and DVD players, inside the drawers or cabinets of the dresser. Use storage baskets or bins to keep accessories like remote controls, DVDs, or game controllers neat and accessible. Arrange the components and accessories in a way that maximizes functionality and minimizes clutter.
Conclusion
It’s easy to see why so many people love turning old furniture into tv stands—not only is it a cool, cost-effective solution, but it’s also a great way to make use of something that might otherwise go to waste. With a few tools and the right approach, you can turn an old dresser into a sturdy and stylish tv stand for your home.
Utilizing these instructions as your guide, you should have no trouble crafting the perfect functional piece of furniture to fit any room in your house. Now that you know how to turn a dresser into a tv stand, it’s time for you to get started!
Don’t let all the hard work be wasted away–be proud and show off your new creation online on social media or with friends. You’ll be curious as to what else you are capable of tinkering with next and have plenty of decorating options still ahead.