
Thinning primer for a sprayer can seem like a daunting task, especially for those new to painting. However, achieving the right consistency is crucial for a smooth and even application. Using a sprayer to apply primer ensures a uniform coat, reducing the potential for drips and brush marks that often occur with other methods.
This guide on how to thin primer for sprayer will walk you through the steps of properly thinning your primer, ensuring an efficient and successful painting project every time.
What is Primer?
Before diving into the steps for thinning primer, it’s important to understand what primer is and why it’s necessary. Primer is a preparatory coating applied to surfaces before painting. It creates a smooth and even base for the paint to adhere to, allowing for better coverage and durability of the topcoat.
It also helps to seal porous surfaces, preventing the paint from soaking in and reducing the number of coats needed. Primer also aids in hiding imperfections on the surface, such as stains and discoloration.
Types of Primers
There are several types of primers available on the market, each with its own specific uses. Some common types include:
Water-based:
These primers are thinned with water and can be cleaned up easily with soap and water.
Oil-based:
These primers are thinned with mineral spirits or turpentine and require more effort to clean up.
Shellac-based:
This type of primer dries quickly and can be used as a sealer.
It’s important to choose the right type of primer for your project, taking into consideration the surface you’re painting and the topcoat that will be applied.

Why Thin Primer for Sprayer?
Using a sprayer to apply primer has several benefits, such as:
Faster application:
Thinning the primer allows it to flow through the sprayer more easily, resulting in faster coverage.
Better Coverage:
A properly thinned primer will create a smoother and more even base coat, reducing the need for multiple coats.
Reduced Clogging:
Thinner primer is less likely to clog the nozzle of the sprayer, making for a more efficient application process.
10 Step-by-step Guidelines on How to Thin Primer for Sprayer
Step 1: Gather Materials
Before starting, make sure you have all the necessary materials on hand. This includes:
Primer :
Choose the type of primer that is best suited for your project.
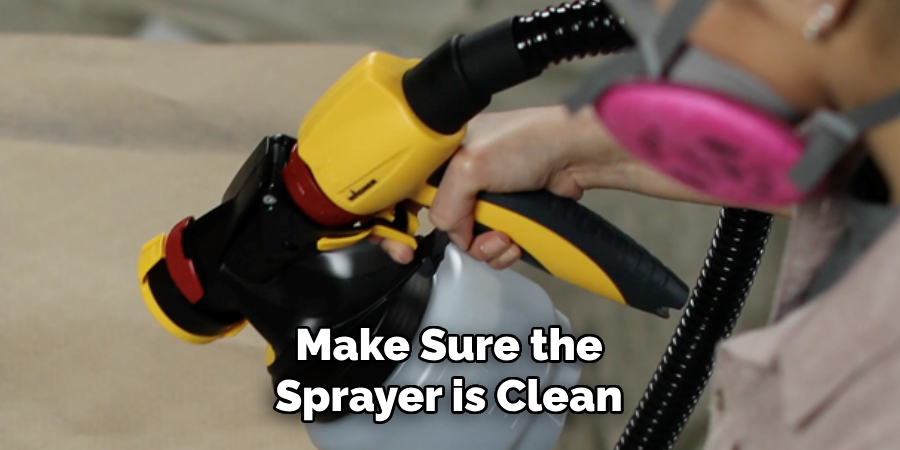
Sprayer :
Make sure the sprayer is clean and in proper working condition.
Strainer:
Use a strainer to remove any impurities or lumps from the primer.
Water (for water-based primers) or Mineral spirits/turpentine (for oil-based primers):
These will be used to thin the primer.
Step 2: Read Instructions
Before you begin thinning the primer, thoroughly read the manufacturer’s instructions on both the primer and the sprayer. Each product may have specific guidelines and recommendations for thinning consistency and application techniques. This is crucial to ensure that you do not over-thin or under-thin the primer, as this can affect the final result.
The instructions will also provide important information on safety precautions, such as proper ventilation and the use of protective gear. Familiarizing yourself with these directions will help you achieve a smooth and professional finish.
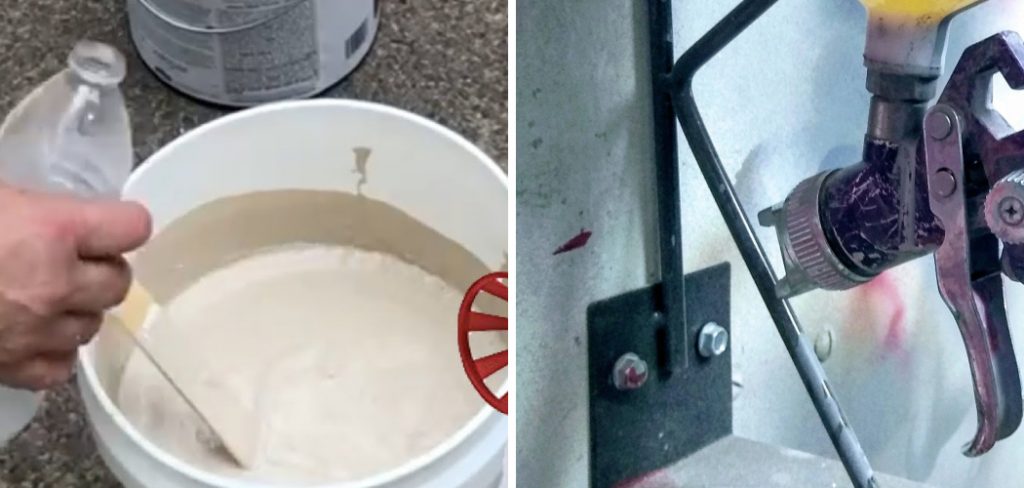
Step 3: Strain the Primer
Straining the primer is an essential step to ensure a smooth application and prevent clogging in the sprayer. Begin by placing a clean, fine-mesh strainer over a clean mixing container. Slowly pour the primer through the strainer, allowing any impurities, lumps, or dried bits to be filtered out.
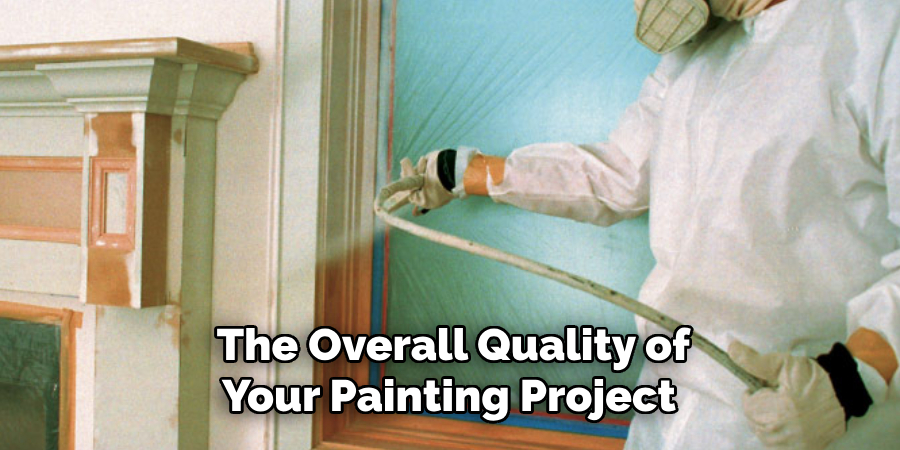
This process helps to achieve a consistent texture, which supports even spraying and a flawless finish. Make sure to discard any residue left in the strainer before proceeding to the next step. Properly strained primer will contribute significantly to the overall quality of your painting project.
Step 4: Mix the Primer
After straining, transfer the primer to a clean mixing container. This can be done by using a funnel or pouring directly from the original container if it has a wide enough opening.
Once in the mixing container, add small amounts of water (for water-based primers) or mineral spirits/turpentine (for oil-based primers) and mix thoroughly until you achieve your desired consistency.
A general rule of thumb is to start with a 10% dilution ratio and gradually add more thinning agents as needed. It’s essential to mix thoroughly, ensuring there are no lumps or inconsistencies in the mixture.
Step 5: Check Consistency
The ideal consistency for a thinned primer for a sprayer is similar to that of milk. To test the consistency, use a viscosity cup or simply dip a wooden stick into the mixture and observe how it drips off. If the drip is smooth and continuous, without any clumps or breaks, then your primer is at the right consistency.
You can also test by spraying a small amount onto a scrap piece of cardboard or wood. The primer should create a smooth and even coat without any visible clumps or uneven areas.
If the mixture is too thick, add more thinning agents, and if it’s too thin, add more primer until you achieve your desired consistency.
Step 6: Test Spray
Before moving on to your project surface, do a test spray on a separate surface to ensure the primer is at the correct consistency and there are no clogs in the sprayer nozzle. Make any necessary adjustments before proceeding to avoid potential issues during application.
It’s also a good idea to practice your spraying technique on the test surface to get comfortable with the sprayer and achieve an even application.
Step 7: Proper Ventilation
When working with any type of paint or primer, it’s crucial to have proper ventilation in your workspace. This is especially important when using a sprayer as the particles can become airborne and pose a health hazard if inhaled. Open windows and doors, use fans and wear protective gear such as goggles and masks to avoid any potential health risks.
You should also avoid thinning the primer in an enclosed area, as this can increase the concentration of fumes. It’s best to work in a well-ventilated and open space to ensure safety.
Step 8: Adjusting for Temperature
The temperature of your workspace can affect the consistency of your thinned primer. In warmer conditions, the primer may dry quicker and thicken, while thinner in colder temperatures.
It’s essential to monitor the temperature and adjust the ratio of water or mineral spirits/turpentine accordingly to maintain a consistent texture. A good rule is to use more thinning agents if working in warm weather and less if working in cold weather.
Step 9: Start Spraying
Once you have achieved the desired consistency and tested your sprayer, you are ready to start spraying. Begin at one corner of the surface, holding the sprayer nozzle approximately 12 inches away.
Use smooth, even strokes to apply a light coat of primer. Avoid oversaturating or re-spraying areas that have already been coated as this can create an uneven finish.
Continue spraying in a consistent pattern until the entire surface is covered. Allow it to dry according to the manufacturer’s instructions before applying another coat if necessary.
Step 10: Clean Up
After completing your project, make sure to thoroughly clean your sprayer with water (for water-based primers) or mineral spirits/turpentine (for oil-based primers). This will prevent any buildup or clogging in the nozzle and ensure your sprayer is ready for future use.
Properly dispose of any leftover thinned primer and cleaning materials according to local regulations. With proper care and maintenance, your sprayer can be a useful tool for many projects to come.
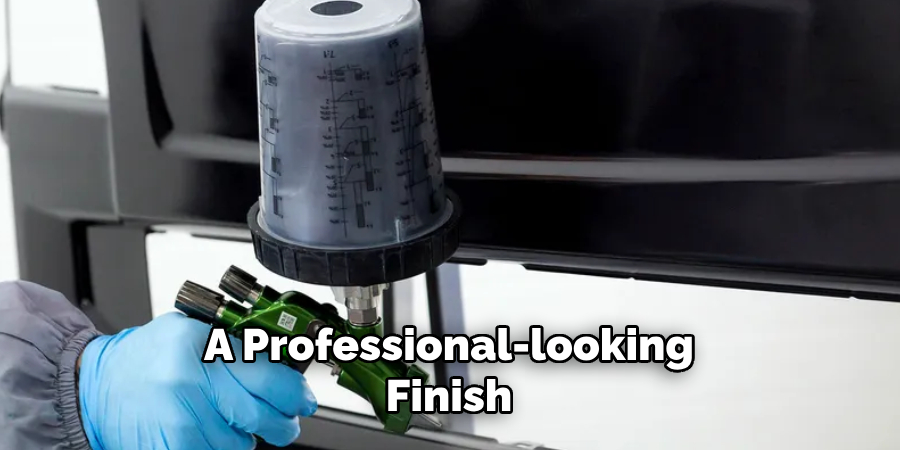
Overall, thinning primer for a sprayer is a straightforward process that requires attention to detail and the right tools. By following these steps on how to thin primer for sprayer, you can achieve a professional-looking finish on your next painting project with ease. Happy painting!
Additional Tips and Tricks
- Always read the manufacturer’s instructions for specific guidelines on thinning ratios and application techniques.
- Use a clean, dry mixing container to avoid contamination of the primer.
- Strain the primer and mix in small batches to ensure consistency.
- If using an airless sprayer, you may not need to thin the primer as much compared to other types of sprayers.
- For larger projects, consider investing in a paint strainer bag for easier straining.
- When testing your spray pattern, try different distances from the surface to find what works best for your project.
- Wearing protective gear is crucial when working with any type of chemicals or particles. Consider investing in a full-face mask for added protection.
Conclusion
Thinning primer for a sprayer is an essential step to ensure a smooth and professional finish on your painting projects. By carefully following the steps on how to thin primer for sprayer outlined—straining the primer, mixing to the right consistency, and conducting test sprays—you can avoid common pitfalls and achieve an even coat. Remember the importance of proper ventilation, adjusting for temperature variations, and meticulous clean-up after your project. With these tips and tricks in mind, you’ll be well-equipped to handle any priming task with confidence and precision. Happy painting!