Floating desks offer a modern and sleek solution for creating a functional workspace without sacrificing floor space. They can be installed in various rooms, from home offices to living rooms, making them a versatile option for maximizing efficiency in tight quarters. Despite their minimalist appearance, it’s crucial to ensure that these desks are securely supported to handle the weight of equipment and daily use.
This guide on how to support a floating desk will walk you through the key steps and considerations for properly supporting a floating desk, ensuring both safety and longevity.
What is a Floating Desk?
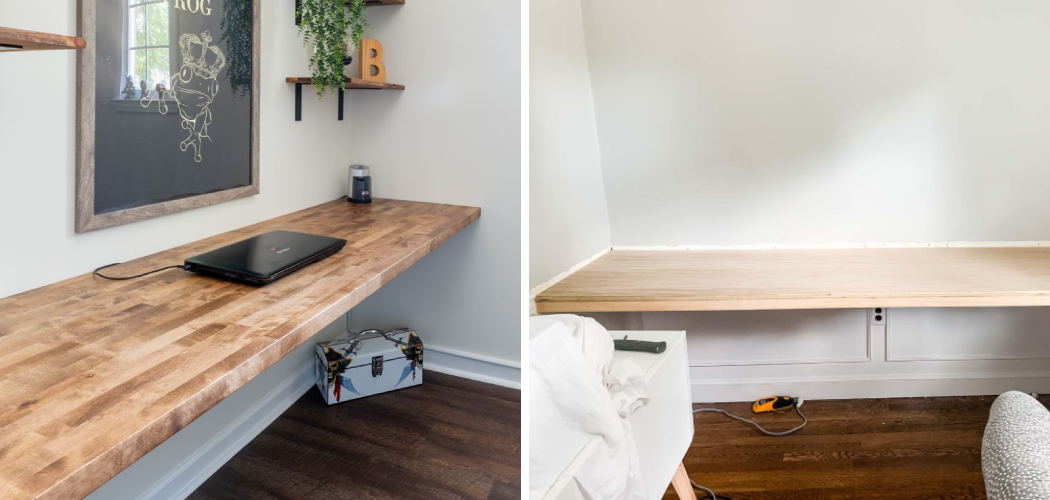
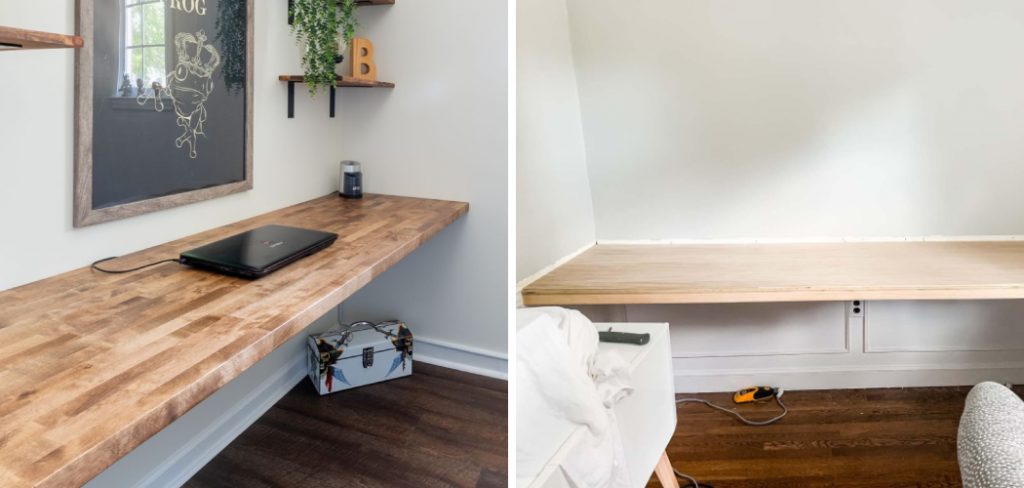
A floating desk is a type of desk that is mounted directly onto the wall, without any legs or supports touching the floor. This creates an illusion of a “floating” desk and frees up valuable floor space. These desks are typically made from wood or metal and can range in size and design, making them customizable to fit various needs and preferences.
You can purchase a floating desk from furniture stores or online retailers, or you can even build one yourself using materials from your local hardware store. However, regardless of how you acquire your floating desk, it’s crucial to properly support it to avoid any accidents or damage.
Why is Proper Support Important?
Due to its unique design, a floating desk may seem like it doesn’t require much support. However, this couldn’t be further from the truth. A floating desk needs proper support for several reasons:
Safety:
A properly supported floating desk will reduce the risk of accidents or injuries caused by a collapsing desk.
Durability:
Without adequate support, the weight of equipment and daily use can cause a floating desk to sag or crack over time.
Aesthetics:
An unsupported desk may appear lopsided or uneven, taking away from the clean and modern look that a floating desk offers.
Now that you understand the importance of supporting a floating desk let’s dive into how to do it effectively.
10 Step-by-step Guidelines on How to Support a Floating Desk
Step 1: Choose the Right Location
The first step in supporting a floating desk is to choose the right location for installation. As these desks rely solely on wall support, it’s essential to select a sturdy and stable surface for mounting. Avoid areas with weak or damaged walls, as they may not be able to support the weight of the desk.
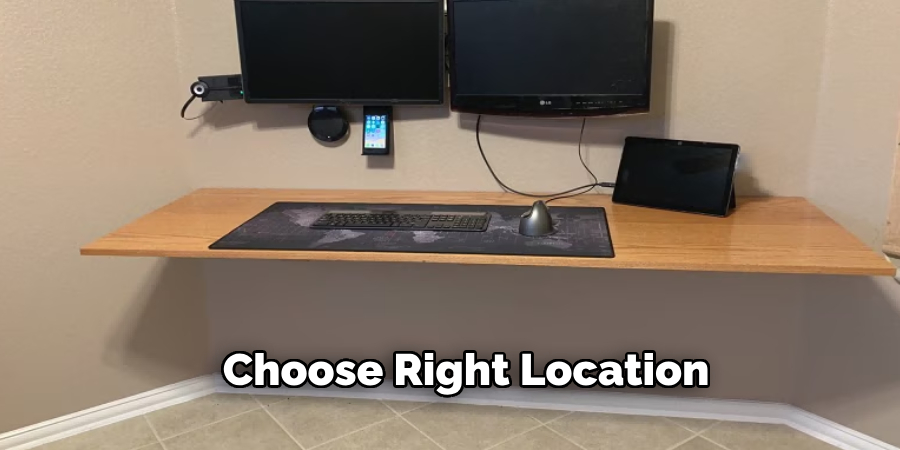
It’s also crucial to consider access to power outlets and lighting when choosing the location, as these will be necessary for using your desk effectively.
Step 2: Find the Studs
Once you’ve chosen the location for your floating desk, use a stud finder to locate the studs in the wall. These are vertical wooden beams behind drywall that provide extra support for hanging heavy items.
Mark the location of each stud with a pencil so that you know where to attach your desk.
Step 3: Measure and Mark Placement
With the studs located and marked, the next step is to measure and mark the exact placement of your floating desk. Start by determining the height at which you want to install the desk, keeping ergonomic considerations for comfort and usability in mind.
Once you have decided on the height, use a level to draw a horizontal line at that height across the wall. This will serve as a guide for the top edge of your desk. Measure the length of your desk and make corresponding marks along the drawn line where the desk will be anchored to the studs. Be sure to double-check all measurements for accuracy before drilling or attaching any supports.
Step 4: Install Wall Anchors
To ensure maximum support, it’s best to use wall anchors in addition to the studs. These are plastic or metal fasteners that expand when screwed into the wall, providing extra stability for hanging heavy objects.
Follow the manufacturer’s instructions for installation and make sure to use enough anchors to distribute the weight of your desk evenly.
Step 5: Attach Support Brackets
Once your wall anchors are in place, it’s time to attach the support brackets to the wall. Pre-drill holes at each marked location on the horizontal line using a drill bit slightly smaller than your screws.
Then, screw in each bracket securely using both the studs and wall anchors as support. You may need a helper to hold the brackets in place while you attach them.
Step 6: Prepare the Desk for Installation
Before installing your desk, it’s crucial to make sure that it is level and sturdy. Place the desk on top of the support brackets and adjust as necessary until it is perfectly level and flush against the wall. It’s also a good idea to add additional screws or brackets for extra support, especially if your desk will be holding heavy equipment.
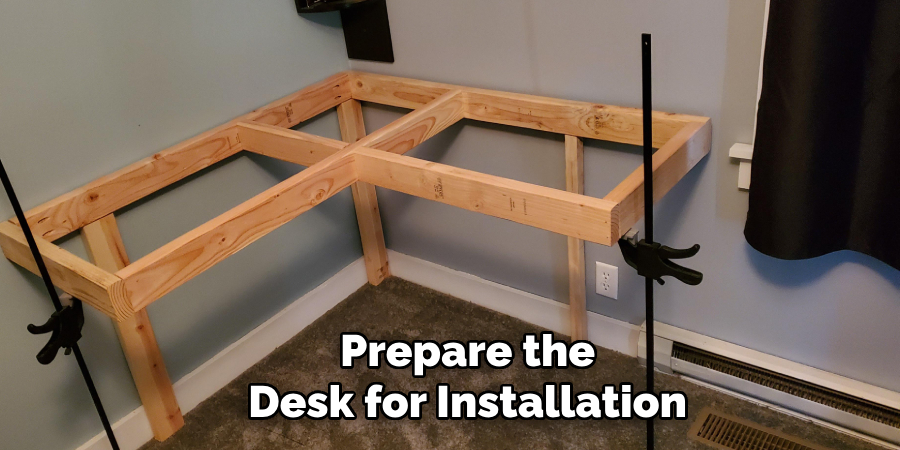
The desk should now be securely attached to the wall and ready for use. You can also add decorative elements, such as wall shelves or plants, to further enhance the look and functionality of your floating desk.
Step 7: Test for Stability
After installation, it’s essential to test the stability and weight capacity of your floating desk before using it regularly. Place some weight on the desk, such as a laptop or books, and make sure it remains level and secure. If there are any signs of instability or sagging, reinforce the supports or adjust the placement of the brackets until you achieve maximum stability.
The last thing you want is for your desk to collapse while in use, so it’s crucial to take the time to properly test and reinforce the supports.
Step 8: Organize Cords
With a floating desk, cords and wires may be more visible than with traditional desks. To maintain a clean and clutter-free workspace, use cable management tools like clips or ties to organize and conceal cords along the back of the desk or against the wall.
You can also invest in a cable management tray that attaches under the desk, keeping cords out of sight and preventing them from getting tangled or creating a tripping hazard.
Step 9: Regular Maintenance
To ensure that your floating desk remains stable and secure over time, it’s essential to perform regular maintenance. This includes checking for any signs of wear or damage, tightening screws and brackets as needed, and cleaning the desk regularly to prevent dust buildup.
But even with regular maintenance, it’s important to periodically check the stability and weight capacity of your desk, especially if you plan on adding more equipment or items to the surface.
Step 10: Seek Professional Help
If, at any point during installation or maintenance, you feel unsure or overwhelmed, don’t hesitate to seek professional help. An experienced handyman or contractor can provide expert advice and assistance in properly supporting your floating desk for long-term use.

Following these 10 step-by-step guidelines on how to support a floating desk will ensure that your floating desk remains sturdy and secure, providing a functional and stylish workspace for years to come. So go ahead and enjoy the benefits of a floating desk without worrying about its stability! Happy decorating!
Frequently Asked Questions
Q: Can I Install a Floating Desk on Any Type of Wall?
A: It’s best to avoid weak or damaged walls and instead choose a sturdy surface for mounting your floating desk. If you’re unsure about the strength of your wall, consult with a professional before proceeding with installation.
Q: How Much Weight Can a Floating Desk Hold?
A: The weight capacity of a floating desk will vary depending on the materials used and how well it’s supported. It’s best to consult with the manufacturer for specific weight limitations, and always make sure to test the stability before using heavy equipment or items on the desk.
Q: Can I Use Regular Screws Instead of Wall Anchors?
A: While regular screws may be able to hold some weight, using wall anchors is highly recommended for maximum support and stability. They distribute the weight evenly and prevent sagging or damage to the wall over time. So, it’s best to use both studs and wall anchors for proper support when installing a floating desk.
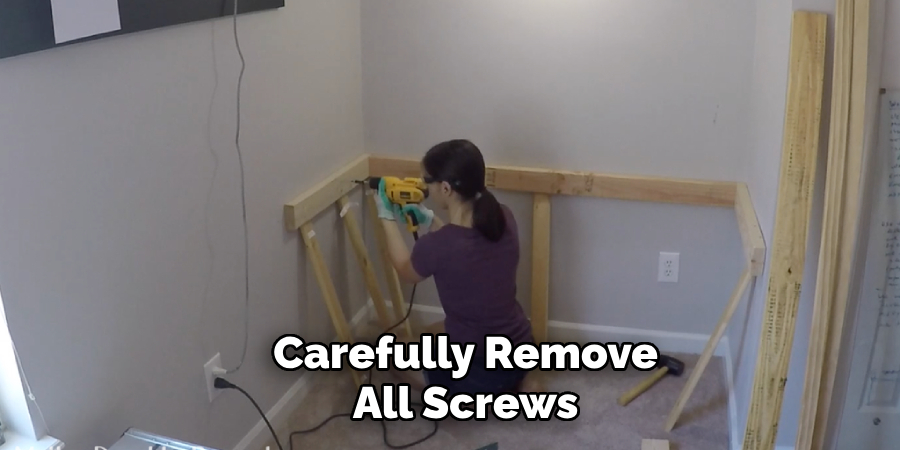
Q: What if I Want to Move My Floating Desk?
A: If you plan on moving your floating desk, be sure to carefully remove all screws and brackets from the wall, then patch up any holes before reinstalling in a new location. It’s also important to check for any damage or wear on the supports before reinstallation. Alternatively, you can opt for freestanding floating desks that don’t require attaching to walls.
Conclusion:
Installing a floating desk can be a rewarding project that enhances both the functionality and aesthetics of your workspace. By following these detailed steps on how to support a floating desk, from selecting the right wall and height to organizing cords and performing regular maintenance, you can ensure that your floating desk is safe, sturdy, and stylish.
Remember to use the appropriate tools and materials, and don’t hesitate to seek professional assistance if needed. With careful planning and execution, your floating desk will become a valuable and attractive feature in your home or office. Happy decorating!